
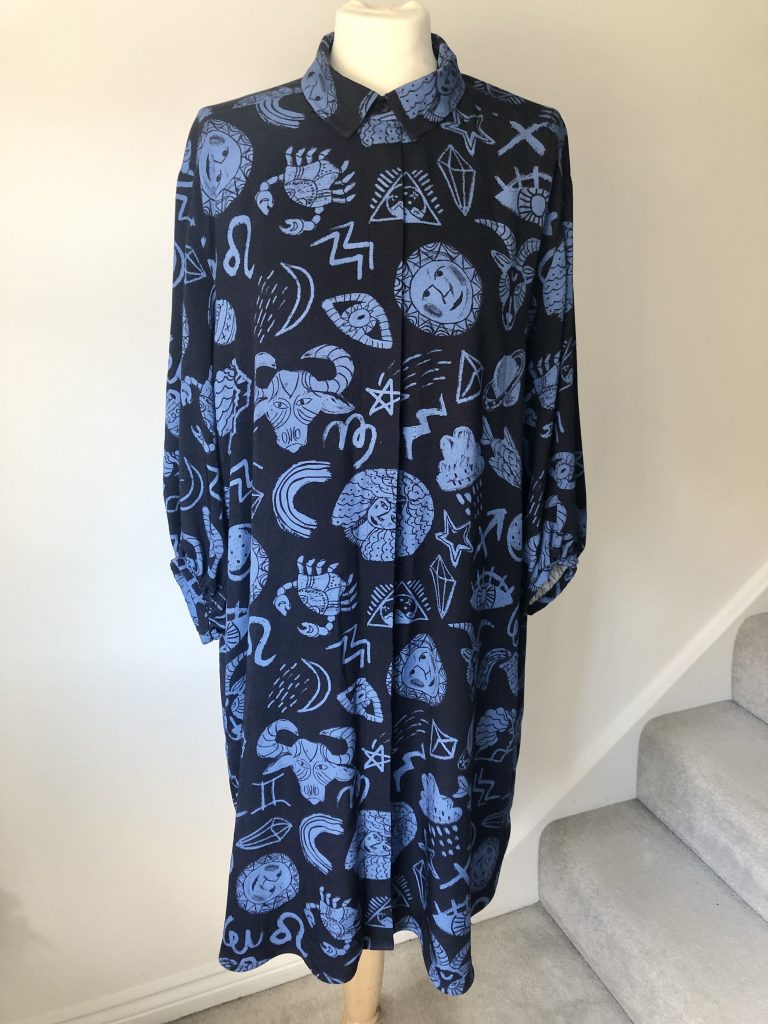
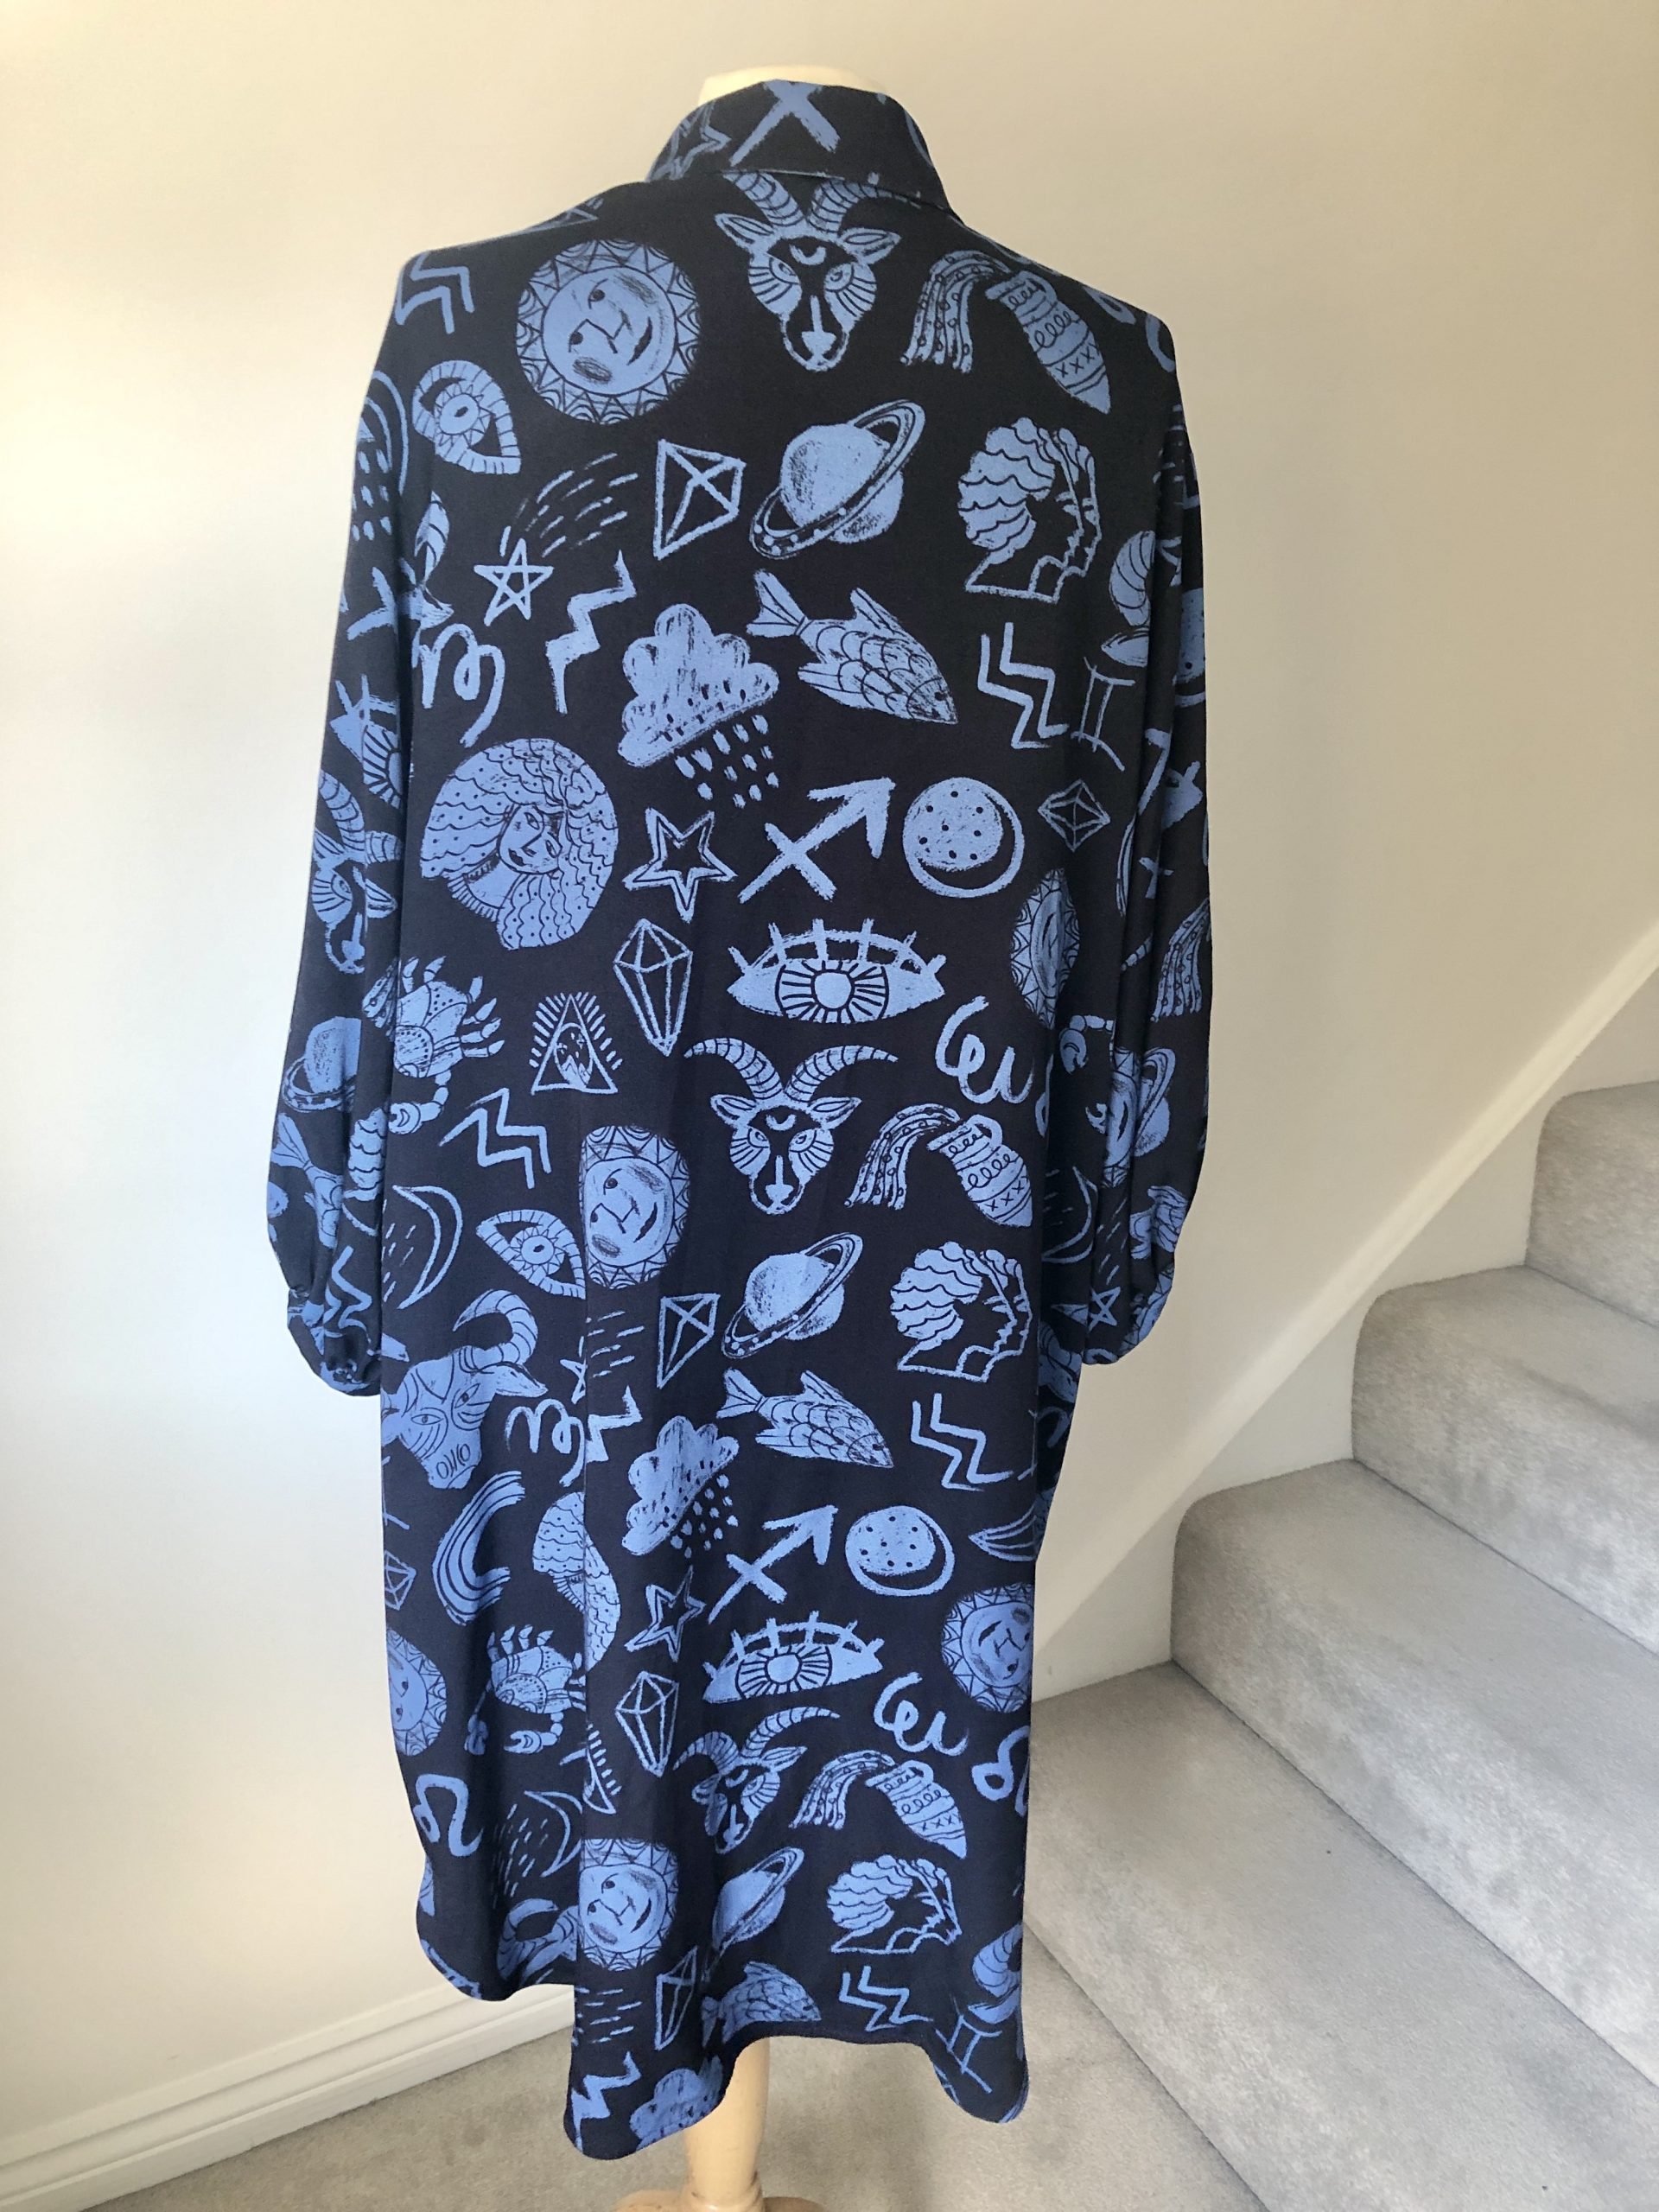
I was asked to make the Filippa Shirt Dress for Josie at Fabric Godmother for the September 2021 Fabric Godmother Dream Wardrobe Subscription Box.
The pattern is by Fibre Mood and is available in sizes XS to XXXL.
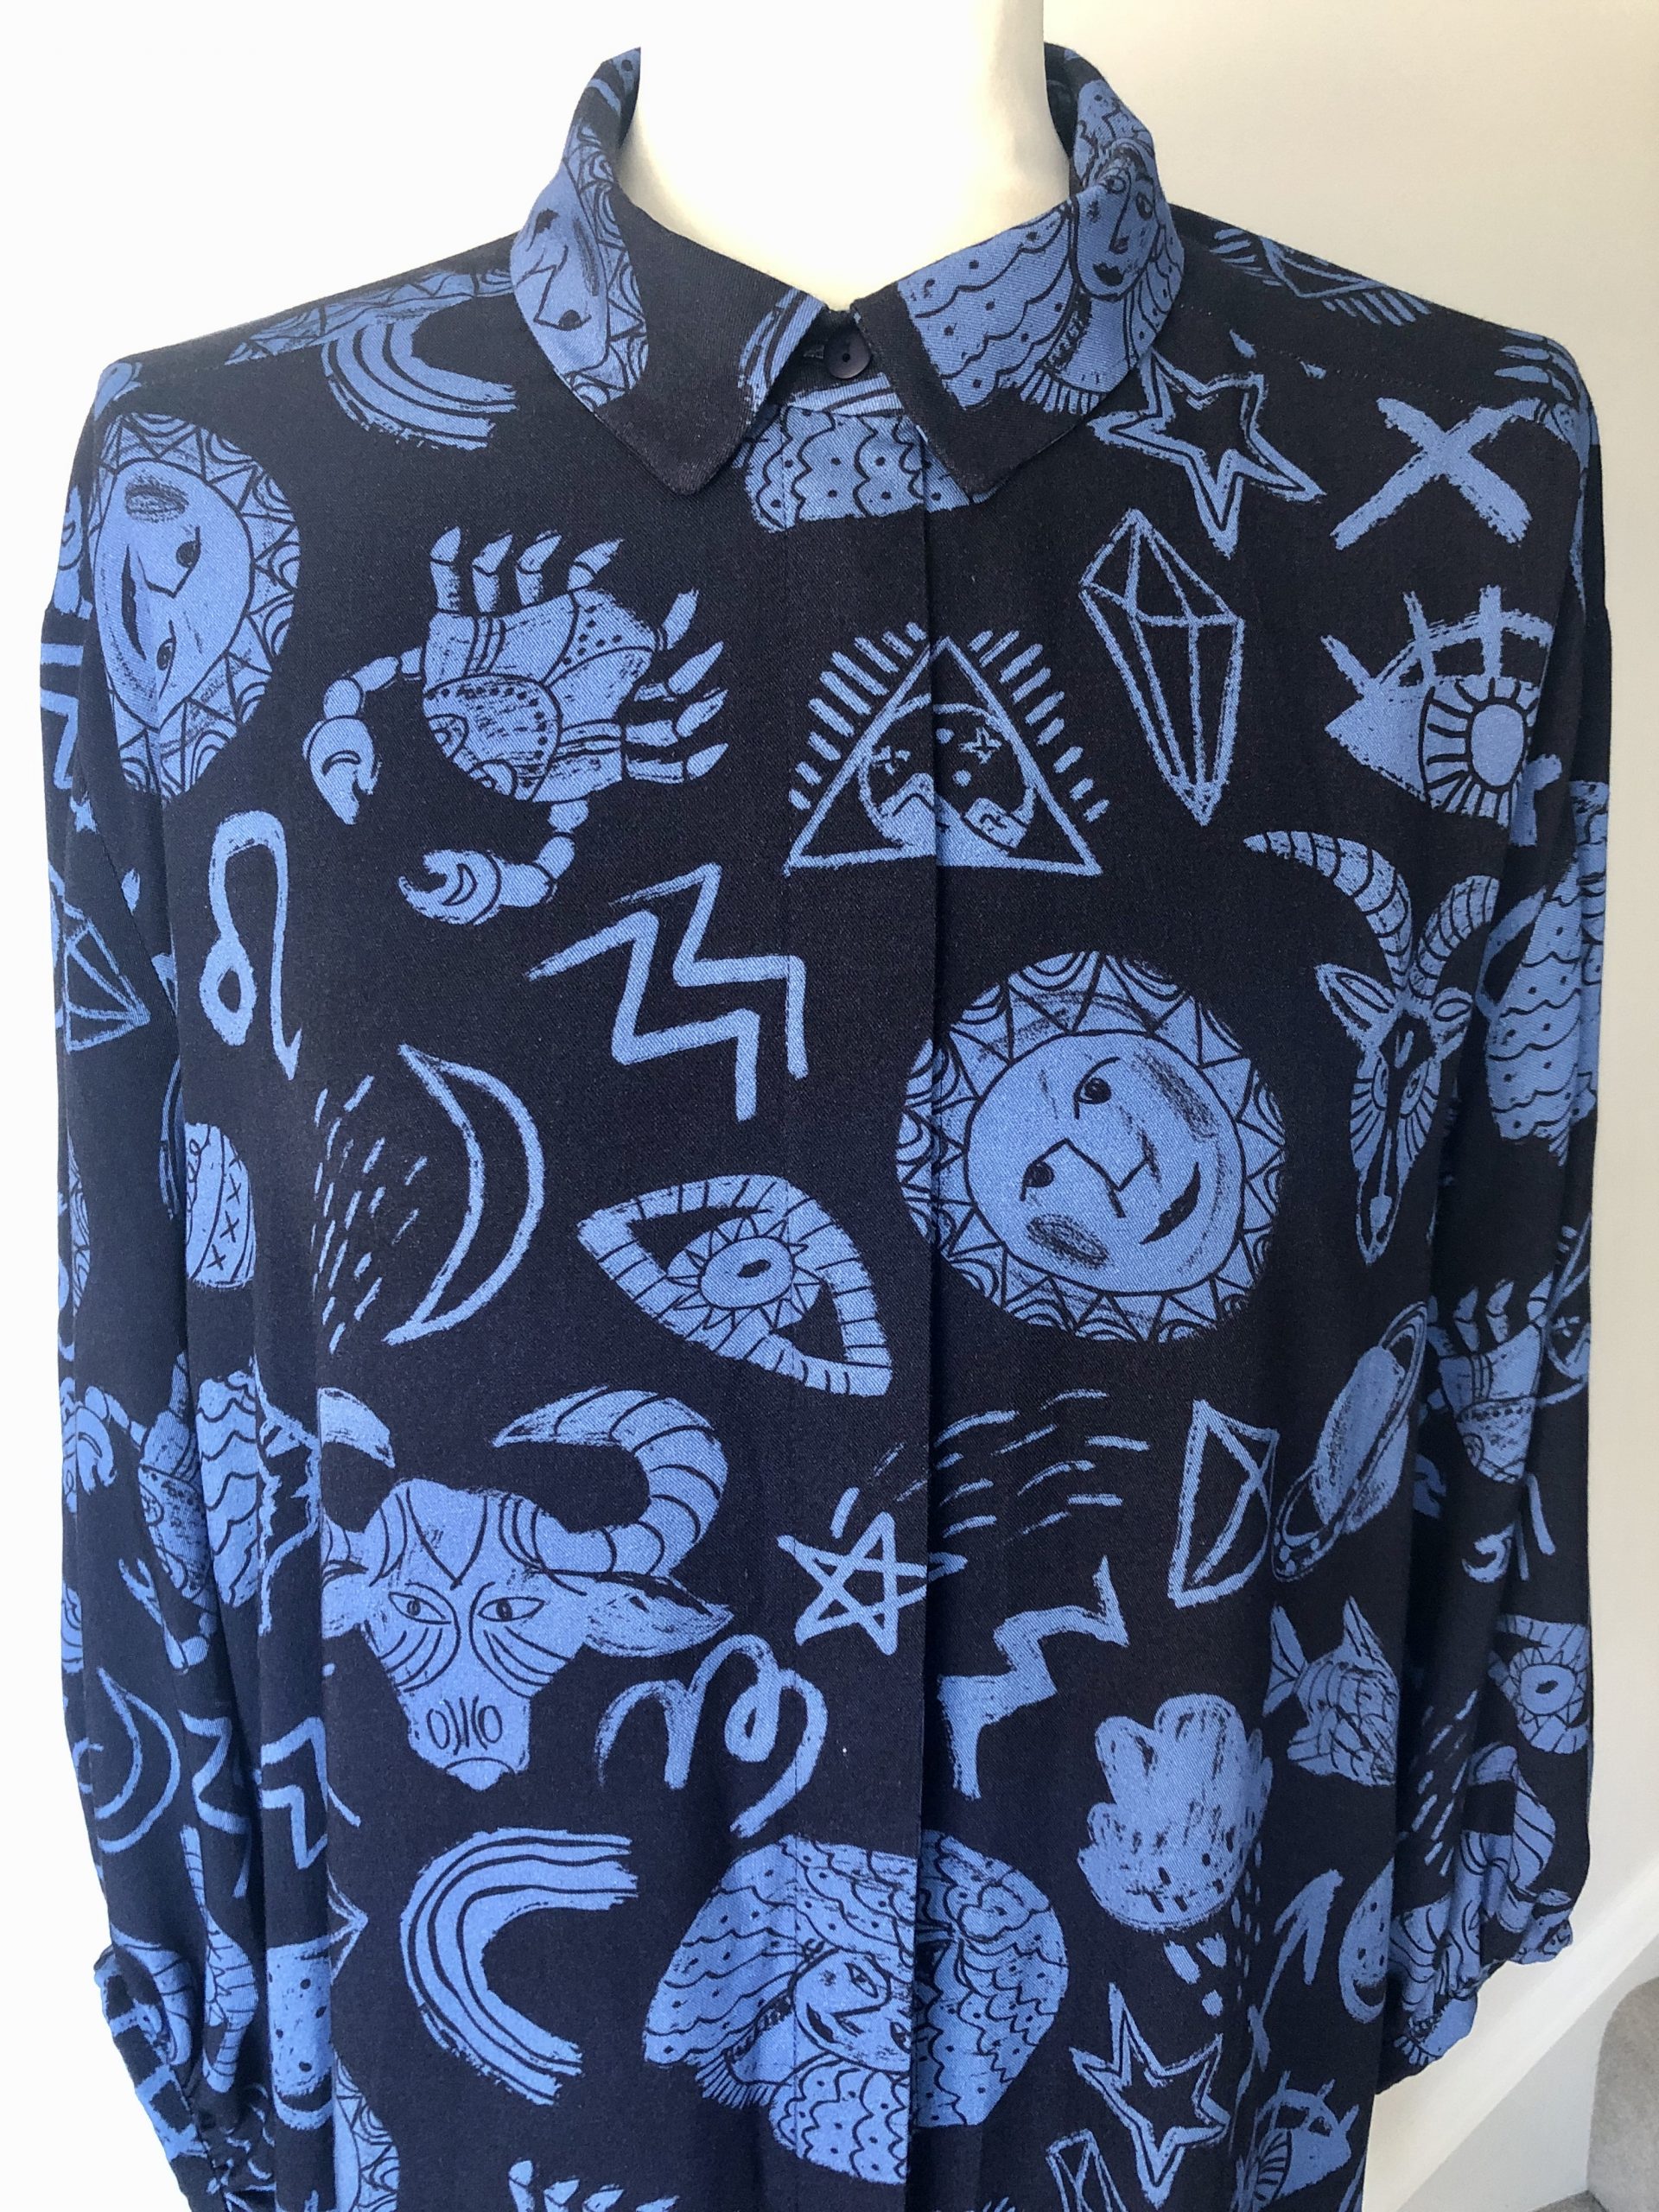
It can be worn as a loose oversized shirt dress, or with a belt.
I’ve made this using a new viscose fabric from Fabric Godmother. It’s so new it’s not even made it to the website yet!
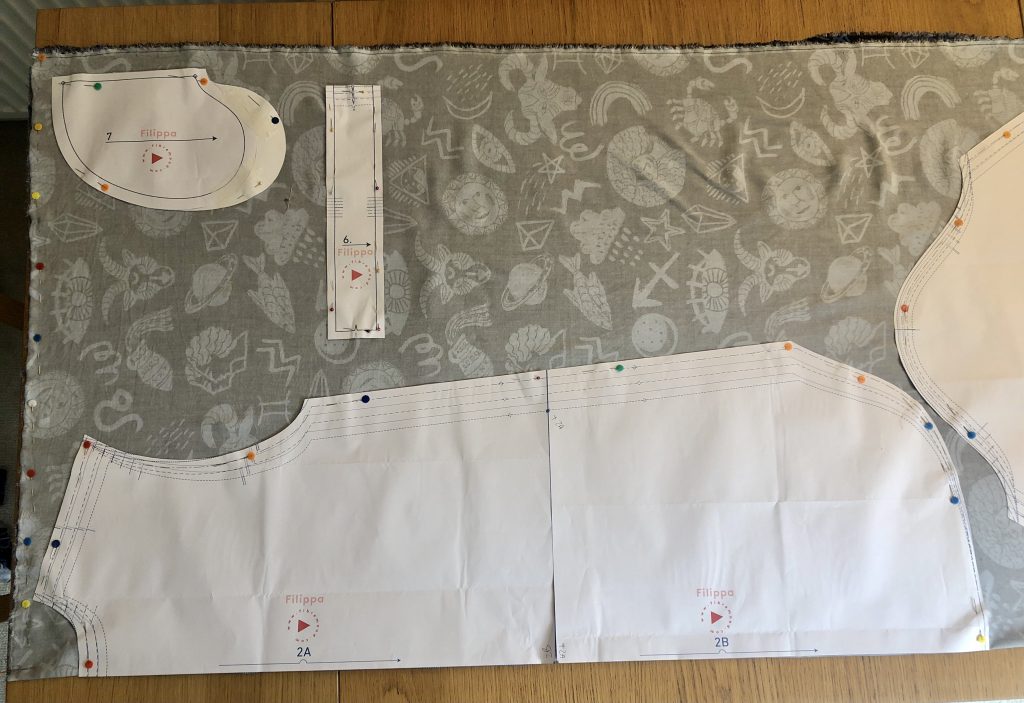
Cutting Out the Pattern
Check your pattern to see if this includes seam allowance. The packaged versions of the pattern don’t include this but the PDF versions do.
I used a PDF printed pattern which includes 1cm (3/8”) seam allowance on all pieces except the pockets, lower edge of the front and back, and the bias binding strips. The pockets have a 1.5cm (5/8”) seam allowance and the lower edge of the shirt has a 0.5cm (scant ¼”) seam allowance. Refer to the diagram on page 4 of the instructions for more details.
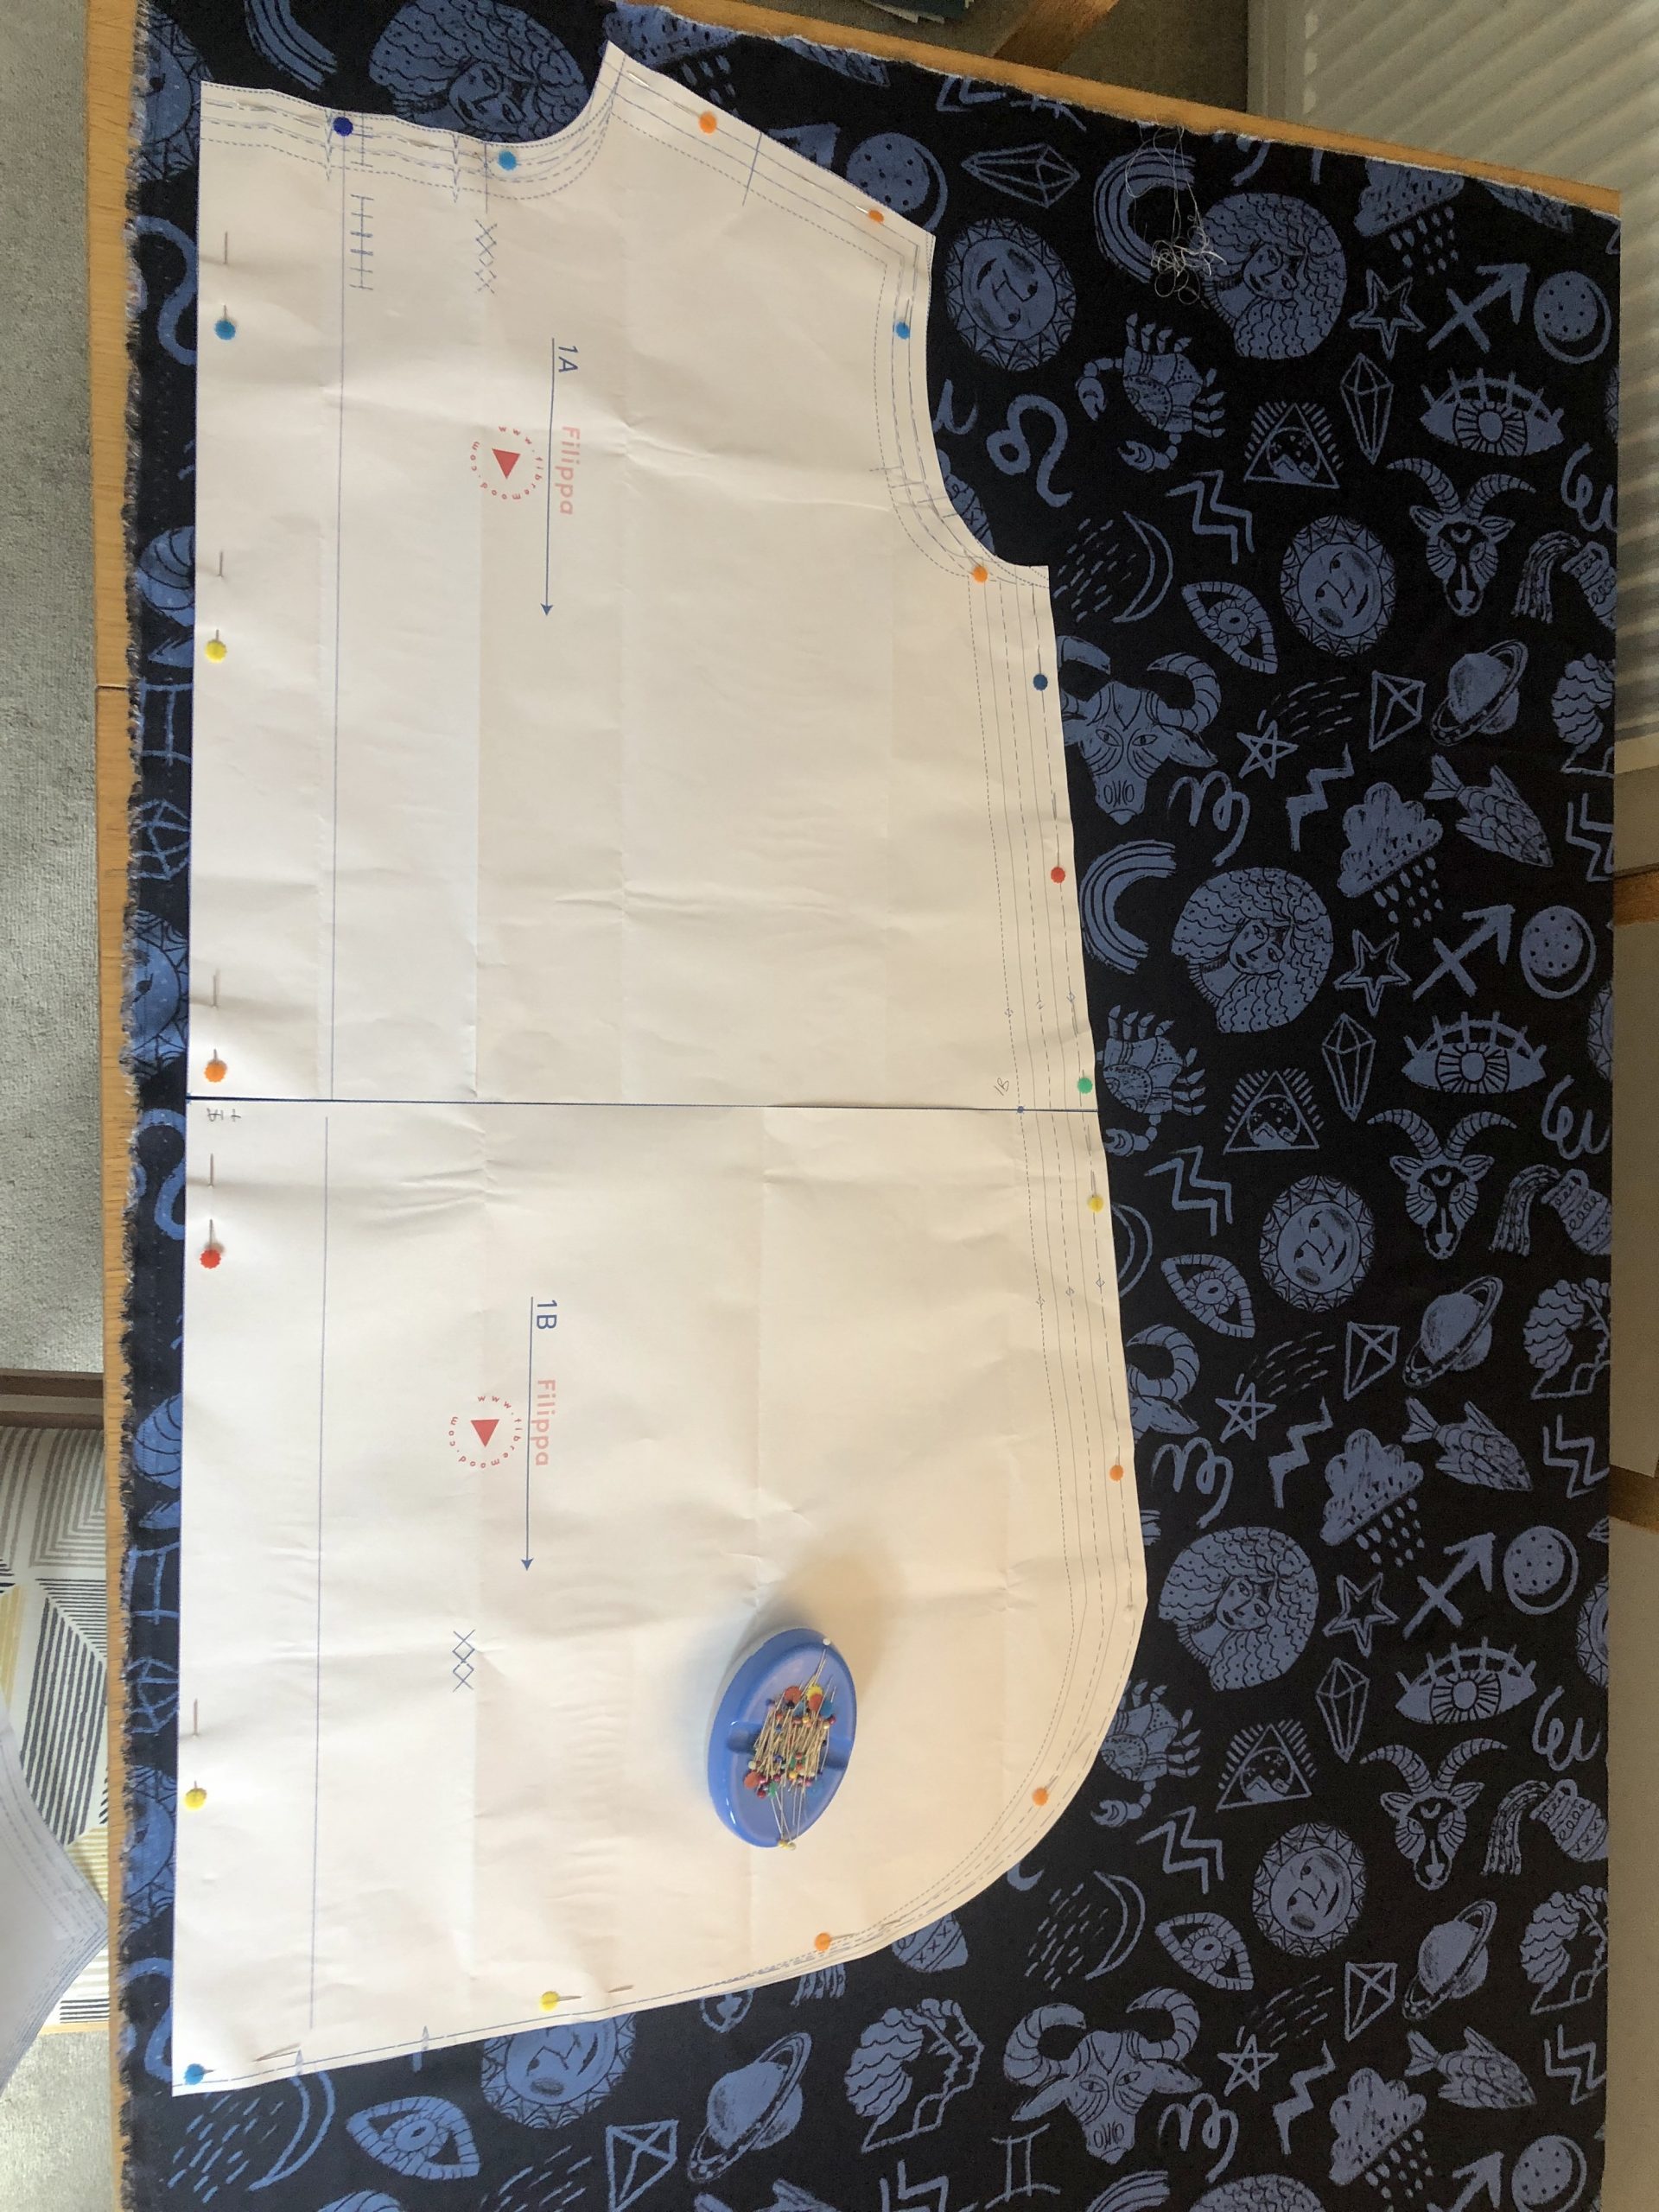
Before you start cutting the fabric you’ll need to attach pieces 1A and 1B, and 2A and 2B together to create the full length of the front and back pieces 1 and 2.
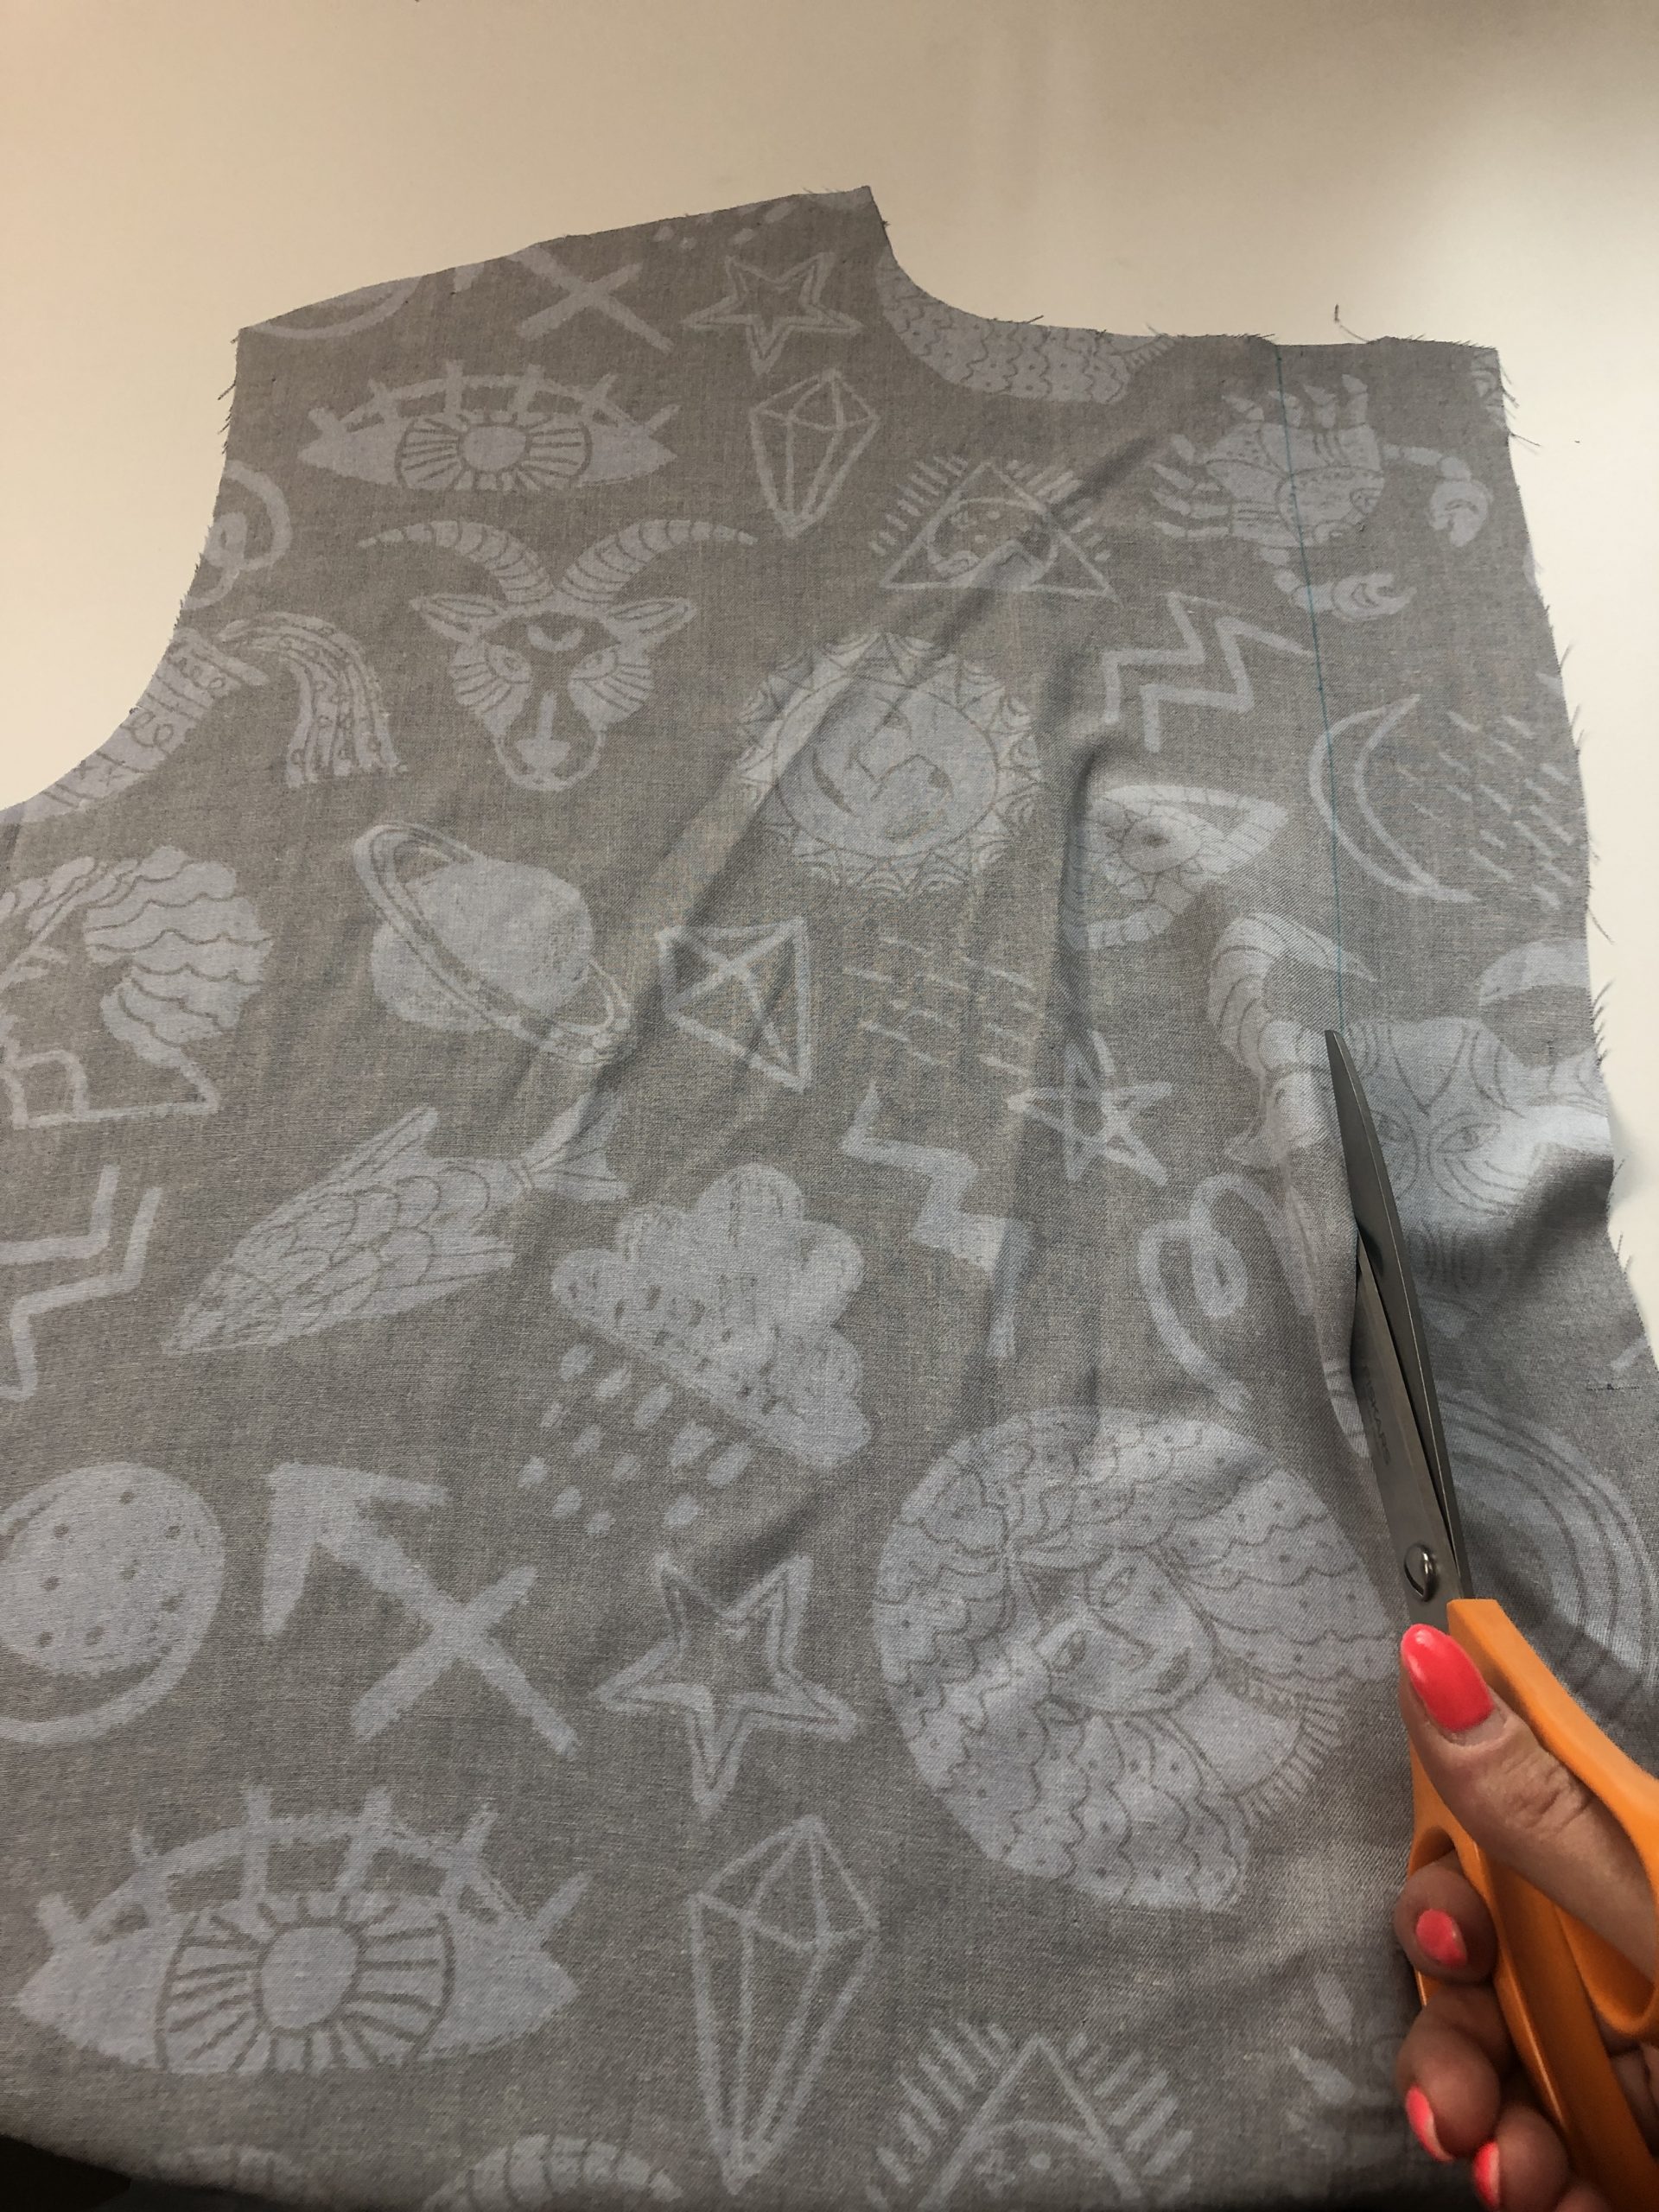
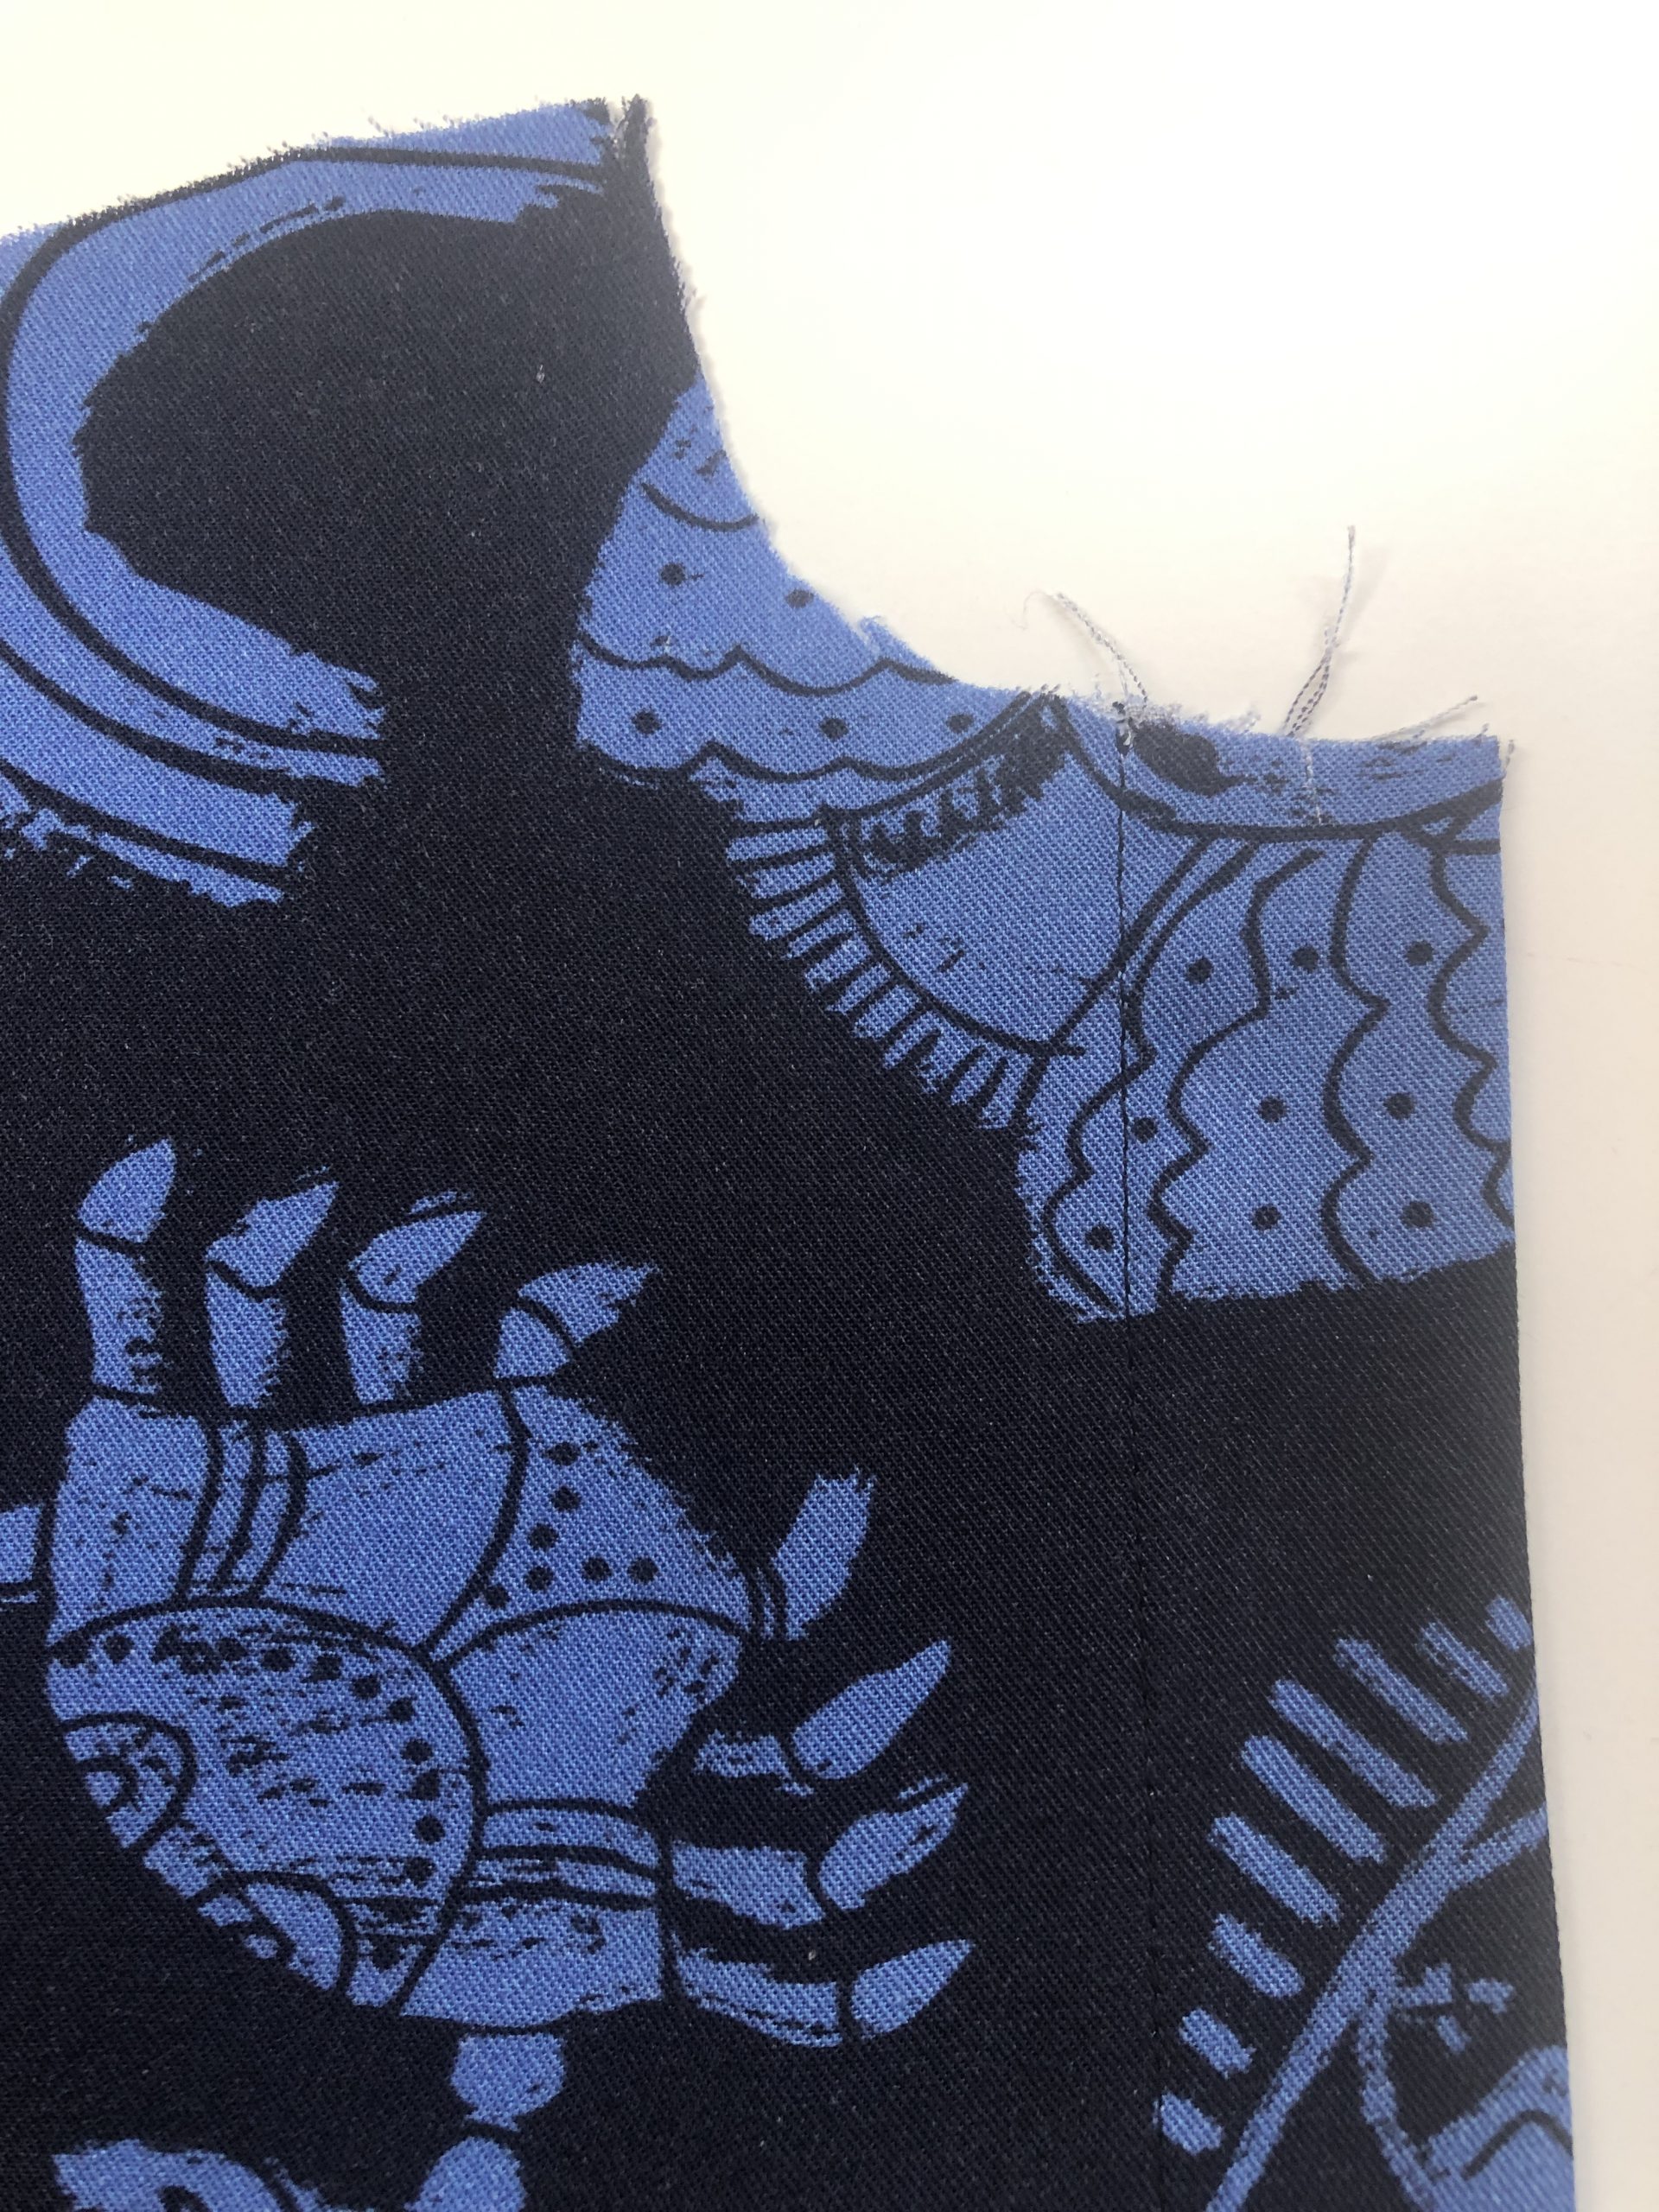
Follow the cutting layout for the suggested way to fit all the pieces onto the fabric. I decided to pattern match the centre front of the shirt as the pattern print is so large. I’ve explained how to do this a little further below. If you want to pattern match, you’ll need to cut each front pattern piece from a single layer of fabric.

This pattern uses an arrow with a kink in the middle to indicate pieces that should be cut on the fold.
Usually an angled double headed arrow shows when a piece to be placed on the fold on most patterns, so be aware of this and check you place pieces 2 (Back), 4 (Collar) and 5 (Collar stand) on the fold.
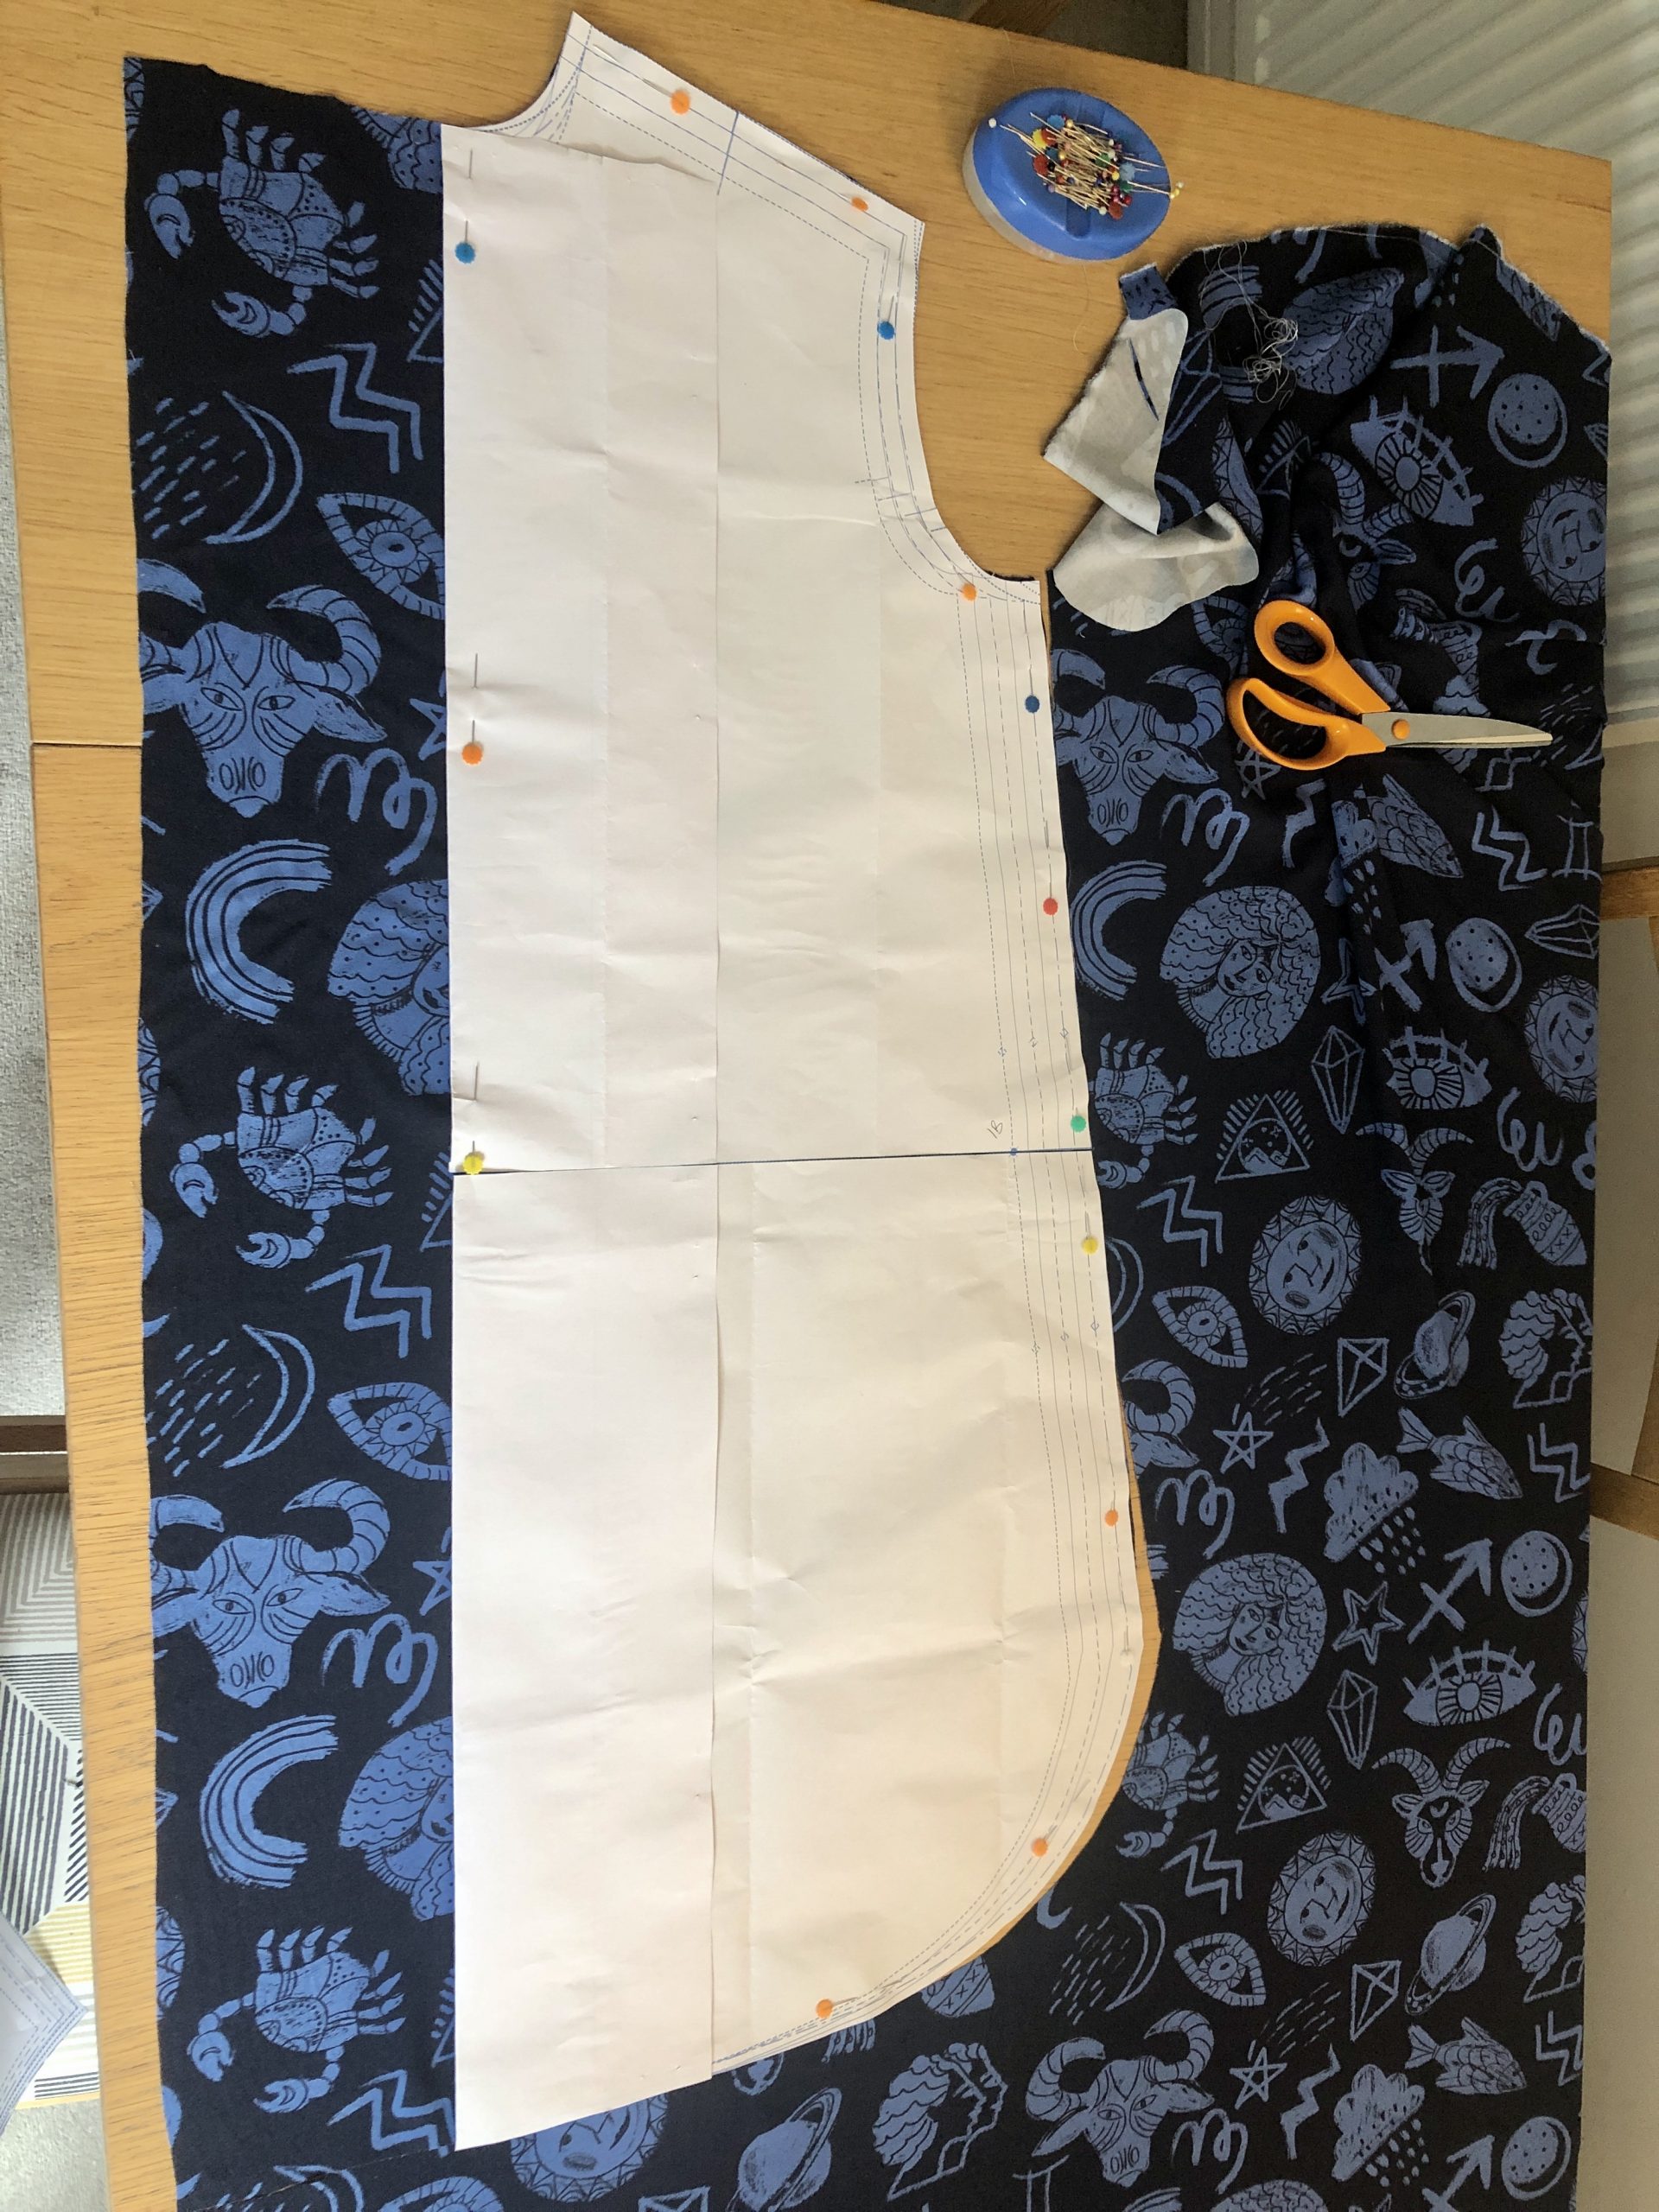
You’ll see in the image above that I’ve extended the size of the pocket to make it a little deeper.

I made a size M and managed to fit my sleeve pattern on the folded piece of fabric so I could cut two sleeves out in one go.
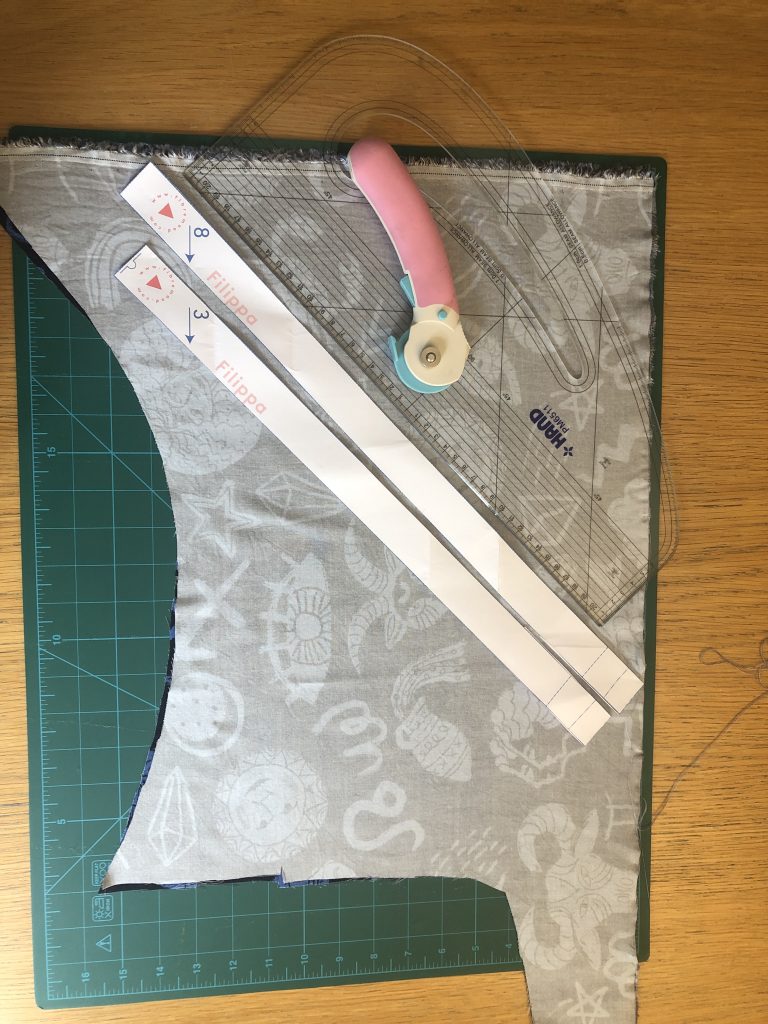
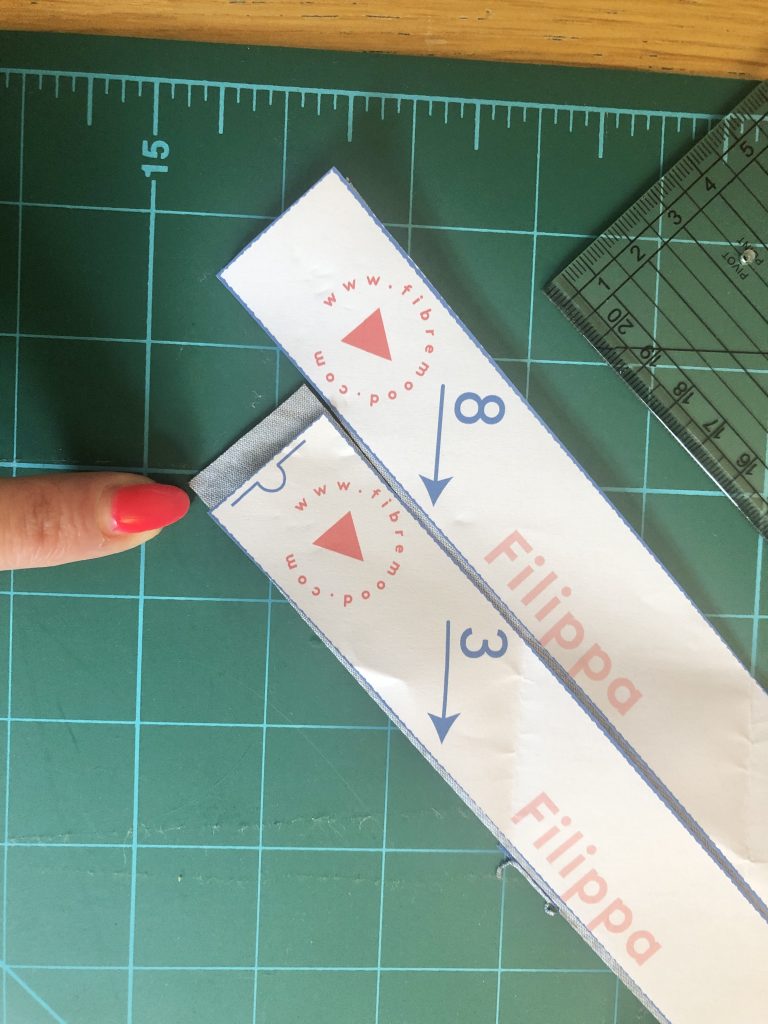
I also decided to cut the bias strips from some offcuts, rather than cutting into more of the unused fabric. I cut the bias binding strip for the back hem facing as 2 pieces and added an extra 6mm (1/4”) to make a small seam which could be matched to the centre back.
As the fabric is rather slippery, I used a cutting mat and rotary cutter to cut out the bias binding strips.
You can substitute the bias strips cut from fabric with shop bought pre-folded bias binding.
Pattern Matching the Centre Front
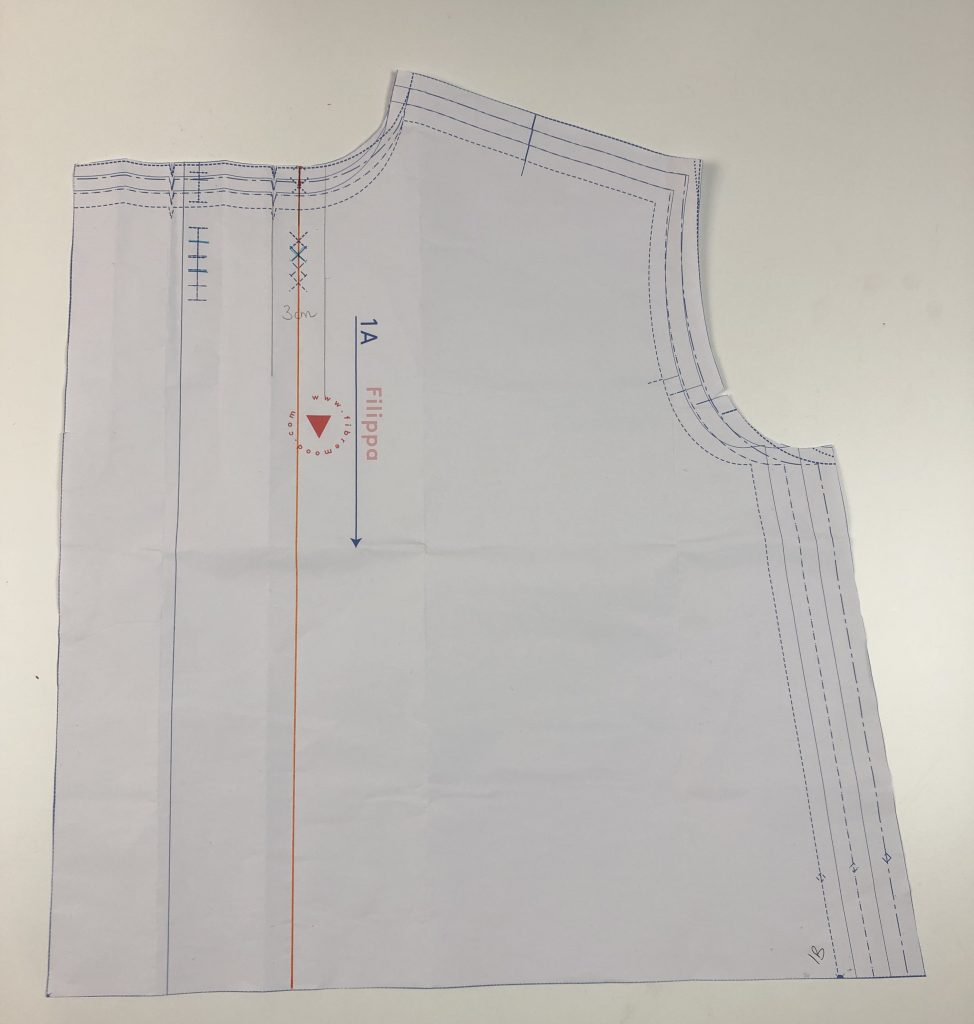
To pattern match the centre front of the shirt dress, make sure you know where the centre front lies on the pattern.
The centre front is the line where the buttons are placed. This is indicated by a series of Xs approximately 13.2cm (5 1/4″) from the left side of piece 1A.
I’ve drawn a line in orange so you can see this more clearly. I’ve also made a crease in my pattern paper along this line.
Lay the pattern onto a single layer of fabric. I start with both the fabric and the pattern with the right side facing me.
You may want to consider the placement of the pattern on the front, for example if you want to avoid having the big smiley face over one of your boobs. I didn’t do this and just pinned and hoped for the best.
I’ve not marked the orange line in the photos above but you can see where the Xs are for the buttons.
You can also see in the image above where I’ve joined pieces 1A and 1B.
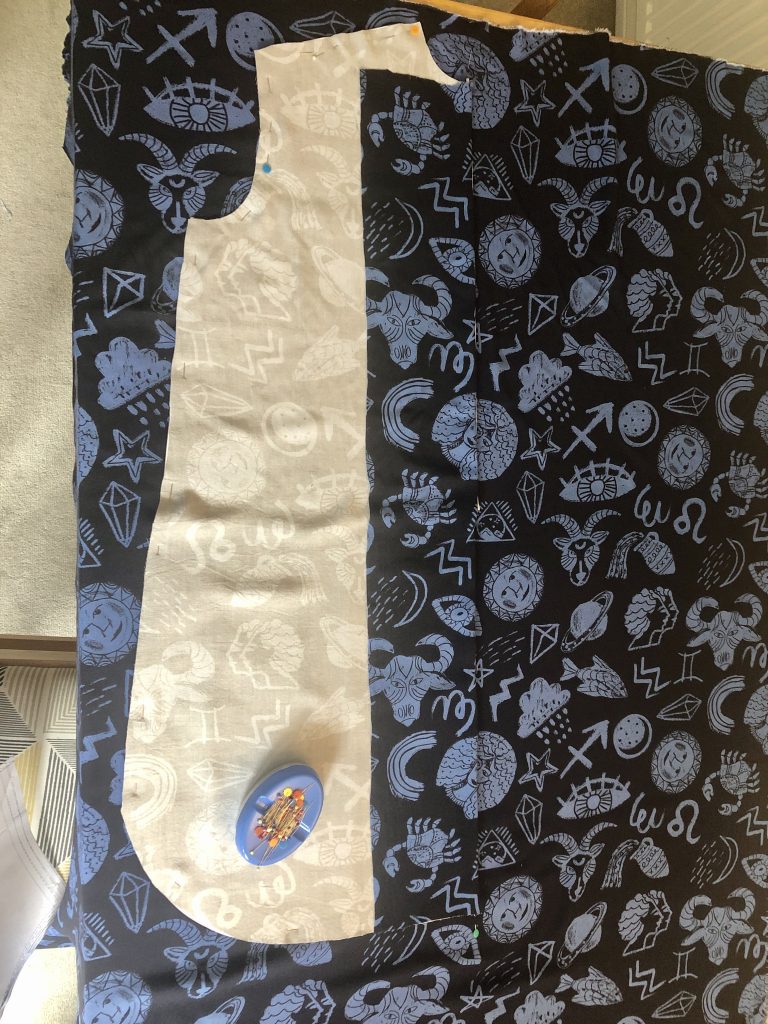
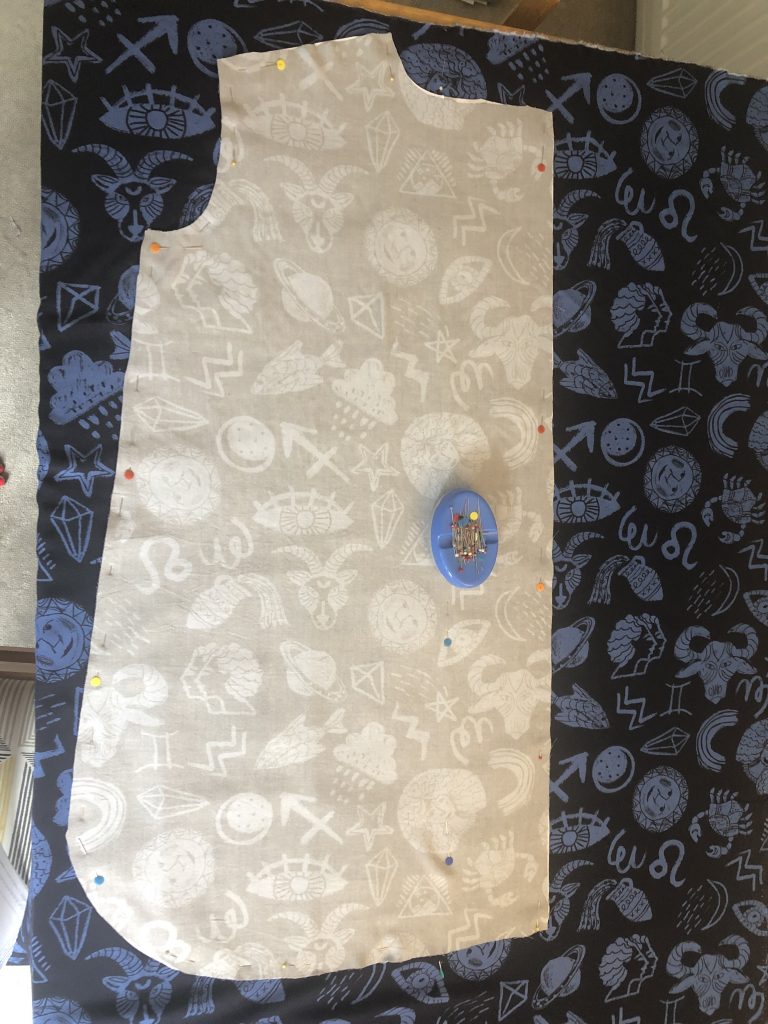
Once you’ve pinned the pattern in place, cut out the fabric.
Unpin the section of pattern on the left side from the centre front line, around the section which will form the placket, back to the centre front line at the bottom of the pattern.
Then fold the patten piece along the centre front line, folding only the paper as you can see in the image below. Pin this in place close to the folded edge.
Keeping all the pins in the fabric and paper, turn the piece of fabric and paper upside down and place the cut out fabric piece and the pattern paper face down onto a single layer of fabric, so the right sides of the fabric are facing each other.
Where the fabric isn’t pinned to the paper pattern at the front opening edge, fold this strip of fabric back. You’re folding the fabric along the centre front and bringing the wrong sides of the fabric together.
Place the pattern piece so that the pattern on the fabric matches and is aligned across the centre front (where you’ve folded the fabric and paper.)
You can see this in the image below.
Once you’re happy with your placement, pin the fabric in place, pinning through the top layer of fabric, pattern piece, and layer of fabric below.
Pin the left side of the pattern first, along the lower edge and up the side, then unfold the fabric at the centre front line and pin this so the two fabric layers are facing each other.
Then cut out the fabric.
Transferring pattern markings
The seam allowance is 1cm, so cut just a tiny snip for notches.
Make sure to transfer the markings around the sleeve and armholes so you can match these pieces together correctly.
There are 2 markings on the back armhole to notch into the fabric as the centre notch at the sleeve head does not match to the shoulder seam.
Make a small notch on the back and front pieces to indicate the position of the pockets.
Making up the garment
I used a size 80/12 needle as the fabric is lightweight. Make sure to use a fresh (ish) needle as this fabric will easily be snagged by a blunt needle.
If you need to do any unpicking on this project be really careful with your quick unpick tool. It’s easy to accidentally pick up a fabric thread instead of the sewing thread and create a pull.
I created a couple of slight pulls when cutting the buttonholes so be careful.
Interfacing
The instructions state to apply interfacing to one collar piece and both collar band pieces. I decided to apply interfacing to all the collar pieces to give a little more stability and firmness. I used the lightweight interfacing in charcoal which is sold by Fabric Godmother.
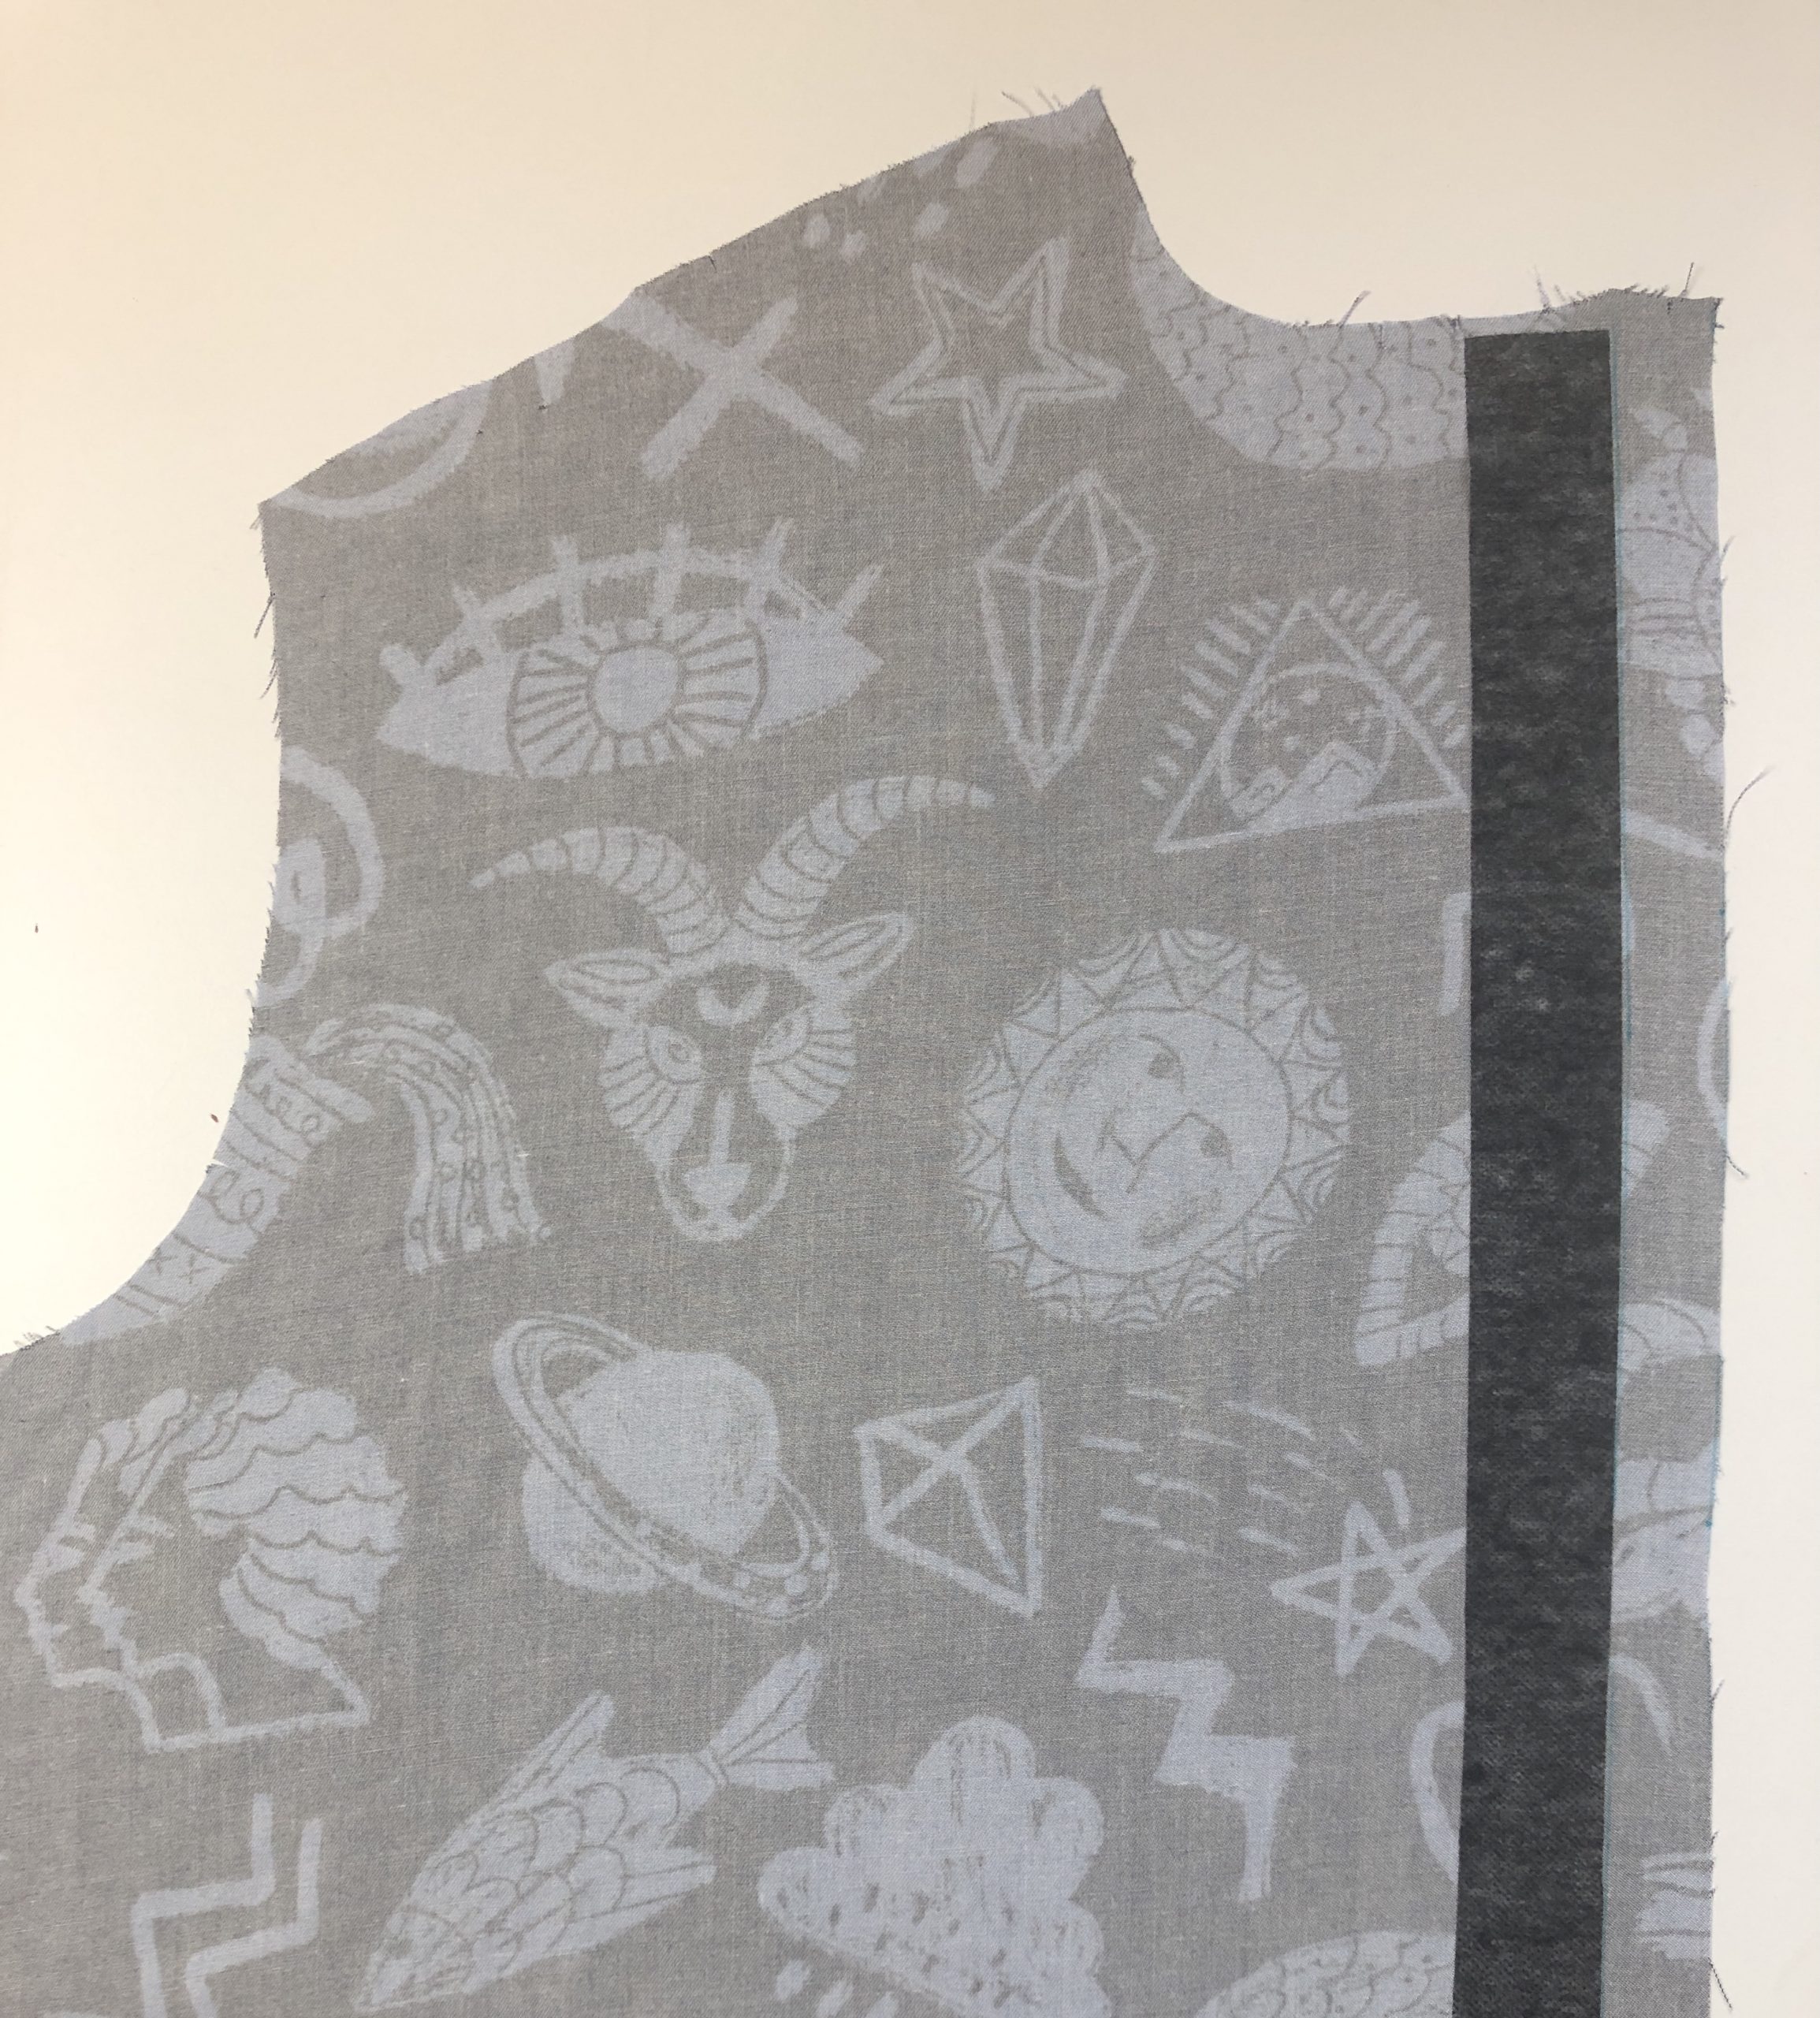
I also applied strips of interfacing to each of the front pieces to sit behind the buttonholes and buttons. I cut two strips the length of the front and 3cm wide. I used a rotary cutter and cutting mat to keep these perfectly sized.
I’ve included some images below showing where to apply the interfacing.
Creating the buttonstand
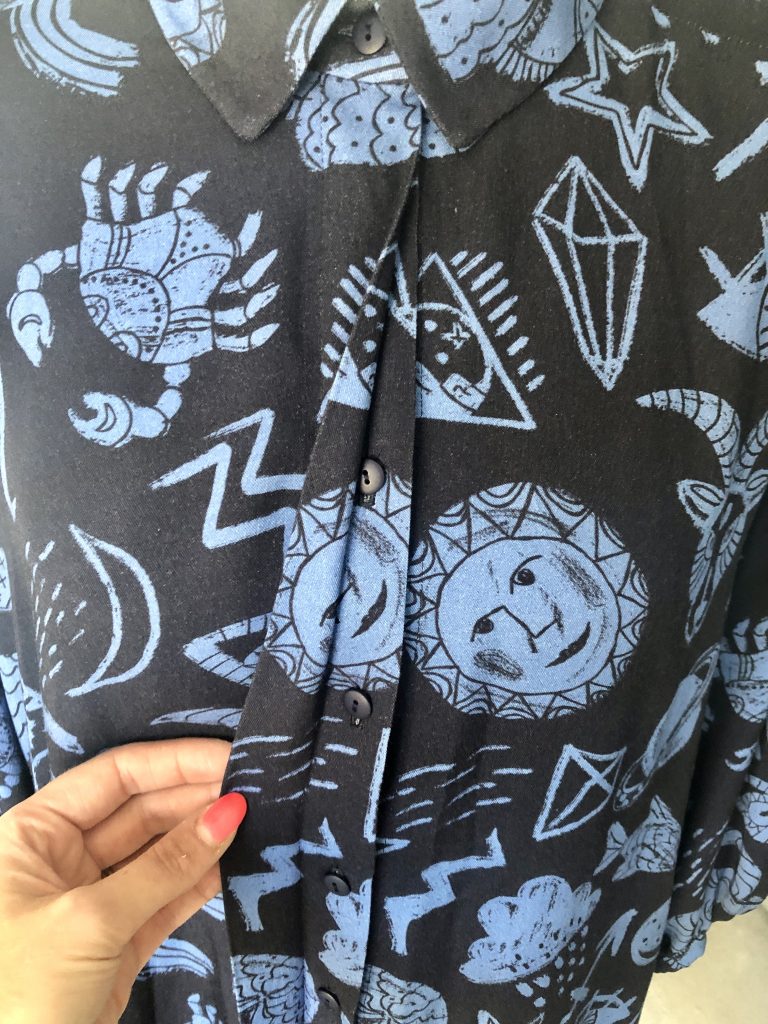
This shirt dress has a fly front, otherwise known as a concealed buttonstand or placket. This means the buttons are hidden from view when the garment is fastened.
Follow the instructions carefully on how and where to fold the front edges.
I’ve written a blog post about making this garment and also another called ‘Adding a Fly Front or Concealed Button Placket’ which provides lots of details about how to sew this and where to apply your interfacing.
I’ll take you through some of the steps for the Filippa shirt dress below.
The buttonholes and the concealed button placket will be formed on the right front, and the buttons will be on the left front. As such, you don’t need as much fabric on the left front.
First, you need to remove a section on the left front. Cut the left front piece along the bold line marked on the pattern, to the left of the buttonhole markings. You’ll be cutting off 6.5cm (2 9/16″).
Next I’ve added the strips of interfacing to stabilise the buttons.
I’ve drawn a line 2.5cm from the raw edge fo the fabric. I then applied interfacing to the left of this line.
My strip of interfacing is exactly 3cm wide which is the width of the finished buttonstand.
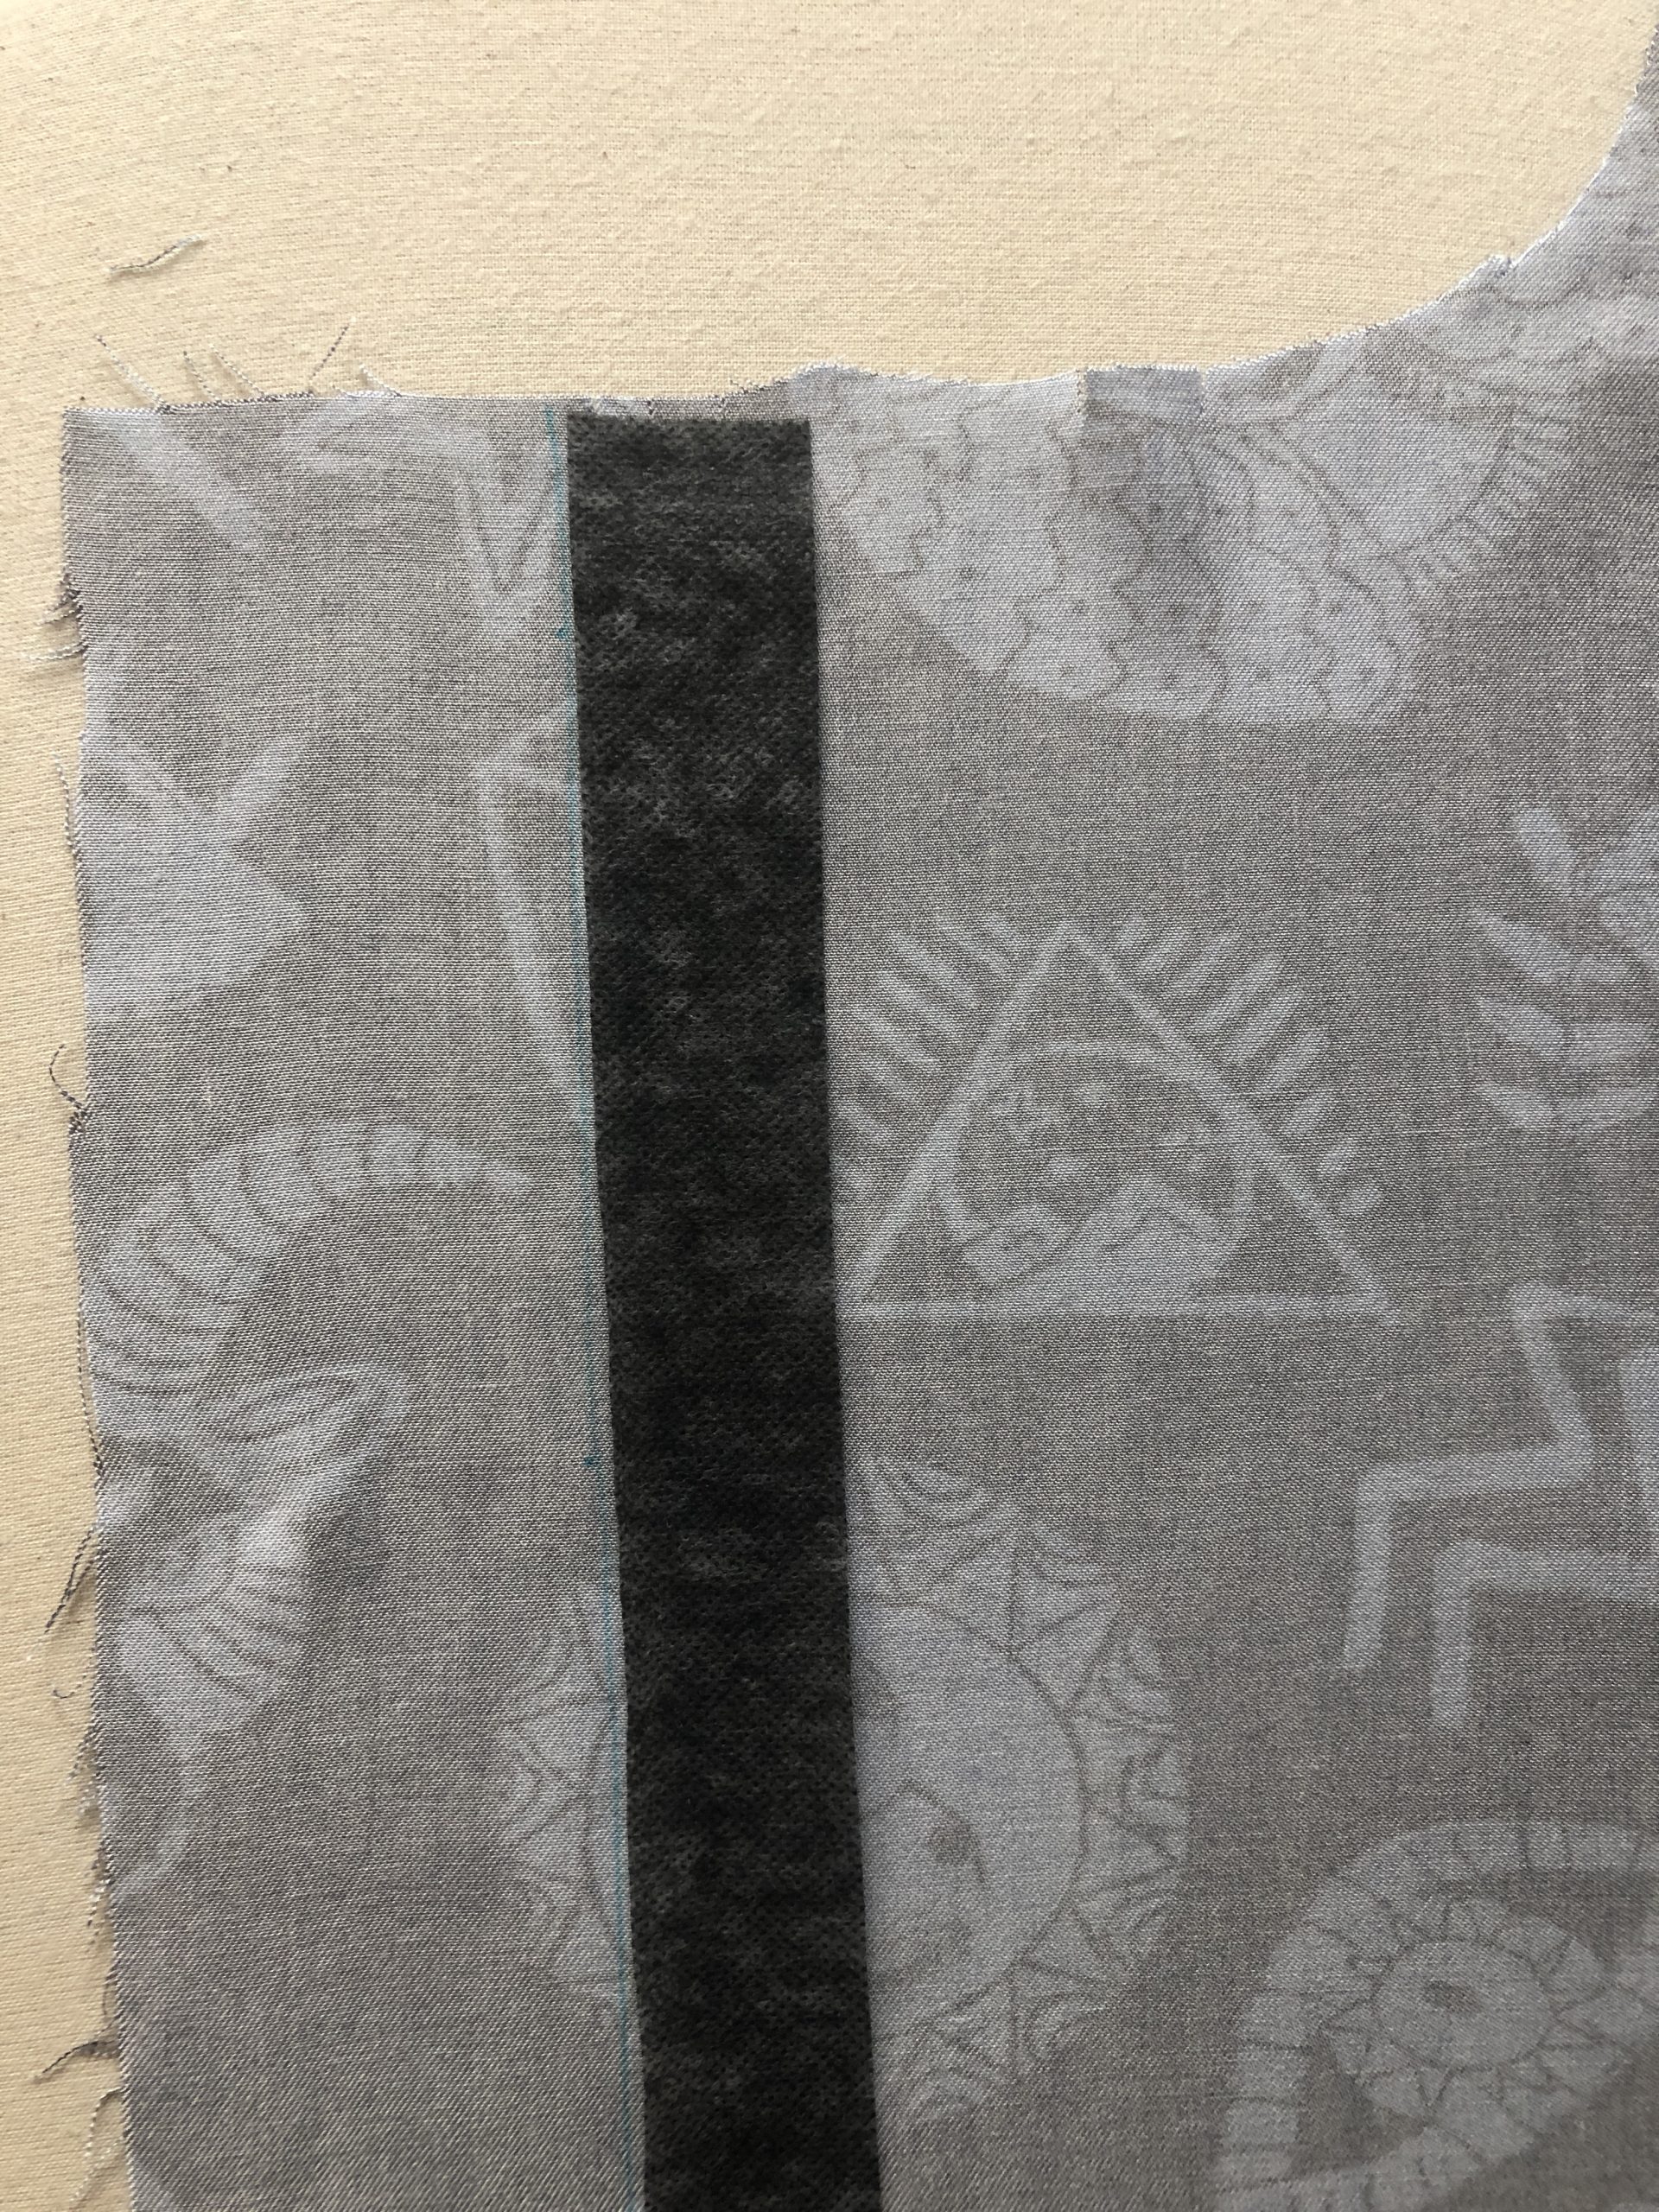
I use the interfacing as a pressing guide. The raw edge is folded over by 2.5cm, so the wrong sides of the fabric come together. I use the edge of the interfacing to help keep this correct.
The fabric is folded again by another 3cm. Again I use the edge of the interfacing as a guide.
The buttonstand is formed. This is pinned in place.
I then stitched along the inner folded edge to secure.
On the right front I’ve drawn a line 5.8cm (2 9/16) from the raw edge. I’ve applied another 3cm strip of interfacing to the right of this line.
I use the interfacing again as a pressing guide, folding the fabric along the left side of the interfacing, in line with the V notches.
The front is folded again where the next V notches are.
The folded strip is stitched 3cm away from the outer fold.
Grab hold of the folded strip to the right of the stitched line. This is where you’ll form the buttonholes.
Once the buttonholes are formed, fold the buttonhole strip along the stitching line, pressing this towards the folded edge.
You’ll find more details on how to construct the concealed placket on my other post ‘Adding a Fly Front or Concealed Button Placket.’
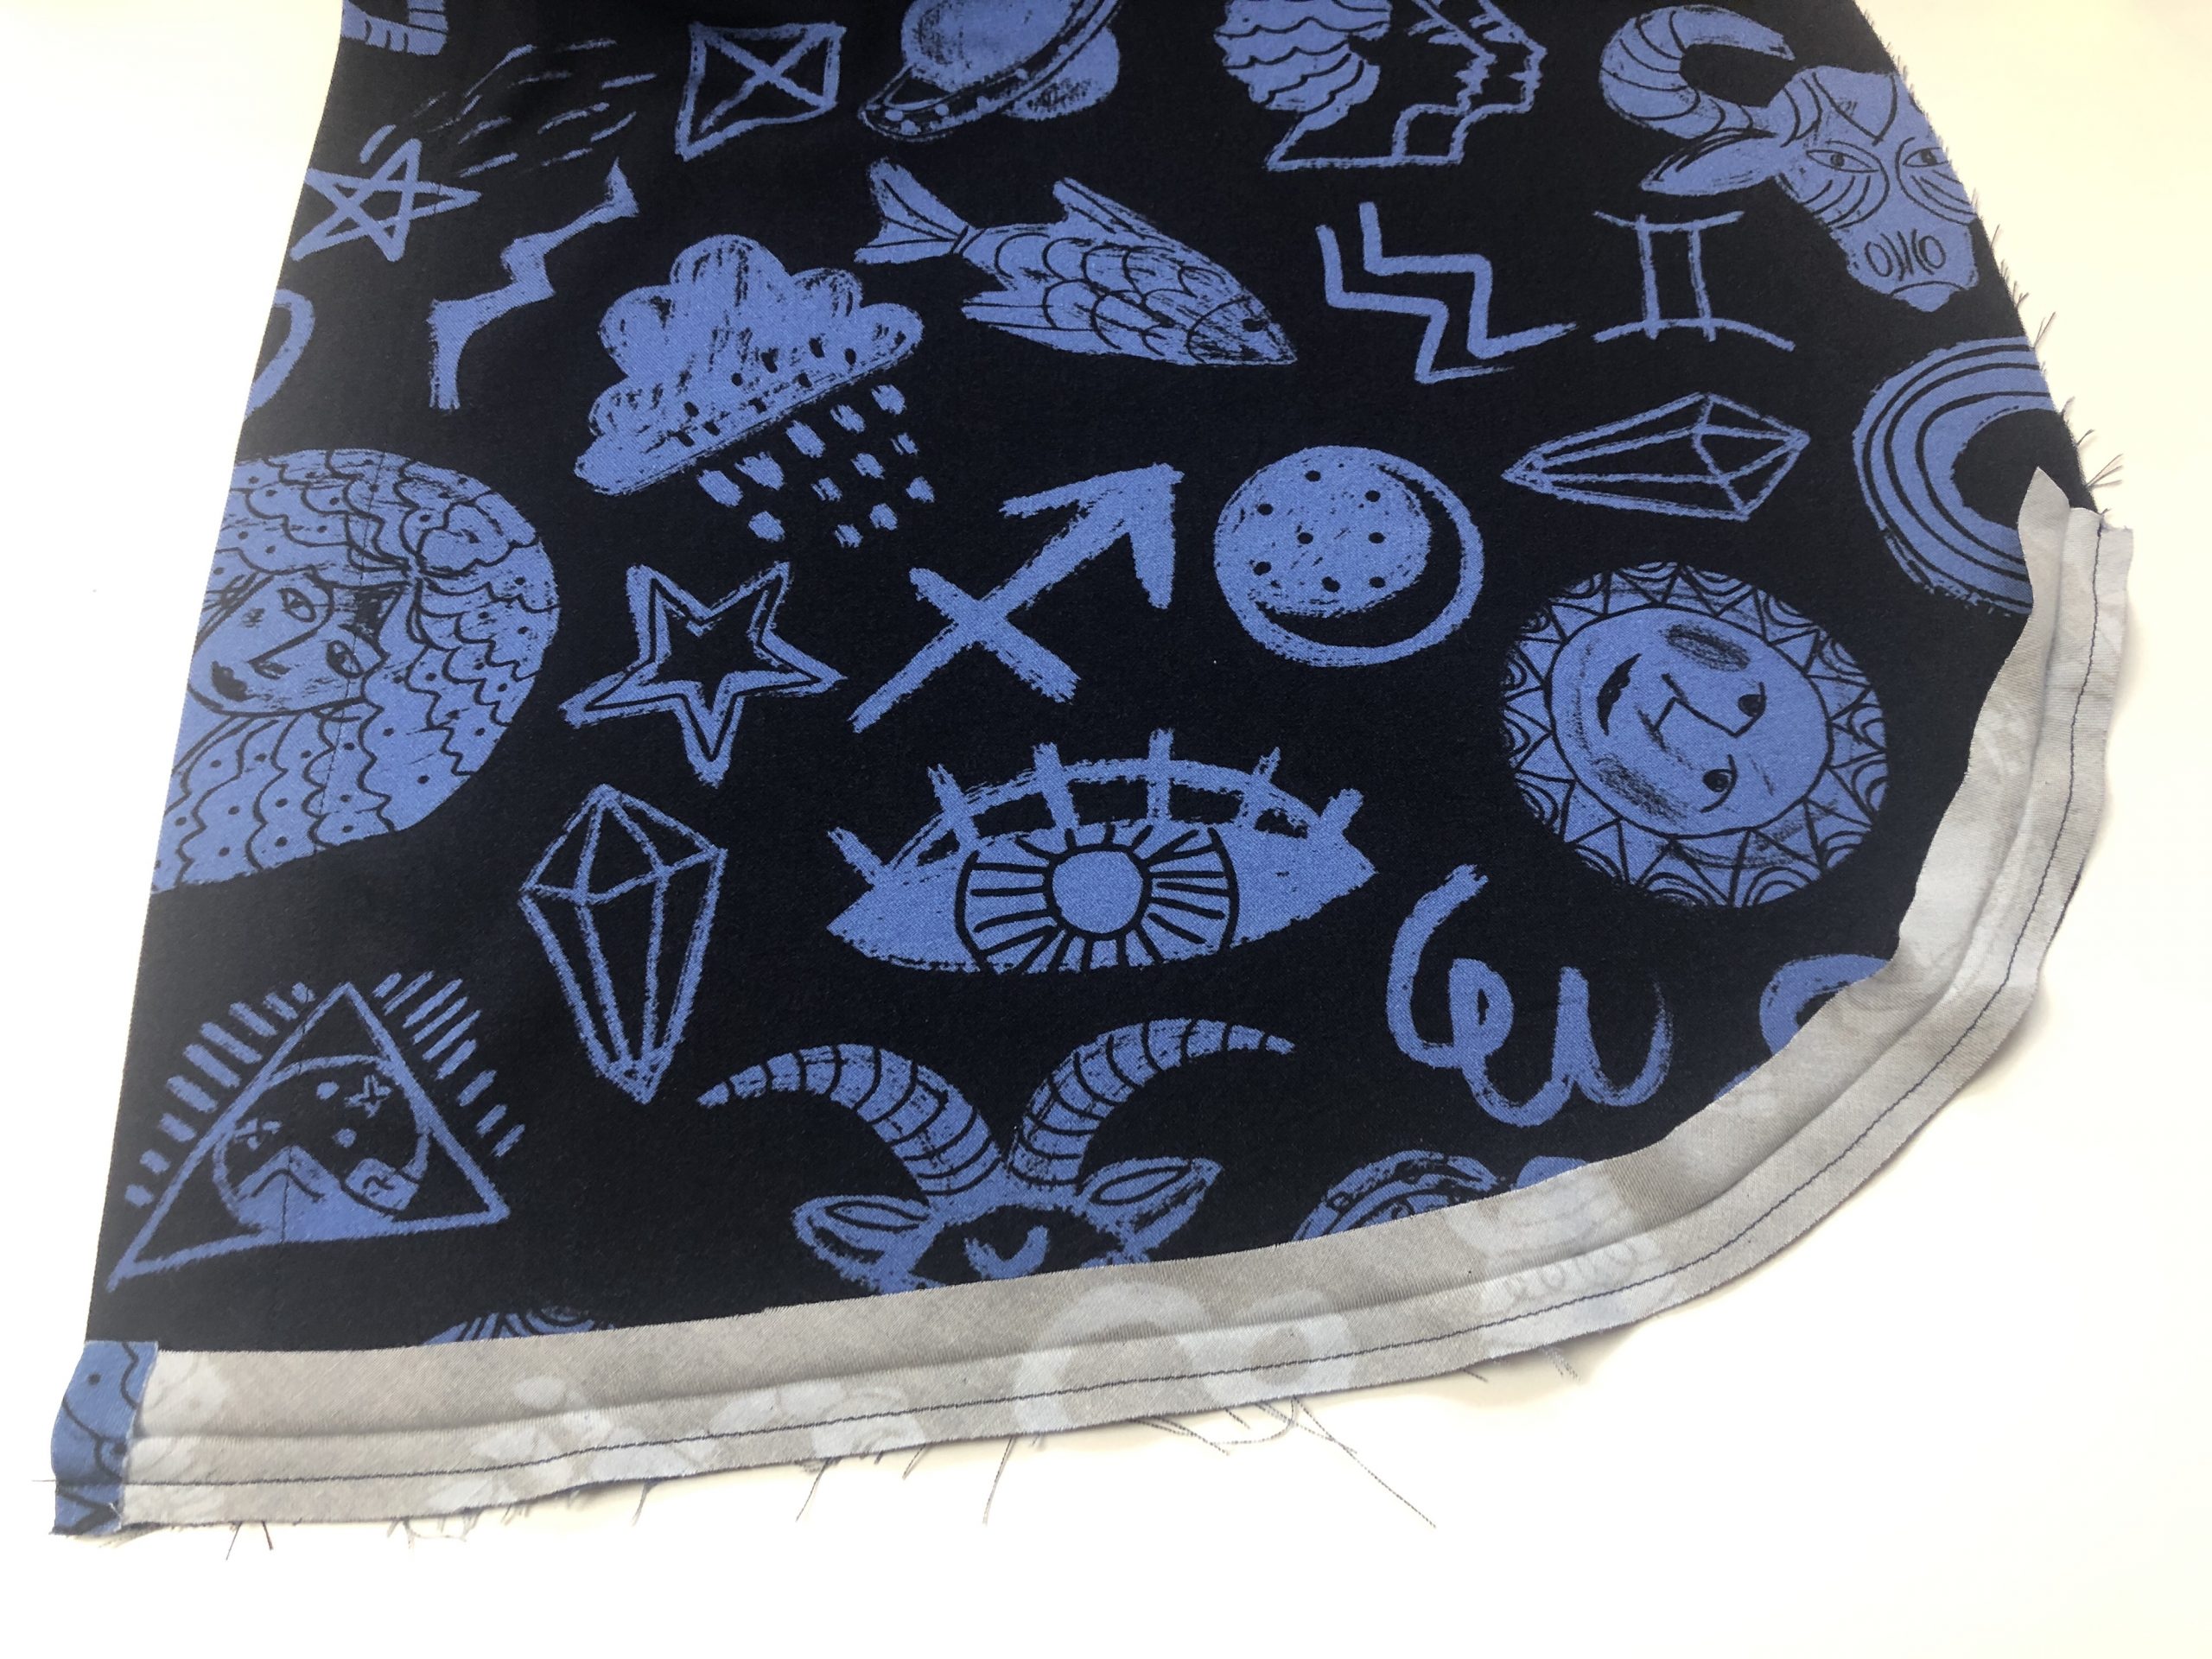
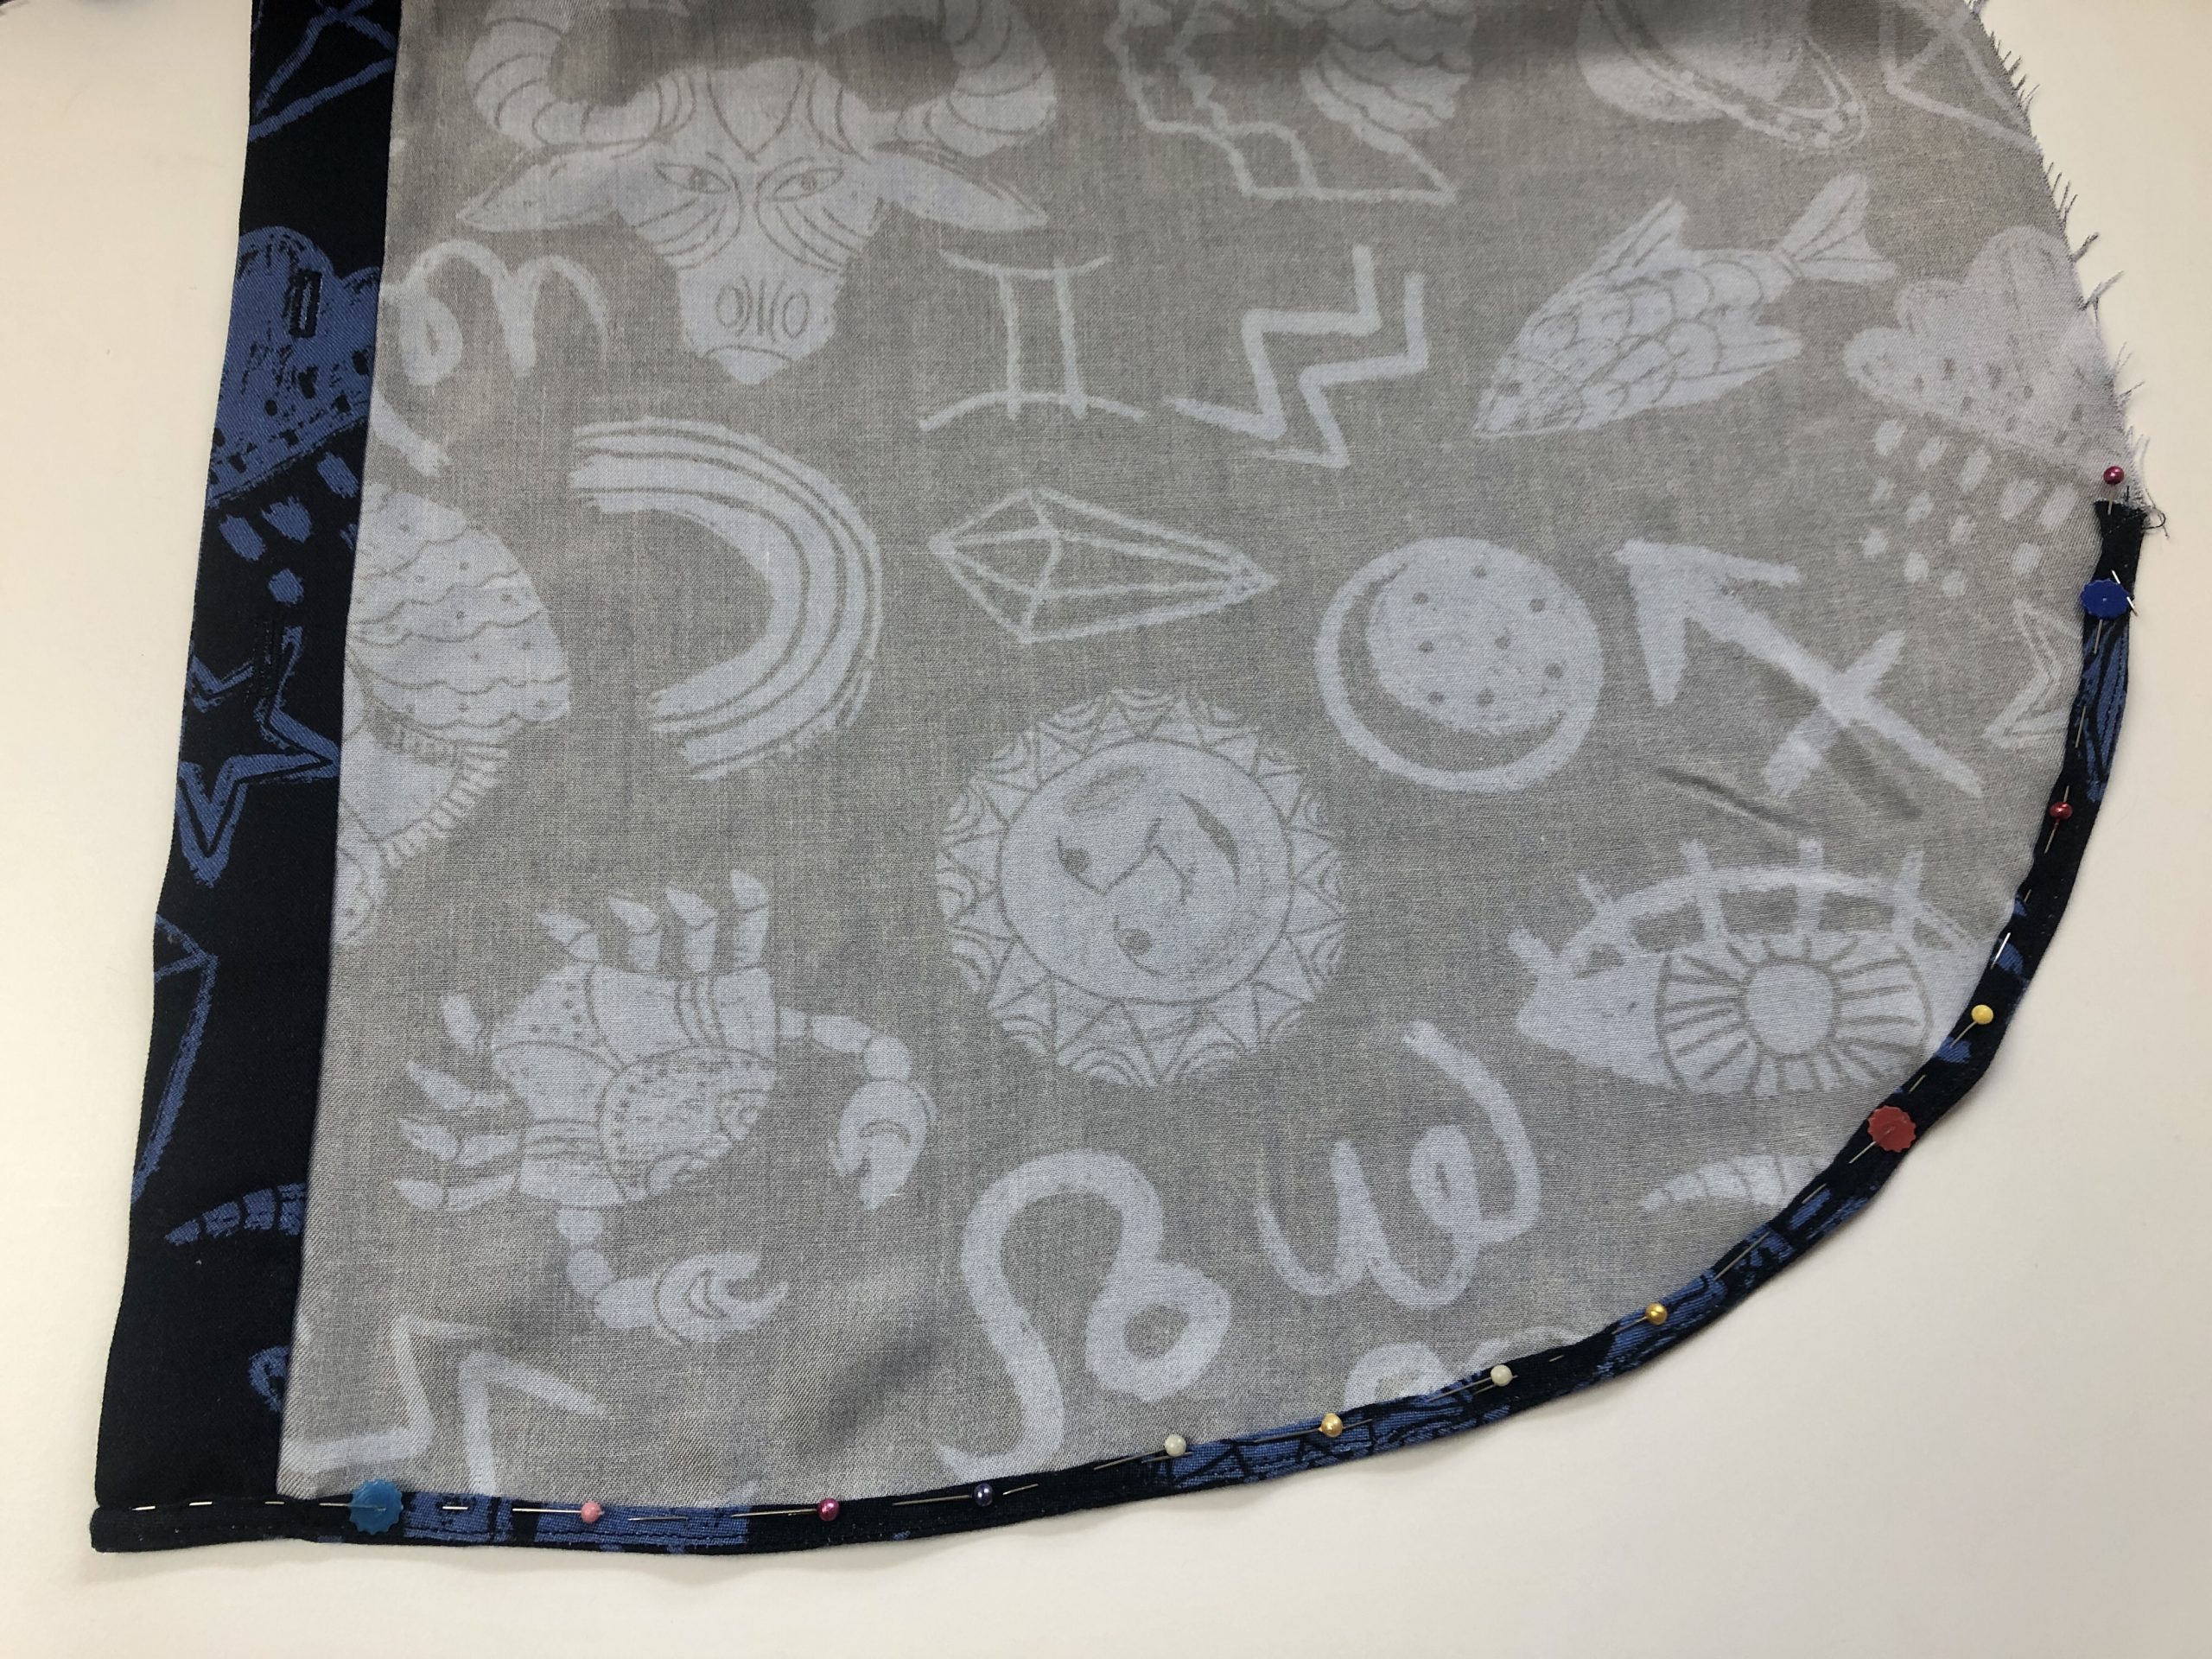
Binding the Hem
The instructions in the pattern explain what I would refer to as the ‘French Binding’ technique to apply the bias strips.
I find that this method can create a little too much bulk so I’ve used a different approach where the binding is applied as a single layer.
Take care when applying the binding to finish at the side seam in the same place on the front and back pieces.
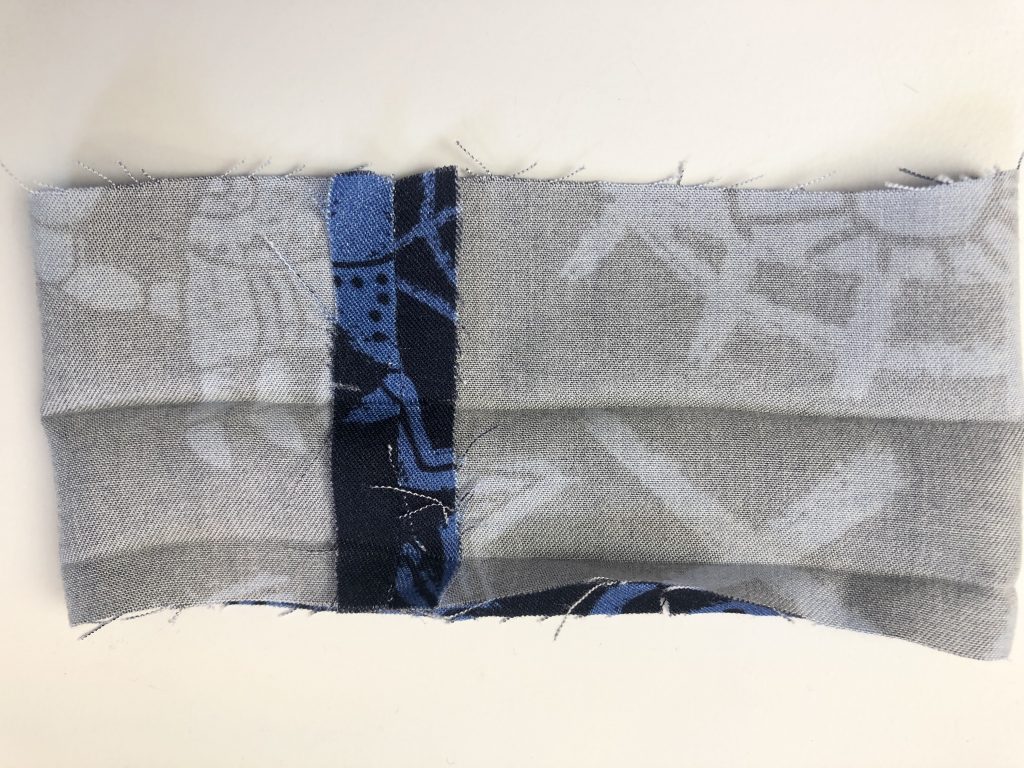
First, fold and press each strip of binding in half, matching the long edges.
Take the front binding pieces (pattern piece 8) Turn under and press 1cm on one end of each strip.
Place the binding with right sides together matching the raw edges and placing the short folded edge to the fold at the front opening. Pin and stitch in place.
Make sure that the binding is placed and stitched as below, so the stitching line reaches the raw edge of the side seam. I’ve sewn the binding with a 5mm (scant 1/4″) seam allowance.
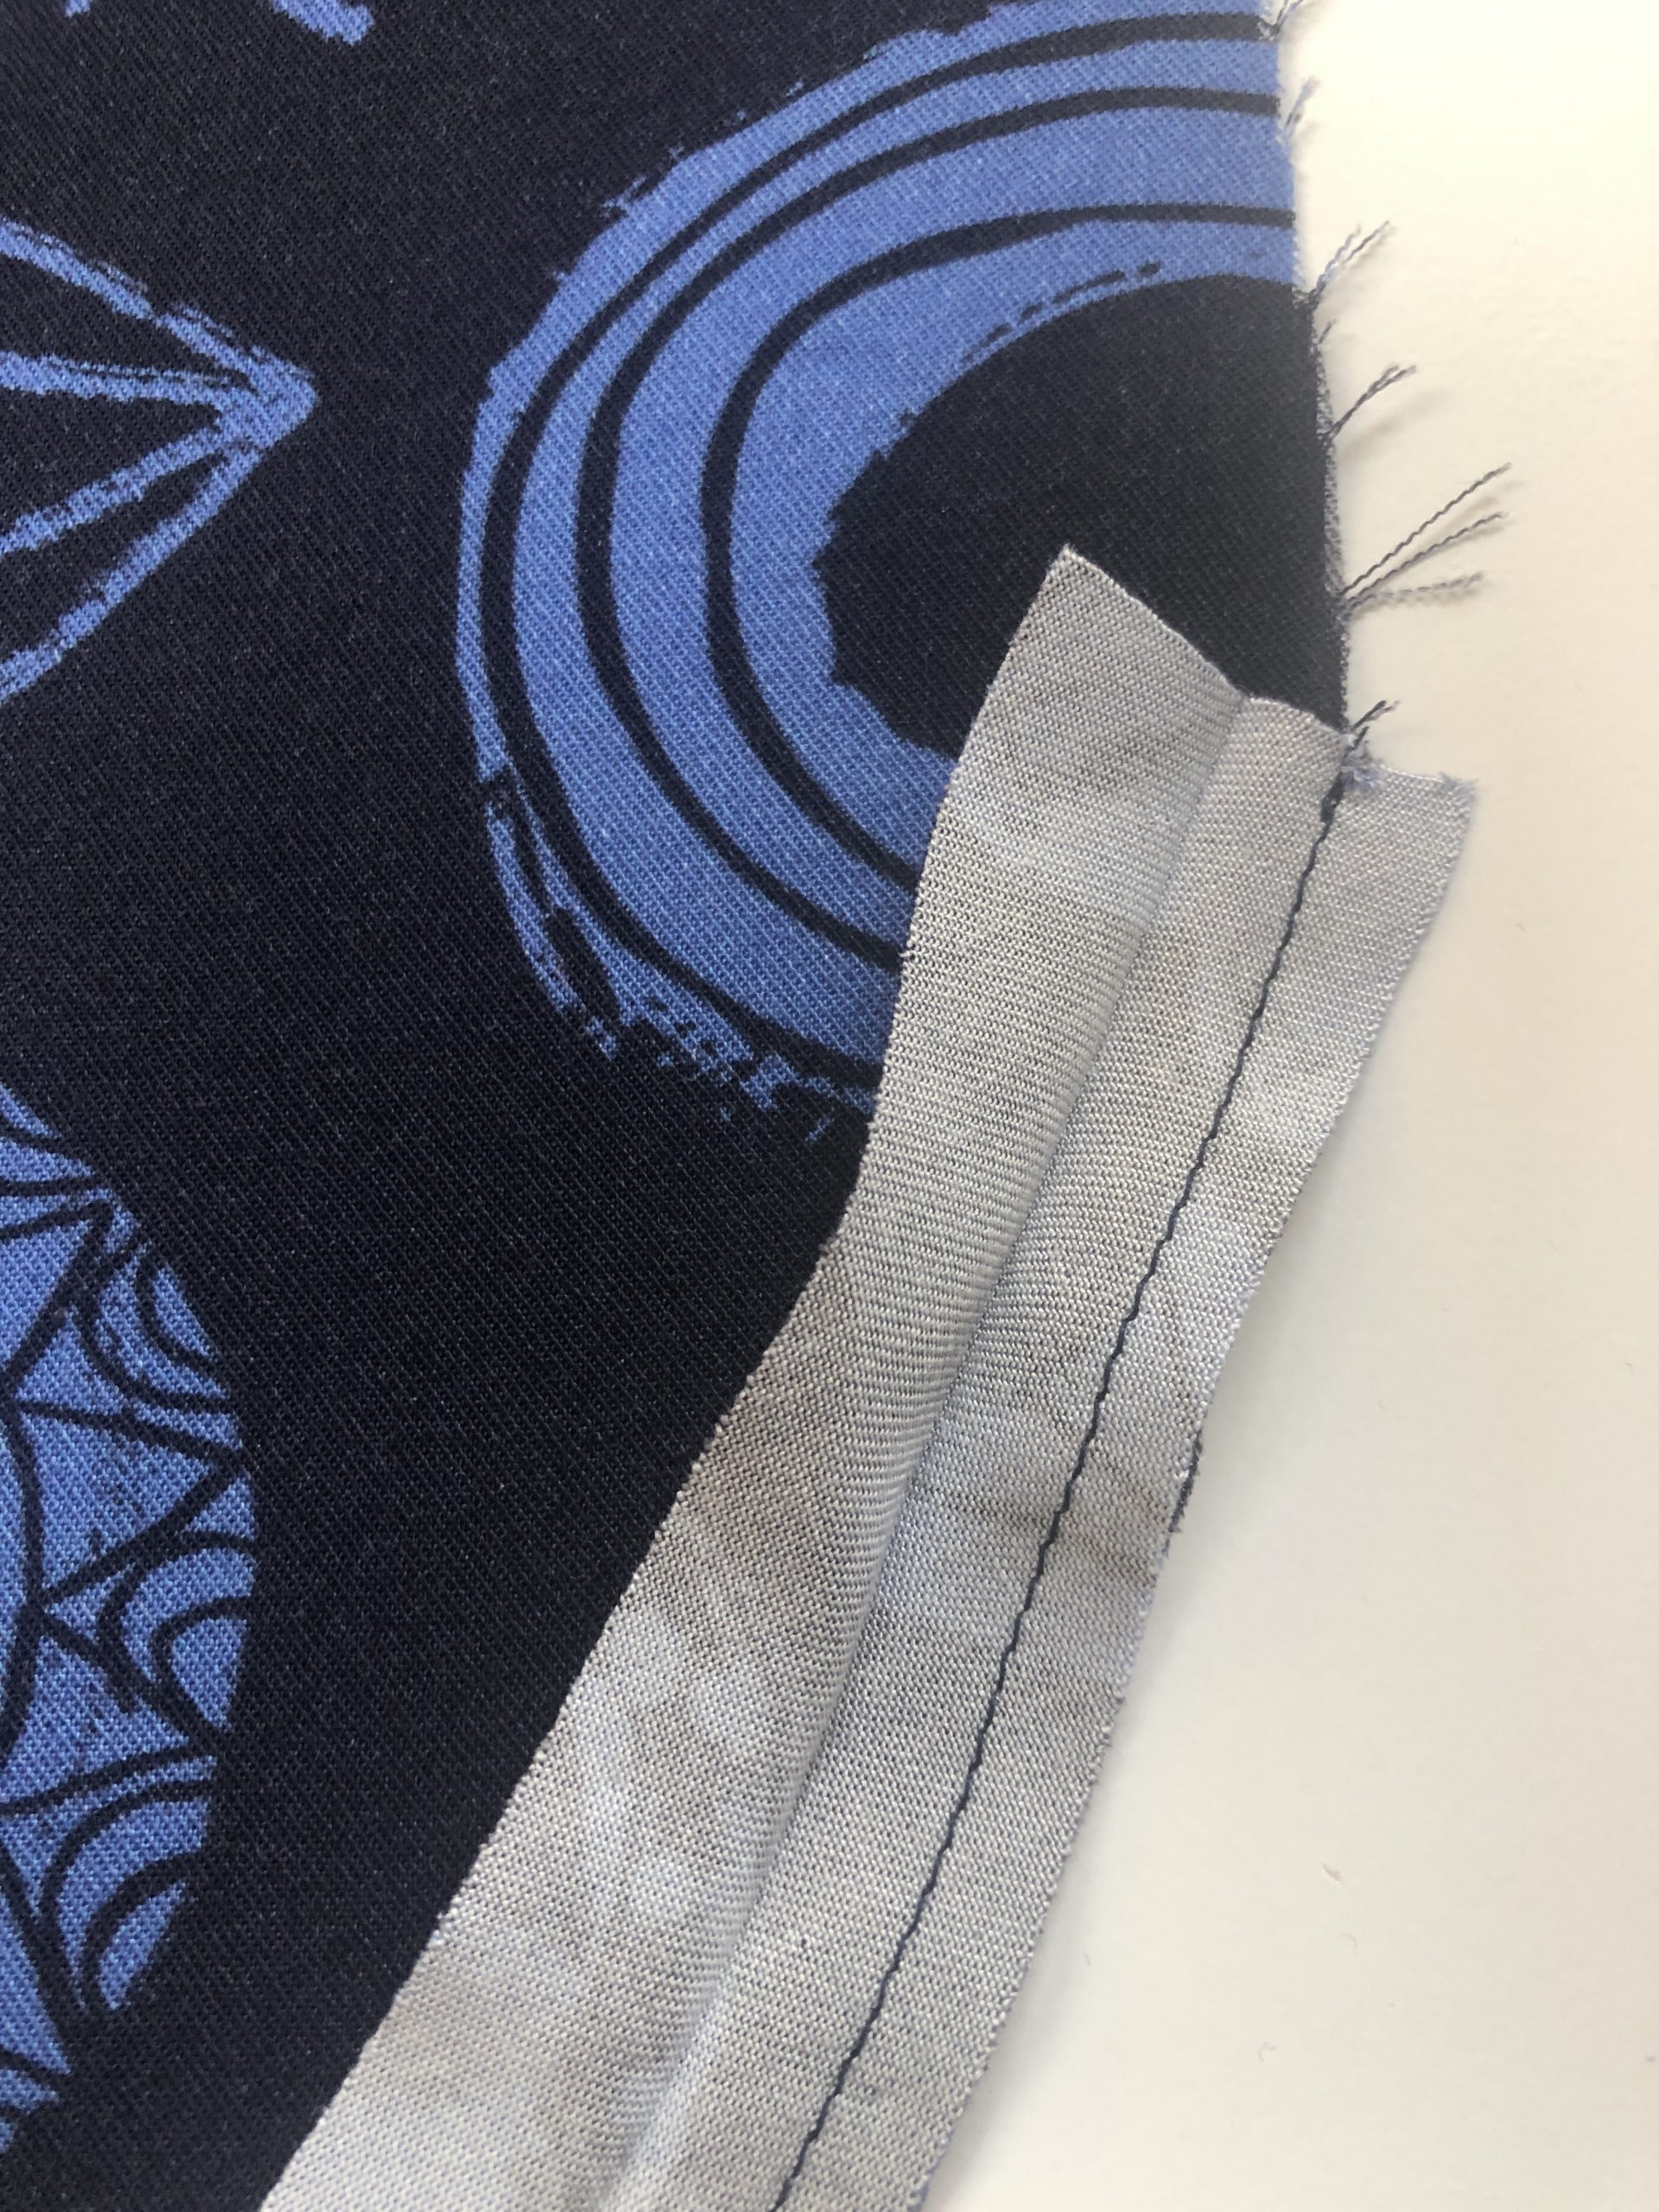
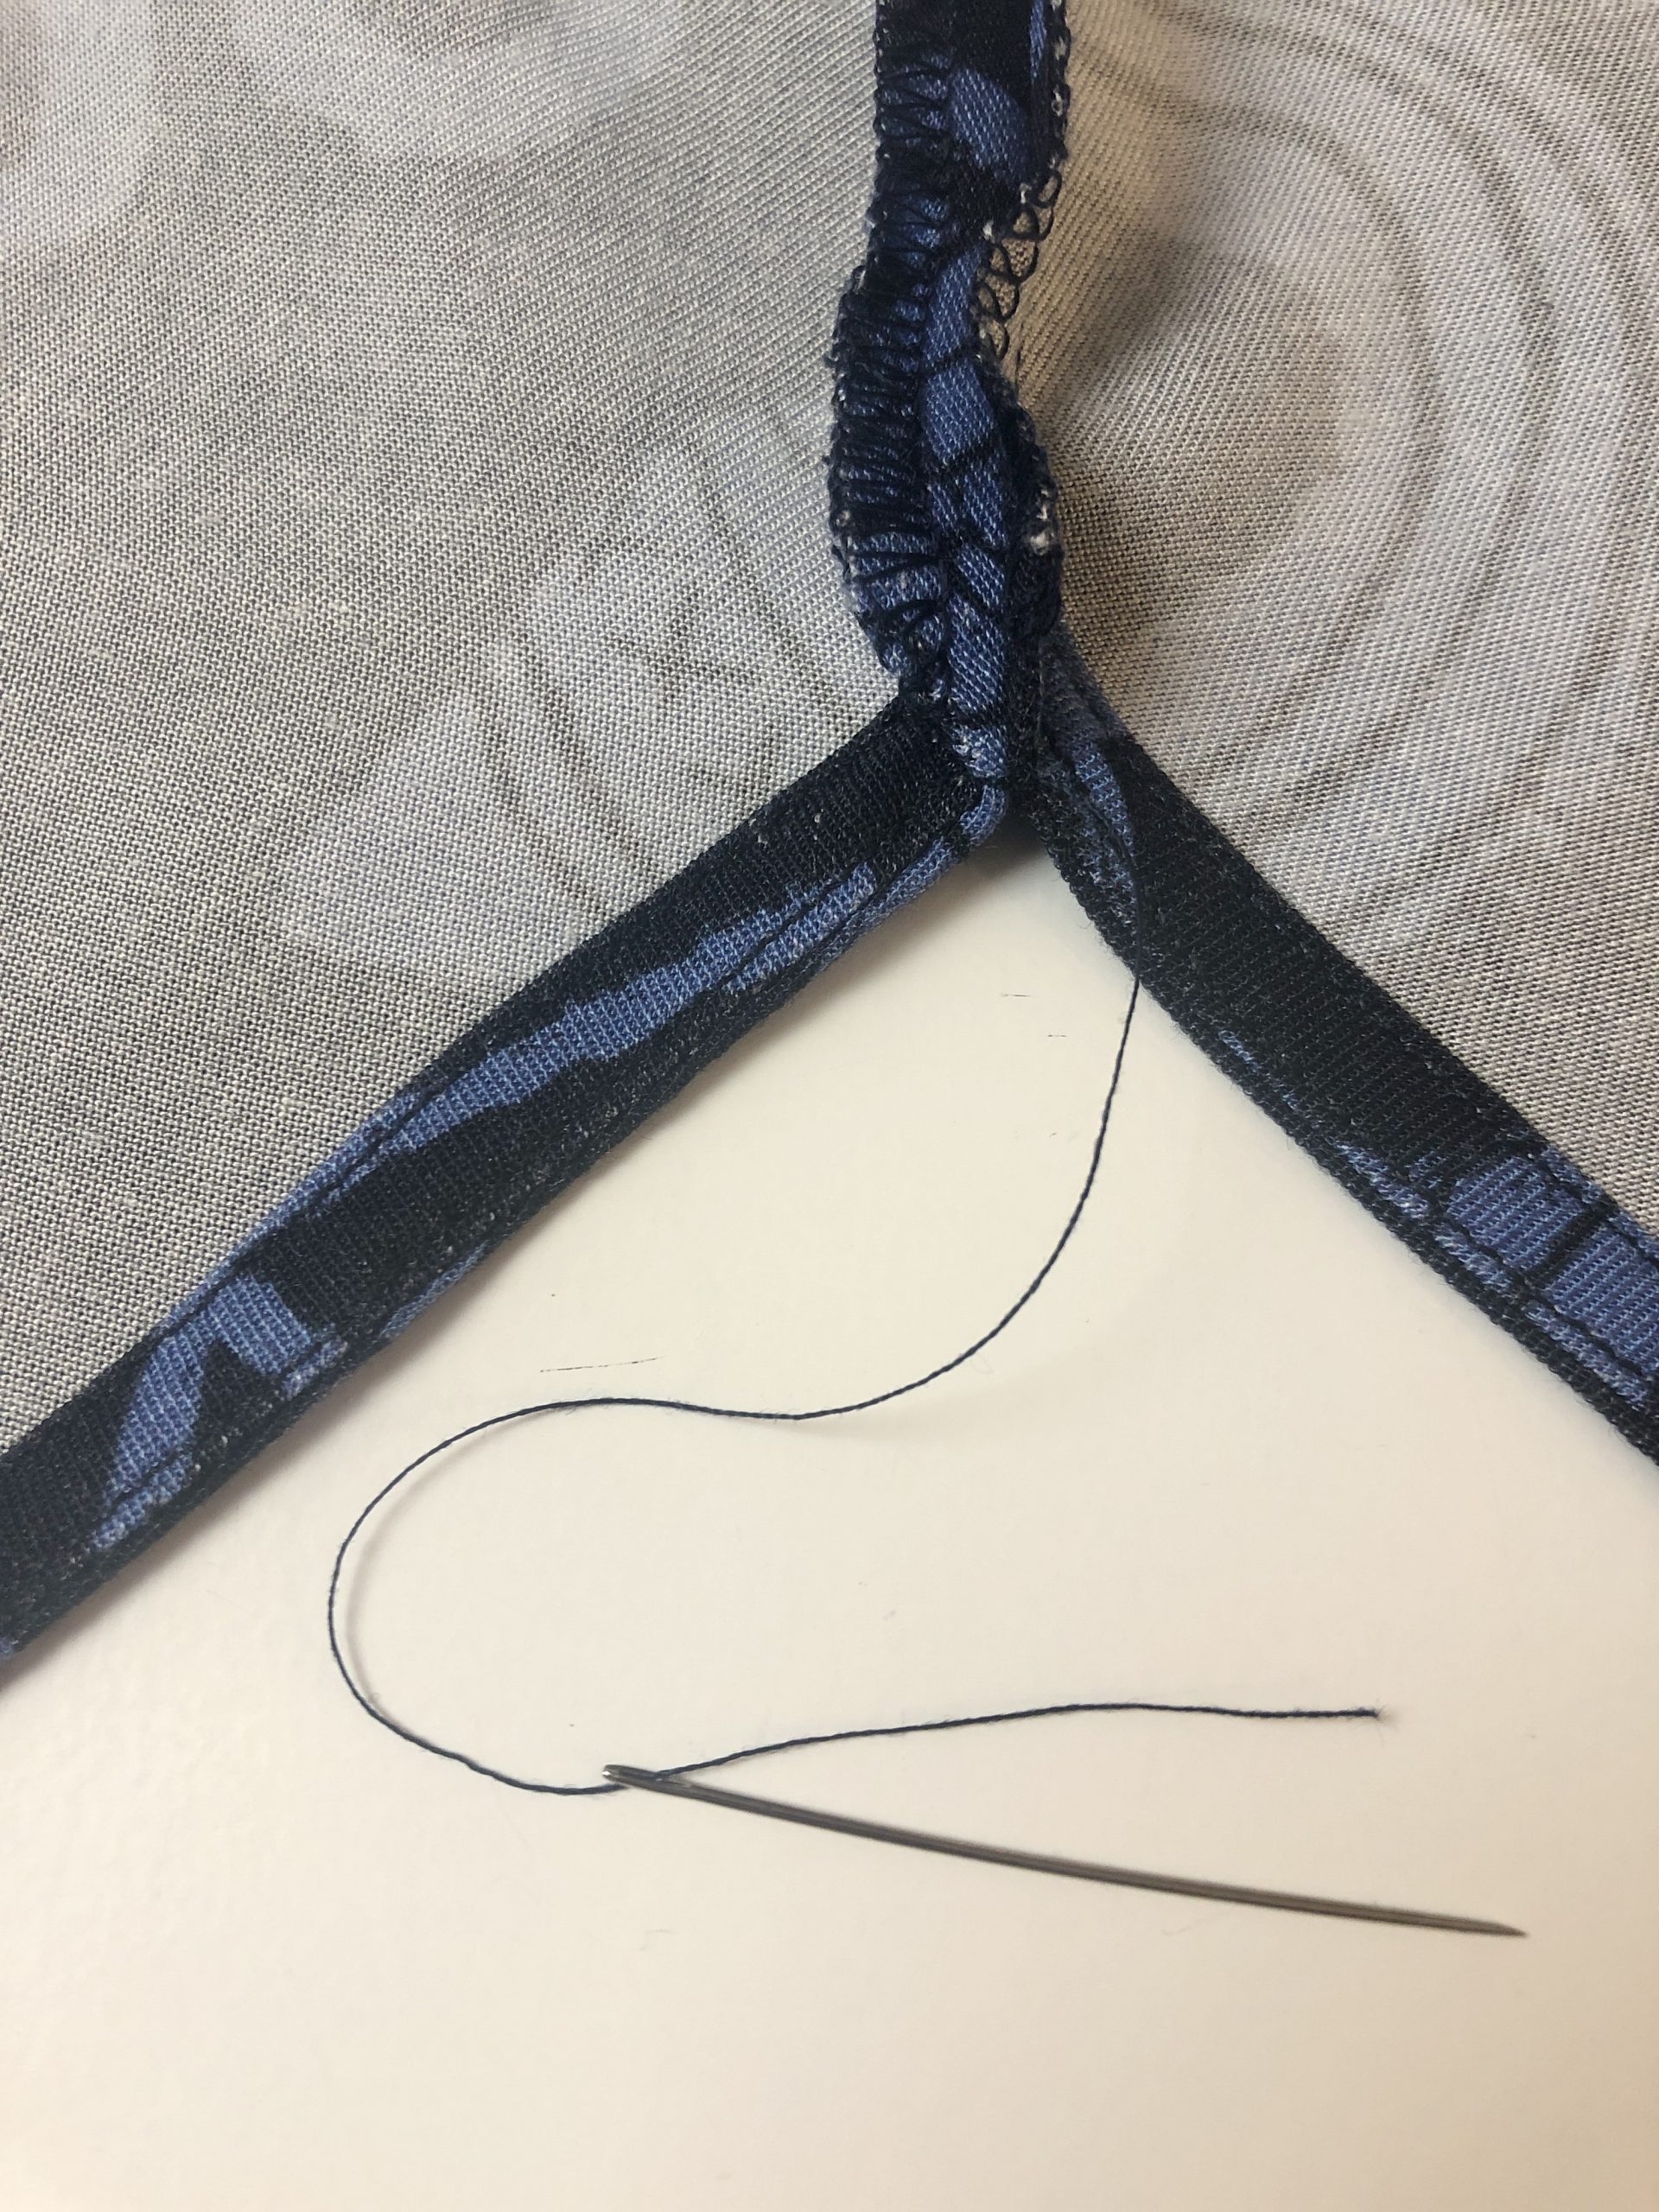
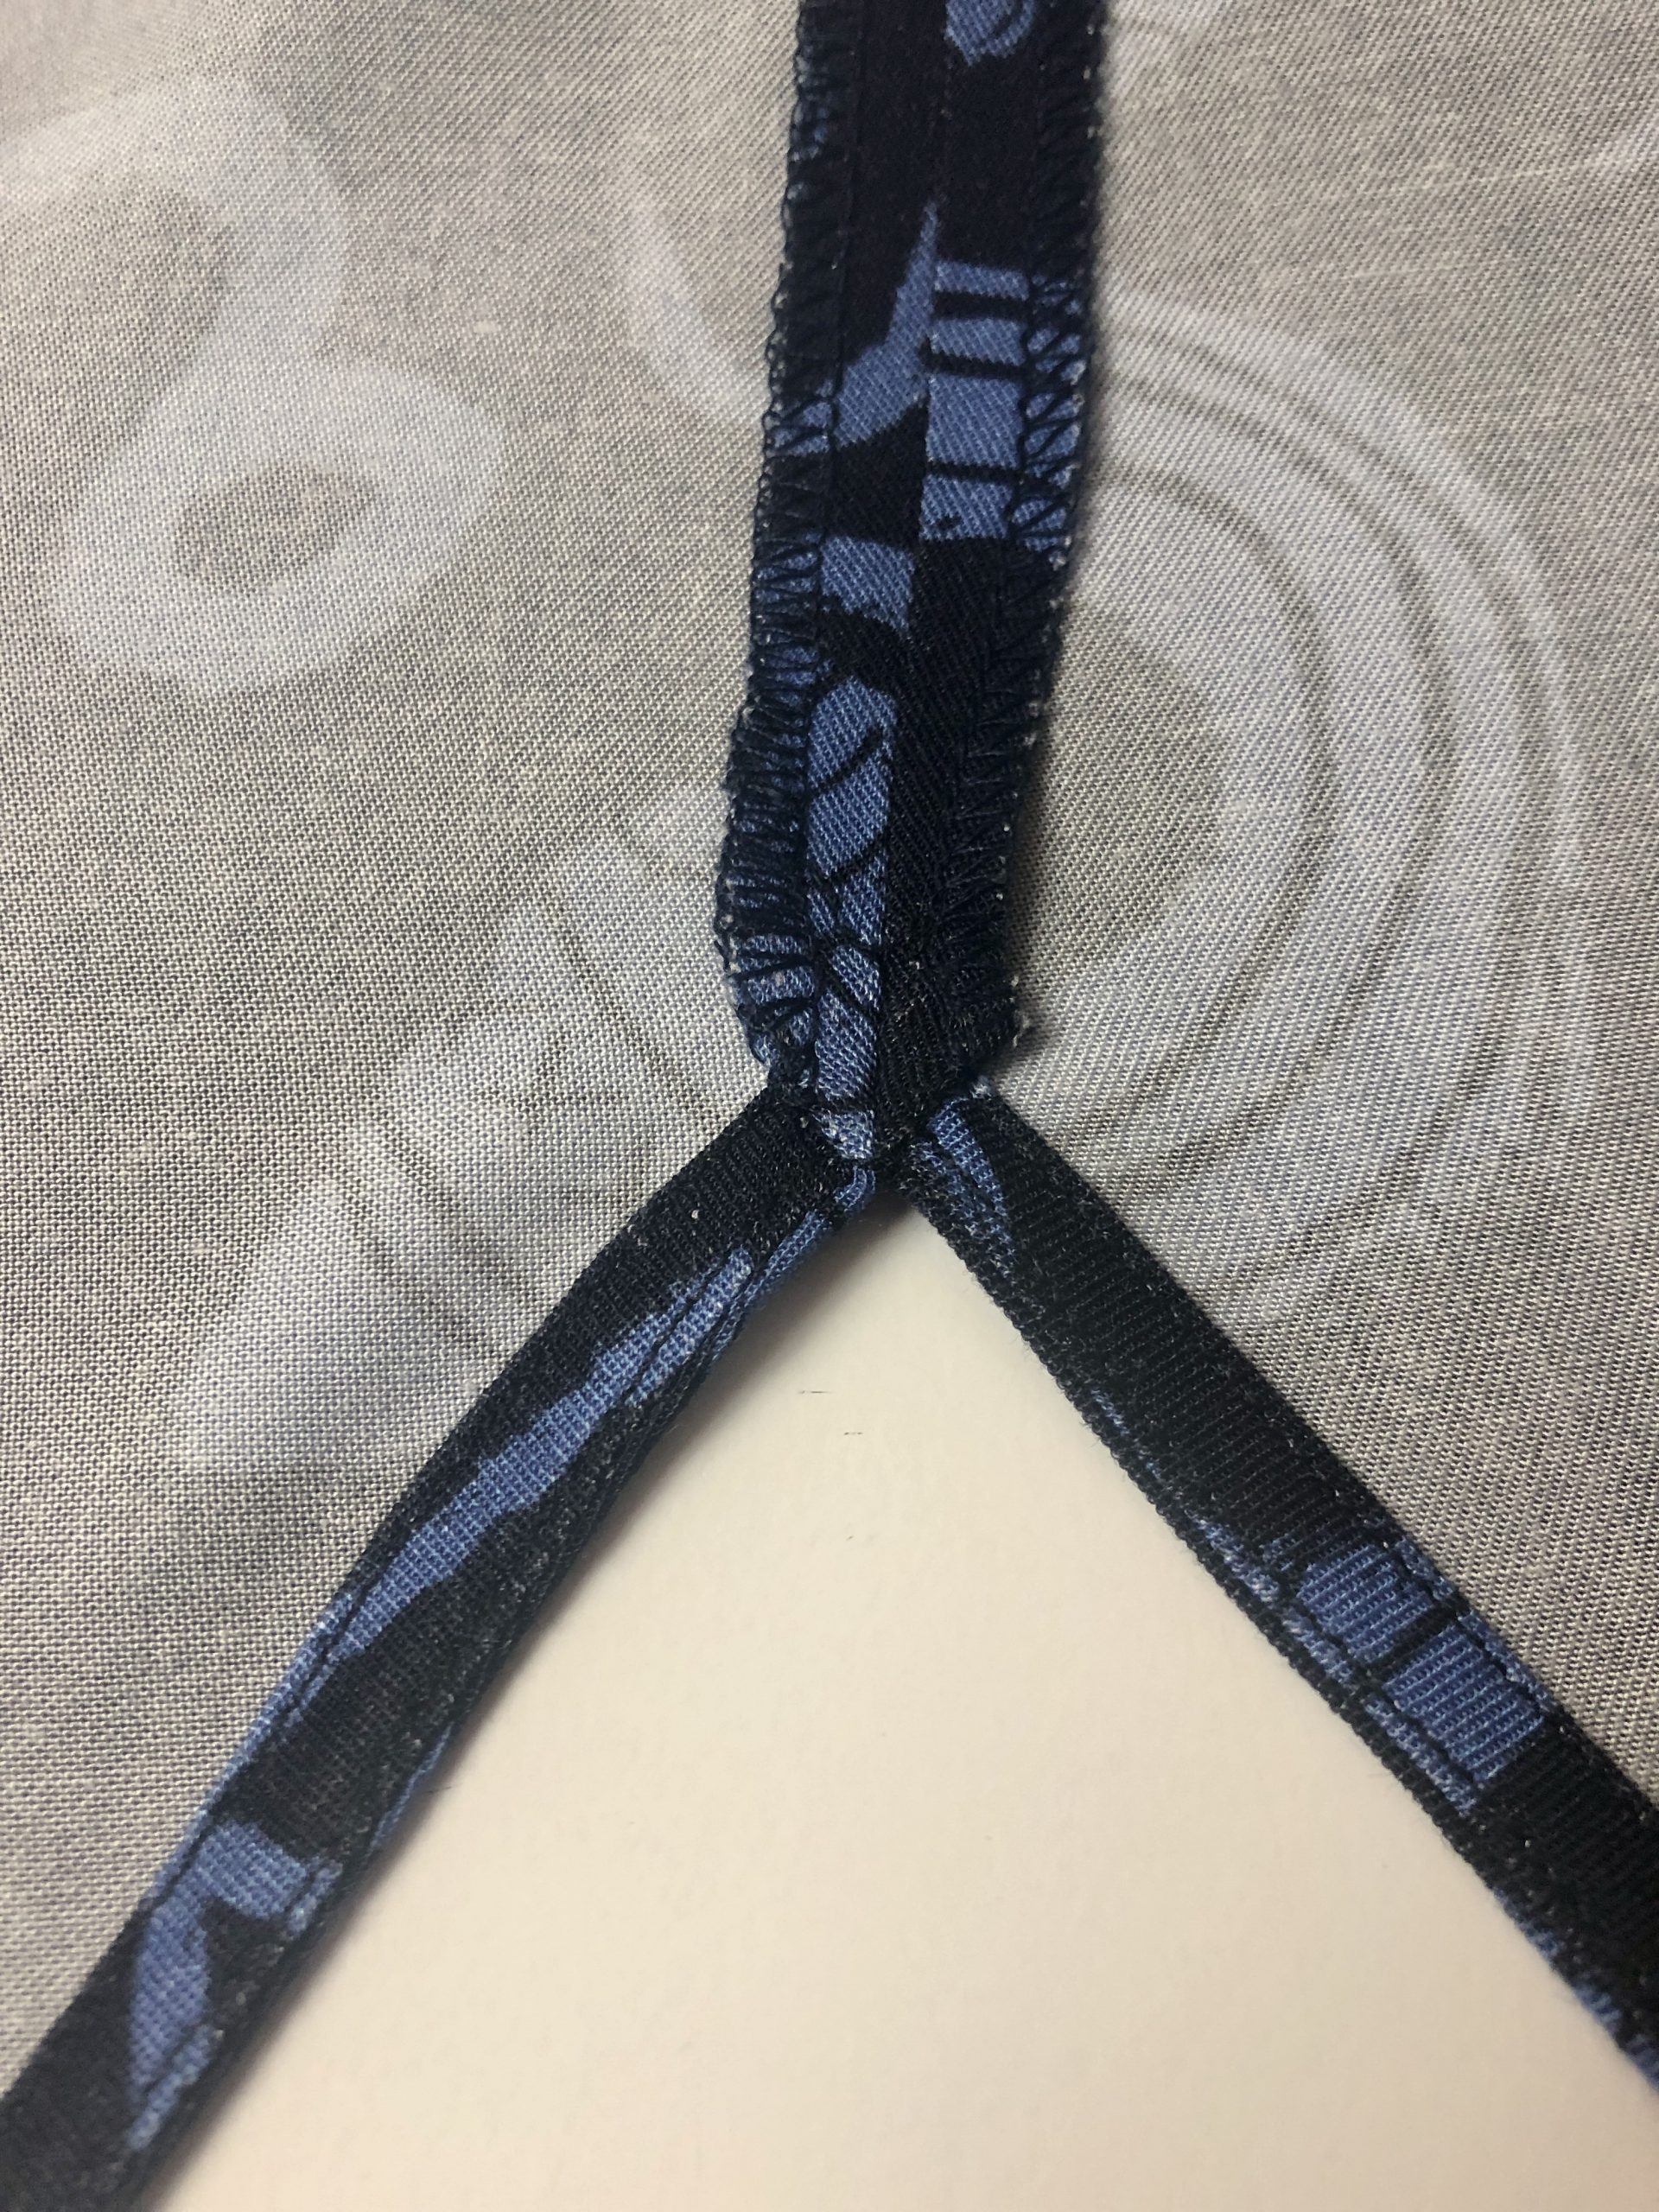
After sewing on the binding I trimmed away 2-3mm of the seam allowance and clipped into the curves up to the stitching line, clipping every 1-2cm. These steps will help to remove some of the bulk and keep the binding nice and flat once it is finished.
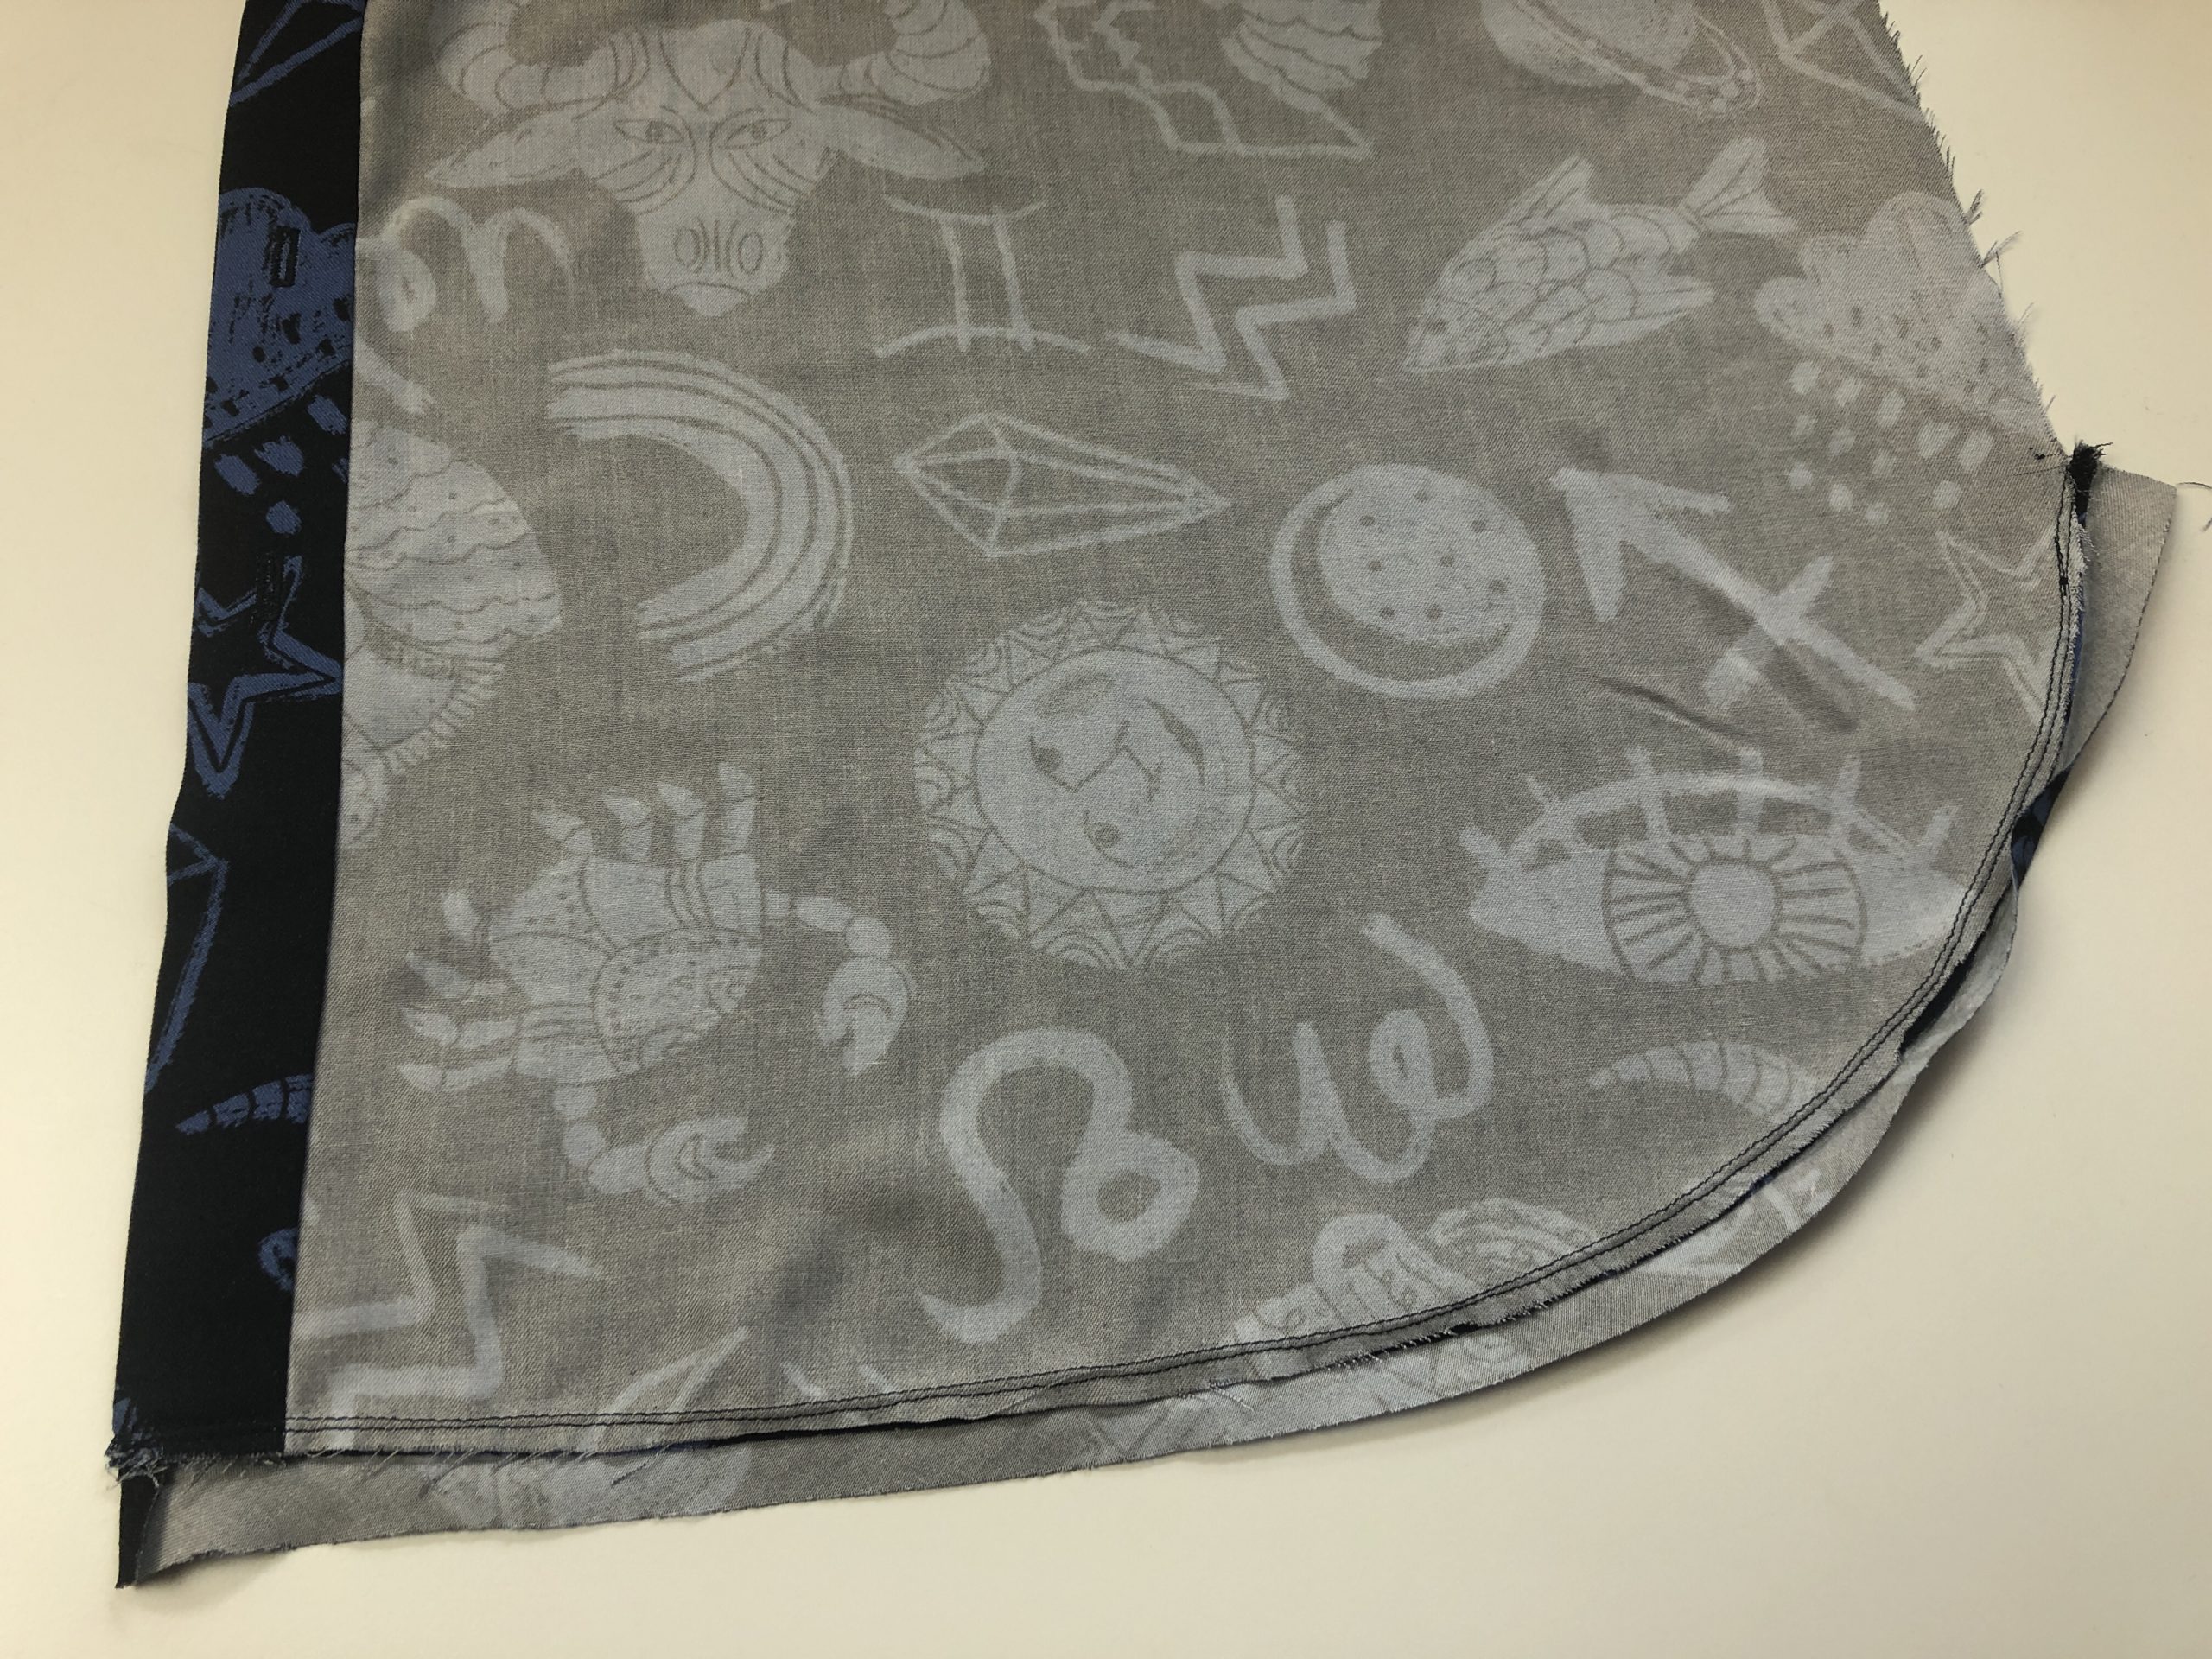
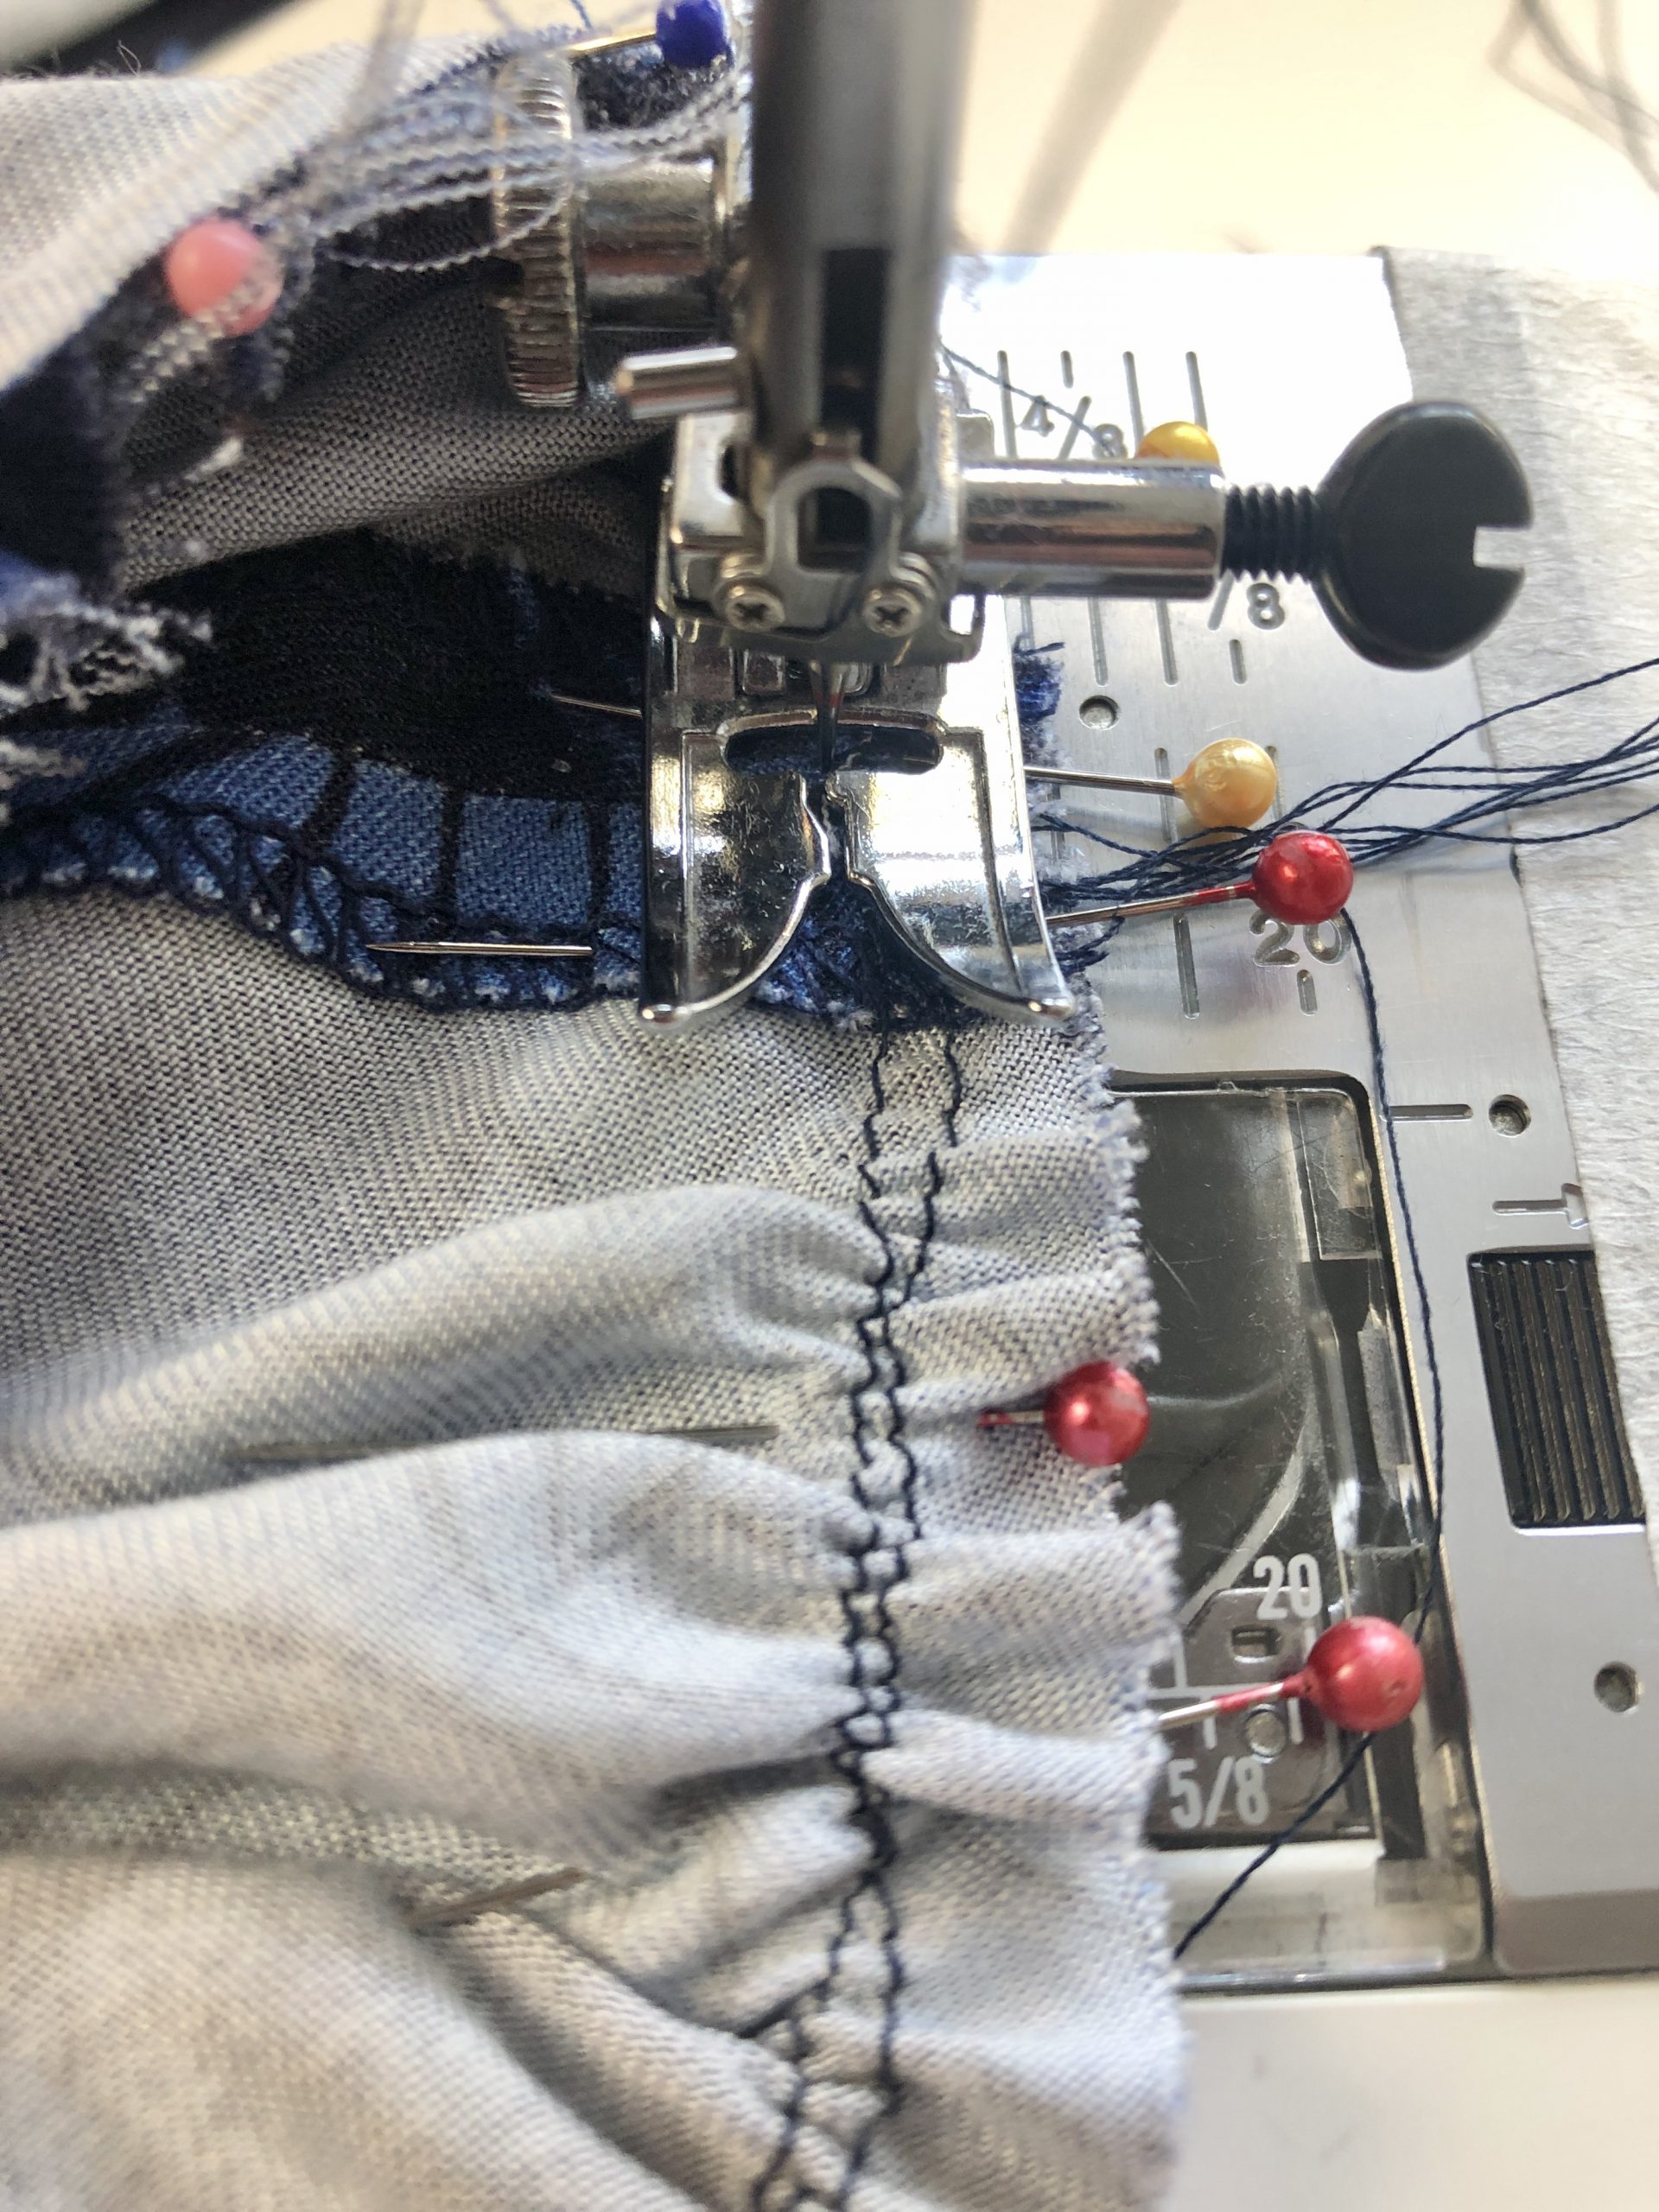
The next stage is to understitch.
If you’re wondering what on earth understitching is then you’re probably not alone.
Understitching is like magic – it helps bindings, facings or linings stay in place on the inside of a garment and stops them from rolling over to the outside of the garment.
Understitching is a line of stitching sewn using a regular length of stitch (2.5mm in my case). The stitching is done from the right side of the binding, facing or lining and goes through the binding and seam allowance, but not through to the main garment fabric. It can only be seen on the inside or wrong side of the garment.
If you want to see how this is done, then see my video below on how to attach a facing. The instructions for sewing the understitching start from 11:42 but you can see the preparation before this of trimming, layering and clipping the seam allowance.
You can see the understitching in the image below from the wrong side of the fabric.
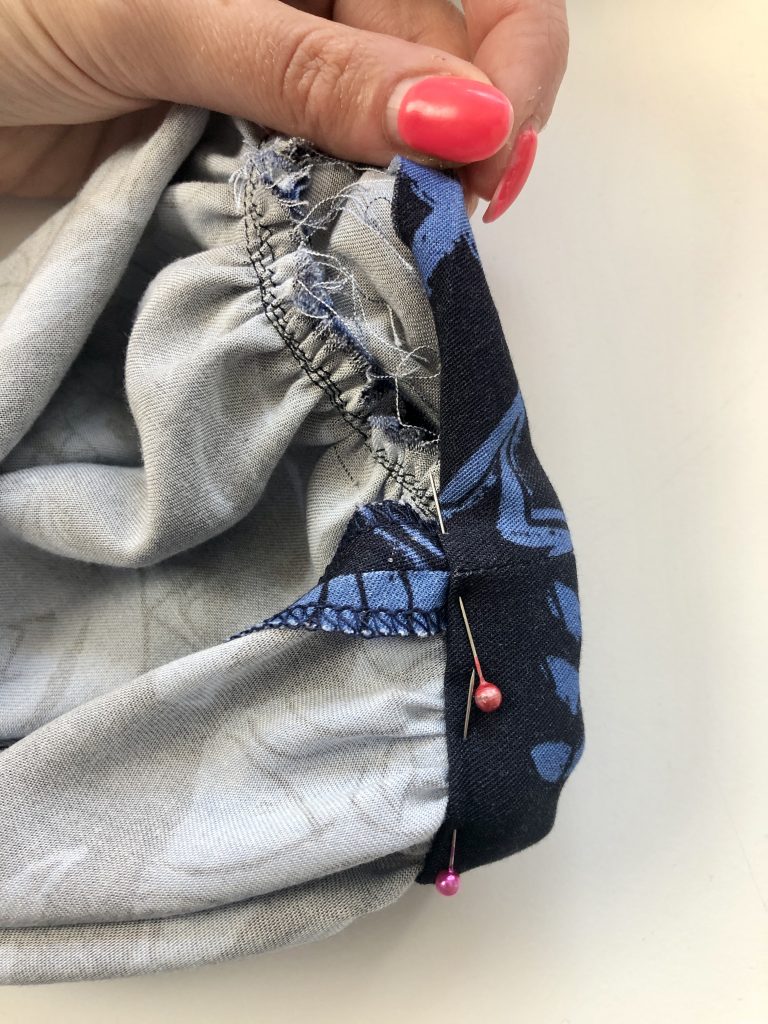
After understitching the raw edge of the binding is folded towards the centre of the binding (where I pressed a crease at the start) and then folded again to enclose the raw edges and seam allowances.

The binding should not show on the outside / right side of the garment.
The binding is stitched in place close to the inside fold, where the pins are placed.
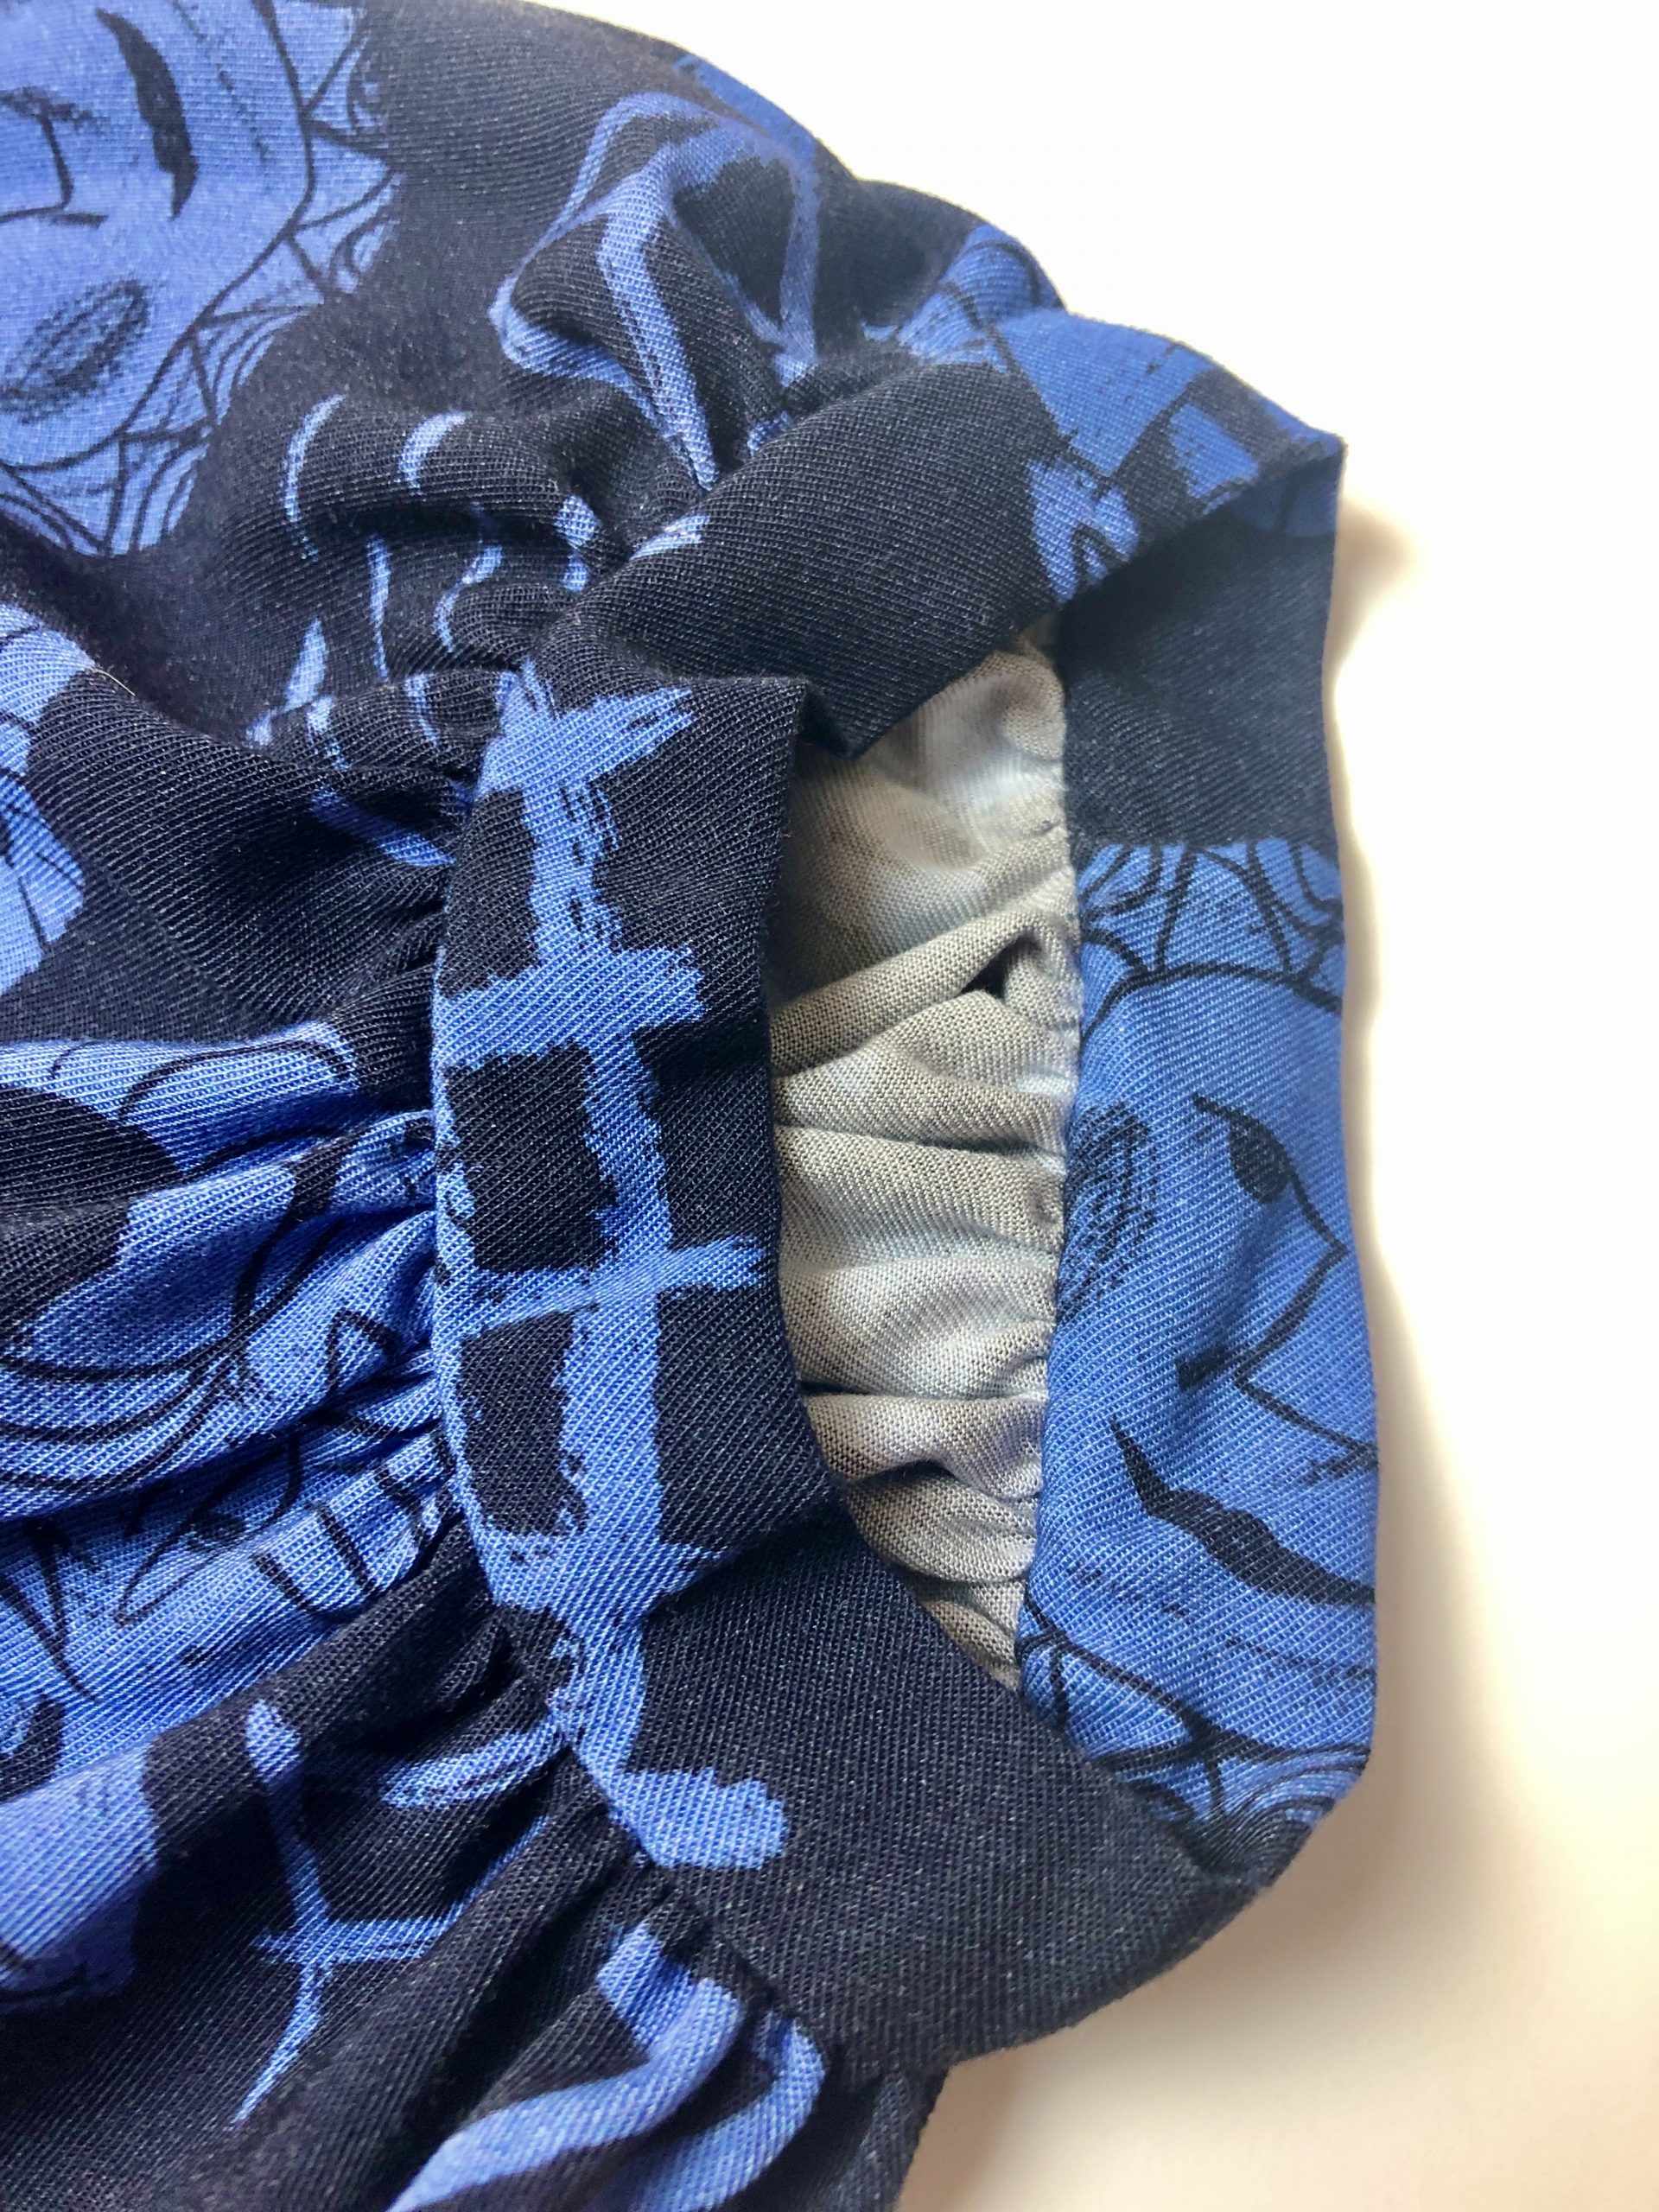
Once the binding is finished, give this a good press. It should sit completely flat when worn.
The instructions then state to overlock the shoulder edges and the side edges of the front pieces. I did the back too at this stage.
I used a 3-thread overlock stitch to edge finish.
I didn’t really stick to the instructions after this stage.
I hemmed the back in the same way as I hemmed the front, using the binding strip.
Next I applied the pockets.
Pockets
I’ve made a video on how I create in-seam pockets.
The pattern instructions on Filippa are a little strange, so I used my own method.
You can see the video below.
After the pockets are attached, the side seams are sewn. I then pressed the seams open at the lower edge and added some hand stitching at the binding to make it sit flat.
Next the collar is attached.
Again I used my own method. I’ve made a video which you can see below.
The sleeves are attached next and then the cuff (or ‘wrist trim’) is attached.
I started by preparing the cuff by folding it in half and pressing, then I opened up the fold and turned one long edge up by 1cm.
The short edges of the cuff are then sewn together and the seam is pressed open.
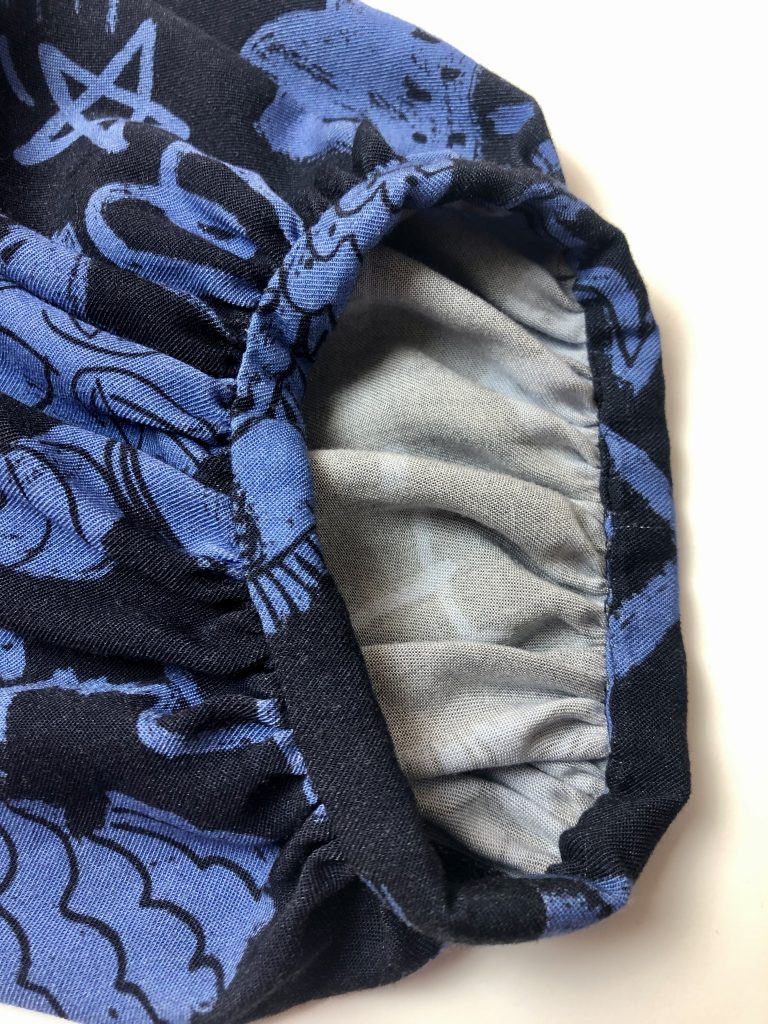
Next, the sleeves are gathered.
There are different approaches to gathering fabric and I prefer to place two lines of long machine stitches within the seam allowance so that once the seam is made I don’t need to unpick or pull out any stitching that shows beyond the seam line.
I placed my lines of long machine stitching at 6mm and 8mm so it’s close to, but not on the seam line.
To help with distributing the gathering I cut small snips to mark the centre and quarter points of the cuff and sleeve.
I’ve created a video on gathering which can be seen below.
After gathering the sleeve the cuff is attached.
Place the cuff right sides together with the sleeve, matching the unfolded raw edge of the cuff to the sleeve.
Distribute the gathering stitches evenly and pin in place.
Stitch in place using a 1cm seam allowance. I’m sewing inside the cuff, stitching over the gathering stitches.
Once the cuff is attached, press the cuff seam allowance towards the cuff.
Trim the seam allowance by 2-3mm.
Wrap the remaining part of the cuff around the raw edges and pin the folded edge so the stitching line is covered. Pin in place.
Hand stitch this in place using a slip stitch.
I wasn’t very happy with the finished cuff. As there’s no interfacing in the cuff, the folded edge looks a little wavy. I decided the fold the whole cuff in half, make it narrower and hand stitch this in place again.
The final stage is to sew on the buttons.
I’ve written more details about the placement of buttons over on another post about ‘The Lennox Boilersuit’.
Here are some images of the finished dress.


2 thoughts on “Pattern Review – Filippa Shirt Dress by Fibre Mood”
Thank you so much for this Julia. Your instructions for pattern matching the front were great and easy to understand. Also your step by step instructions for the button placket saved me a lot of time and confusion!
Thank you so much for your lovely comments! – I’m so pleased that you found the blog post useful 😊.
Comments are closed.