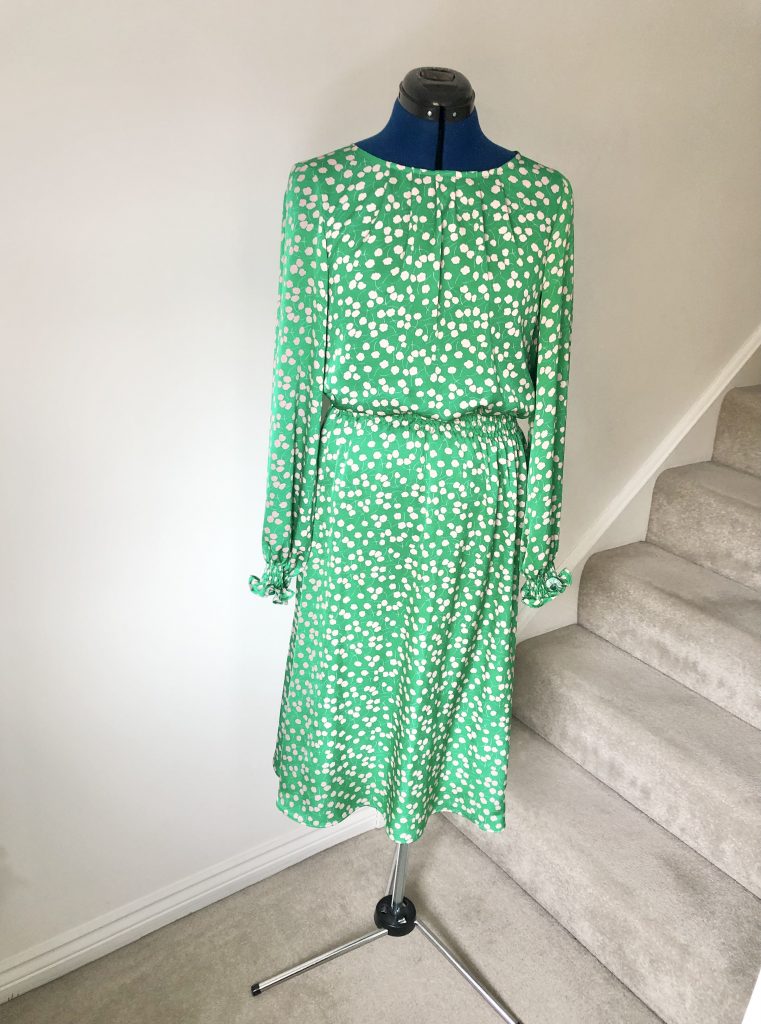
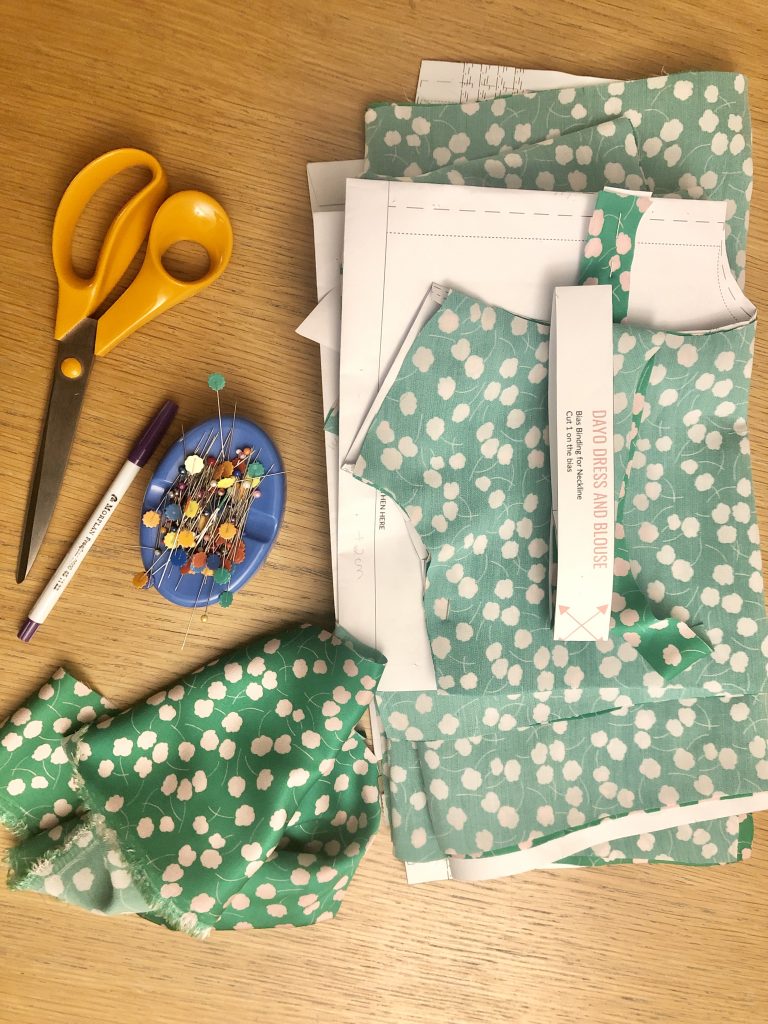
I was asked to make the Dayo Dress by Josie at Fabric Godmother.
This pattern is available as a PDF from ‘Sewing Patterns by Masin.’
This garment and pattern is part of the May 2021 Fabric Godmother Dream Wardrobe Subscription Box.
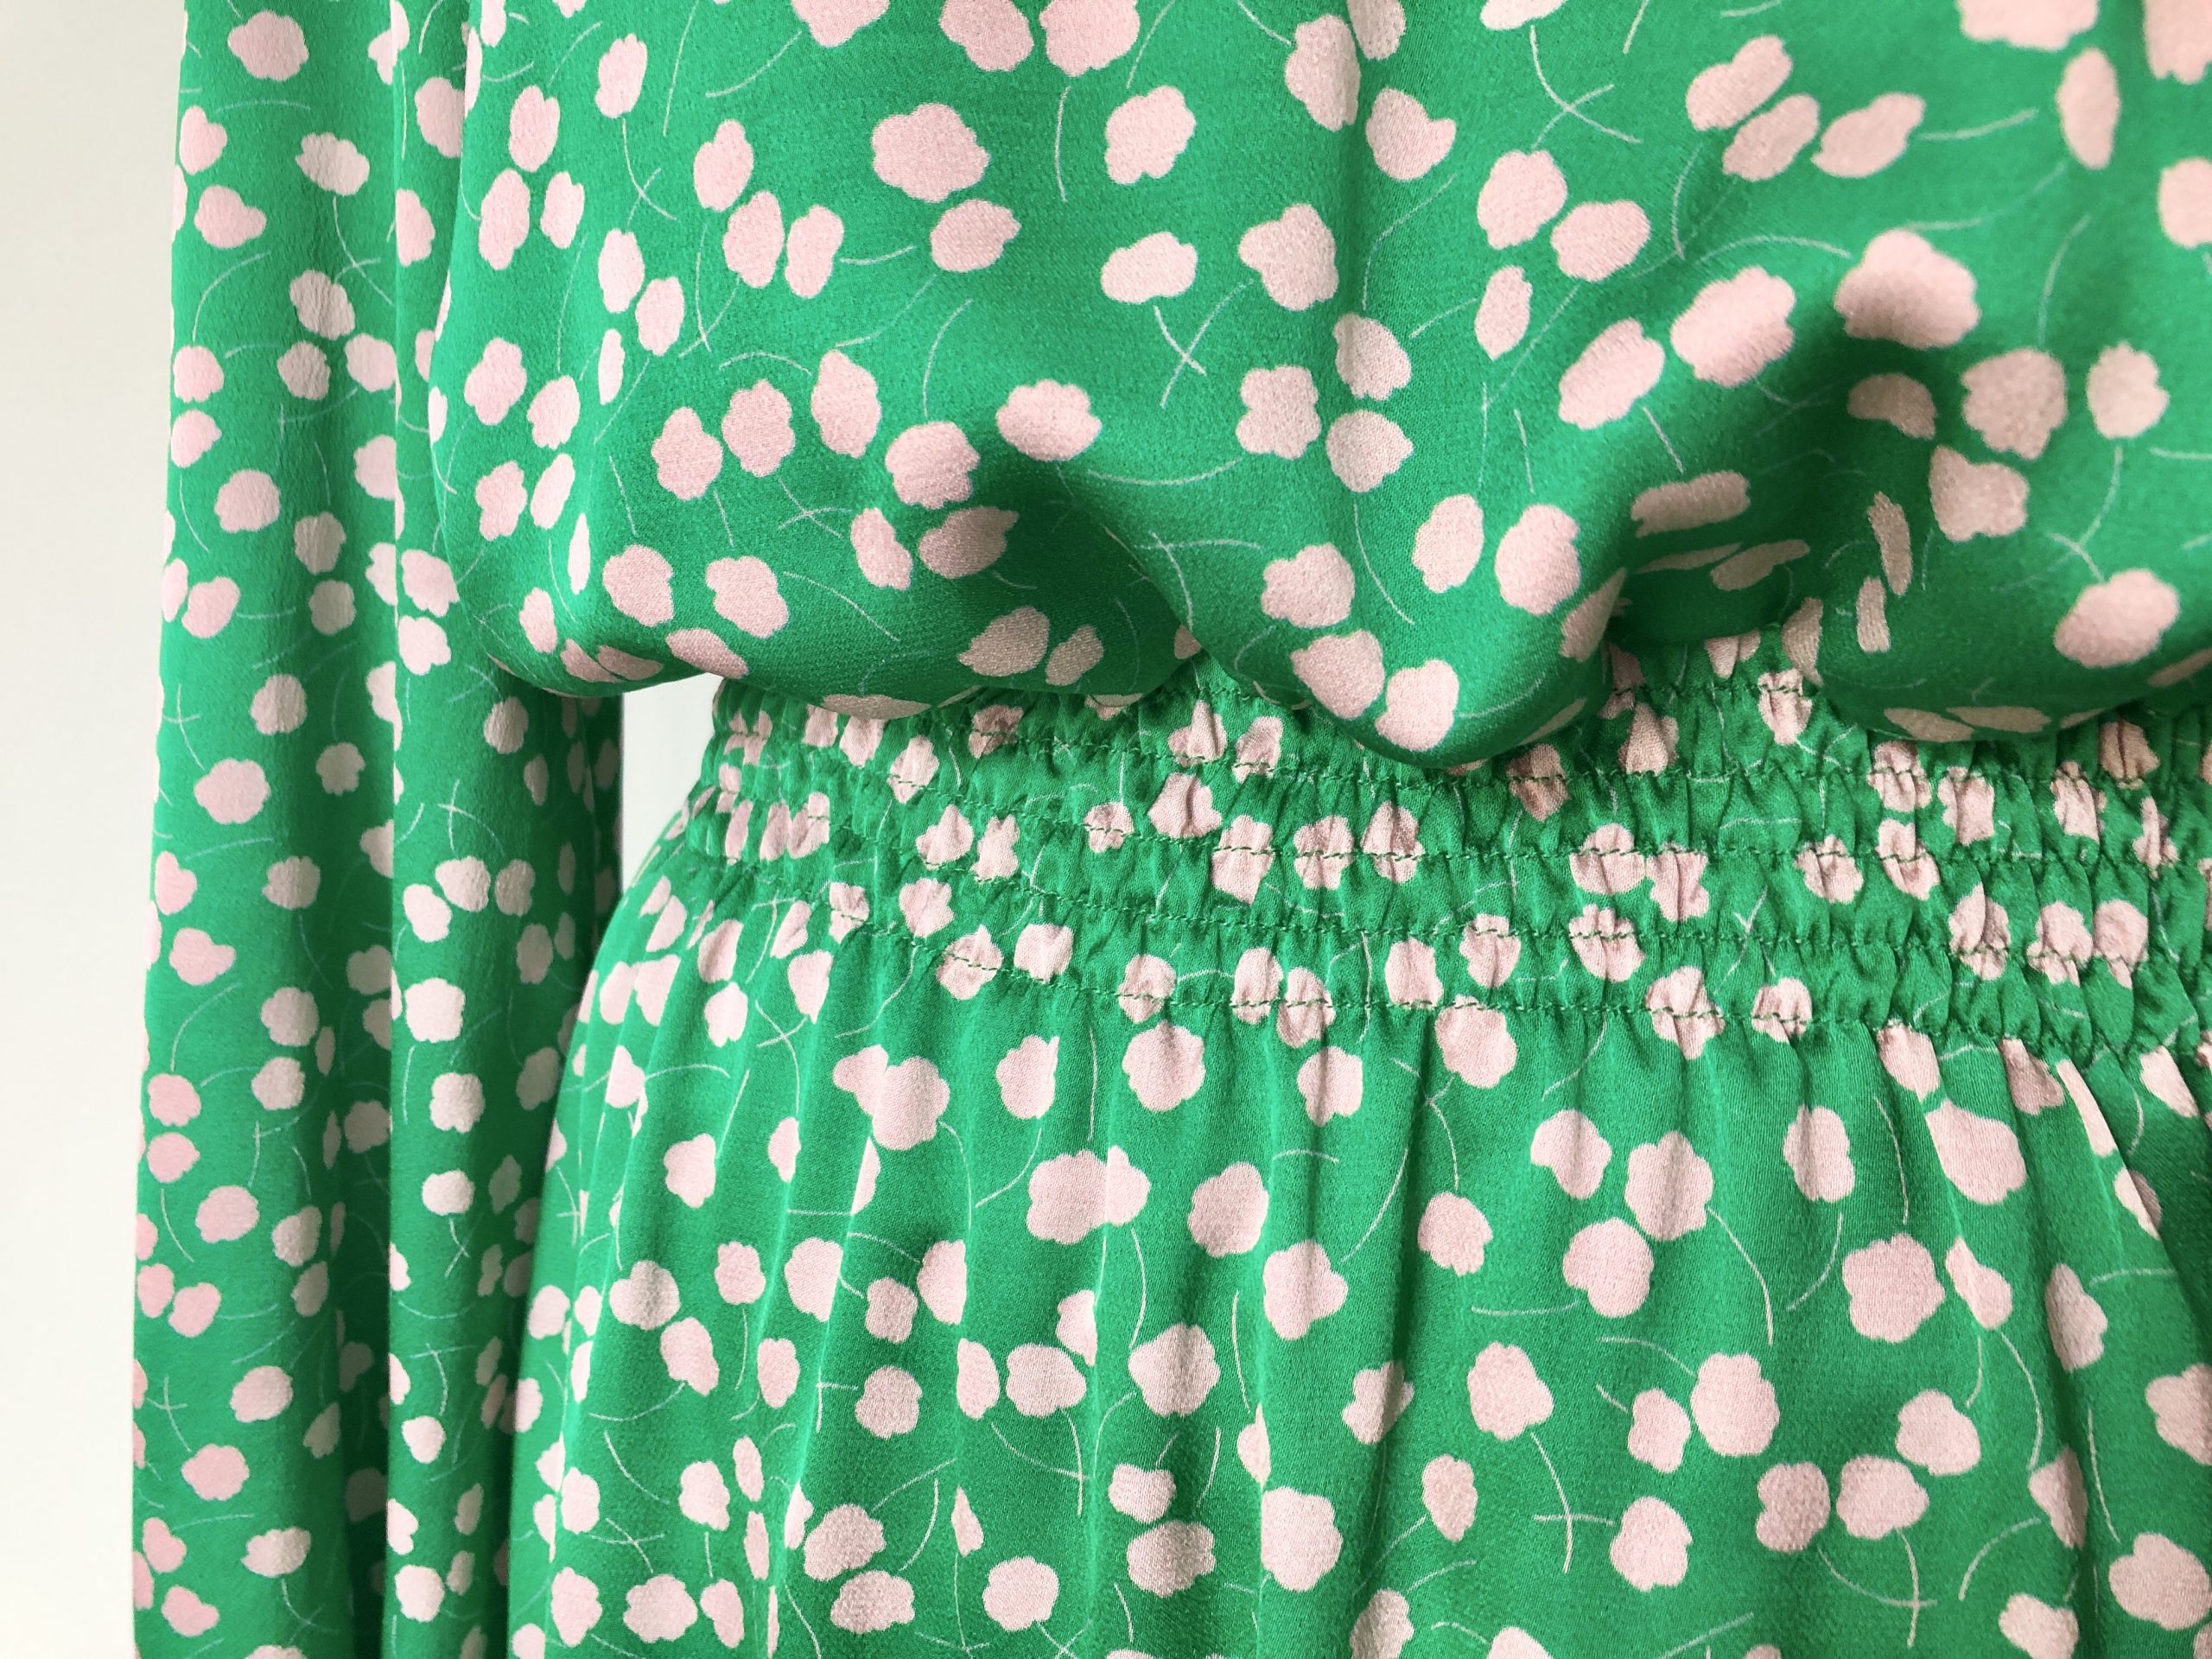
I’ve used the Cloud Flower Viscose Sateen in Emerald from Fabric Godmother .
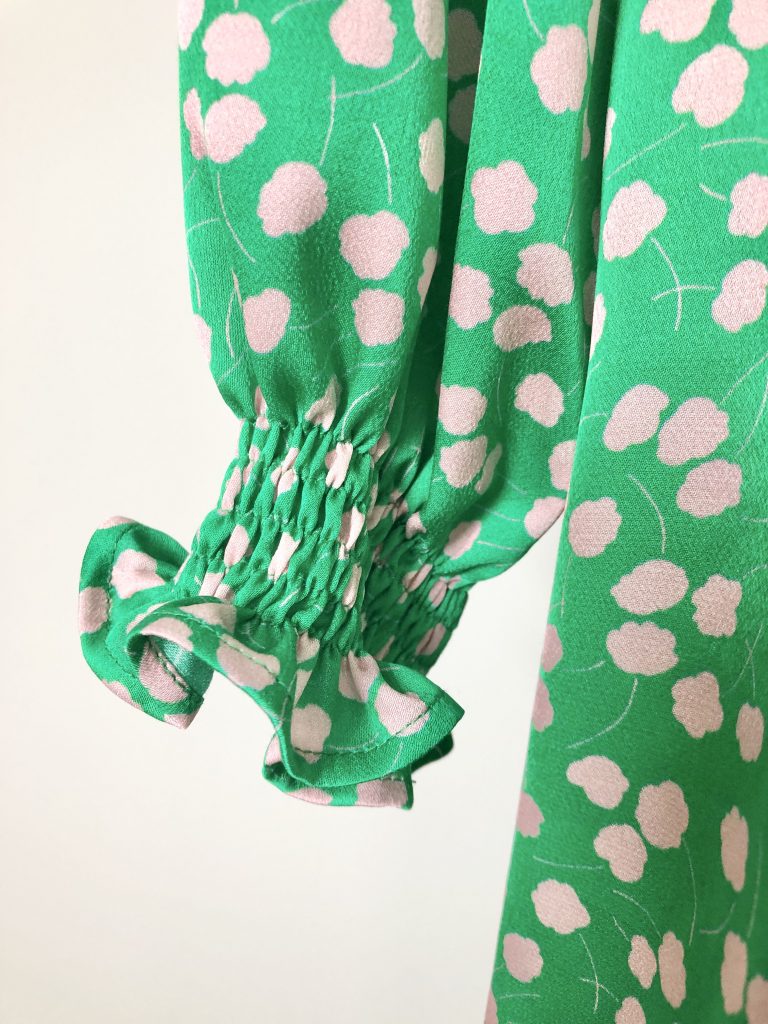
The dress uses shirring elastic at the waistline, to create shaping, and also on the cuffs to give a decorative frill. The neckline features small pleats and a bias binding finish.
Cutting Out the Pattern
As shown in the instructions, I placed the fabric right sides together and matched the selvedges to cut out the front and back bodice pieces.
The pattern instructions show how to lay out the skirt, sleeve and bias binding pattern pieces onto a single layer of fabric.
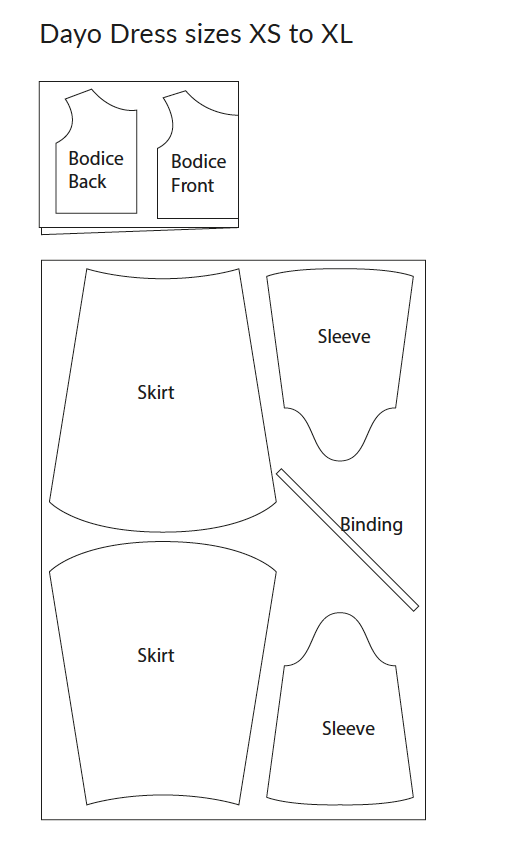
This may be the most economic way to cut out the pieces but I decided not to do this as it’s quicker to cut through a double layer of fabric and cut two of each pattern piece at the same time.
The skirt piece is too wide to fit onto half the width of the fabric so I folded the fabric right sides together matching the two raw edges, keeping the full width of the fabric.
In the image below, the fold of the fabric is at the top of the table.
This layout works perfectly for non directional prints. For directional prints or fabrics with a nap you’ll need to cut through a single layer of fabric and may need additional fabric in order to lay out all the pieces in the same direction.
I’ve added 2cm to the bodice, 2cm to the sleeves and I cut a size Medium for the bust and waist and blended to a Large for the hips.
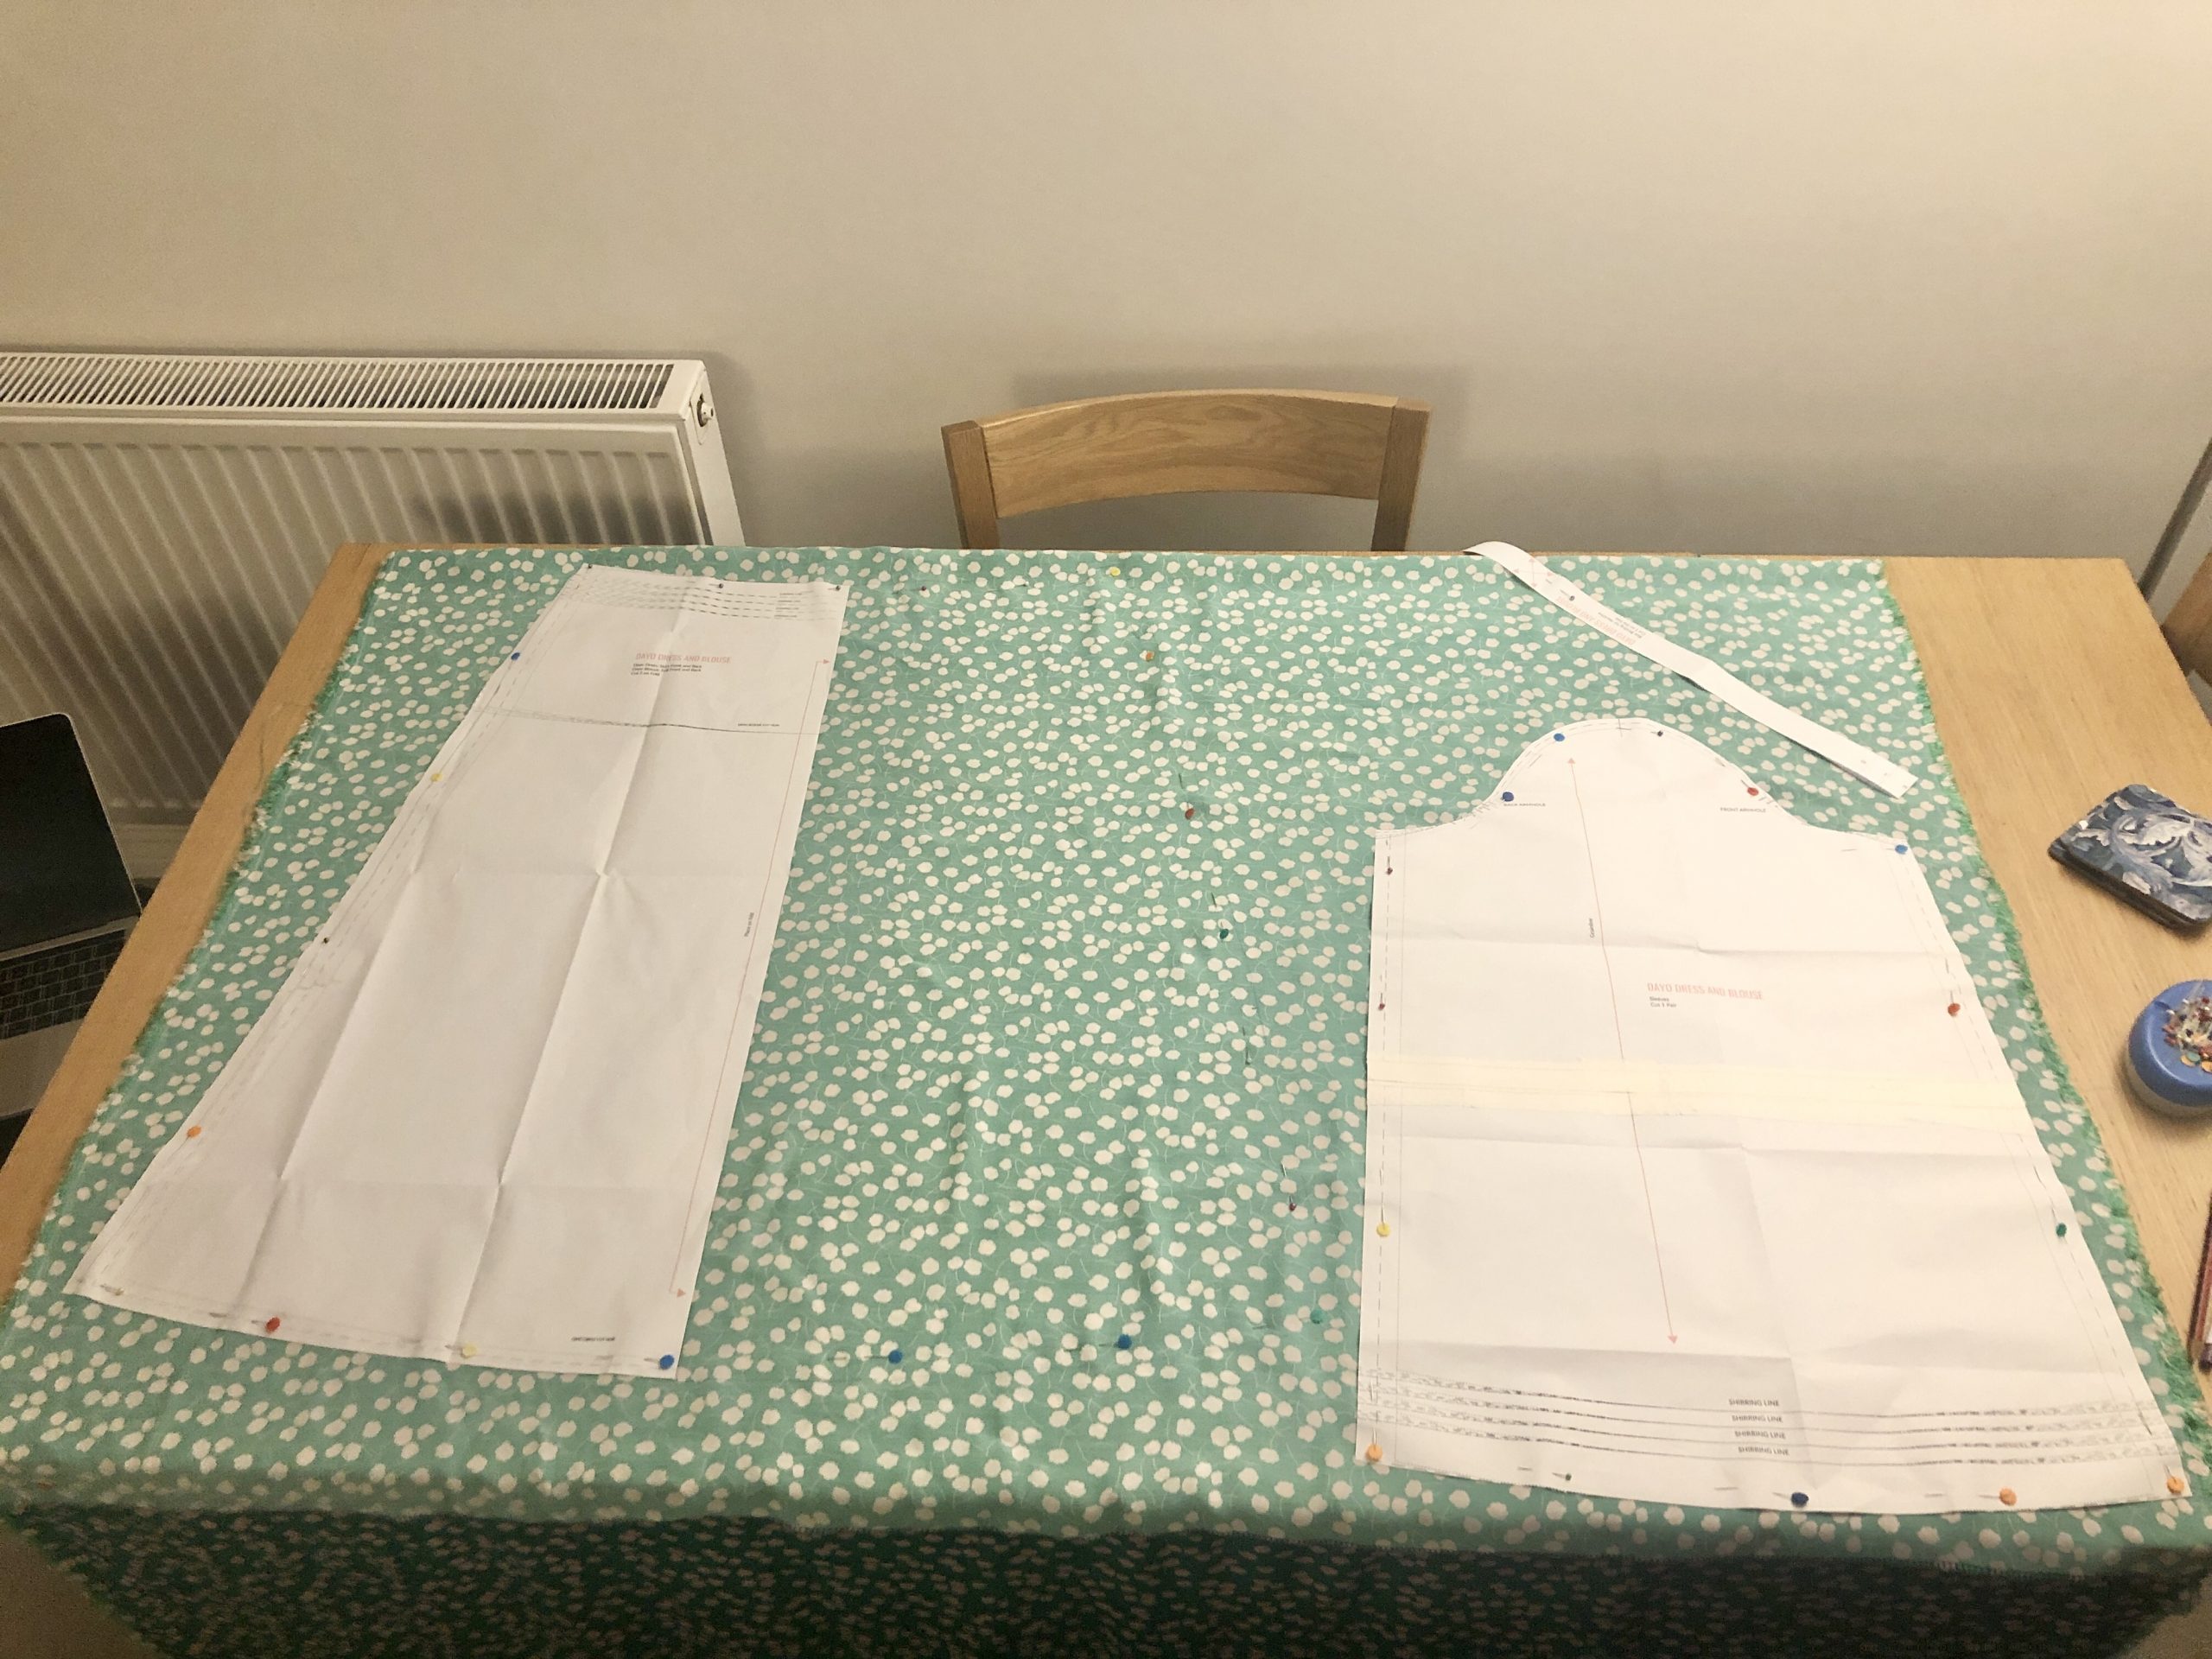
I used a purple disappearing pen to mark half the outline of the skirt and pinned the pattern onto the fabric for the other half. I placed some pins though the fabric within the outline of the purple pen to keep the fabric together while cutting.
I should have turned the skirt pattern the other way up so the lower edge sits to the top of this image. This would echo the diagram for the pattern layout in the instructions, but my pieces fitted so it was ok.
I cut out the sleeves and the skirt through the double layer of fabric and then cut out the bias binding strip through a single layer of fabric.
I used a cutting mat and rotary cutter to cut the bias strip to obtain a straighter piece.
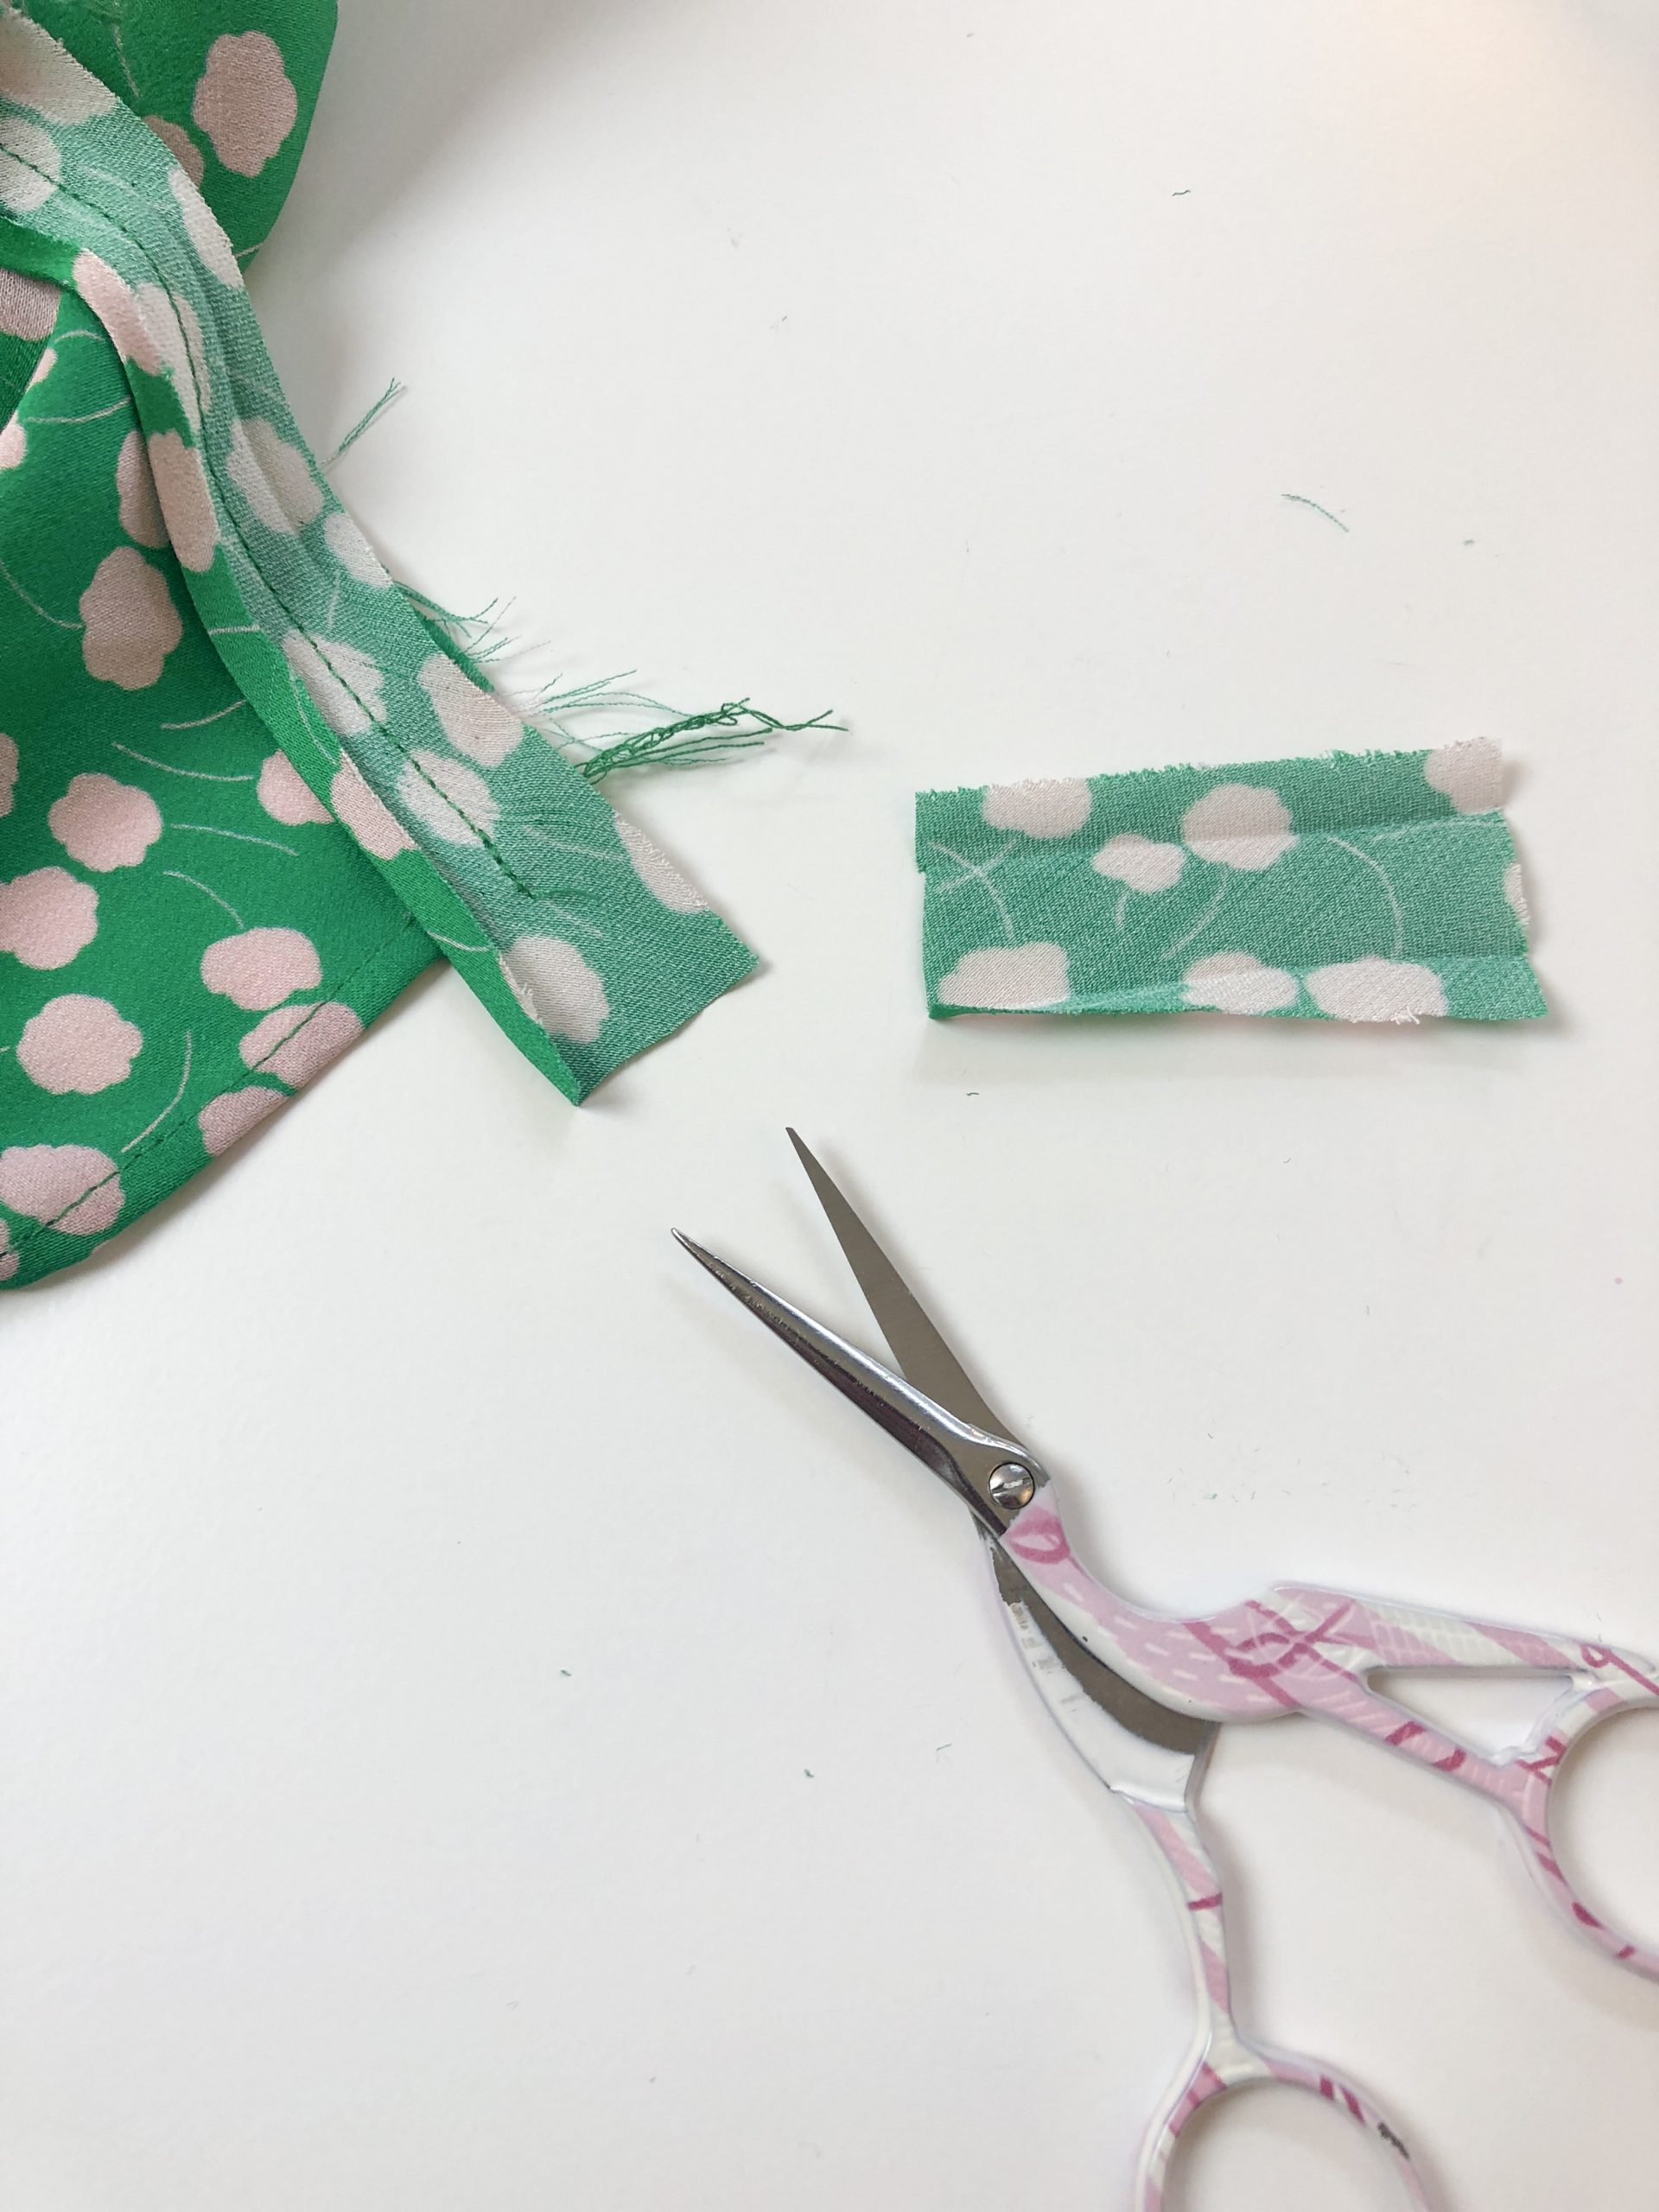
After cutting out all the pieces I snipped 5mm (scant 1/4″) into the notches and didn’t bother to transfer the lines for the shirring. I’m going to measure and mark those later.
The seam allowance on this pattern is 1cm (3/8″) so keep any snips short.
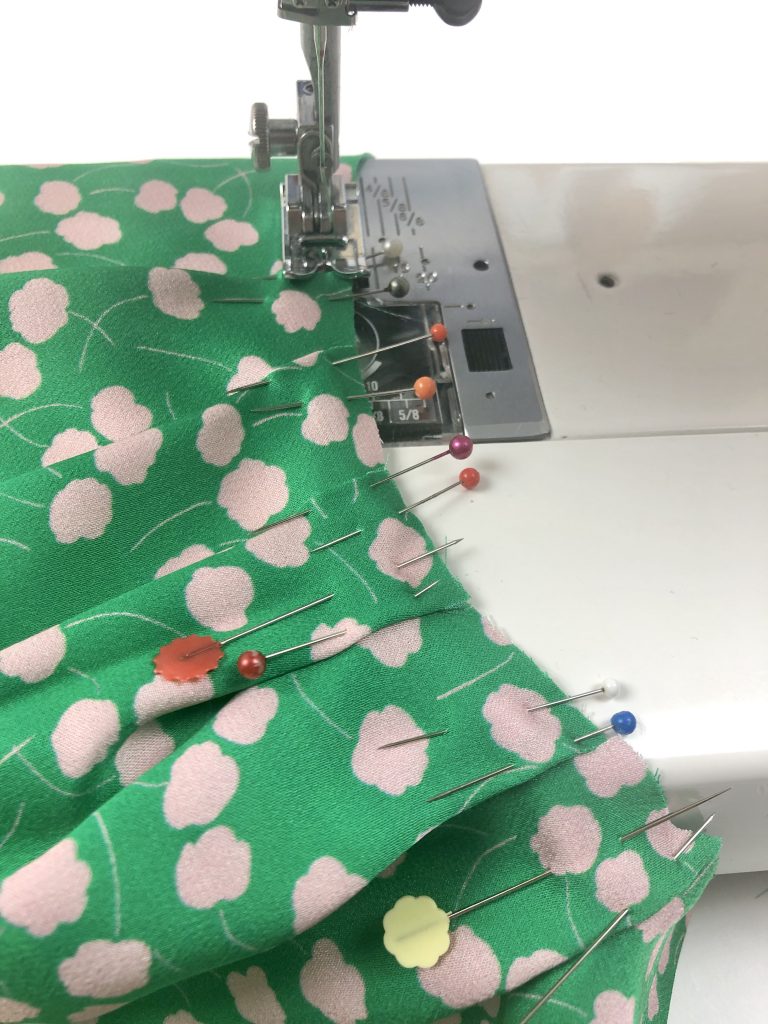
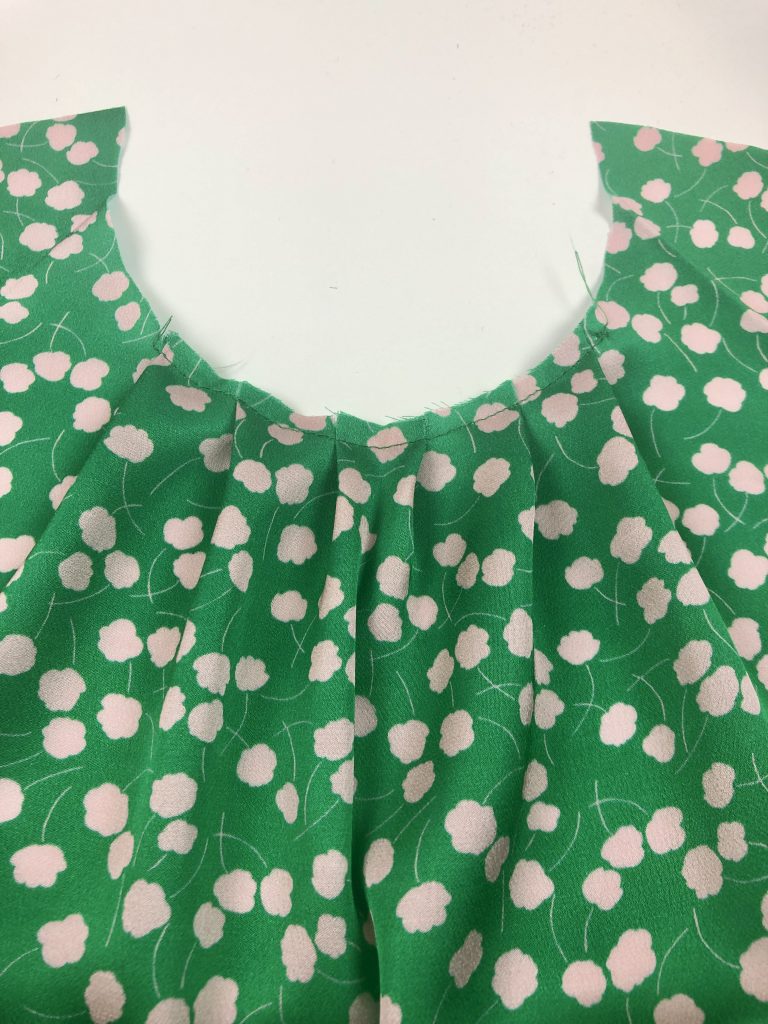
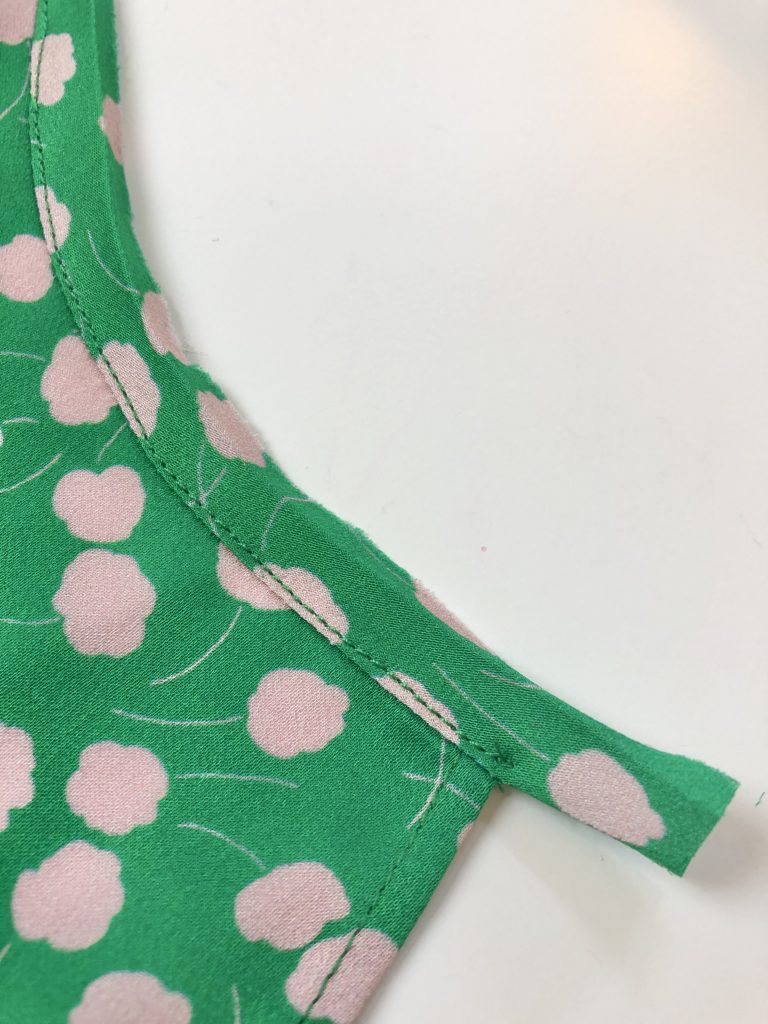
The first part of the construction is to form the knife pleats along the neckline. With the fabric right side up, I matched the snips, folding in the direction of the arrows on the pattern.
I use a lot of pins when forming pleats to make sure that the fold sits correctly on the underside of the fabric, as well as on the top.
I have a video on how to form knife pleats over on my YouTube Channel, which you’ll find below. I made this for my students to follow to create a sample of different sewing techniques.
I think I must have been very tired the day I made this as I’m not sounding my upbeat self!
I really love the pleat detail around the neckline.
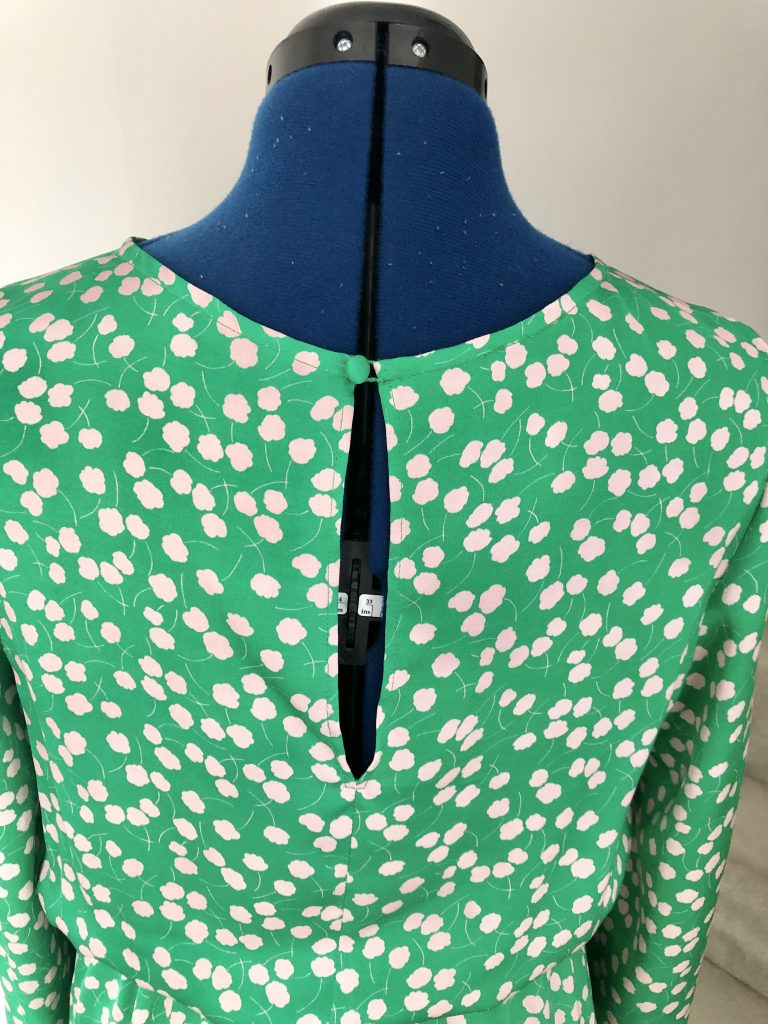
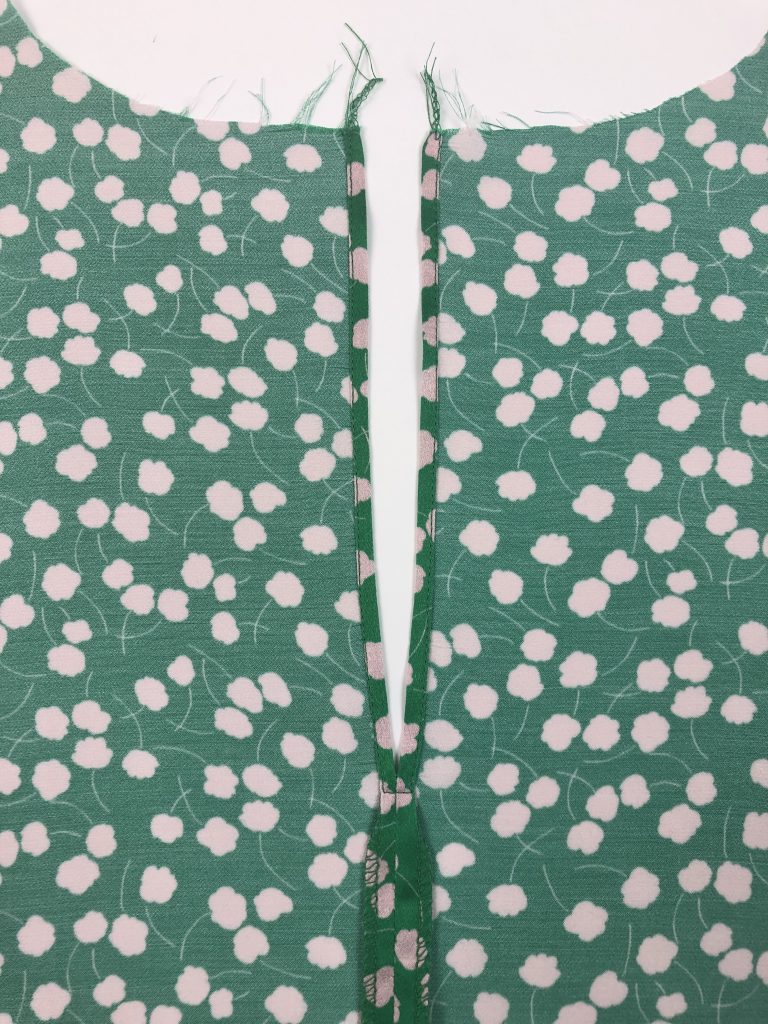
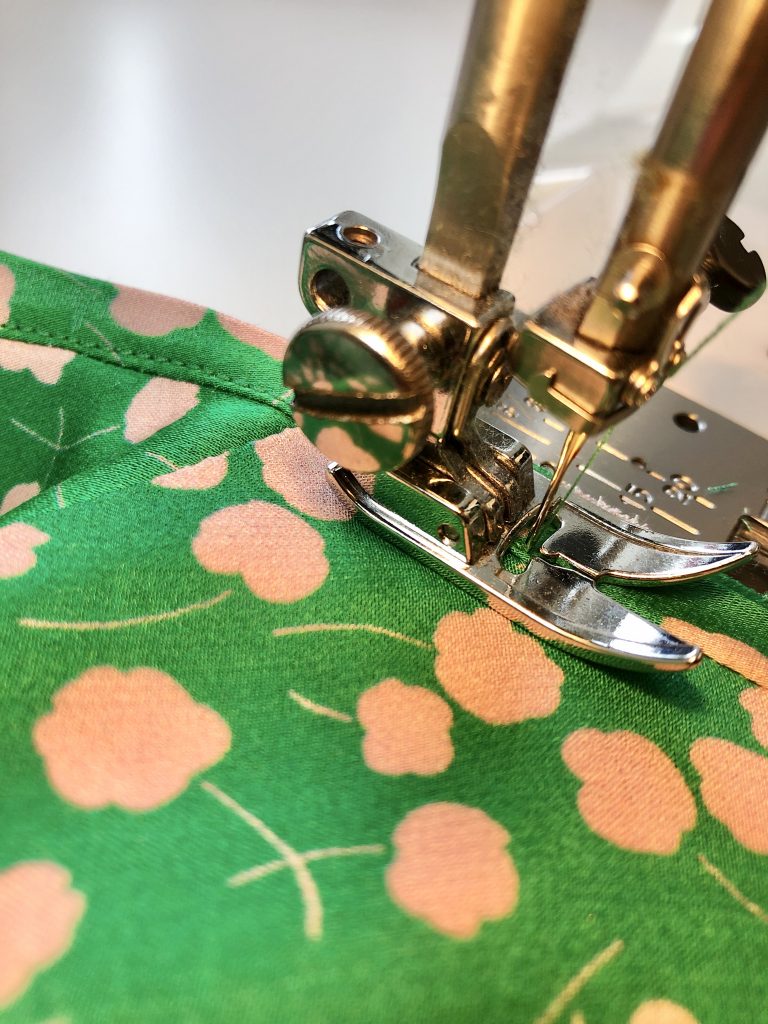
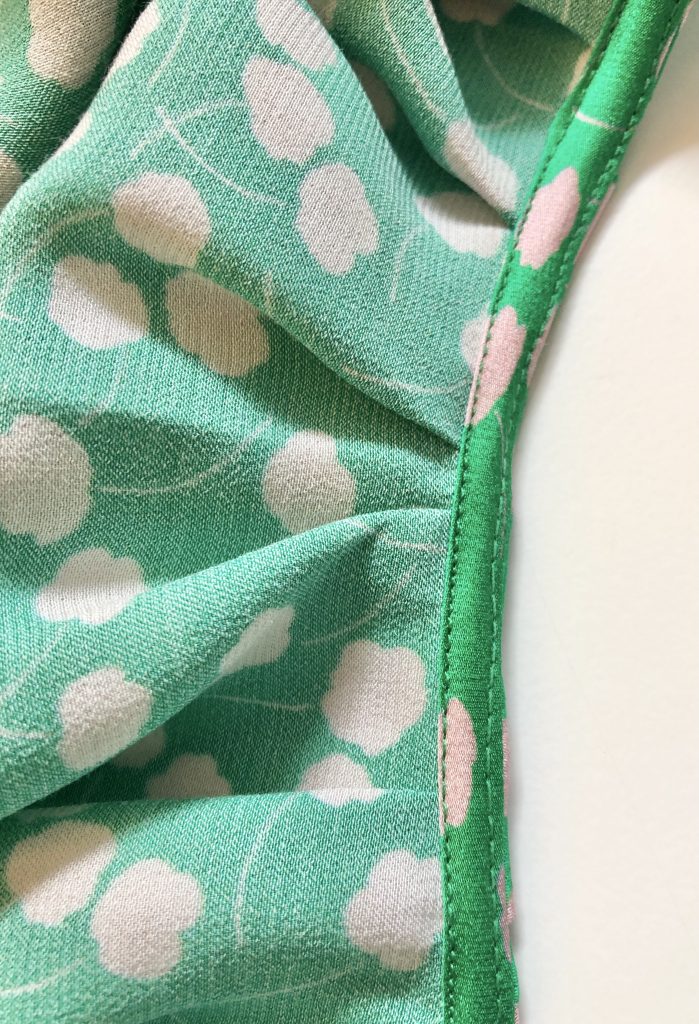
The next step is to finish the back seam and create the opening at the centre back.
I chose to edge finish the whole length of the opening and not just the section from the notch to the lower edge as the instructions suggest.
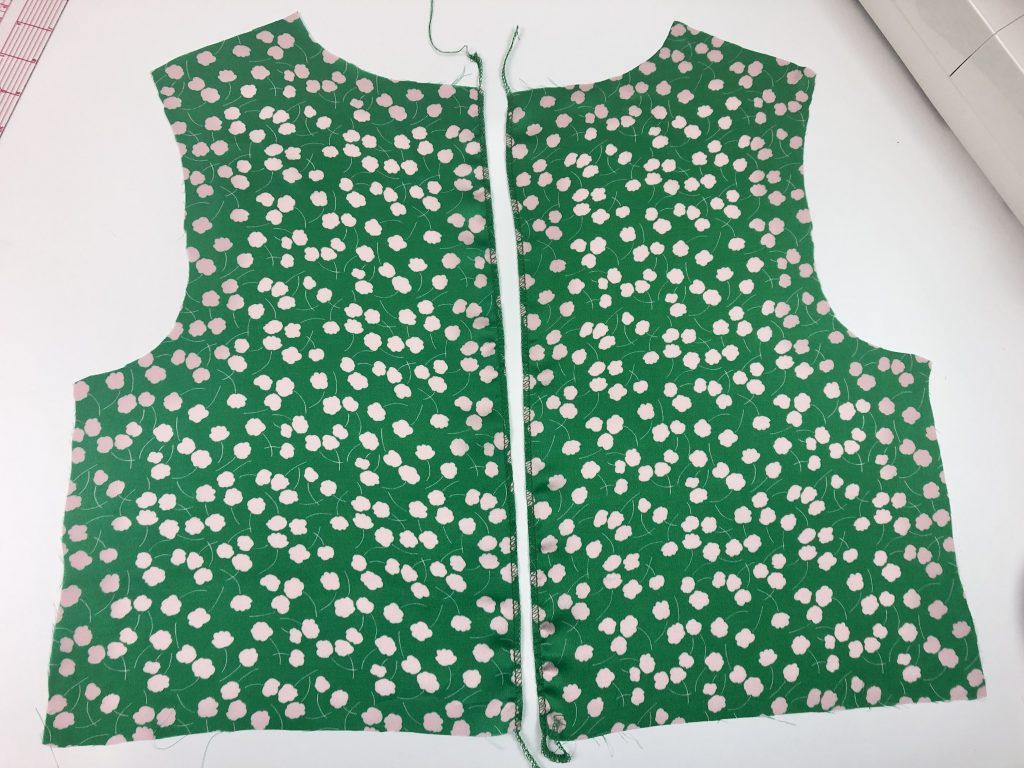
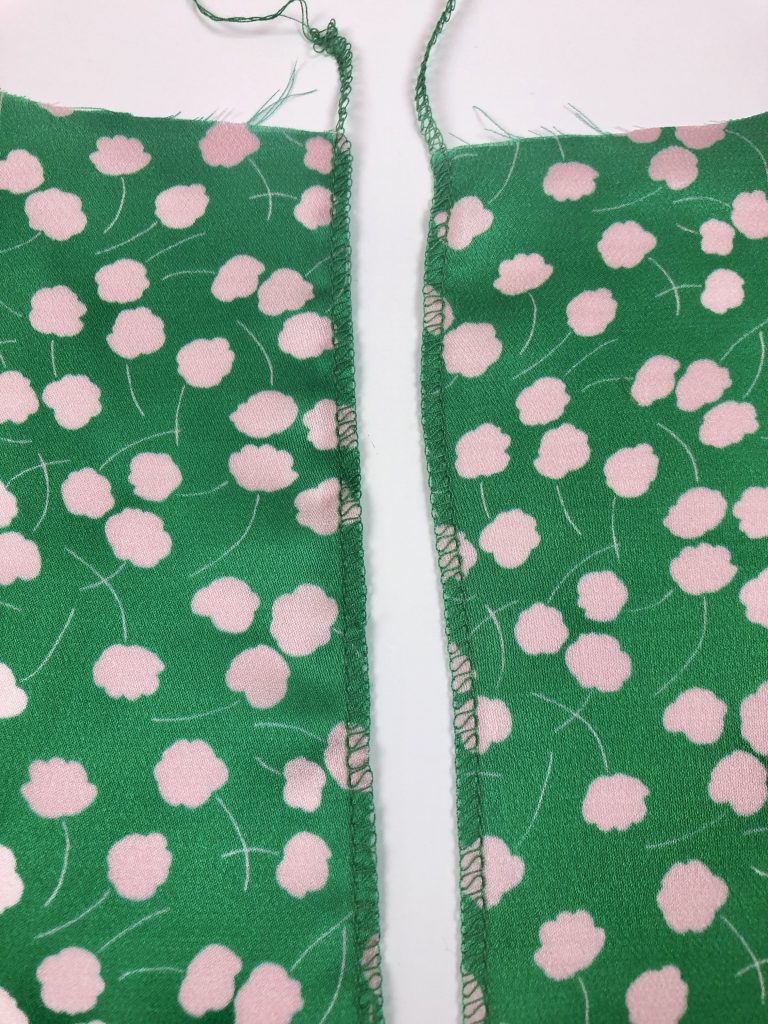
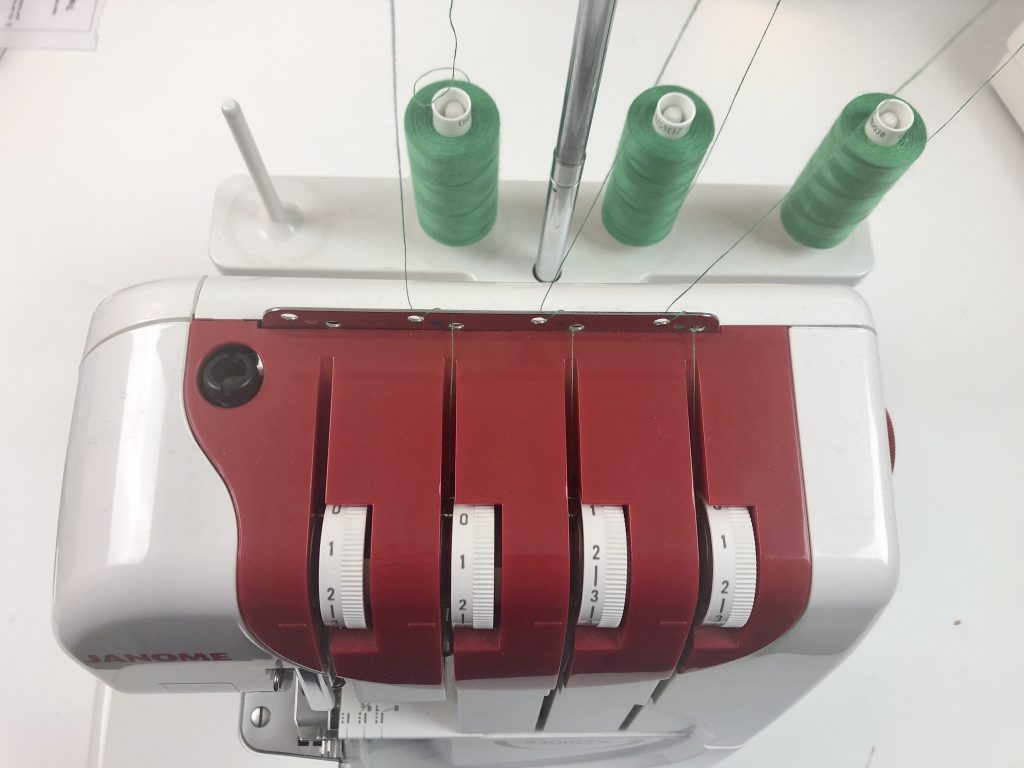
I’ve used a 3-thread narrow overlocker (serger) stitch.
This is my preferred method for overlocking (serging) woven fabrics which don’t easily fray and is ideal when the seam allowance is only 1cm.
To create a narrow 3-thread stitch you need to sew only with the right needle. Simply take out your left needle and remove the corresponding thread.

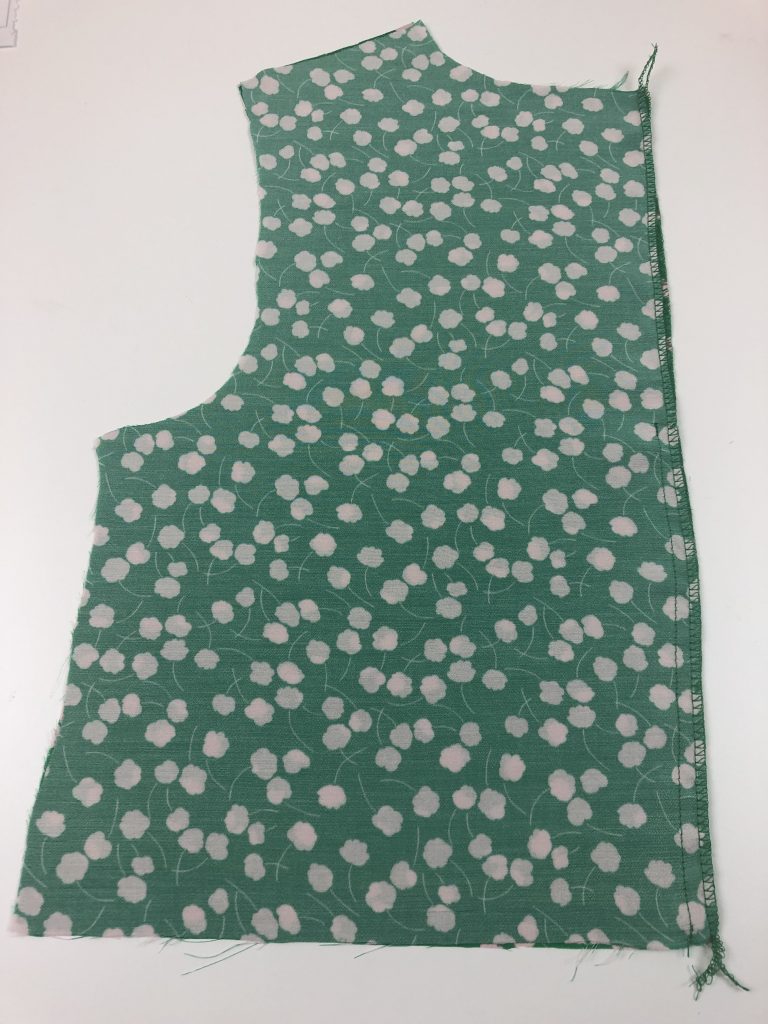
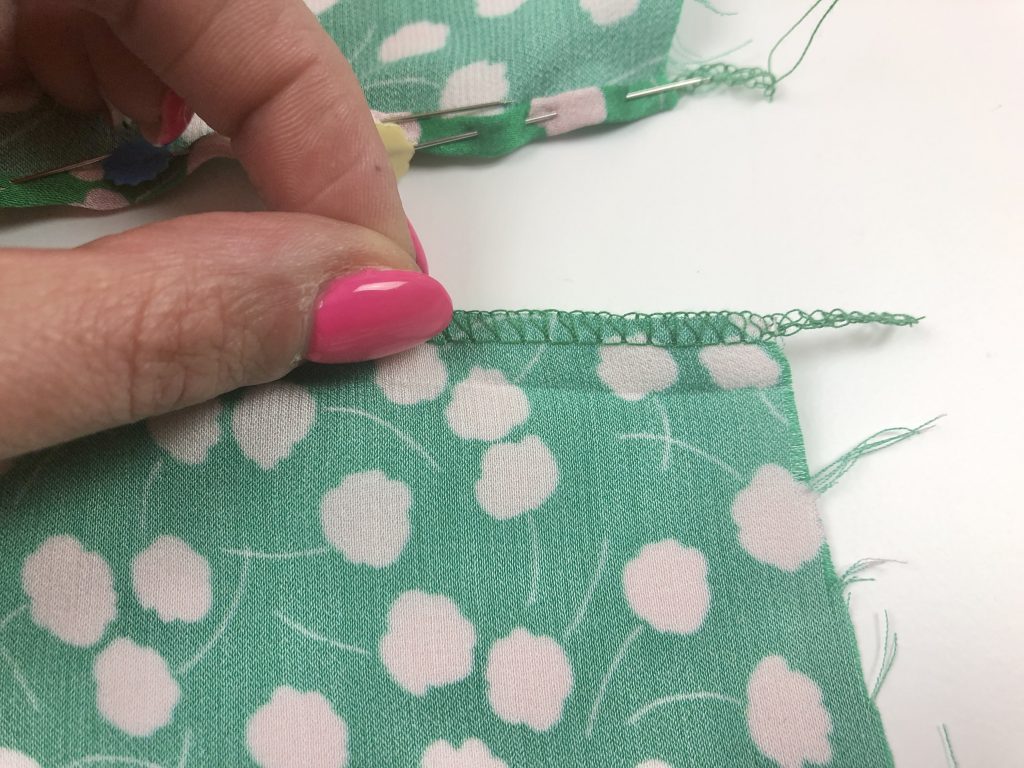
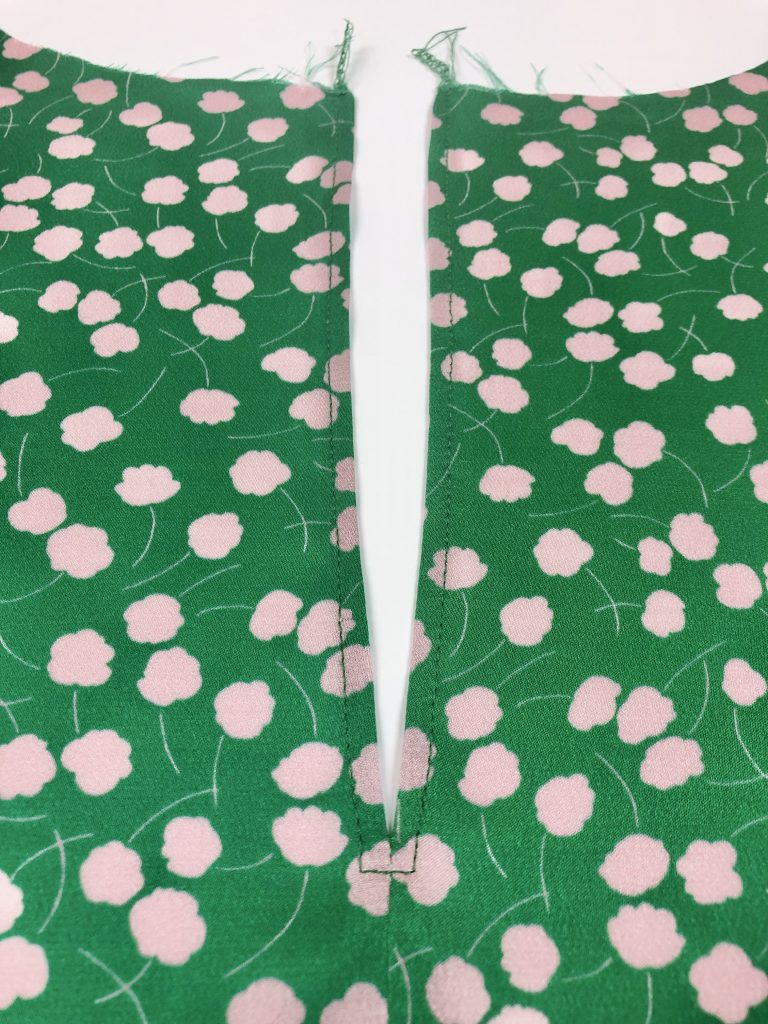
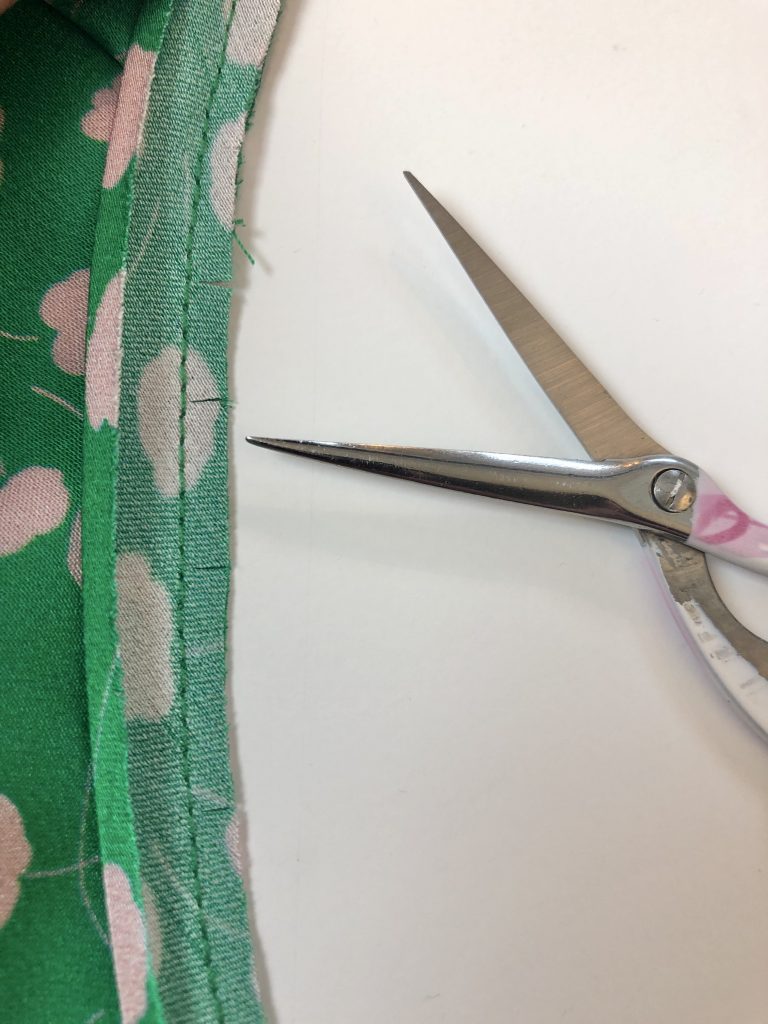
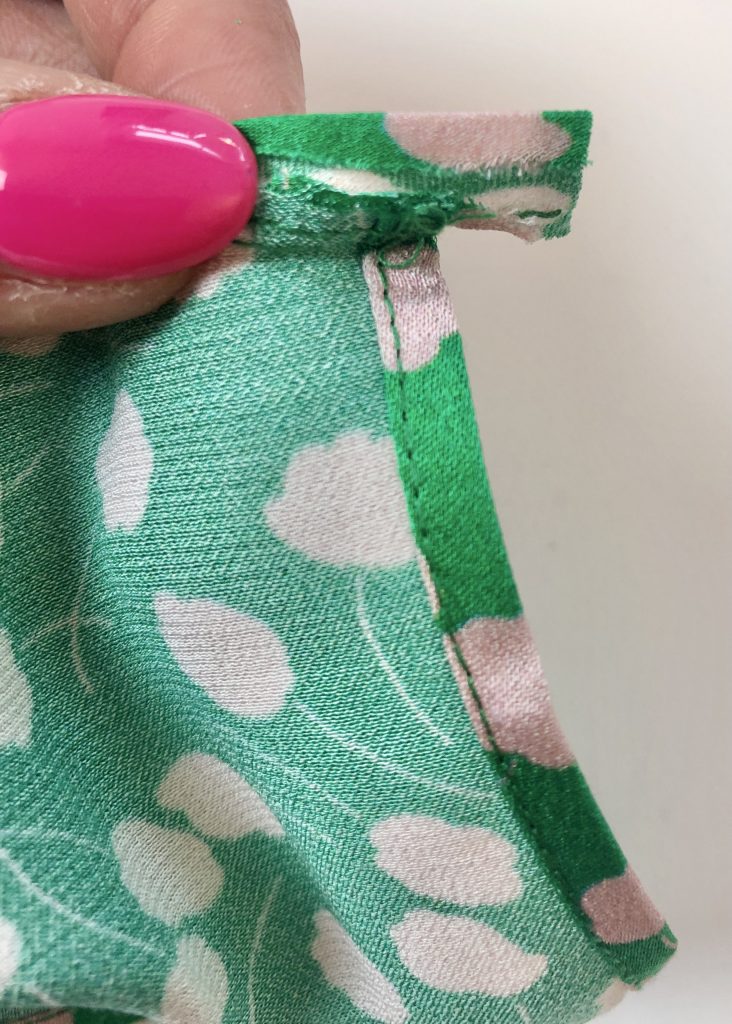
The next step is to sew the back seam from the notch to the lower edge and then press open the seam allowance.
I continued to press open the seam allowance above the notch, pressing the overlocked edge over by 1cm to form a crease.
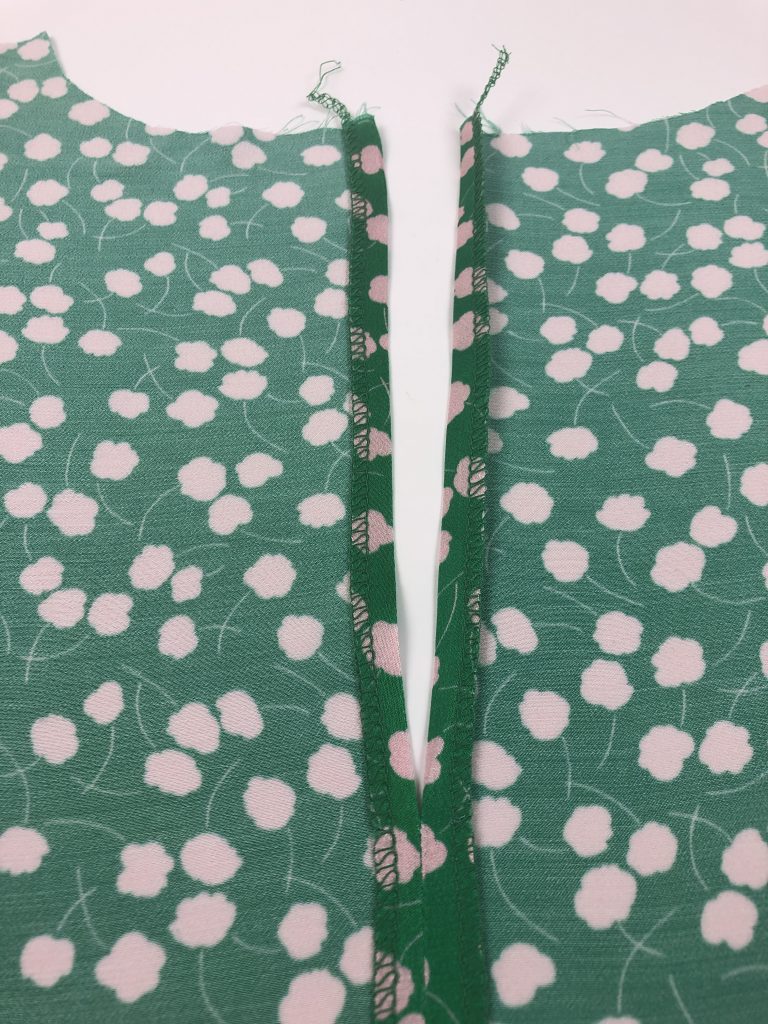
The crease formed above will help me with the next stage.
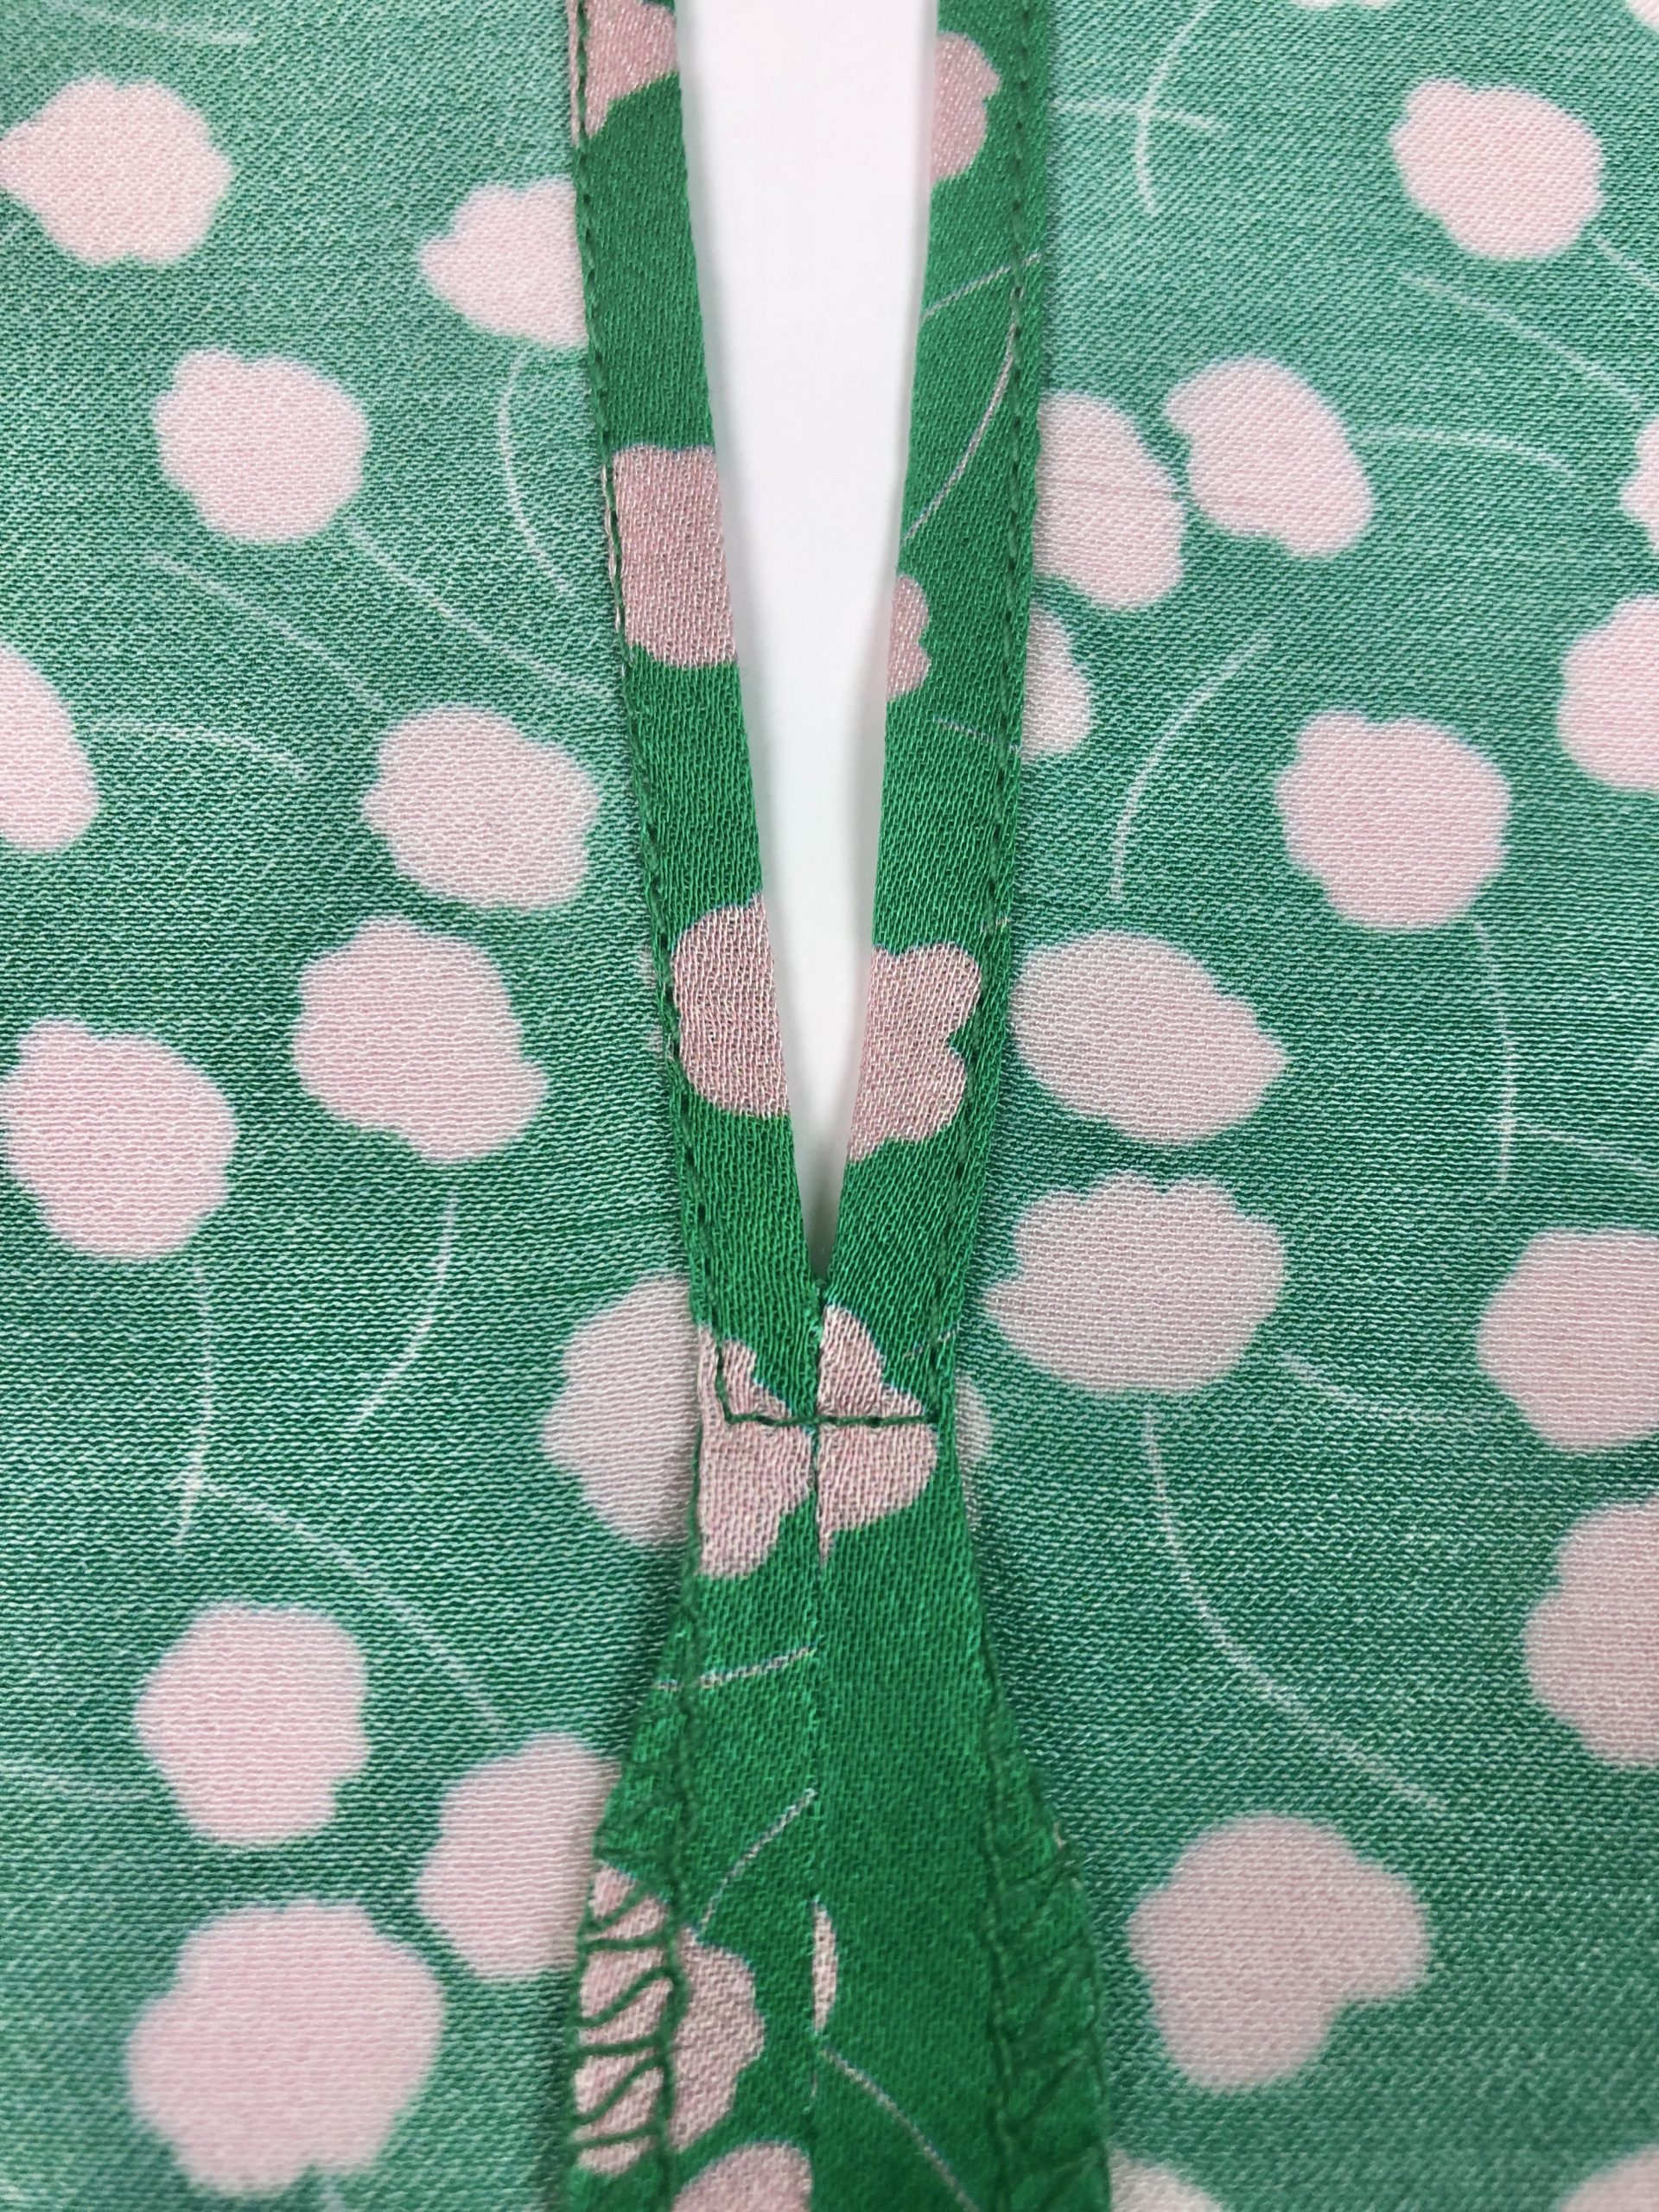
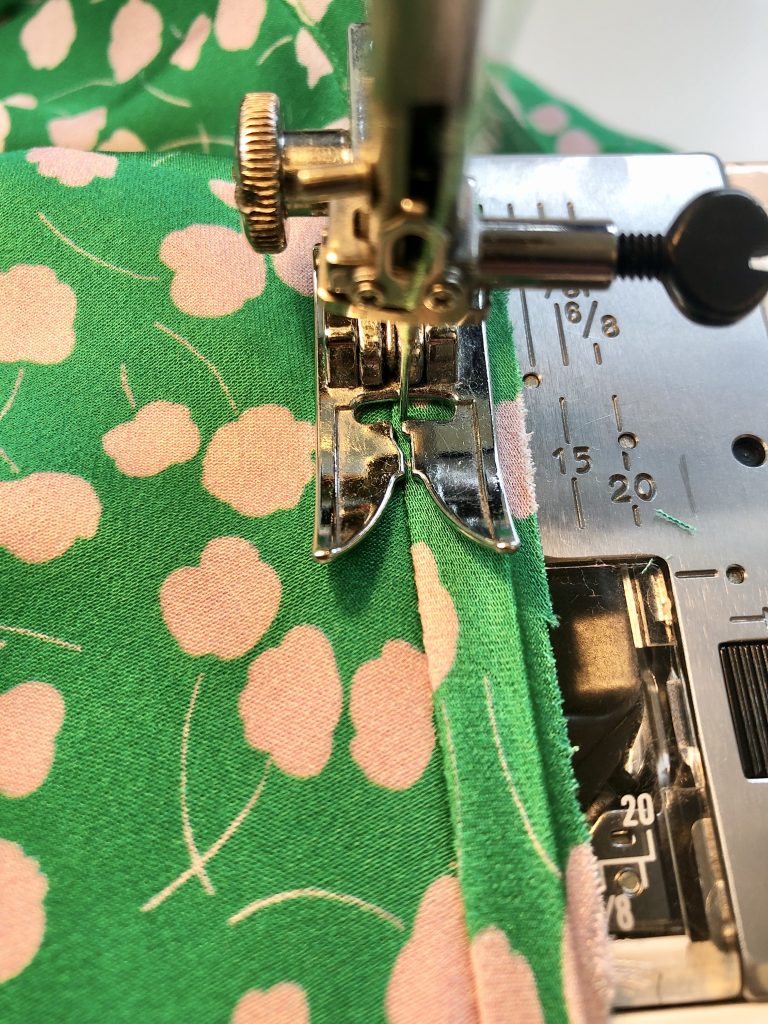
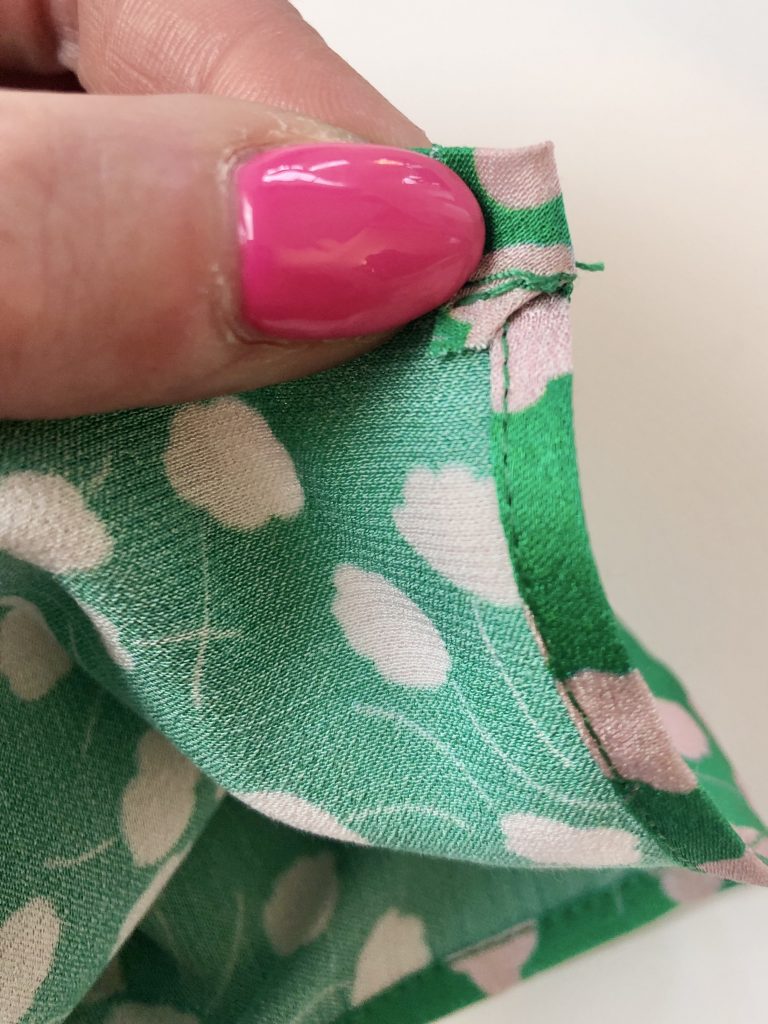
Take each side one at a time. Open out the folded edge and turn the overlocked edge towards the crease line.
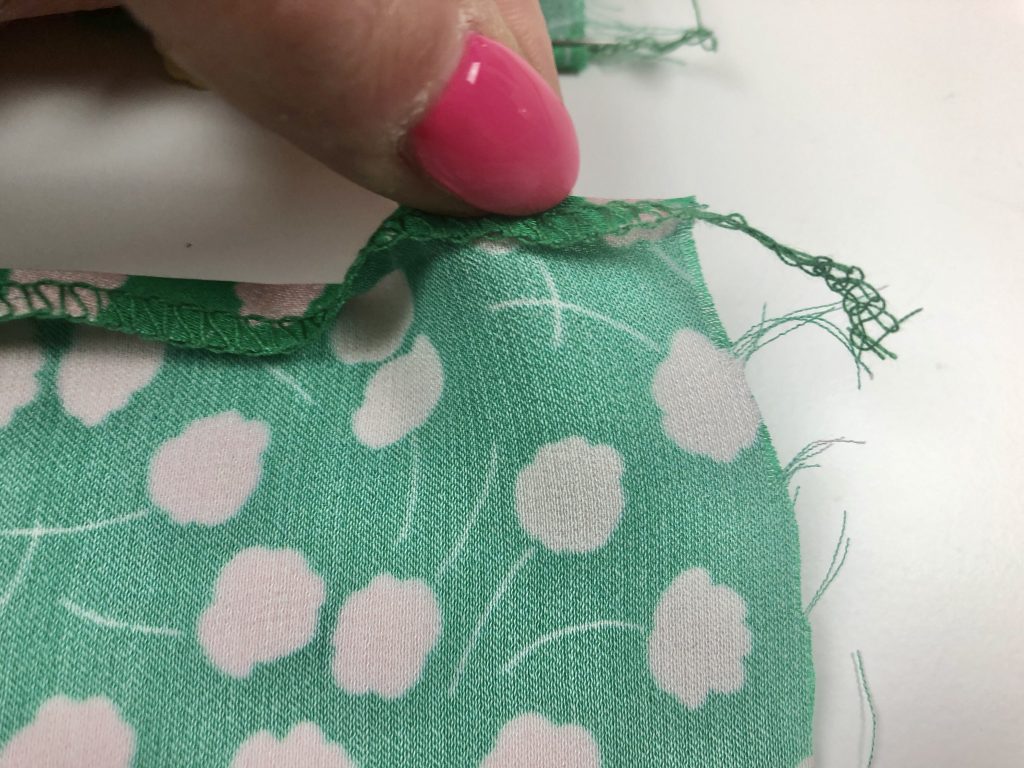
Then fold again along the crease and pin in place.
At the notch, make sure that the folded section is even, (or as even as possible) on each side.
Stitch the folded back opening as described in the instructions, pivoting just below the notch.
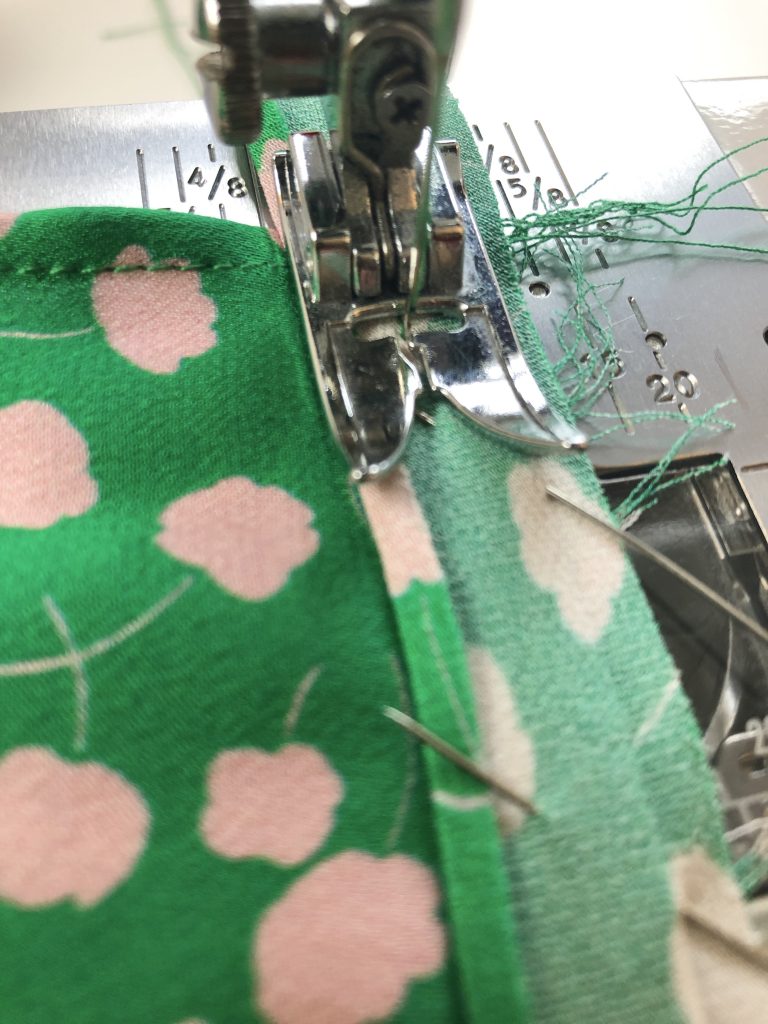
Next, the sleeves are seamed and hemmed.
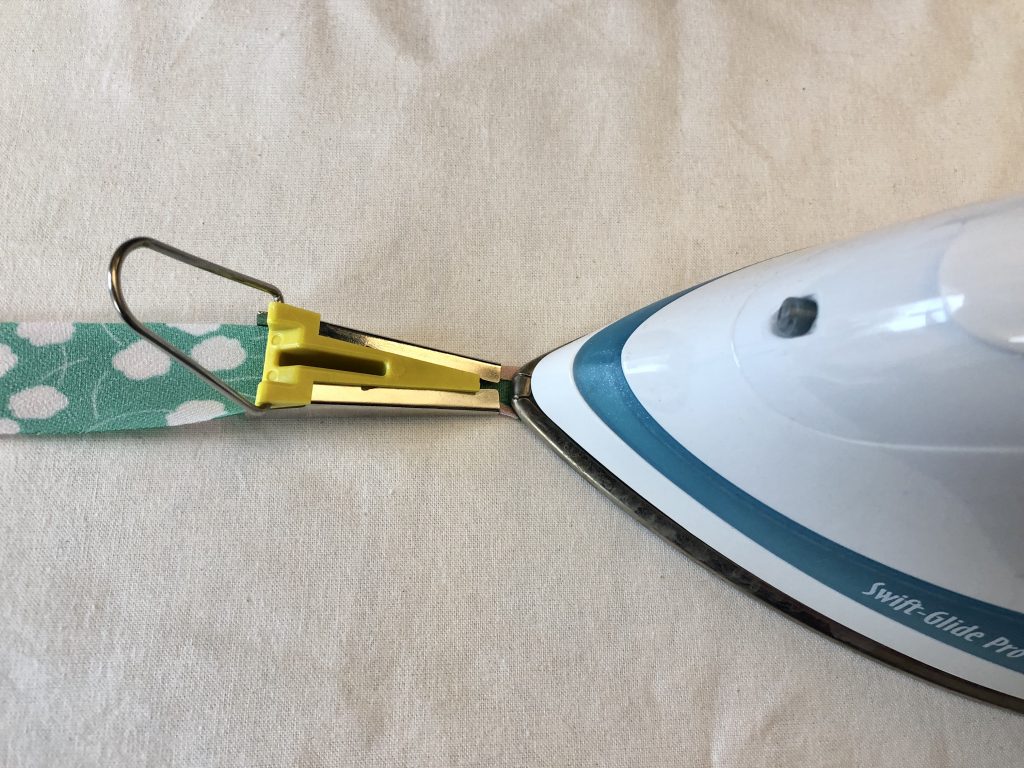
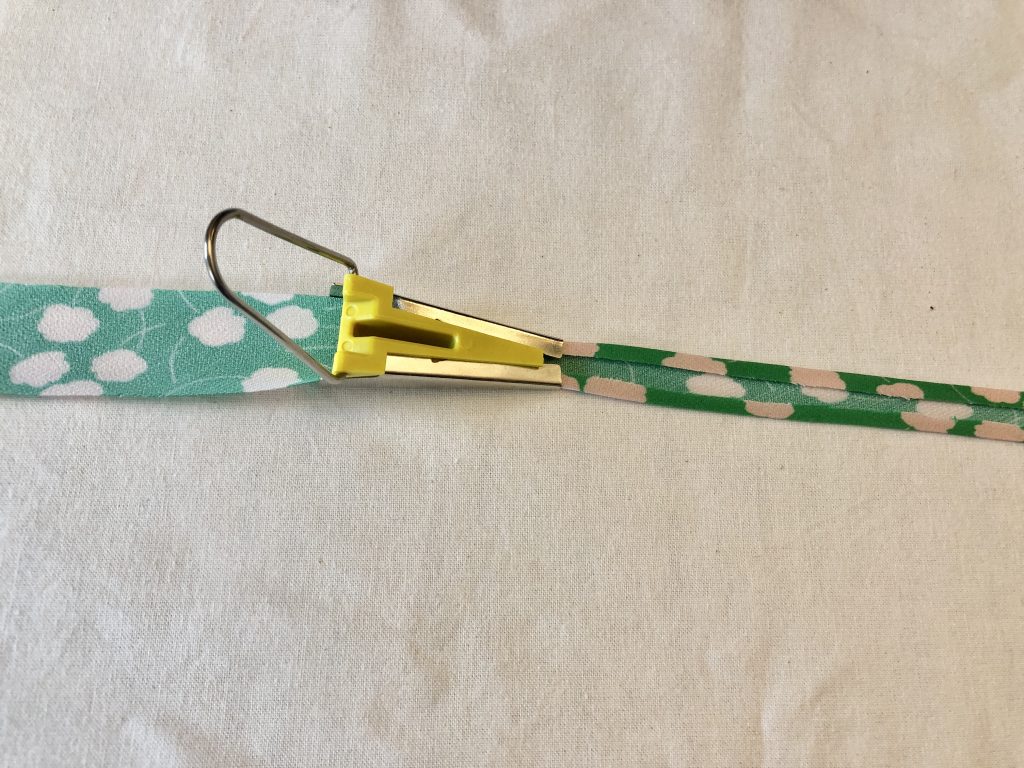
I used a technique similar to the one above to form the hem: overlock the edge first to make it easier to handle, fold up the hem by 1cm to form a crease, open out the fold, fold the overlocked edge to the crease and then fold again along the crease, pin in place and stitch.
I’ve made a video showing this hemming technique which you can see below. This was made for my students to help them create a sample of various sewing techniques and uses a 3cm (1 3/16″) seam allowance.
Using Shirring Elastic
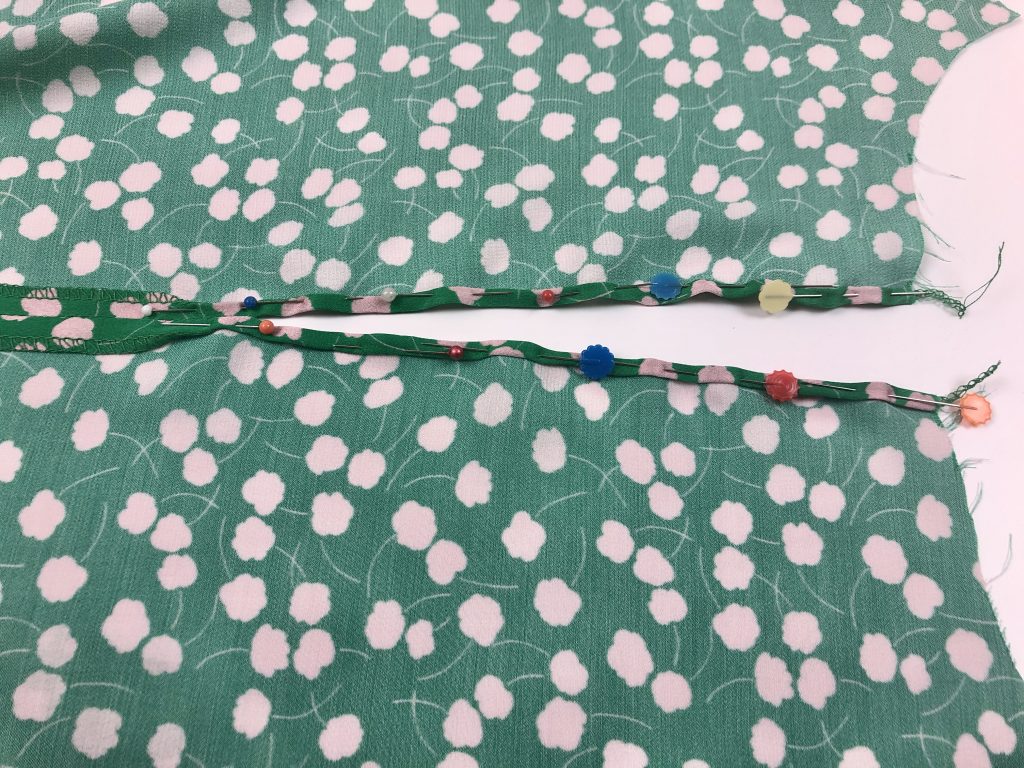
After hemming the sleeve you’ll need to add shirring elastic to the cuff.
The instructions give lots of details about how to do this and suggest drawing lines onto the fabric.
I’ve made a video detailing how I added the shirring elastic, which you’ll find below. I’ve also written a separate post on sewing with shirring elastic.
I used the markings on my needle plate to get started and then used the edge of the foot as a guide to keep the lines of shirring an equal distance apart.
The first line of shirring is 2cm (3/4″) from the hemmed edge so I lined the edge of the sleeve to the 2cm marking on the needle plate.
Instead of stopping and starting to form separate lines, I worked in a spiral. As I reached the end of the first line I angled my stitching away and then lined the first row of shirring to the edge of my presser foot, continuing in this way until I had sewn 5 rounds.
At the start and end of the stitching I back tacked to secure the threads. After sewing, I tied the thread and elastic ends together, darned these into the seam allowance and trimmed off the excess.
Using this method meant that I only had thread ends at the start and at the end of the stitching, instead of multiple threads and elastic ends at the end of each row.
This might look a little odd on the inside, but on the right side it’s not noticeable and this method saves lots of time on sewing and tying knots in the elastic.
Just make sure you have a full bobbin of elastic before starting.
A video showing 3 ways to sew with shirring elastic on a sewing machine can be found below.
The demonstration of sewing shirring elastic in the round starts at 11:11.
Inserting the Sleeves
After sewing the shirring elastic into the sleeves these are set into the armholes.
Usually sleeves are eased into the armhole but this is not necessary for this pattern as the sleeves have been drafted to fit exactly into the armholes. This makes them relatively quick and easy to insert.
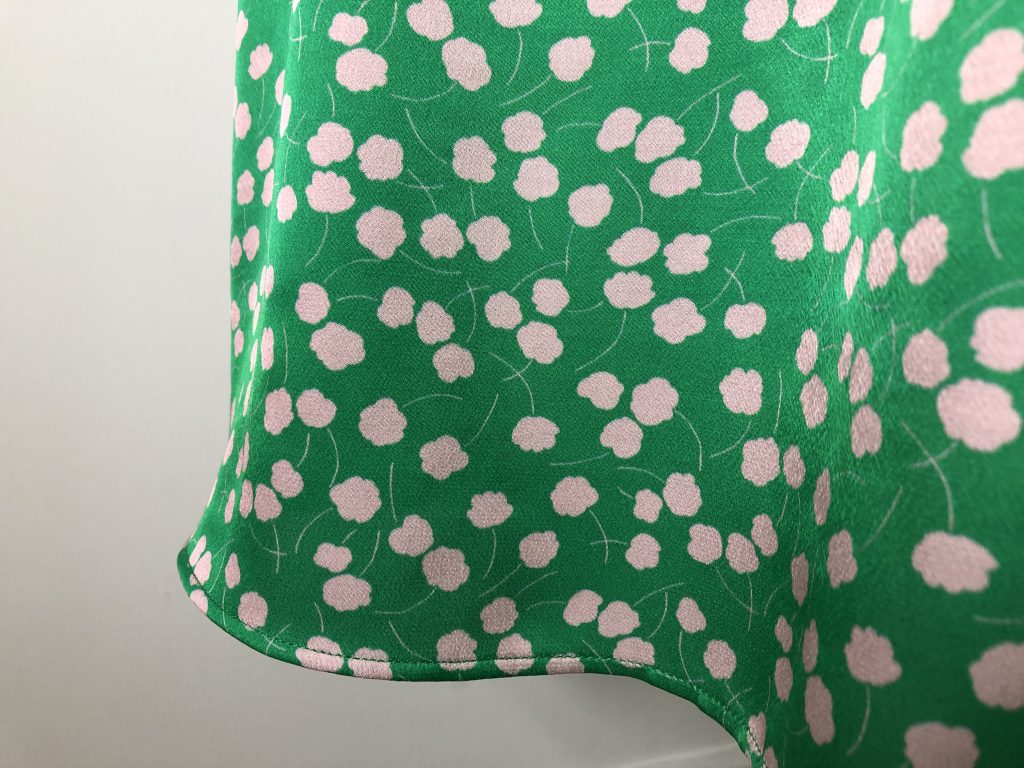
After inserting the sleeves, the skirt is hemmed. I used the same technique that I used on the sleeves but with a 2cm hem allowance this time.
After hemming, the skirt is attached to the bodice, the seam edge finished and then pressed towards the skirt.
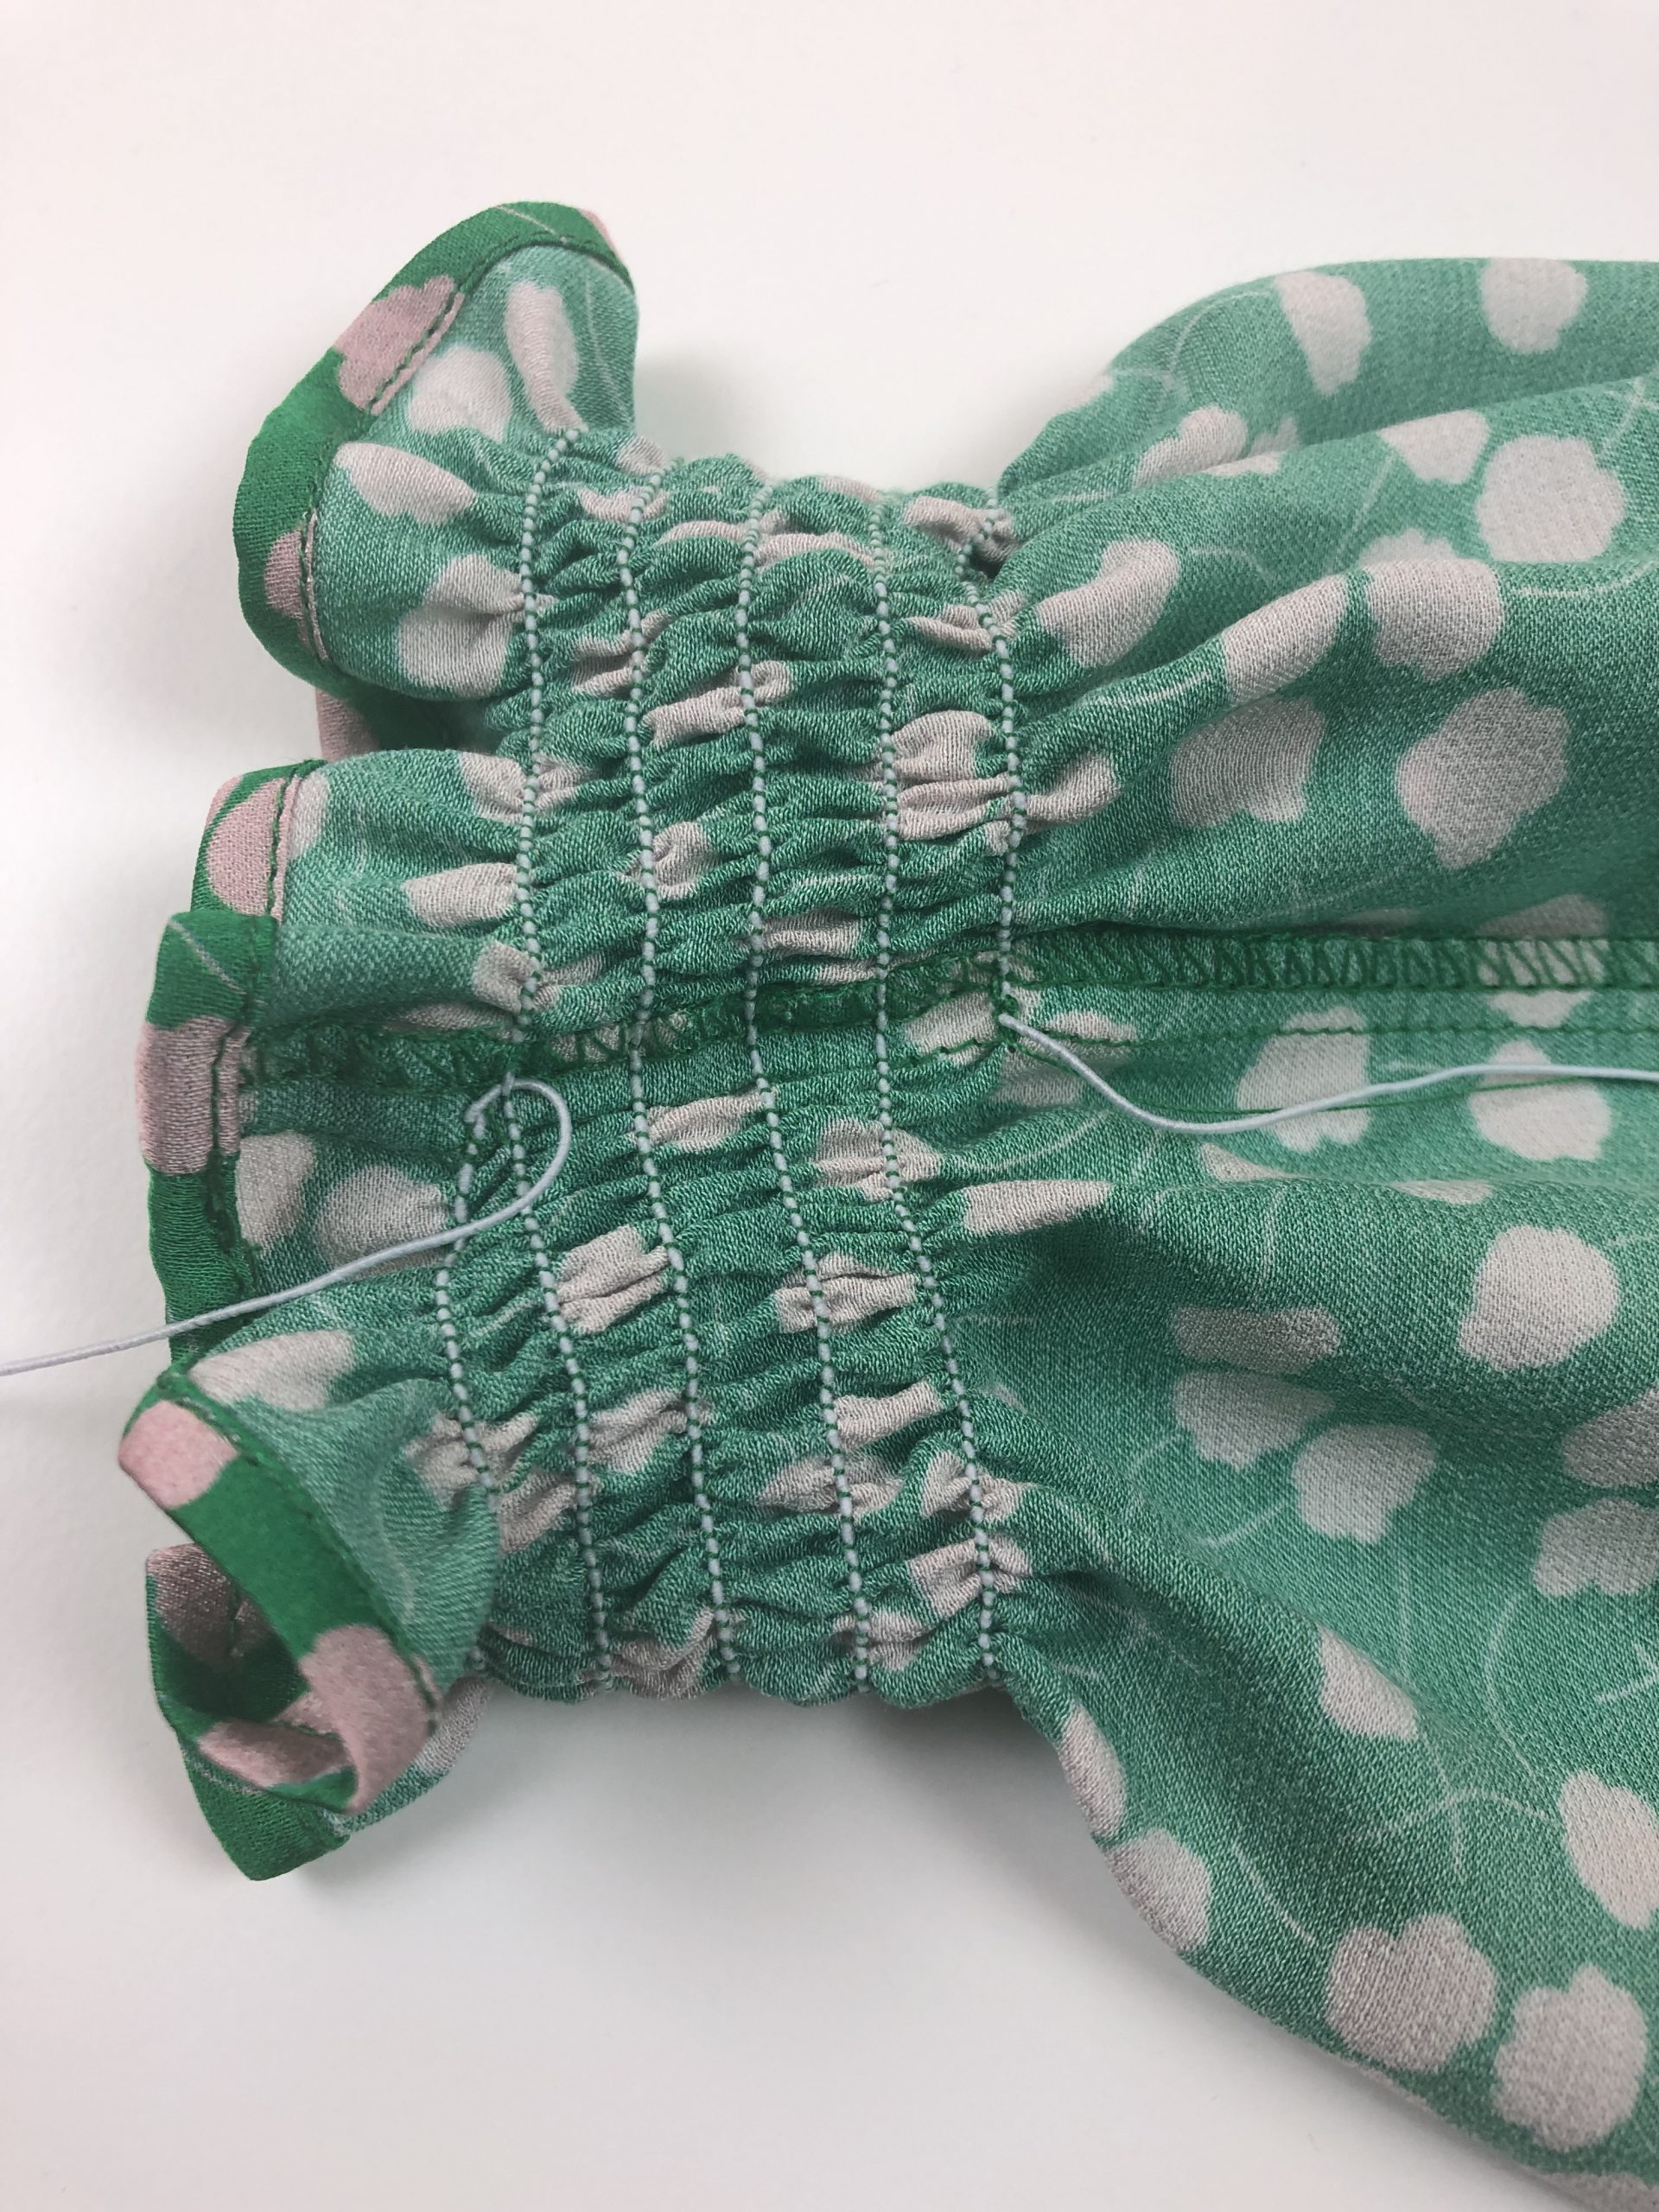
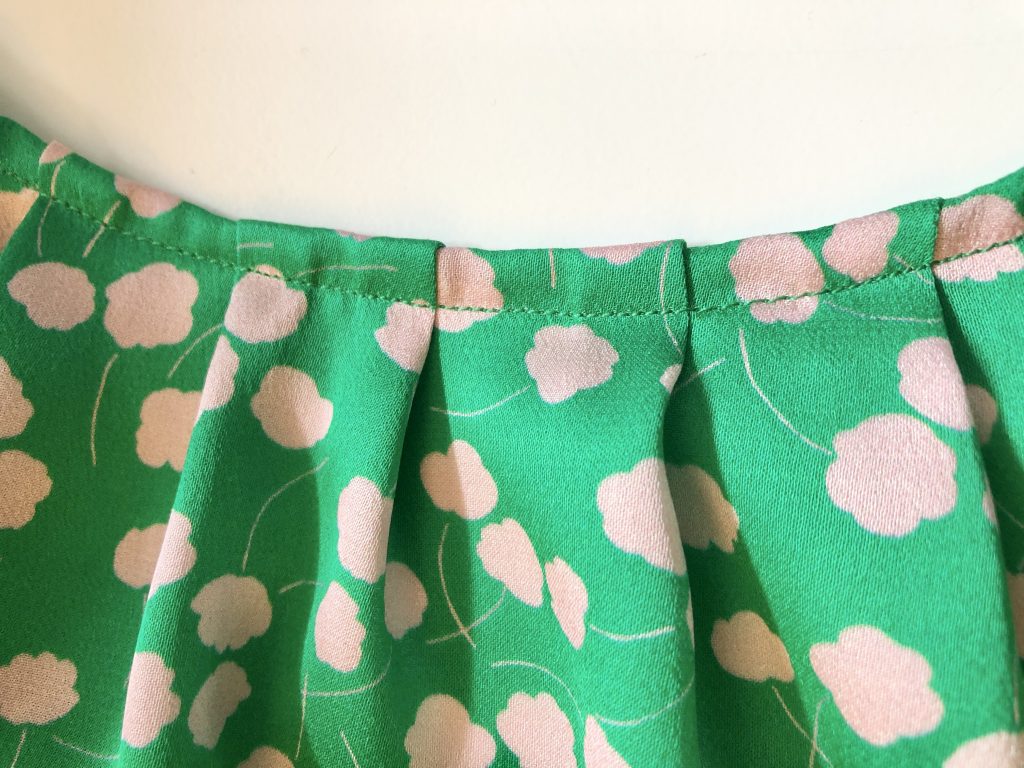
Next, shirring is added to the skirt.
I found that the bodice/skirt seam allowance was slightly in the way for the first line of shirring. I folded the seam allowance towards the bodice and stitched just through the skirt to ensure that each row of shirring would gather up by the same amount. Sewing shirring elastic through more layers of fabric could give less gathering.
I used the spiral shirring technique that I used on the sleeves, starting the first line a presser foot width away from the bodice/skirt seam line.
Make sure you have a full bobbin of elastic before starting this section as it uses much more elastic than the cuffs.
You may find that you have to stop and start your shirring if the bobbin doesn’t hold enough elastic, so decide on a mid point at a seam line where you will stop and back tack to secure the threads, then reload the bobbin with elastic and start again to complete the waist shaping.
Binding the Neckline
I sometimes find that adding bias binding to a neckline can be a fiddly job and this was one of those occasions.
I cut the bias binding strip with a rotary cutter to make sure it was straight and used a 12mm bias tape maker to help with the folding and pressing.
The raw edges of the tape don’t match perfectly in the middle but this works fine for me.
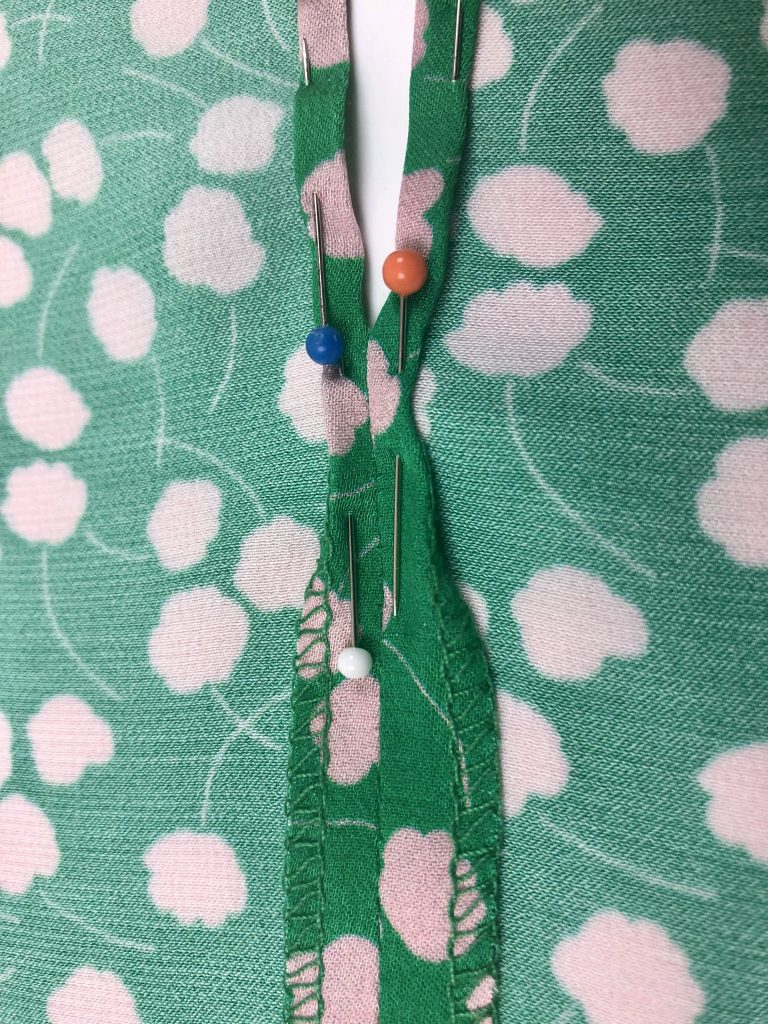
Before attaching the binding, check that the back opening is the same length on each side. I found that my fabric had moved a little and one side was slightly longer than the other, so I trimmed a little bit off.
I opened out one of the folds of the binding and matched the right side of the bias tape to the right side of the neckline, stretching it into place slightly and leaving a little overhanging each end.
I used a 1cm seam allowance to attach the binding strip.
I trimmed off the excess fabric leaving around 1.5cm.
Next, the seam allowance is trimmed to 5mm and clipped.
The clipping will allow the fabric to sit in the curve of the neckline without puckering.
The binding is then understitched by sewing through the binding and the seam allowance.
To understitch, press the seam allowance towards the binding and sew from the right side, stitching onto the binding about 2mm from the seam line.
The overhanging end is folded to the wrong side and then the whole binding strip is turned to the inside of the garment.
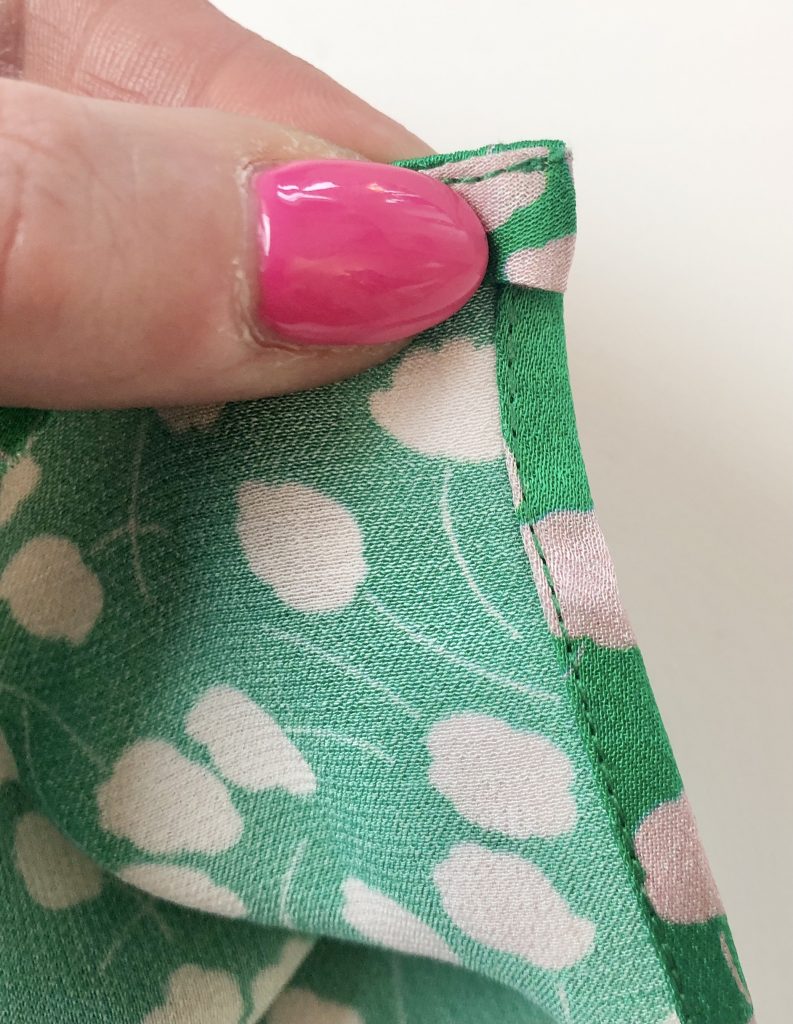
The binding is pinned in place and stitched from the wrong side.
This is a little fiddly, especially when sewing over the pleats. You might find it helps to hand tack the pleated section first before sewing on the machine to make sure the pleats sit correctly.
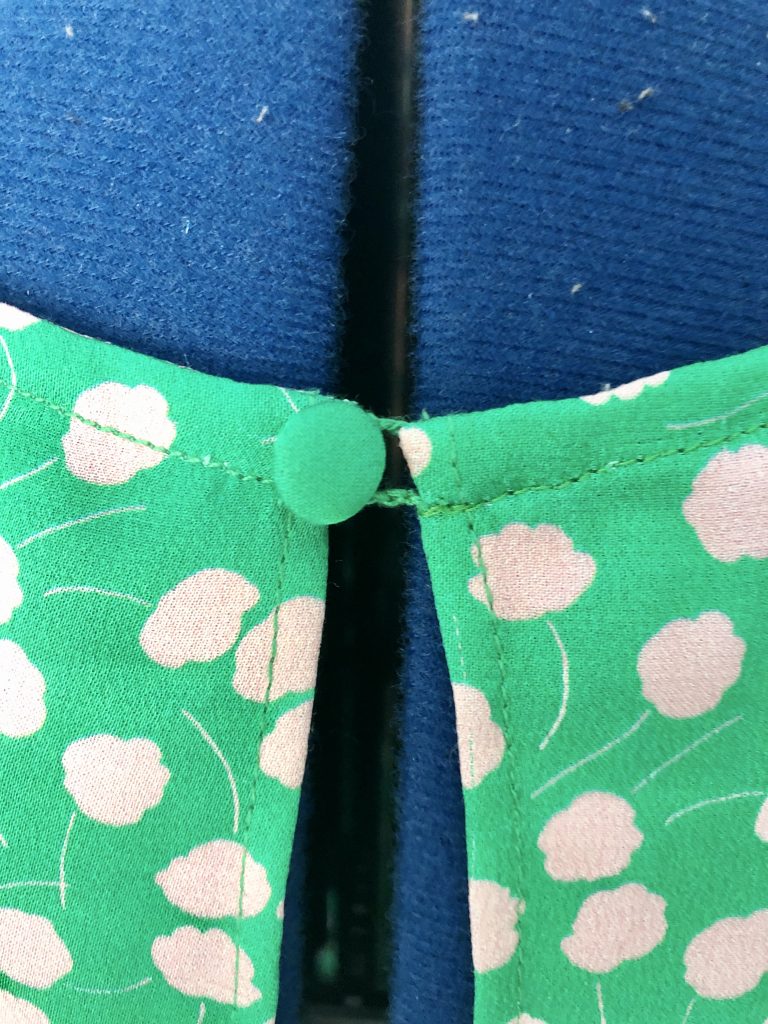
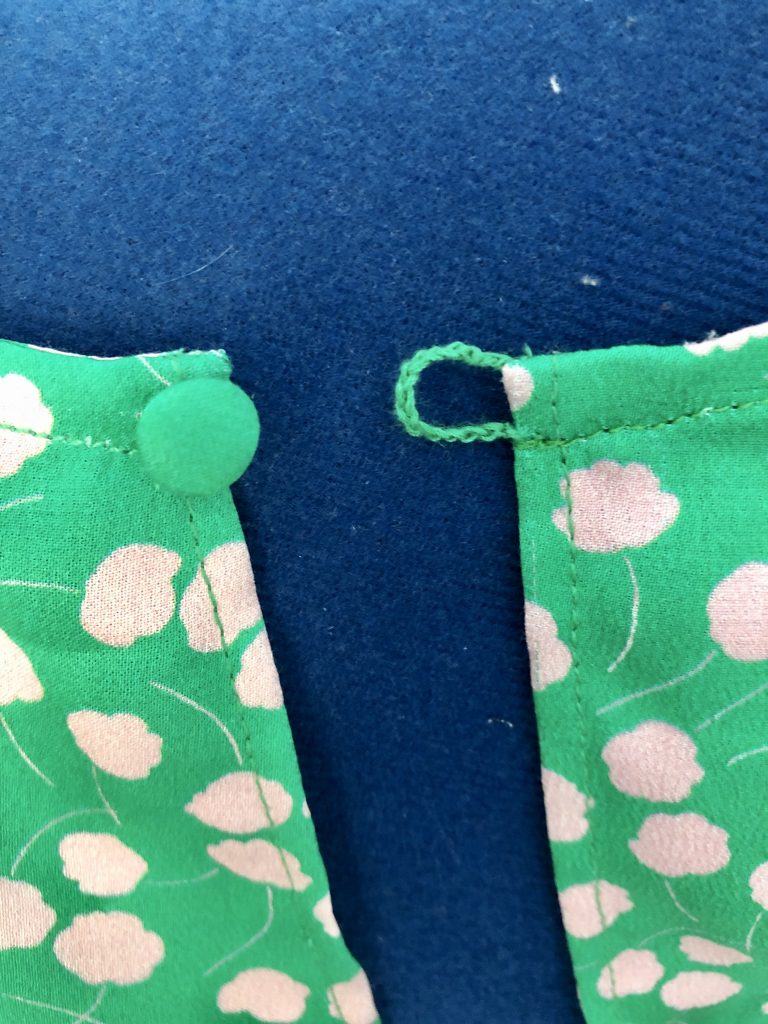
The final stage is to add a hook and eye to the centre back of the neckline.
This dress is so pretty and I wanted something that would look a bit nicer than a hook and eye so I’ve added a thread chain for a button loop and a 1cm (3/8″) covered button.
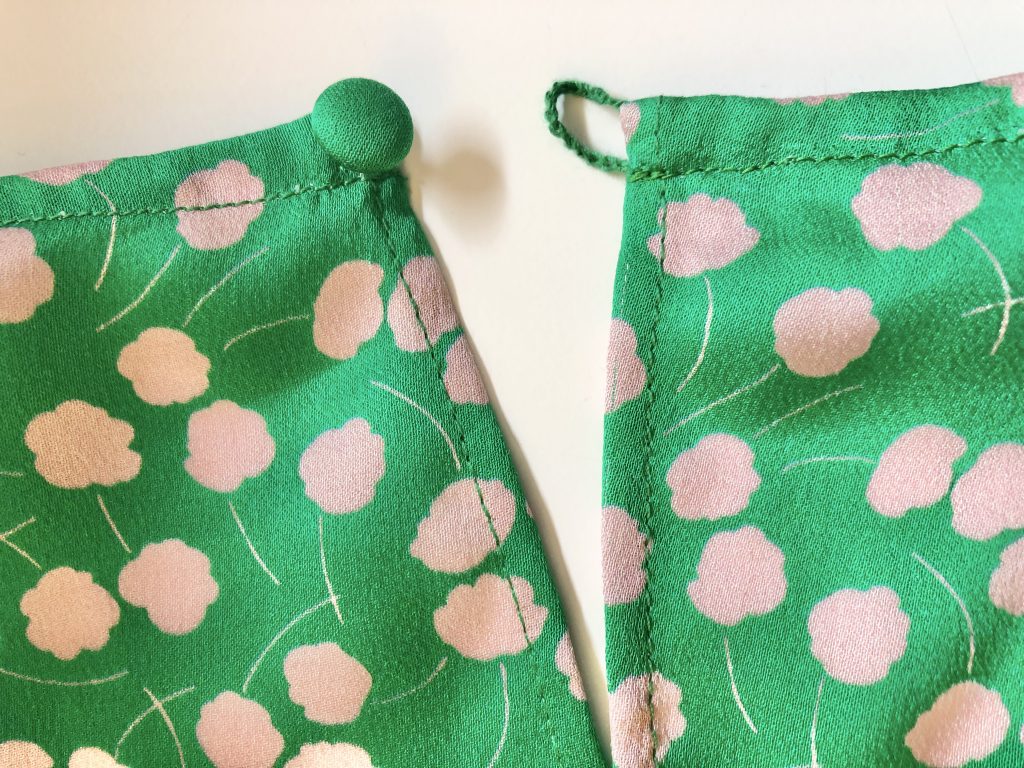
I’ve made a video on how to create the thread chain which you’ll find below.
I’ve also written a blog post about covered buttons and made a video on the different types of self-cover buttons and how to cover them which can be found below.
I’m really pleased with how this dress has turned out.
I think the fabric is perfect for this style and the shirring works perfectly to add detail at the waist and cuffs.
The only sad thing is that it’s too small for me… but that’s ok as I have to give it to Josie anyway.
The pattern measurements are true to size so make sure to check them before cutting the size you’d like to be ☺️.
I’d need to make a Large top and XL skirt to obtain the right fit for my measurements but I’d be tempted to make an XXL skirt to add more volume.
So… here’s my mannequin wearing the dress much better than I can.