
I’ve just finished making the Dayo Dress – Patterns by Masin which uses shirring elastic at the waistline and cuffs to create an elasticated gathered effect.
It’s really not as hard as it might look to create this type of finish, so I thought I’d share my tips and techniques for sewing with shirring elastic.
I’ve written a detailed tutorial, or you can see this information as a video, shown below.
What is Shirring Elastic?
Shirring elastic is a narrow cord elastic, sometimes referred to as elastic thread which is approximately 0.5mm in diameter.
Shirring elastic can be used to create an elasticated effect on necklines, sleeves, waistlines and cuffs. It may also be used on tops or dresses, where the elastic is used throughout the bust section of the garment to create a figure hugging result.
Shirring elastic is usually purchased as a small spool of black or white elastic, but may be found in other colours.
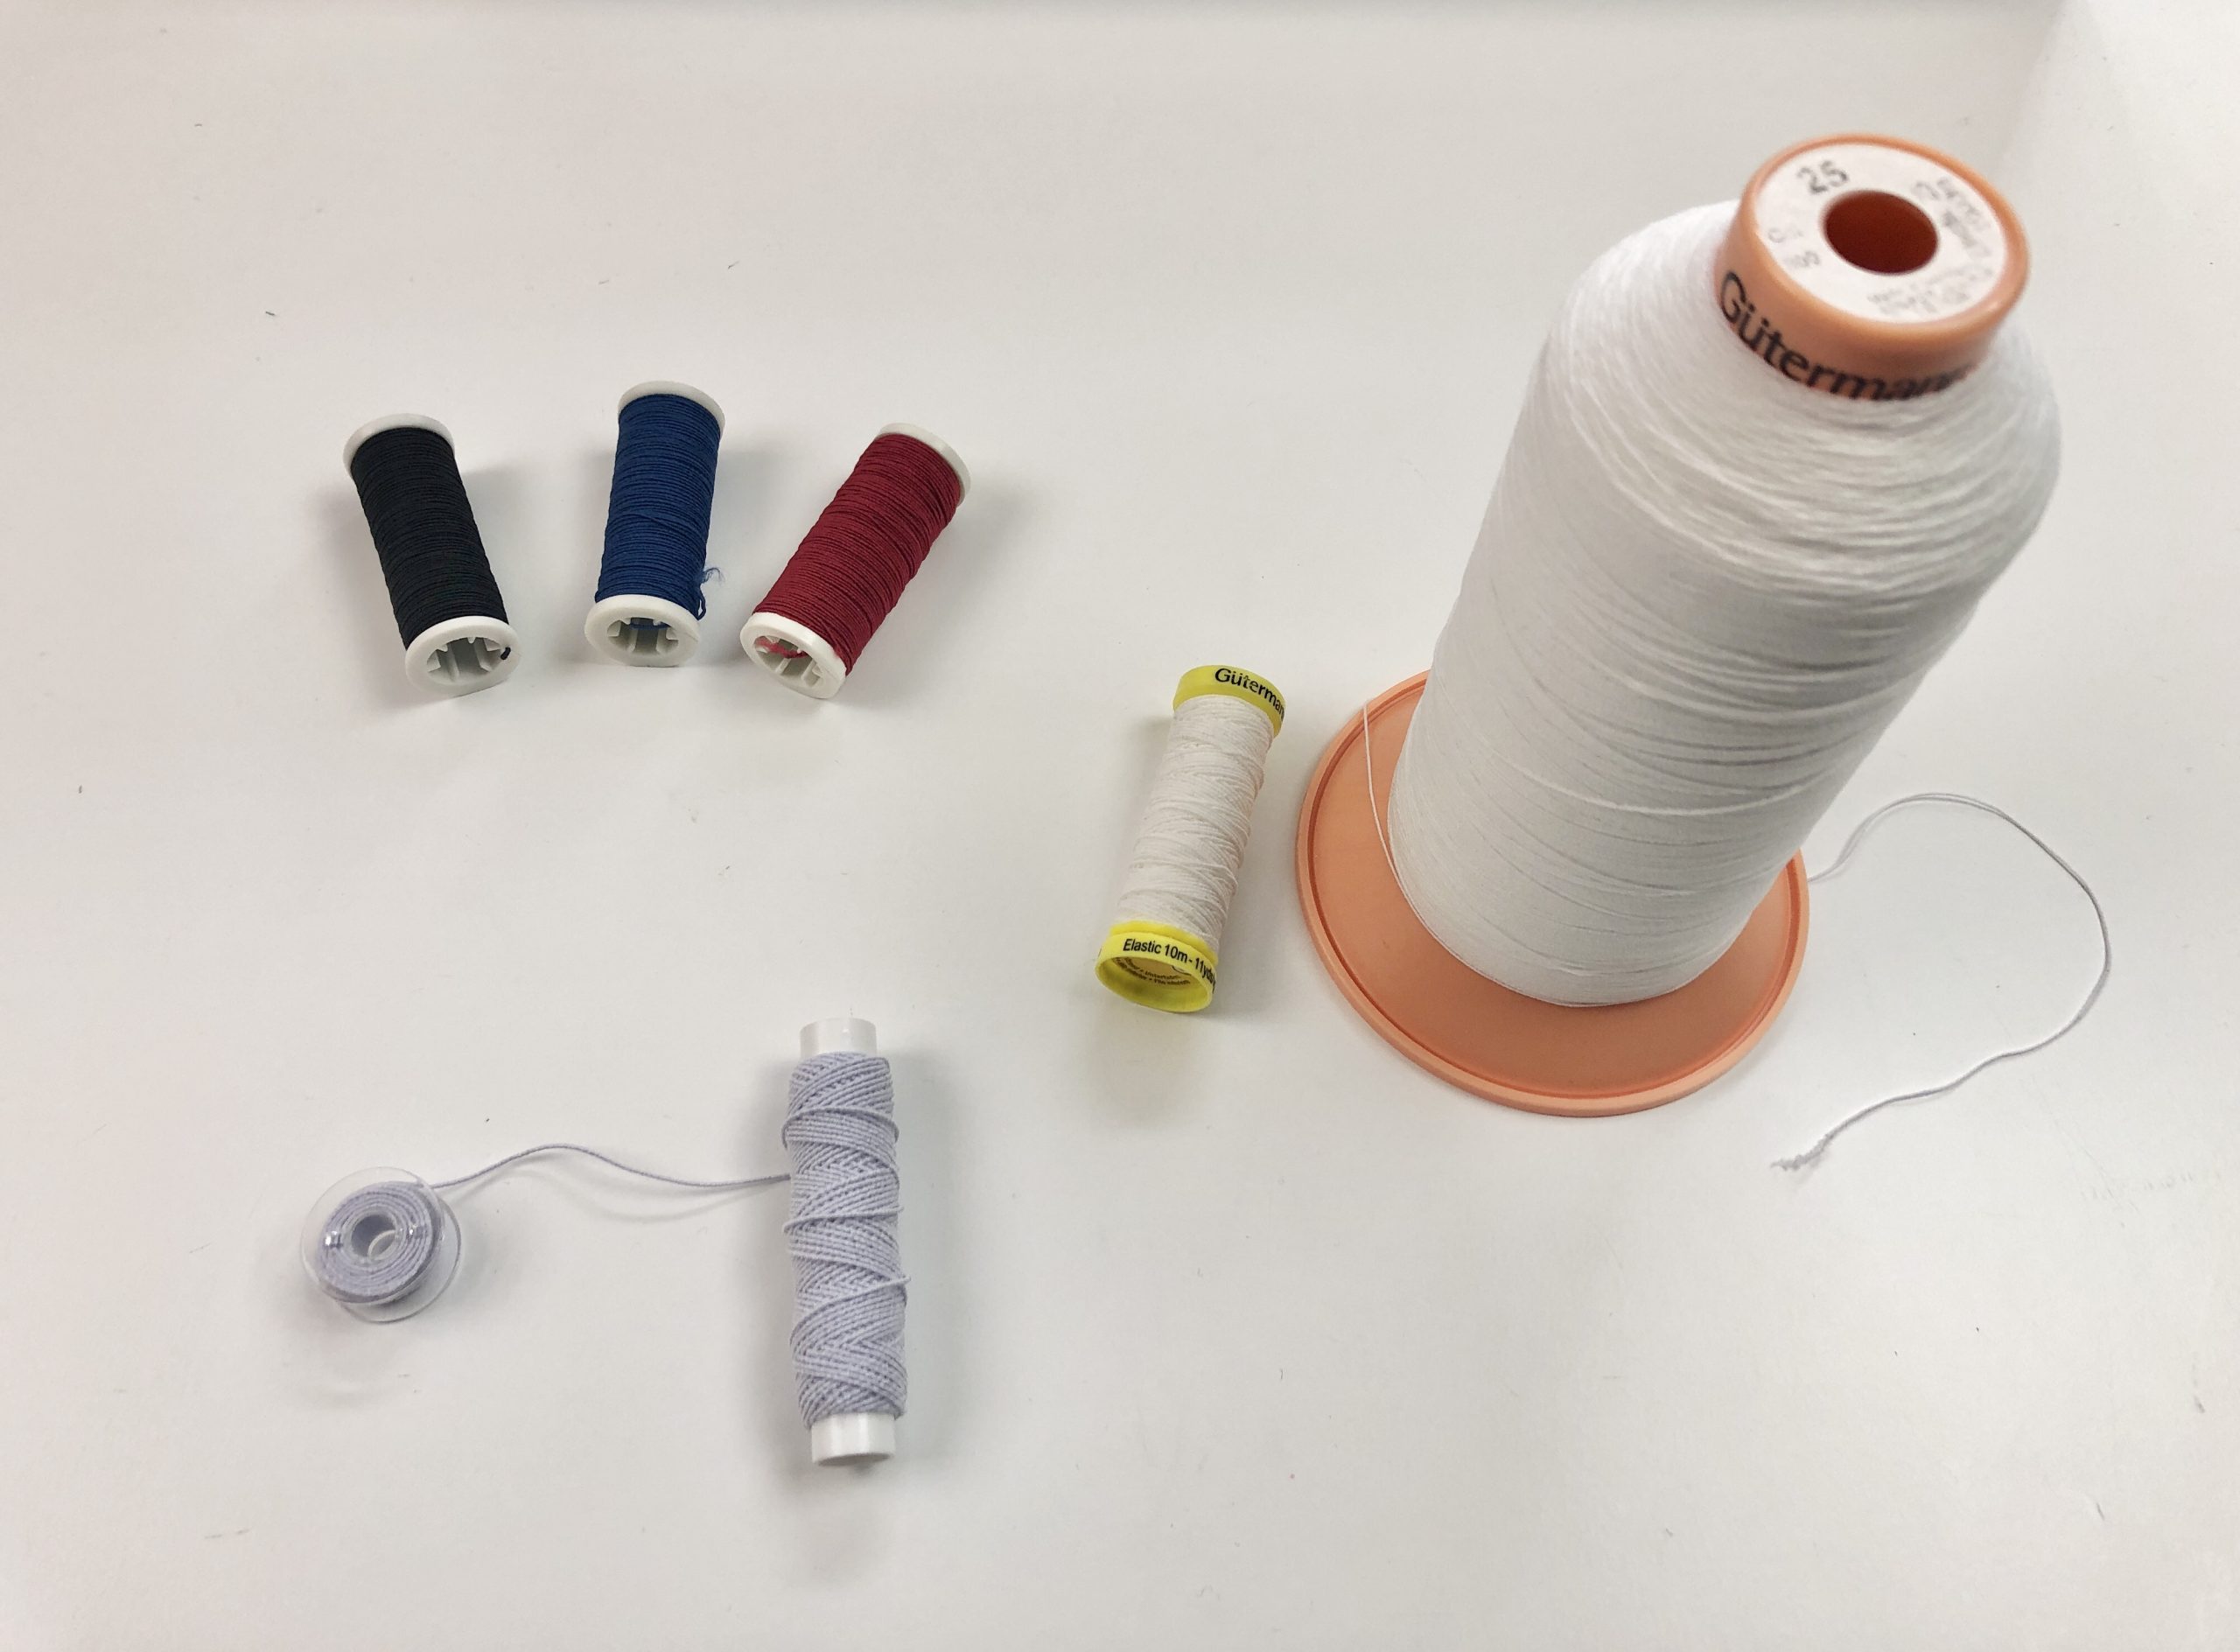
I have three spools of coloured shirring elastic that I purchased in a local supermarket. They aren’t the best quality but will do for some projects.
The white spool at the front of the image is from Fabric Godmother, and she also stocks this in black. This is the elastic I used in my samples shown below and also in my video.
The large and small cone on the right of the image are from Gutermann. I bought the large spool from Sewing Chest as a more cost effective way to buy shirring elastic, as I find the smaller spools run out quite quickly. The large cone is also perfect for using on my overlocker and coverstitch machines. I’ll be posting separate tutorials on these techniques.
How do you use Shirring Elastic on a Sewing Machine?
Shirring elastic is used only in the bobbin of a sewing machine, with regular thread used as the top thread.
Wind the elastic by hand onto the bobbin, stretching this ever so slightly. (I find I have better results with a slight stretch, but you may find that less stretch, or more stretch is better for your machine and elastic.)
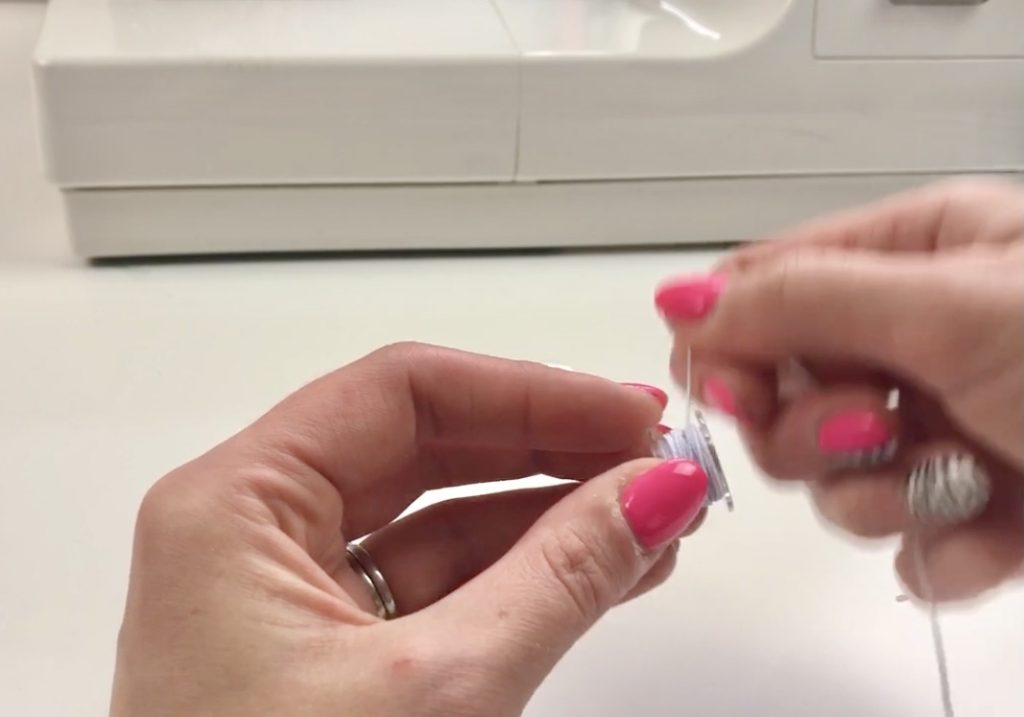
Make sure to wind the bobbin evenly and don’t over fill it.
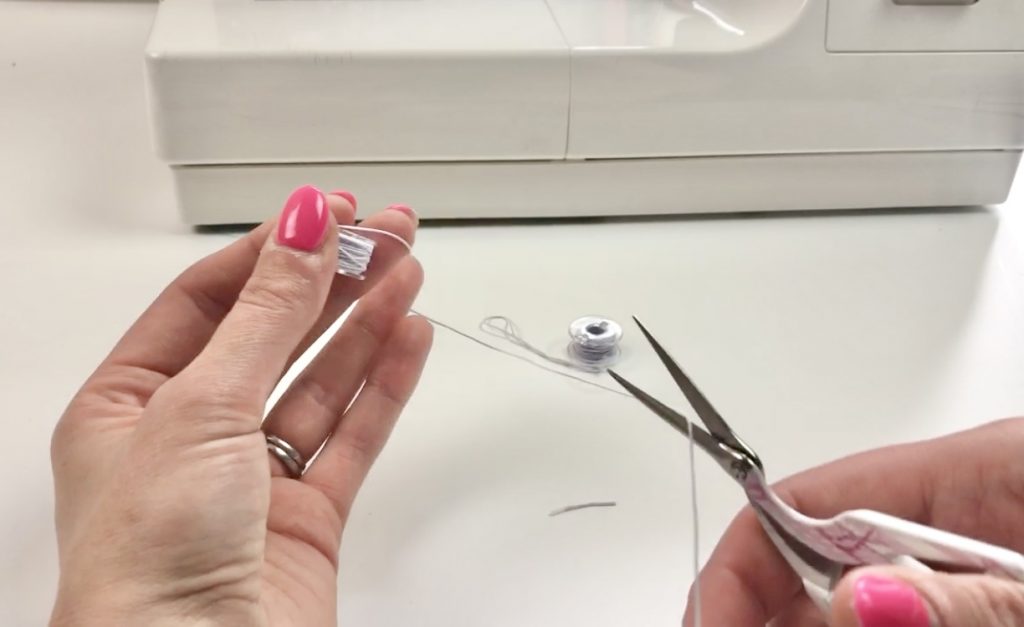
Once the bobbin is full, cut the elastic leaving a 10-15cm (4-6″) tail end.
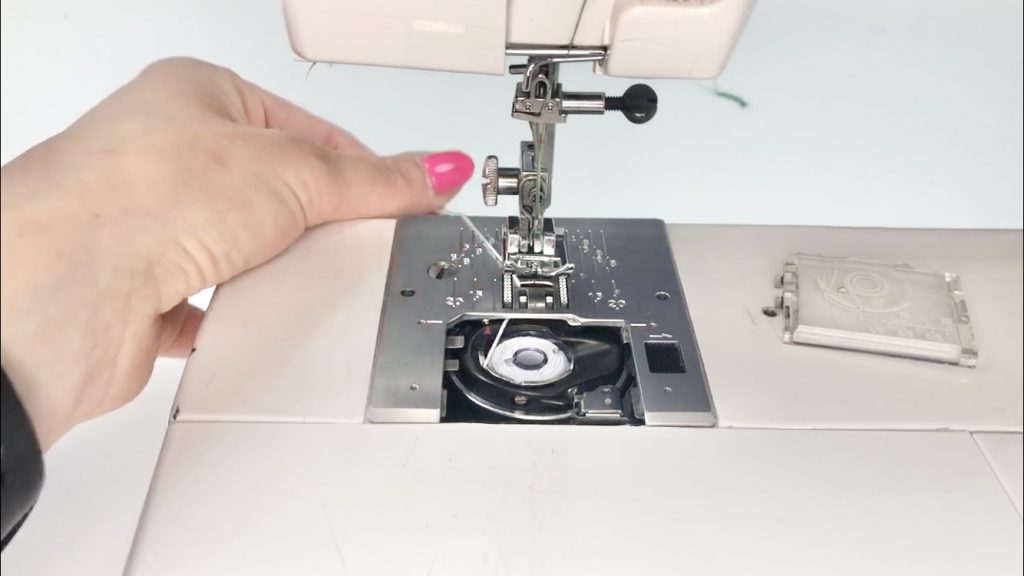
Insert the bobbin into your machine in the usual way.
I have a top loading machine and inserted the shirring elastic filled bobbin as usual and threaded the top of the machine with polyester thread.
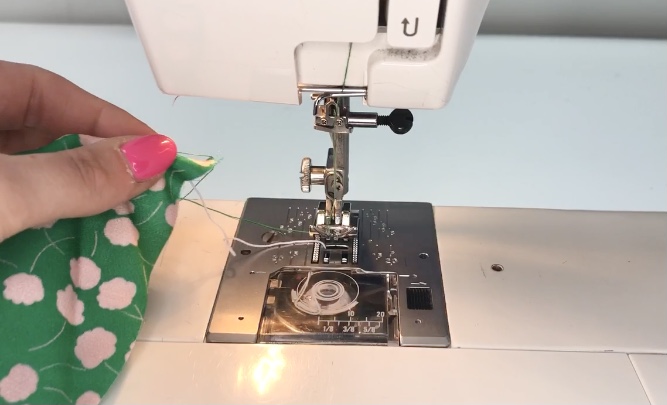
Next, I turned the hand wheel to bring the bobbin thread up to the top of the needle plate and positioned both the elastic thread and regular thread under the foot and to the back left of the machine.
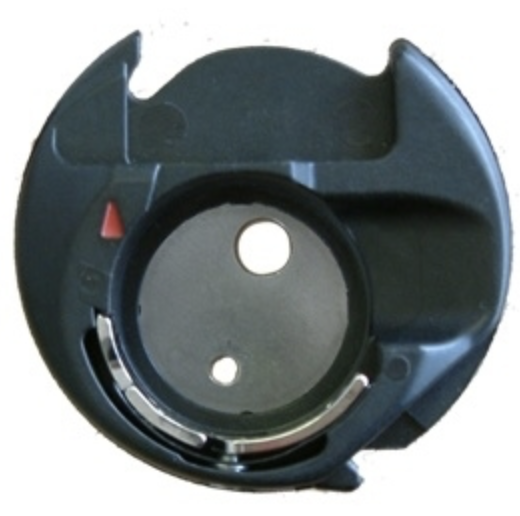
For front loading machines, insert the bobbin as you would do normally.
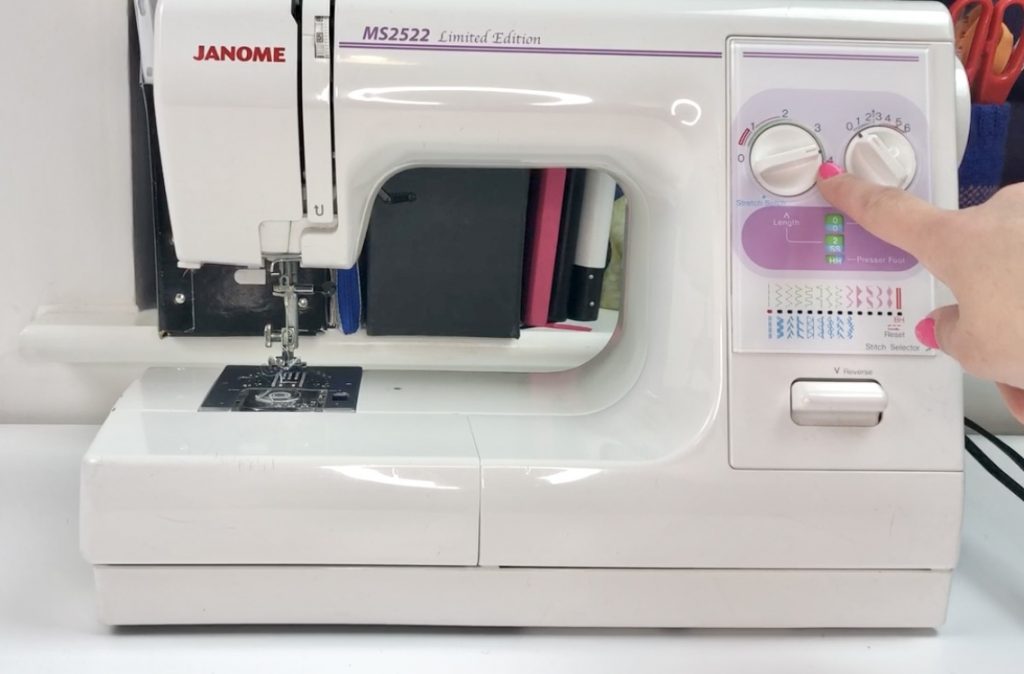
Set your machine to a straight stitch with a stitch length of 3.5 – 4.
I find the best results on my machine are with a stitch length of 3.75.
I’m using this Janome MS2522 Limited Edition machine which I’ve had for around 10 years.
I’m going to show you 3 methods for sewing with shirring elastic:
I’m using Cloud Flower Viscose Sateen from Fabric Godmother for my samples. This is a medium / lightweight fabric.
You will find the best results when using shirring elastic on light to medium weight fabrics.
Method 1 – Working Individual Rows
In this method each of the rows of shirring will be worked separately.
Pros – If, after a lot of wear and laundering, your elastic snaps in one or more places, you’ll only need to repair the separate lines of shirring elastic, rather than the whole lot.
Cons – This method can use up more elastic than the continuous techniques shown in methods 2 and 3. It can also take longer to tie off all the ends of thread and elastic.
Step 1 – Mark the lines of shirring on the right side of the fabric, or use the markings on the needle plate to maintain a straight line. (I’ve chosen to use the machine markings).
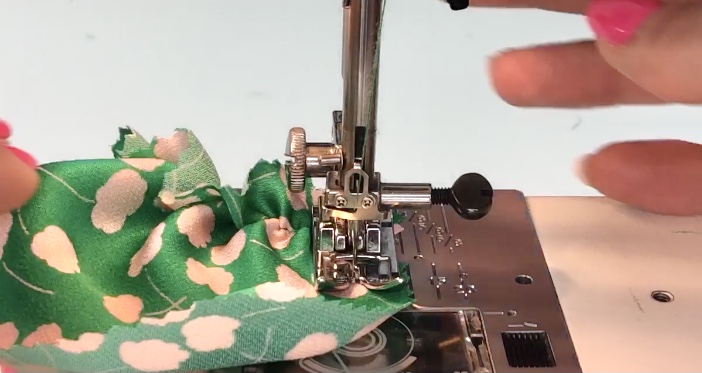
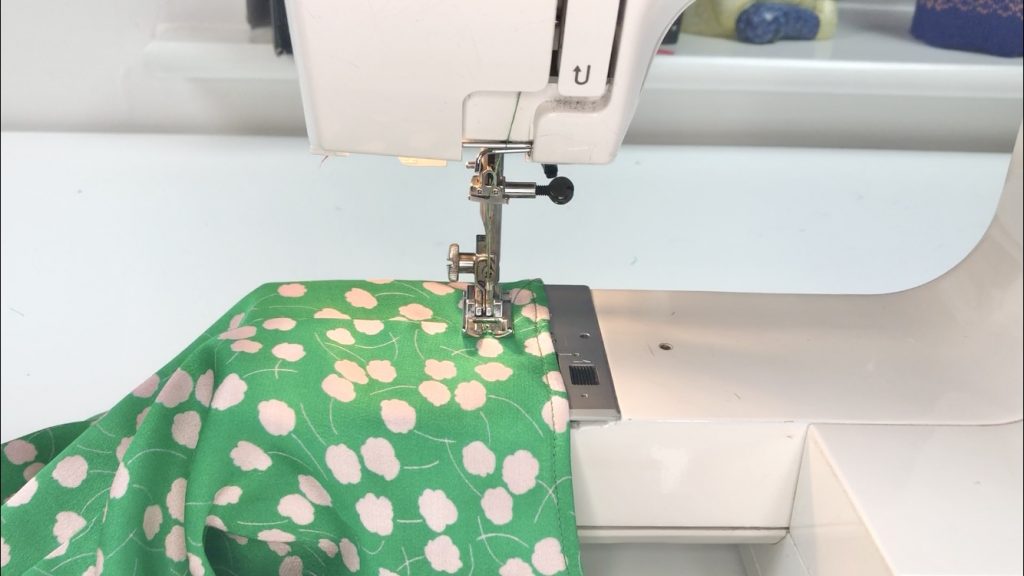
Step 2 – Position the fabric on the needle plate and lower the presser foot.
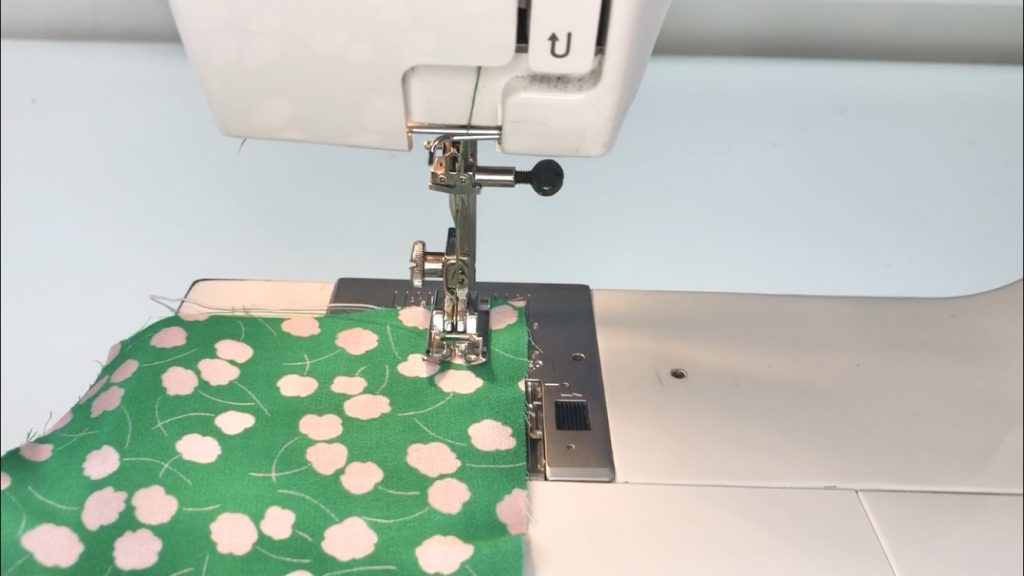
Step 3 – Sew 3 stitches forward and 3 backwards (backtack) to secure the thread ends.
Step 4 – Sew to the end of the line of shirring and backtack.
Step 4 – Raise the needle and lift the presser foot.
Step 5 – Pull the fabric, thread and elastic out from under the presser foot. Tug on the elastic again and make sure to cut a long enough tail end so the elastic doesn’t ping back into the machine.
Step 6 – Position the fabric on the needle plate again in line with the next marked line for shirring.
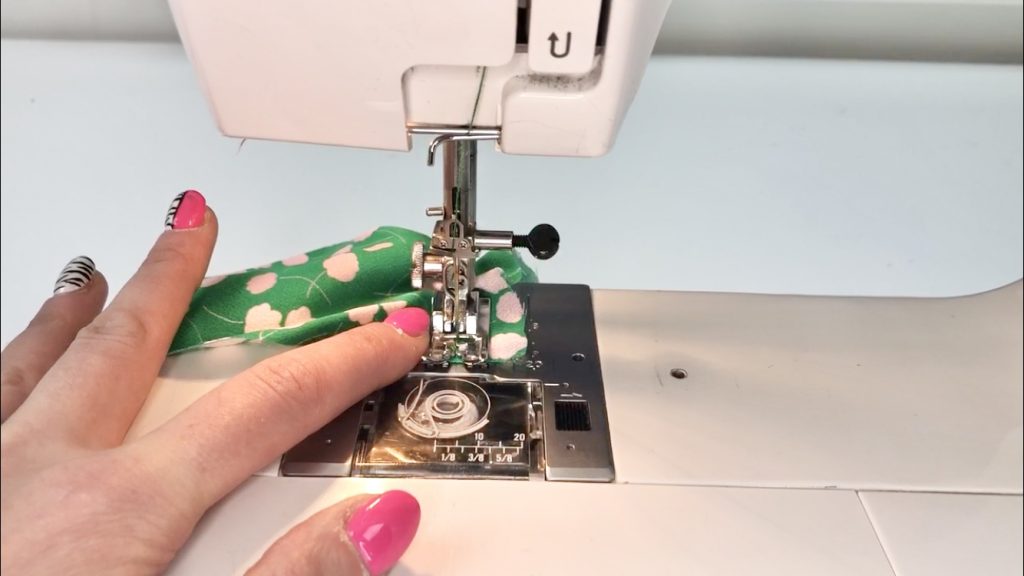
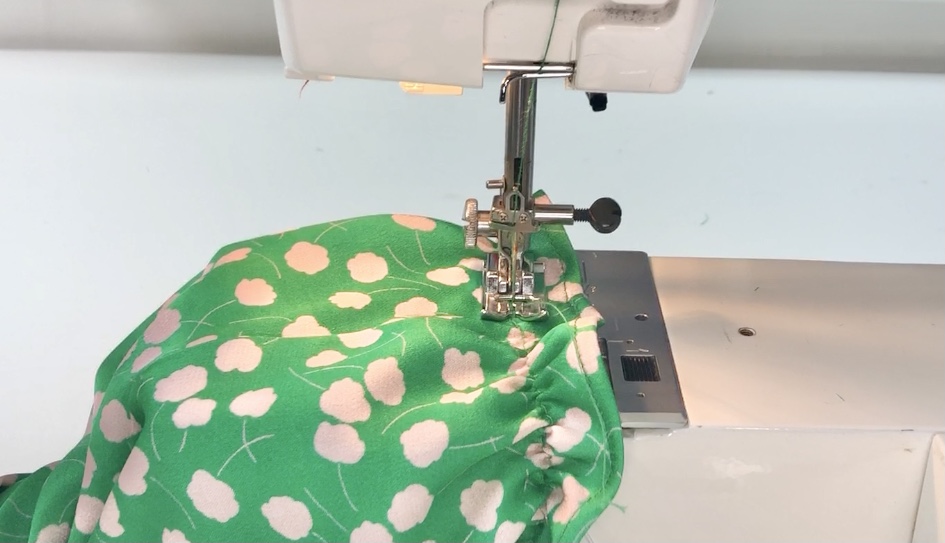
I’m using the edge of the presser foot as a guide to keep my lines of shirring straight so I’ve positioned the right edge of the presser foot in line with the first rows of stitches.
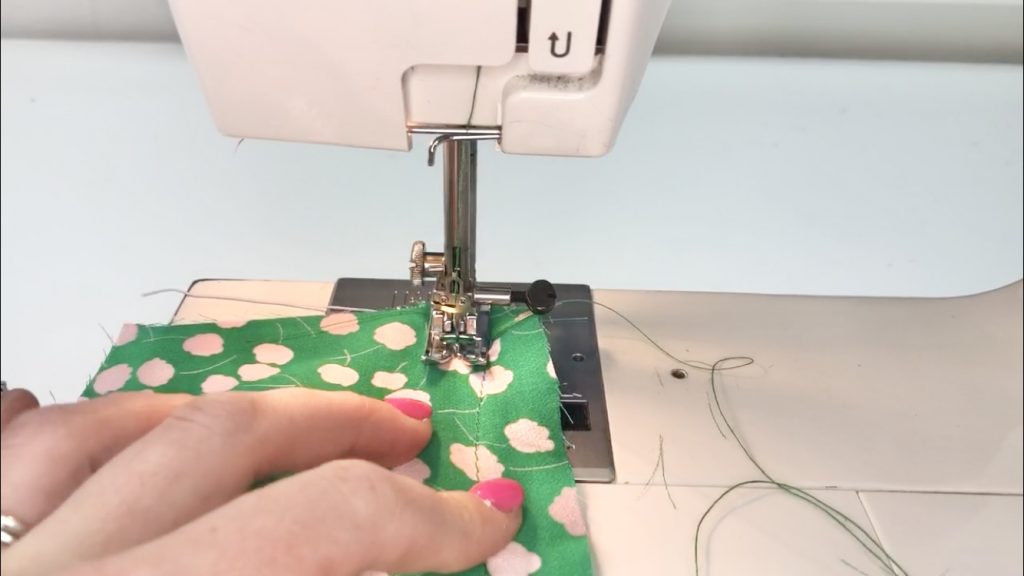
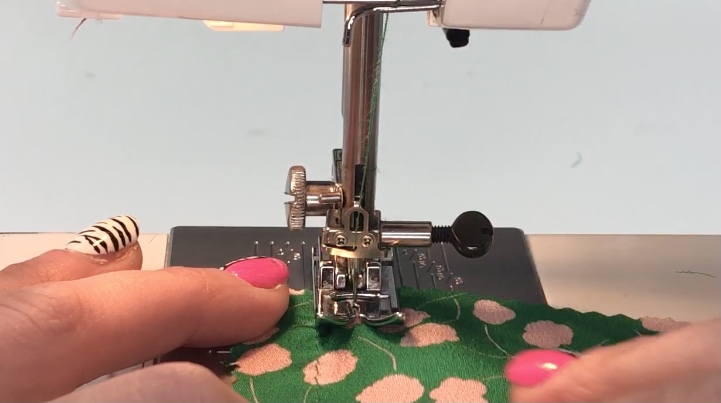
Step 7 – Backtack at the beginning of the line of stitching and sew along the line, backtacking again at the end of the row.
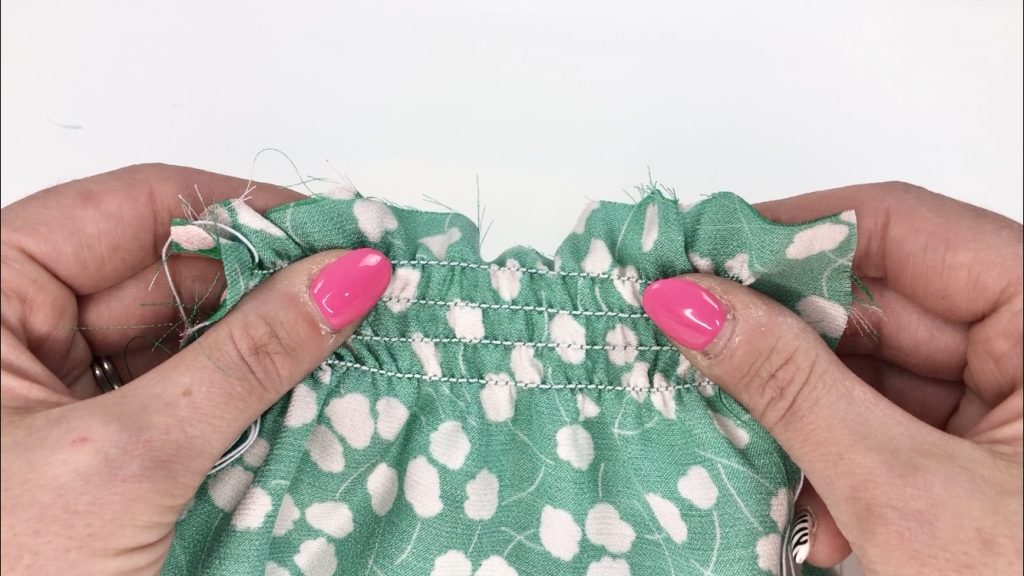
As you sew, you’ll need to hold the fabric taut, stretching the fabric out in front and behind the presser foot.
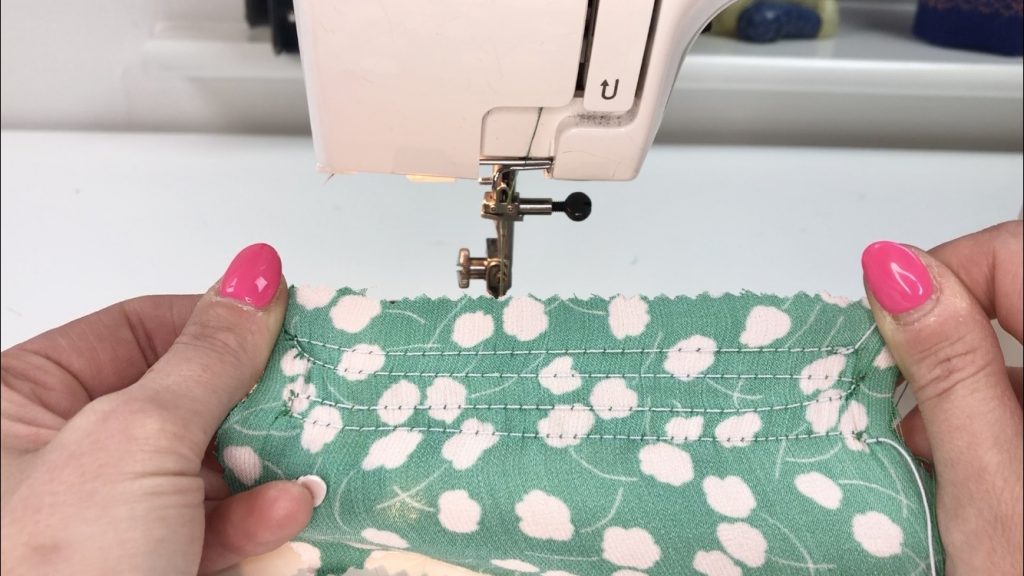
Continue working in this way until you have sewn 4 or 5 rows of shirring.
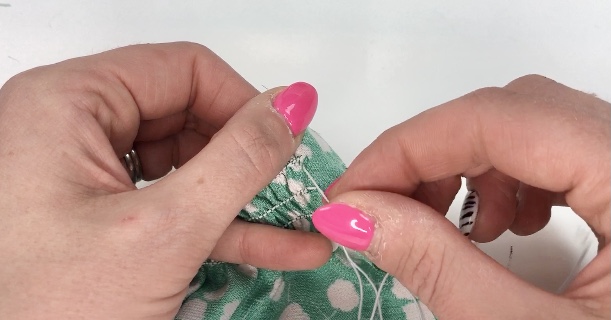
Step 8 – Tie off the thread ends:
With the wrong side of the fabric facing you, pull on the end of one line of elastic to reveal a loop of top thread.
Pull the top thread through to the wrong side of the fabric. Tie a knot in the elastic and thread. I’ve used a reef knot.
Step 9 – Trim the thread ends close to the knot.
Step 10 – Repeat for each set of thread ends.

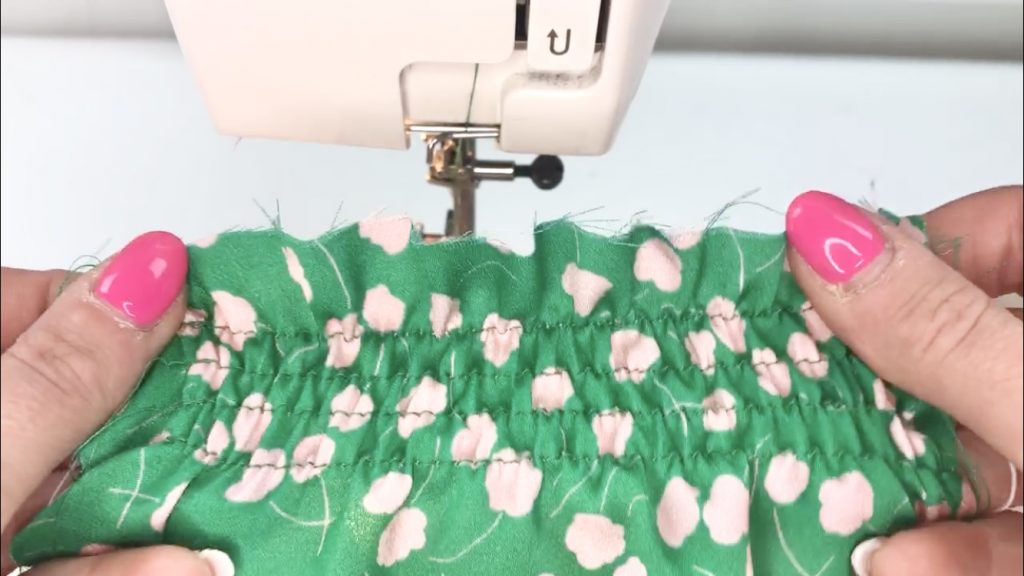
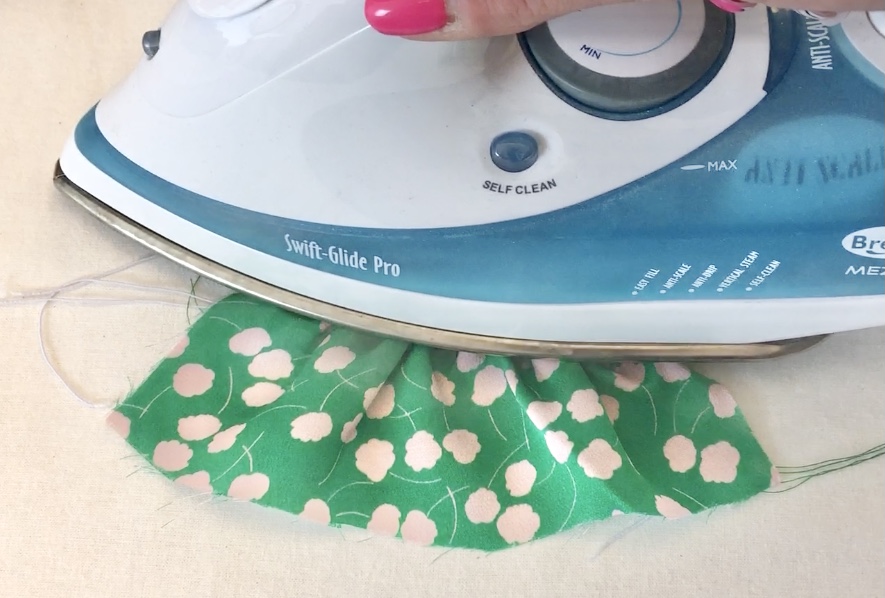
Testing the Shirring Elastic
Always do a test first on your project fabric. You can check to see if the elastic is gathering enough or if it needs to be stretched a little more as it is stitched into the fabric.
If the fabric isn’t bunching up enough you could try the following:
- Hover a steam iron over the rows of shirring and apply some steam.
- Increase the stitch length (turn the dial to a higher number).
- Rewind the bobbin and stretch the elastic a little more as you fill the bobbin.
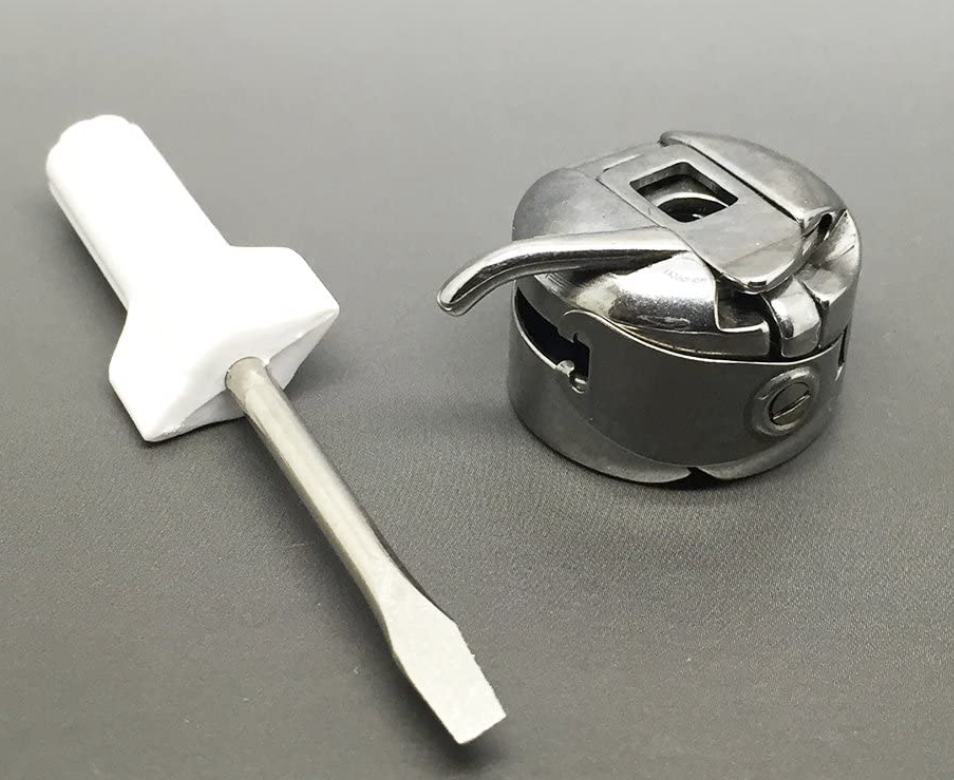
- Increase the tension on the bobbin case using a screw driver.
If the fabric is too bunched up, try the following:
- Decrease the stitch length (turn the dial to a lower number).
- Rewind the bobbin and stretch the elastic a little less or not at all as you fill the bobbin.
- Decrease the tension on the bobbin case using a screwdriver.
If you find that the elastic is snapping or isn’t giving the result that you want, even after trying the suggestions above, purchase a different brand or type of shirring elastic and try again.
Old elastics can become brittle and break easily so buy yourself a new spool and run through the suggestions above.
Method 2 – Working Continuous Rows
In this method the stitching line is continuous, working across the row, pivoting at the end and working back across the fabric.
Pros – There are only 2 sets of thread ends to tie off at the end so this method is much quicker and uses less elastic than Method 1. You also don’t need to stop and start at the end of each line of stitching.
Cons – If, after a lot of wear and laundering, your elastic snaps in one or more places, you’ll need to repair most of the shirring elastic, rather than individual lines.
Step 1 – Mark the lines of shirring on the right side of the fabric, or use the markings on the needle plate to maintain a straight line. (I’ve chosen to use the machine markings).
Work as for Method 1 but when you get to the end of the row, leave the needle in the fabric, pivot 90 degrees and take 3 or 4 stitches down the edge of the fabric.
Leave the needle in the fabric and pivot 90 degrees again, aligning the needle with the next marked row of shirring, or using the presser foot as a guide and keeping this in line with the previous line of shirring.
Continue in the same way, stitching across the fabric and pivoting at the end of the row until you have completed all your lines of shirring.
Tie off the thread ends as described in steps 8 to 10 in Method 1.
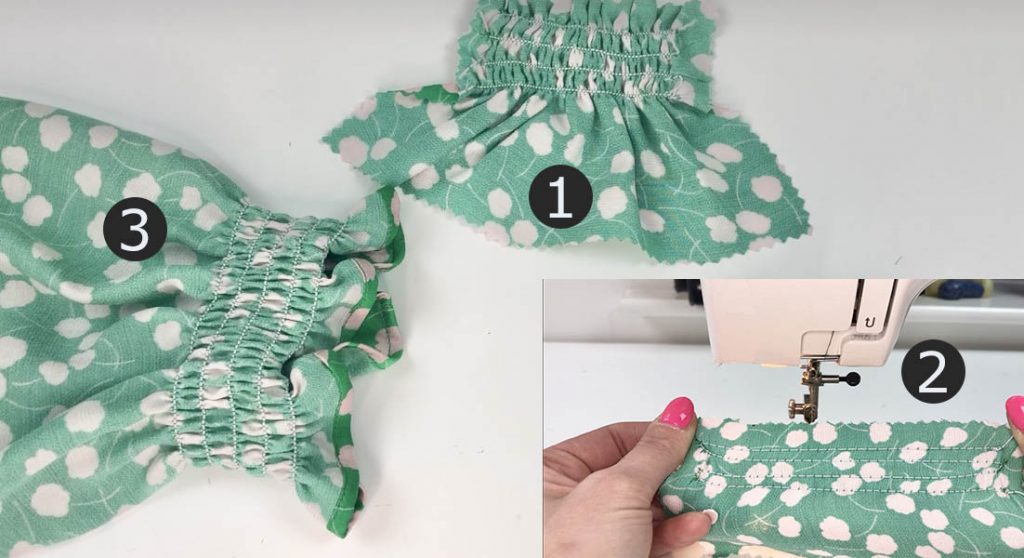
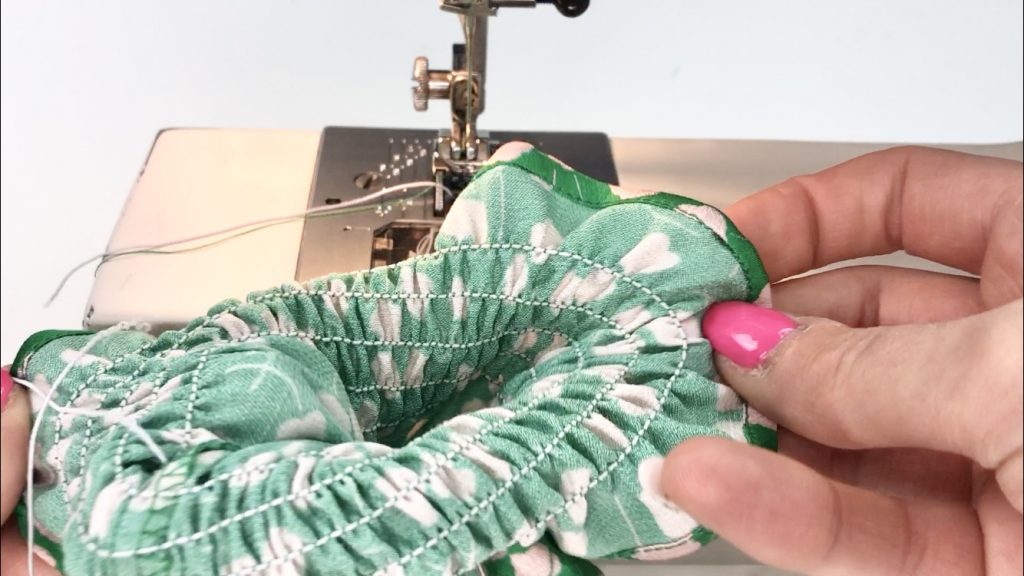
Method 3 – Working in the Round or in a Spiral
In this method a continuous line of shirring is sewn on a tubular item by working in a spiral.
Tubular items might be sleeves, bodices or trouser legs where any seams have been stitched first.
Pros – This technique is much quicker than Methods 1 and 2 as you don’t need to stop sewing until you reach the end of the section of shirring.
Cons – If, after a lot of wear and laundering, your elastic snaps in one or more places, you’ll need to repair most of the section of shirring and not just separate lines.
If you’re working on a large section of shirring you’ll need to stop to reload the bobbin. Aim to stop and start from a seam line.
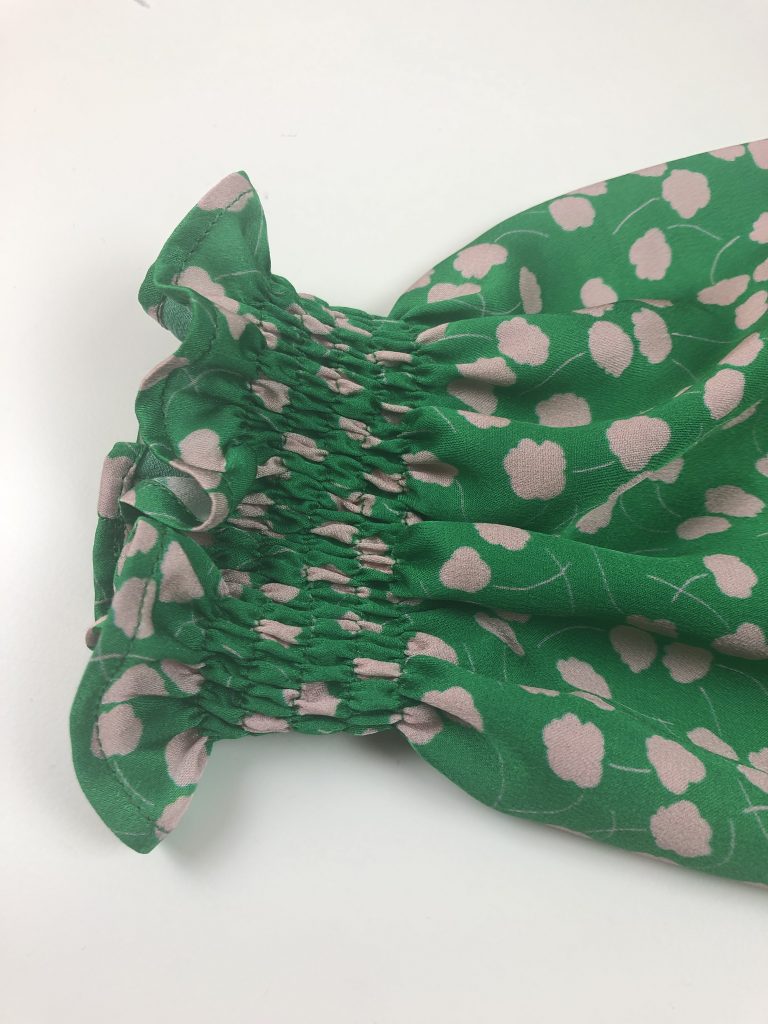
I’m demonstrating this technique on the sleeve of The Dayo Dress, to create a gathered cuff with a frill effect. The hem of the sleeve has already been sewn and I’m placing the first line of shirring 2cm from the hem.
Step 1 – Mark the position of the first line of shirring on the right side of the fabric, or use the markings on the needle plate to maintain a straight line. (I’ve chosen to use the machine markings).
Step 2 – Utilise the free arm on your sewing machine if you have one, this will make it easier to keep the fabric taut as you stitch.
Step 3 – Position the fabric on the needle plate, starting at a seam, and lower the presser foot.
Step 4 – Sew 3 stitches forward and 3 backwards (backtack) to secure the thread ends.
Step 4 – Sew to the end of the line of shirring but don’t backtack or cut any of the threads.
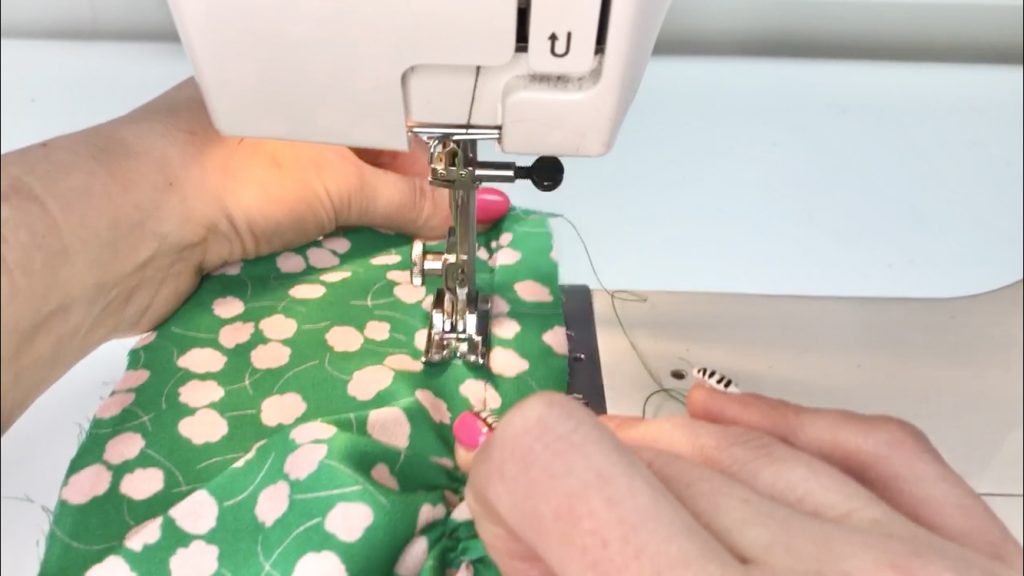
Step 5 – Continue sewing, angling your stitches to the left of the first line of stitches until the right edge of your presser foot is in line with your first line of stitches.
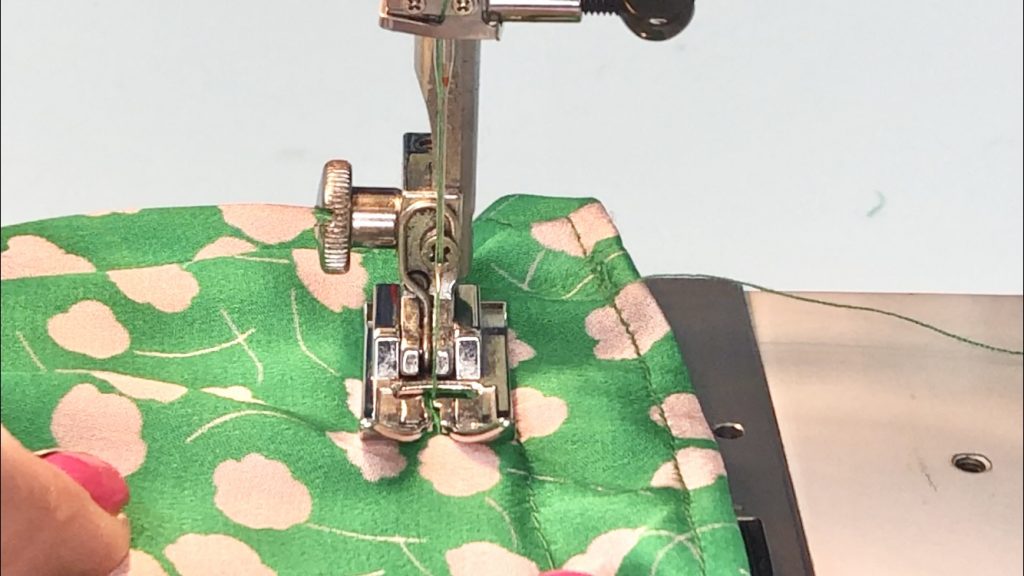
Step 6 – Continue sewing, keeping the presser foot in line with the first row of stitches.
You’ll need to keep the fabric taut by pulling the fabric in front of and behind the presser foot.
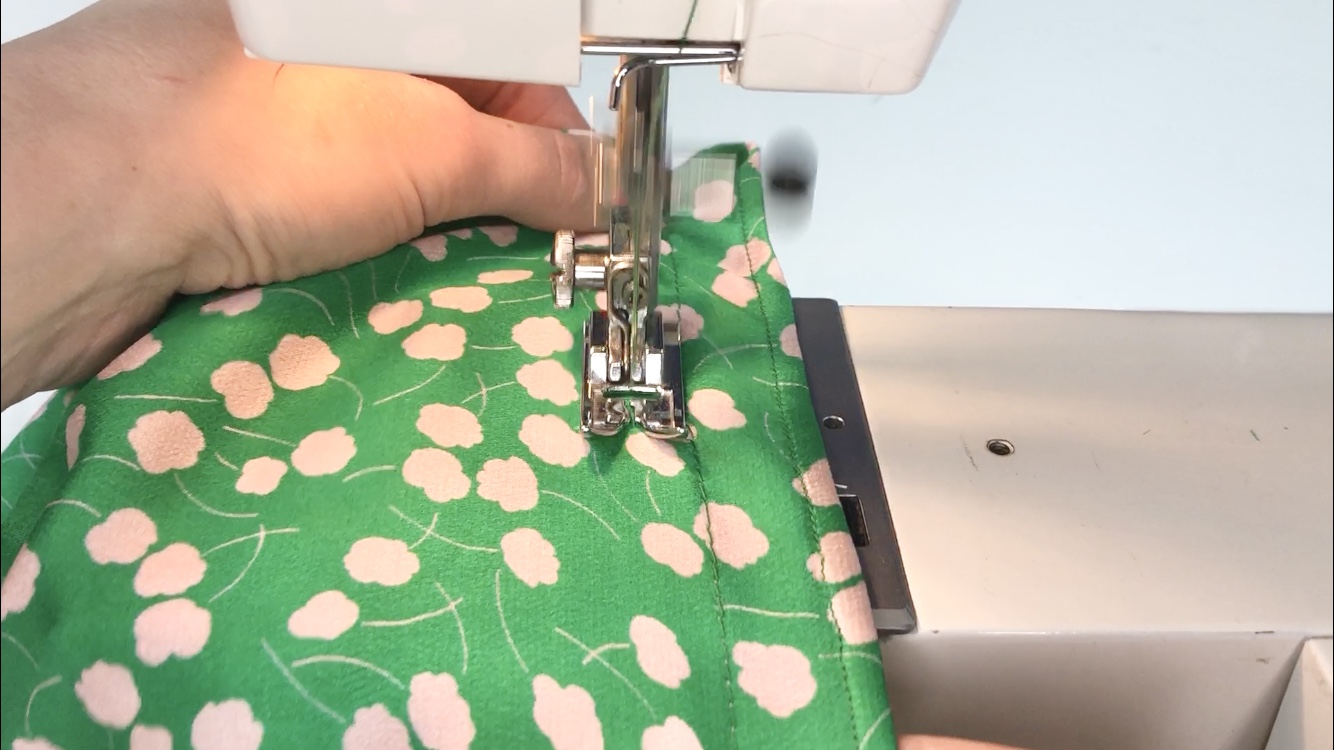
Continue sewing in a spiral until you have worked the desired number of rows. End your stitching at the same seam line that you started from.

Tie off the thread ends as described in steps 8 to 10 of Method 1.
To give a really neat finish on the inside of the fabric I like to bury the thread ends into the seam allowance after tying the knot in the threads.
You can see the rest of my Dayo Dress in another blog post.
I’ll be adding another tutorial soon on how to use shirring elastic on an overlocker and on a coverstitch machine.


2 thoughts on “Sewing with Shirring Elastic on a Sewing Machine”
Pingback: The Dayo Dress - Julia Hincks | House of Miss Sew
Pingback: Esther Tunic Top - Julia Hincks | House of Miss Sew
Comments are closed.