Happy New Year!! It’s 2018 and time to start as I mean to go on… with a few more blog posts! I’ve been very busy over the past year making things but have failed to write about hardly anything… so here goes…
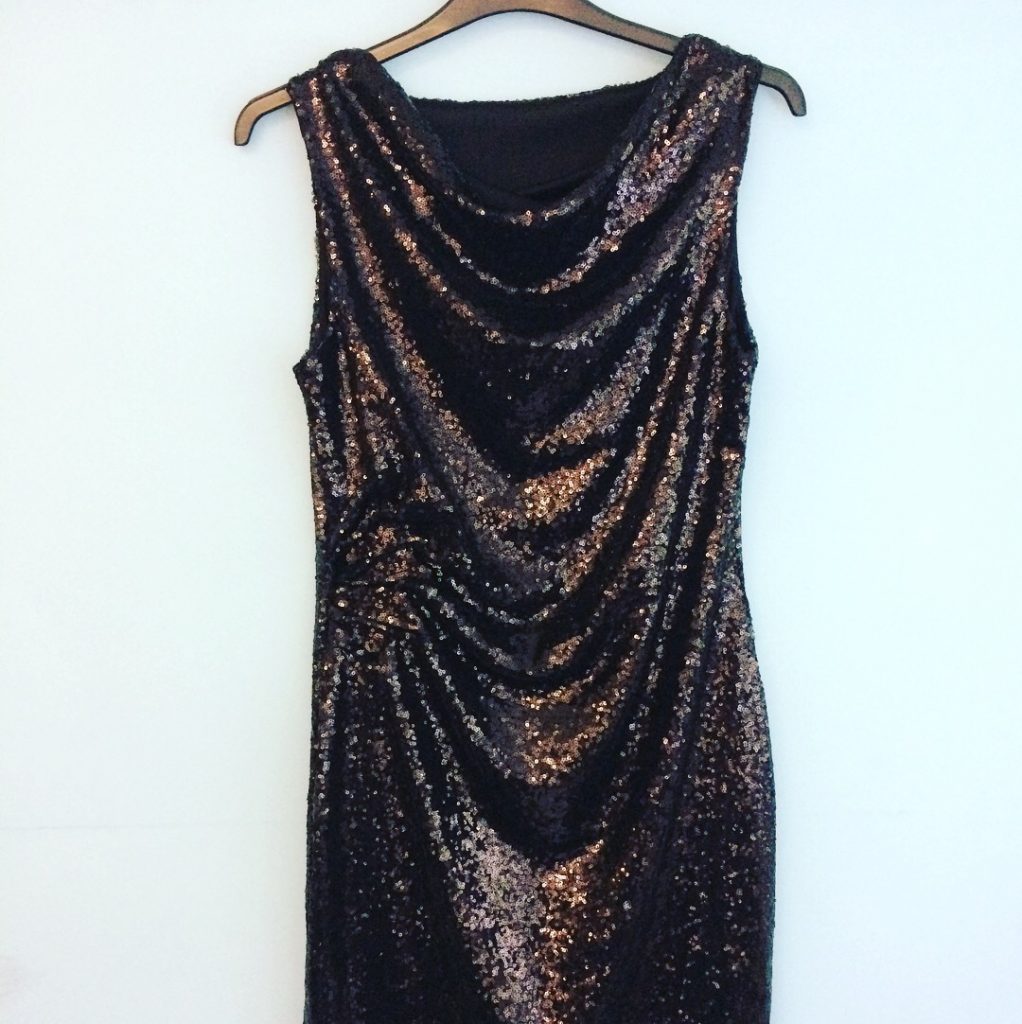
I’ve wanted to make myself a sequin dress for some time and what better time to do it than for Christmas! I’d looked in the shops but couldn’t find quite the right thing plus I didn’t really want to spend a fortune on something that I may only get out once a year. I’d seen a lot of sequinned fabric for sale for a reasonable price so I thought I’d give it a go and headed off to the Fabric Godmother open day back in October! (oh dear… it really has taken some time to prepare, make and then write about this!!)
I opted for the black sequinned fabric. Josie had 3 colour choices – dark blue, black or pale gold. Since lighter colours make me look huge and black goes with everything I went for black. Sadly this fabric is no longer in stock at Fabric Godmother but can be found in other stores at a similar price. I bought 3 metres as I wanted to make a cardigan too (but have failed on that one and not yet made it!)
This is definitely a fabric that needs lining since is is a little sheer in places and potentially really scratchy so I bought some black stretch jersey lining too.
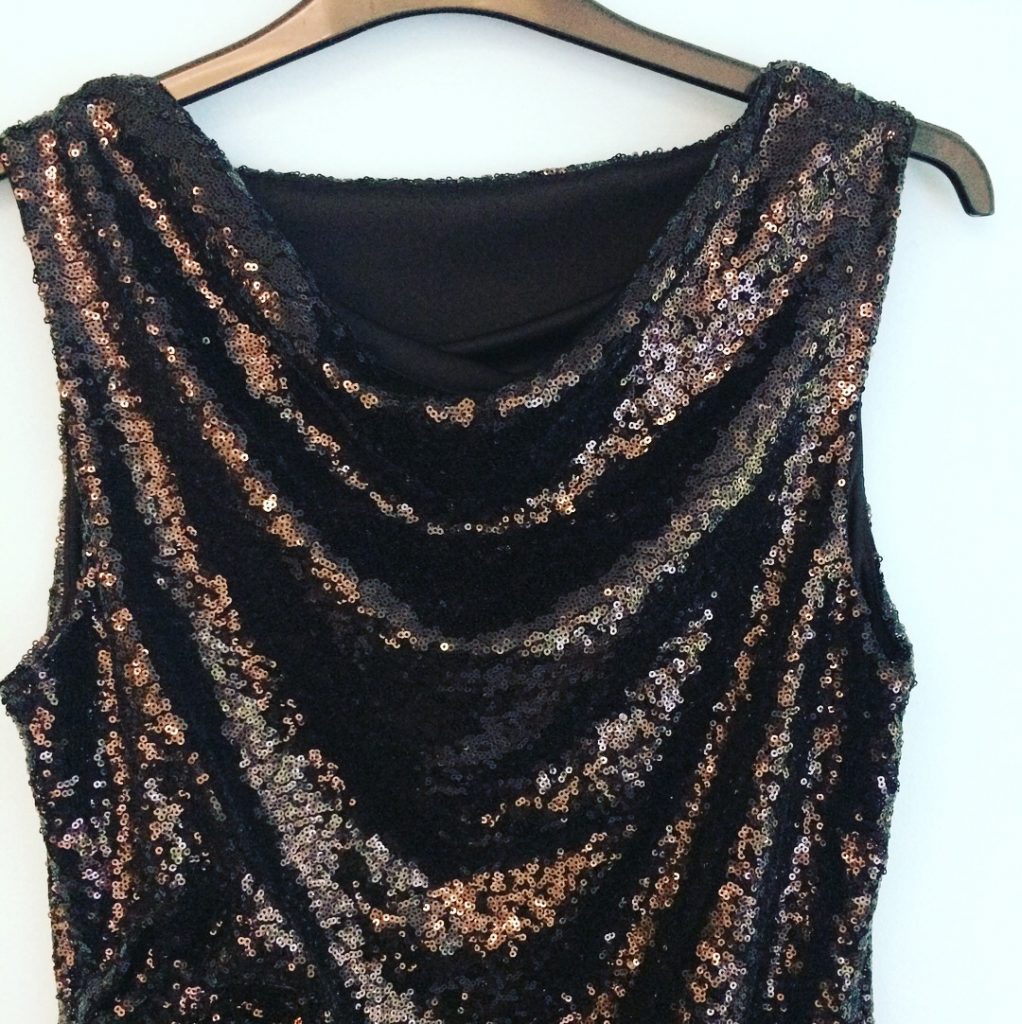
I wanted a dress with some rouching at the waist (to disguise the Christmas belly) and a cowl neck to add an extra feature. I love the style of New Look 6000 and have made this about 8 times in different fabrics in slightly amended styles so I used this for the basis of my new dress design.
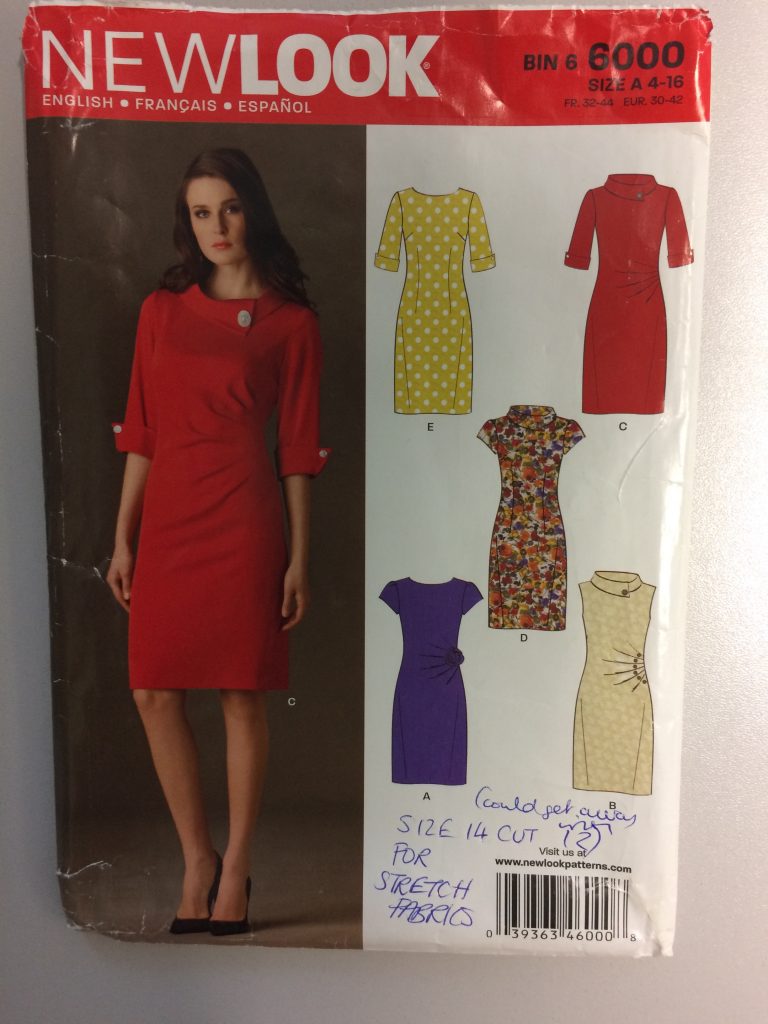
I like the waist detail on this dress so I kept that bit, adapted the neckline to create a cowl, omitted the sleeves and added in a lining. Since I was working in stretch fabric I didn’t need to include a zip and cut the back on the fold – there’s no need to overcomplicate working with sequins by adding in a zip!
To add in the cowl I followed some tips from Threads Magazine.
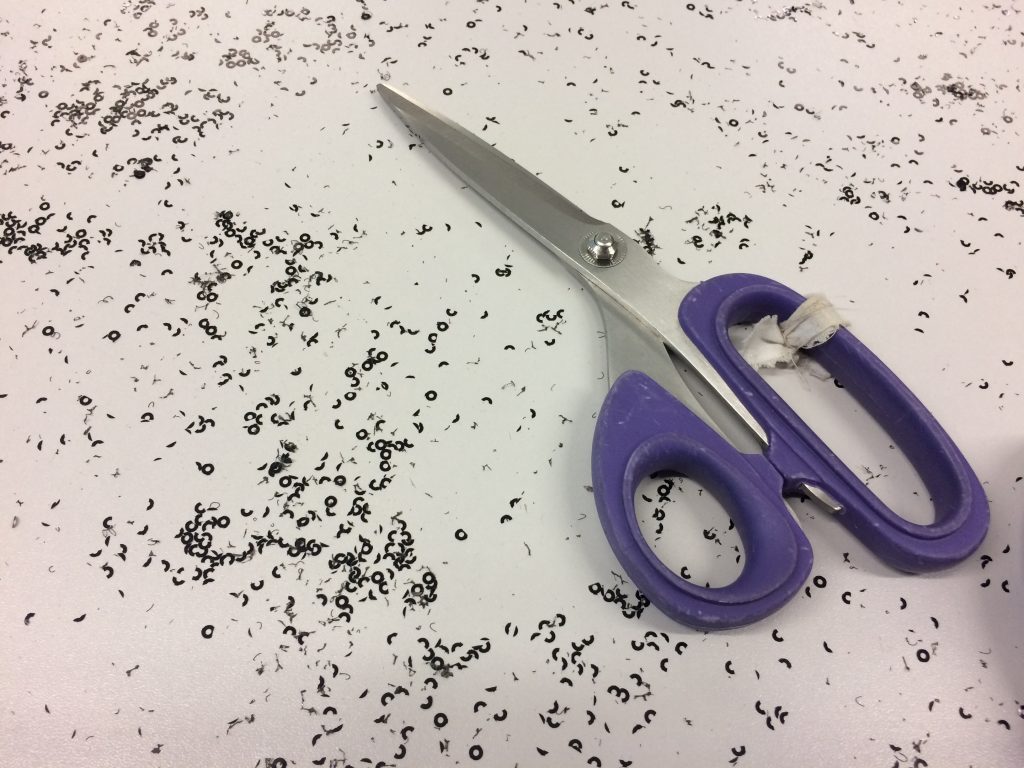
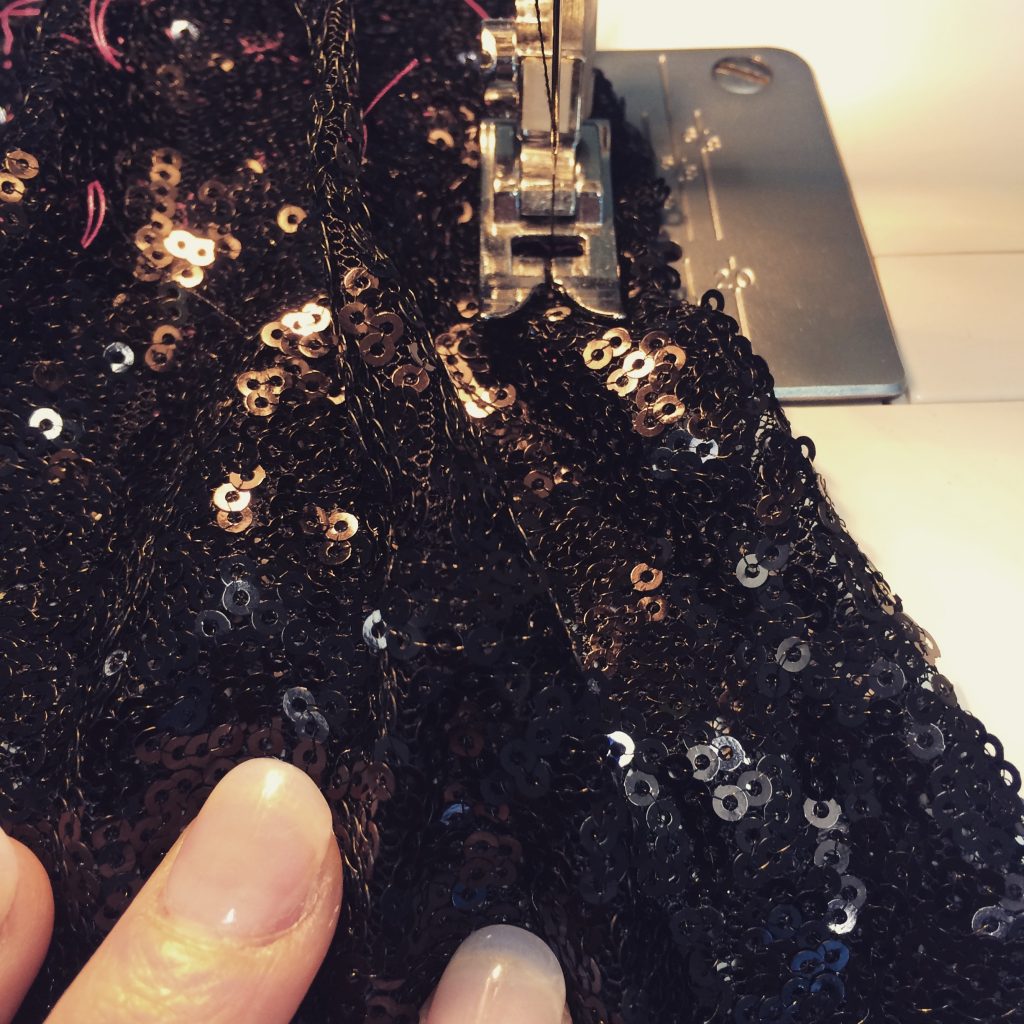
Cutting out this sort of fabric makes a lot of mess! – I decided to cut it all out and construct it at work to save my carpets! – the carpets at work are now very sparkly!!
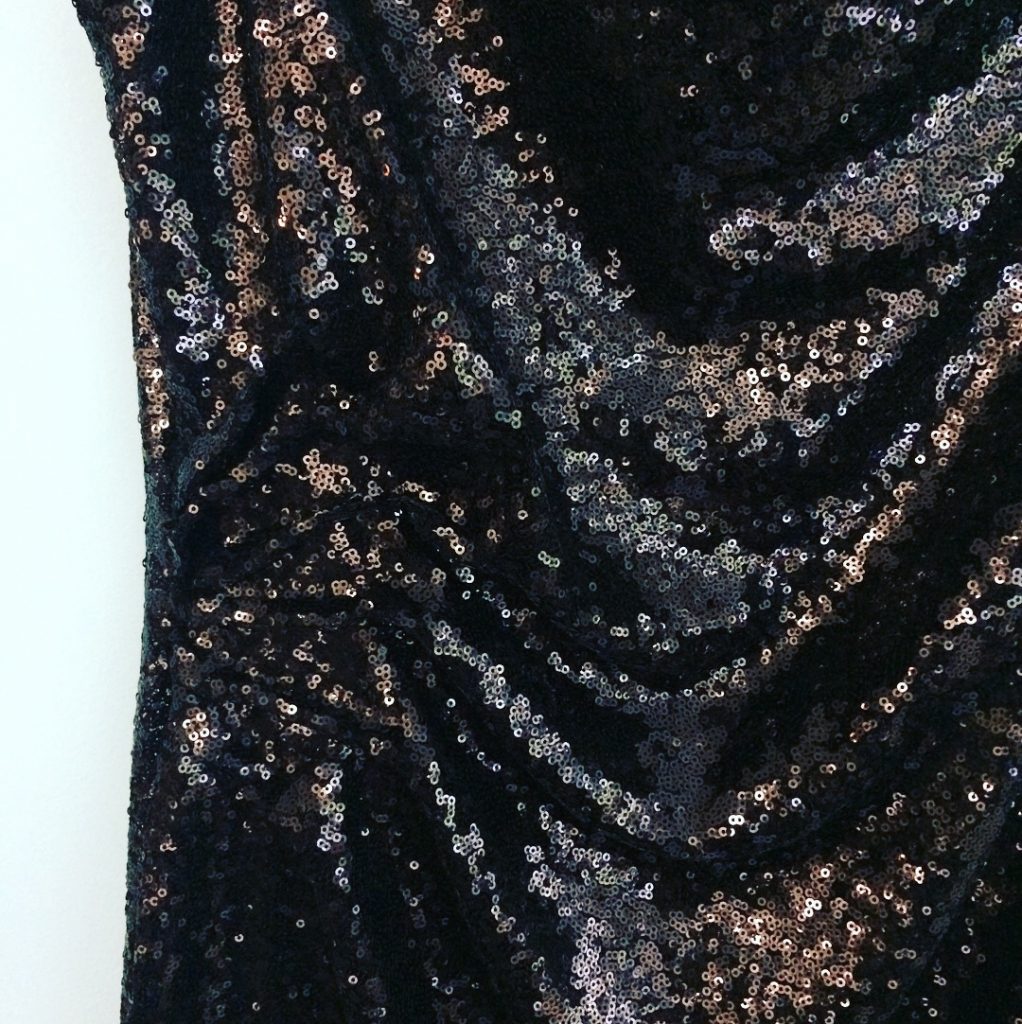
To create the pleating detail on the side front the pattern instructions tell you to bring the marked lines together and then stitch along them to create a stitched fold on the wrong side of the fabric. I wanted to create more of a feature so I folded and stitched on the right side.
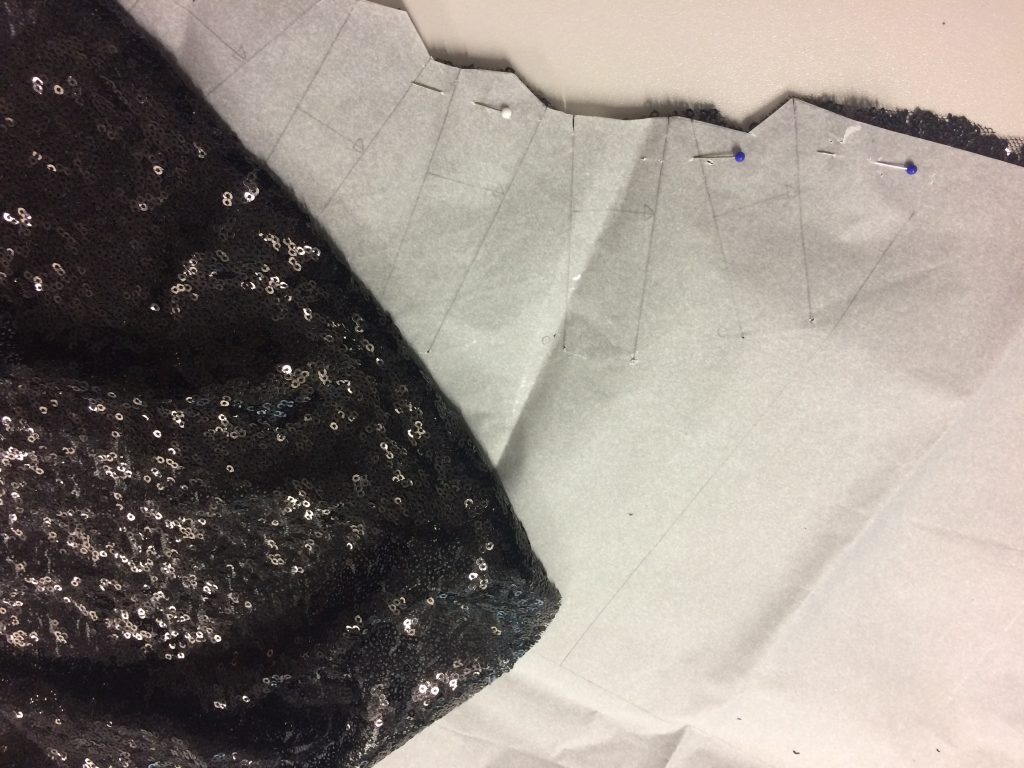
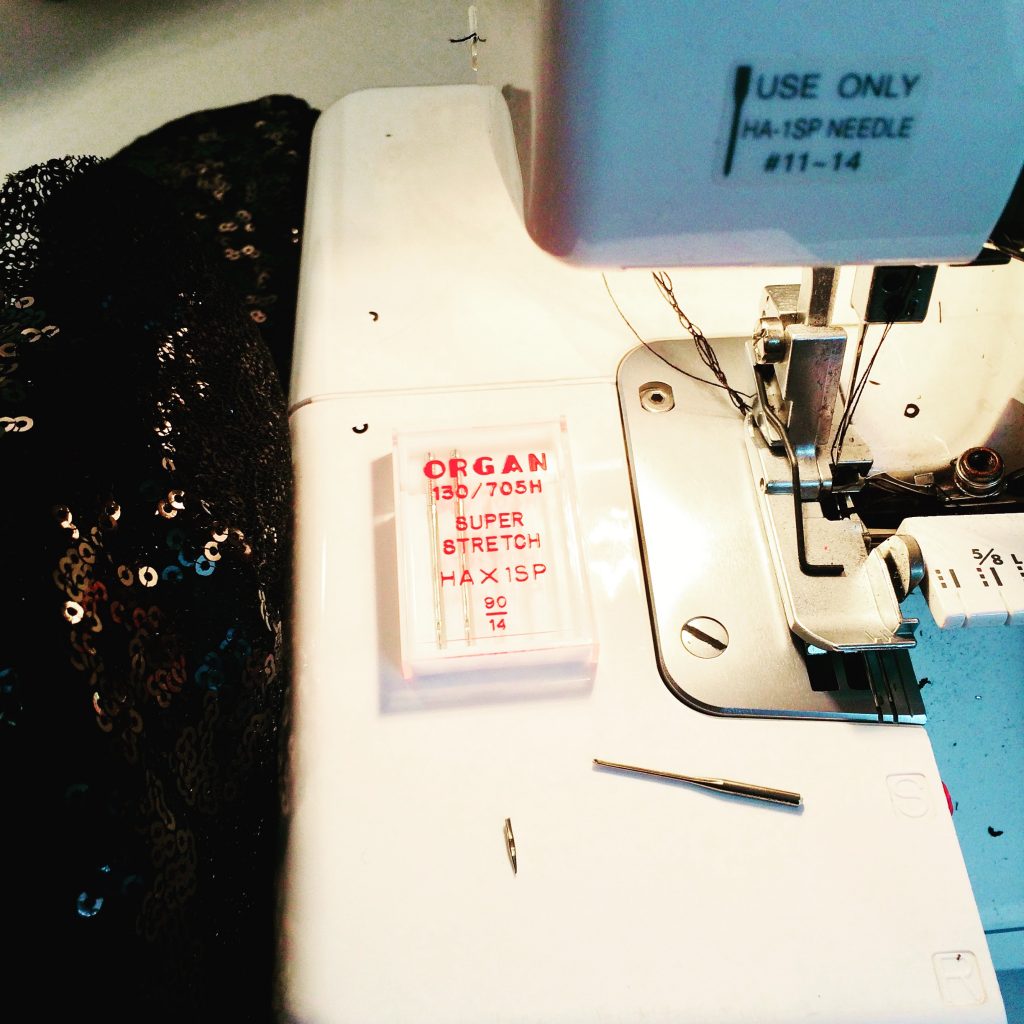
I marked the ends of the stitching lines with tailor’s tacks and used a size 80/12 ball point needle to stitch the folds in place.
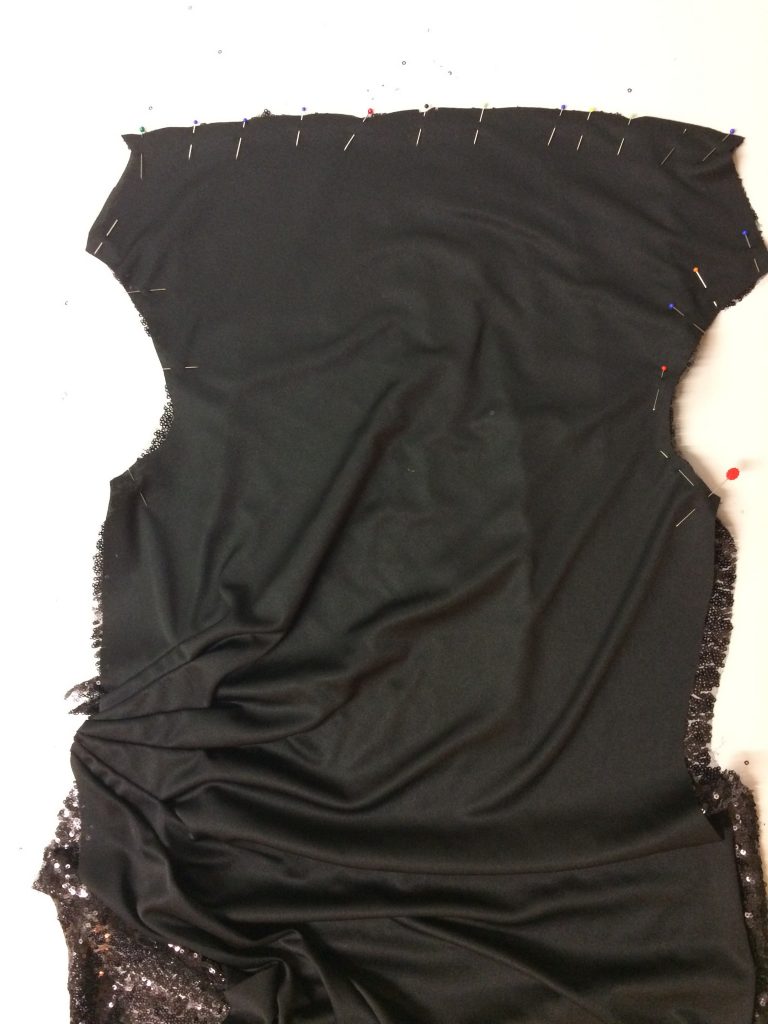
I cut the lining fabric from the same pattern pieces, shortening the length by 2cm and trimmed about 1cm from the neckline, armholes and shoulders to allow the lining to sit better on the inside of the garment after stitching.
I matched the front lining to the front and stitched the neckline and armhole edges using a narrow zig zag stitch on the sewing machine.
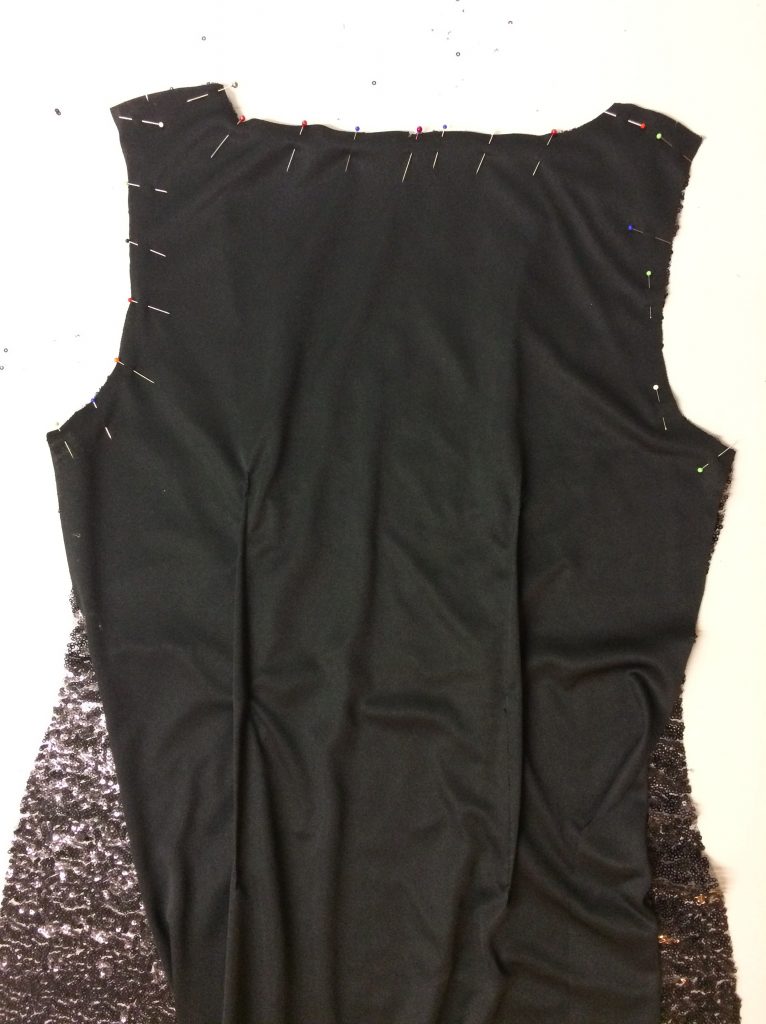
After stitching lining and garment together, the armhole and necklines were understitched. The shoulder seams were then stitched together.
I knew that hemming this dress could be a problem since you can’t iron the sequins! I wanted a full lining to cover the sequin fabric and not a free hanging lining.
The front and back pieces of the sequinned fabric were matched right sides together and the side seams overlocked. I did the same with the lining pieces, leaving a 15cm hole in one side for turning.
Overlocking the fabric turned out to be a bit of a pain… it worked so well to begin with but then the needles kept breaking! – stitching more slowly seemed to fix the problem so I could see the needles begin to bend and I could stop before the needles broke… to be honest the zig zag stitch on the sewing machine worked a lot better but I wanted the security of the 4 thread overlock stitch so I persevered…
The lining and sequinned fabric were matched right sides together at the hem and overlocked together as a full circle before turning right sides out. The hem was then understitched using a straight stitch on the sewing machine and the dress turned right side out.
To finish off I slip stitched the hole in the lining closed by hand.
et voila…
The dress is perhaps a bit shorter than I’d have liked but that can’t be fixed now…
After wearing the dress for around 7 hours I found the sequins were digging in a bit around my armpits so before I wore it out again I decided to cut away some of the protruding sequins in the armholes. I used really tiny scissors and was super careful to avoid making any holes in my new dress.
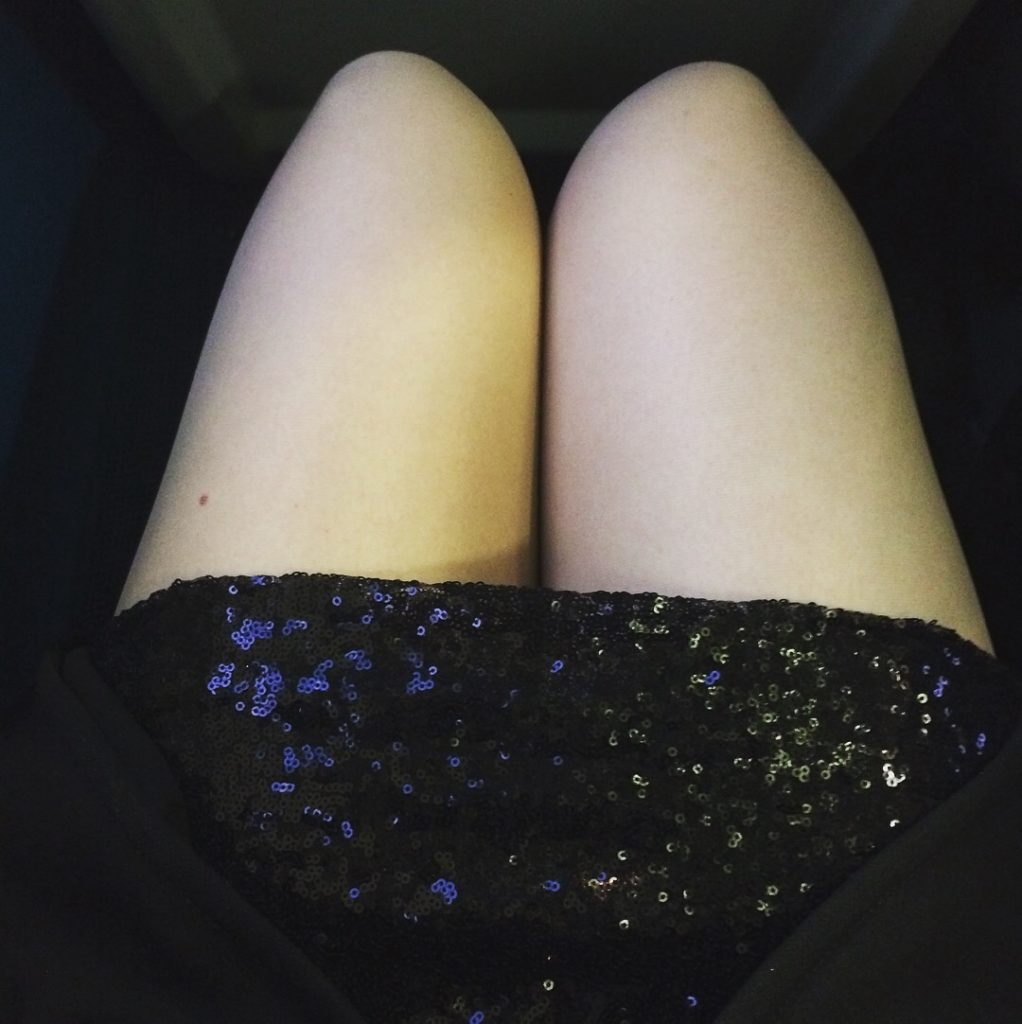
I tried the dress out again for New Year’s Eve… sadly I have a whole load of really rubbish and slightly blurry photos… perhaps that’s the sign of a good night out!!