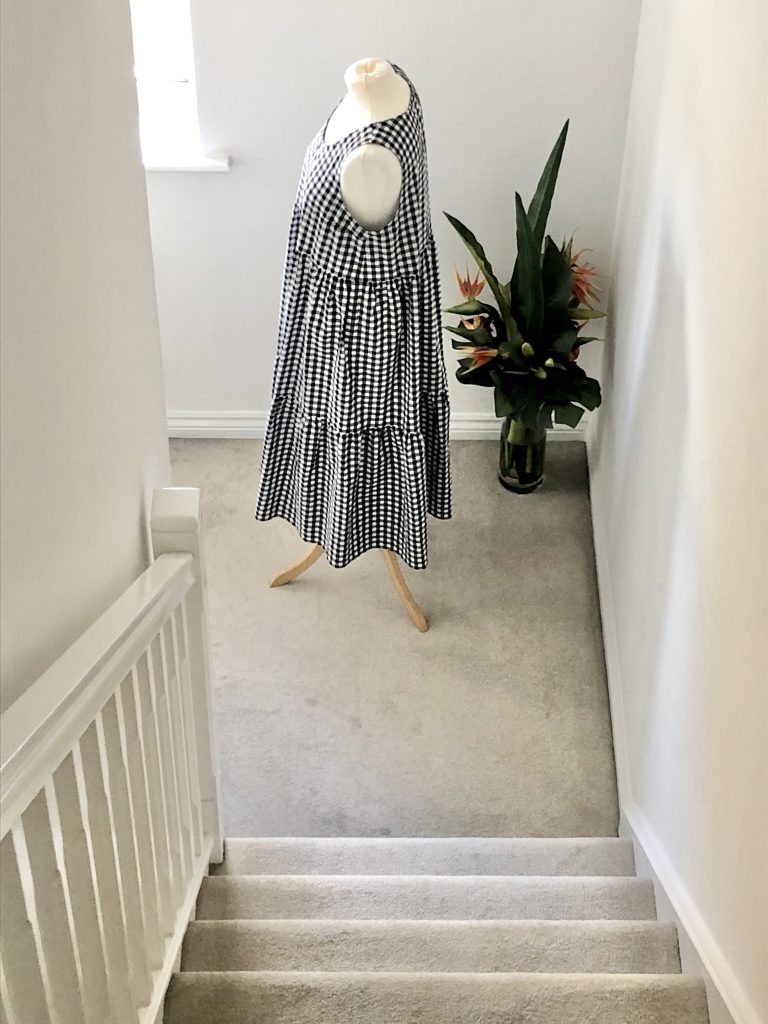
Hello giant billowing dress!
I was asked to make the Verano Dress for Josie at Fabric Godmother for the August 2021 Fabric Godmother Dream Wardrobe Subscription Box.
The pattern is by Christine Haynes and comes in size XS to 4XL.
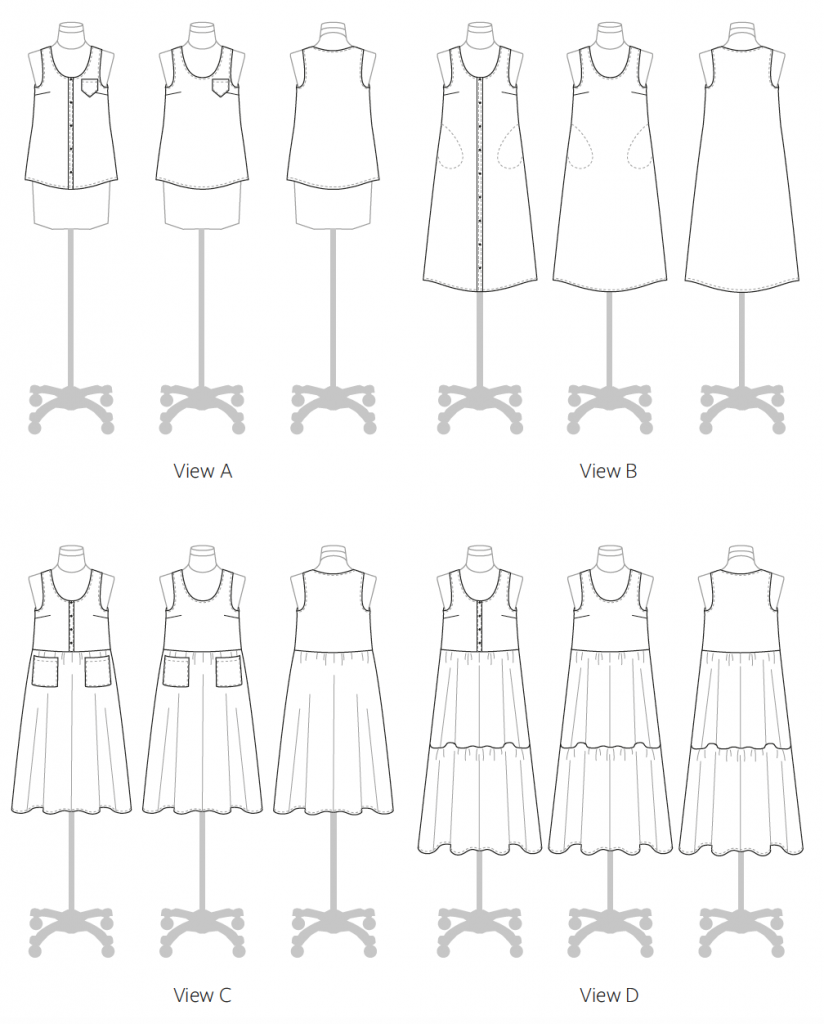
The pattern has a total of eight different variations, with or without a buttoned front.
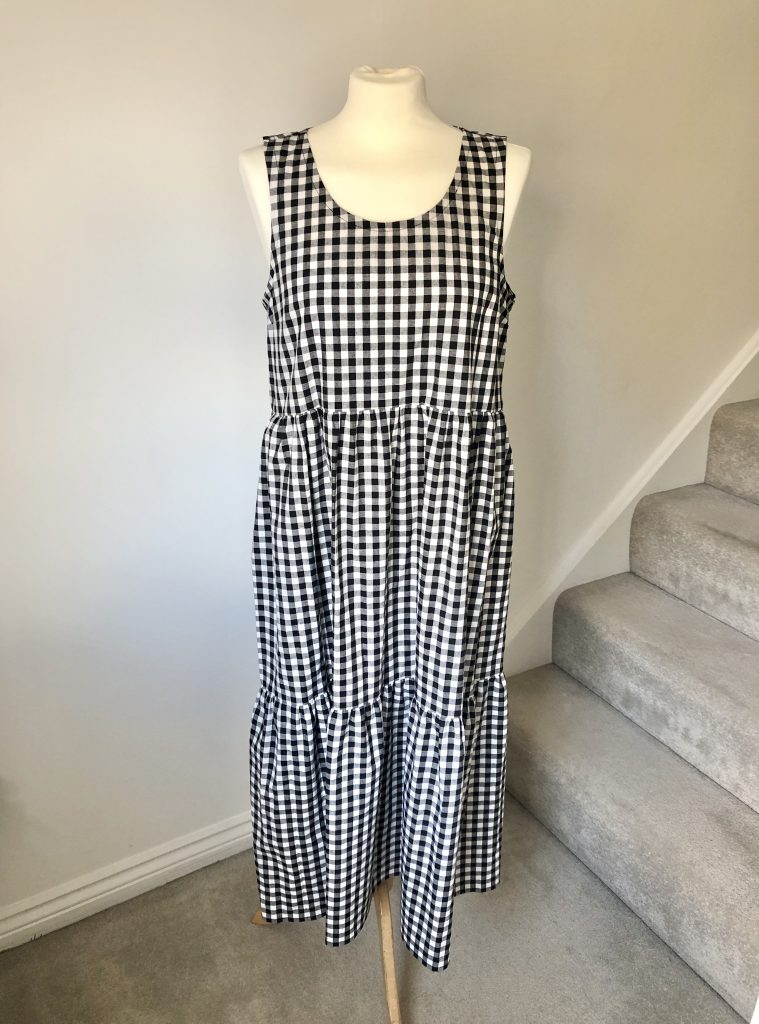
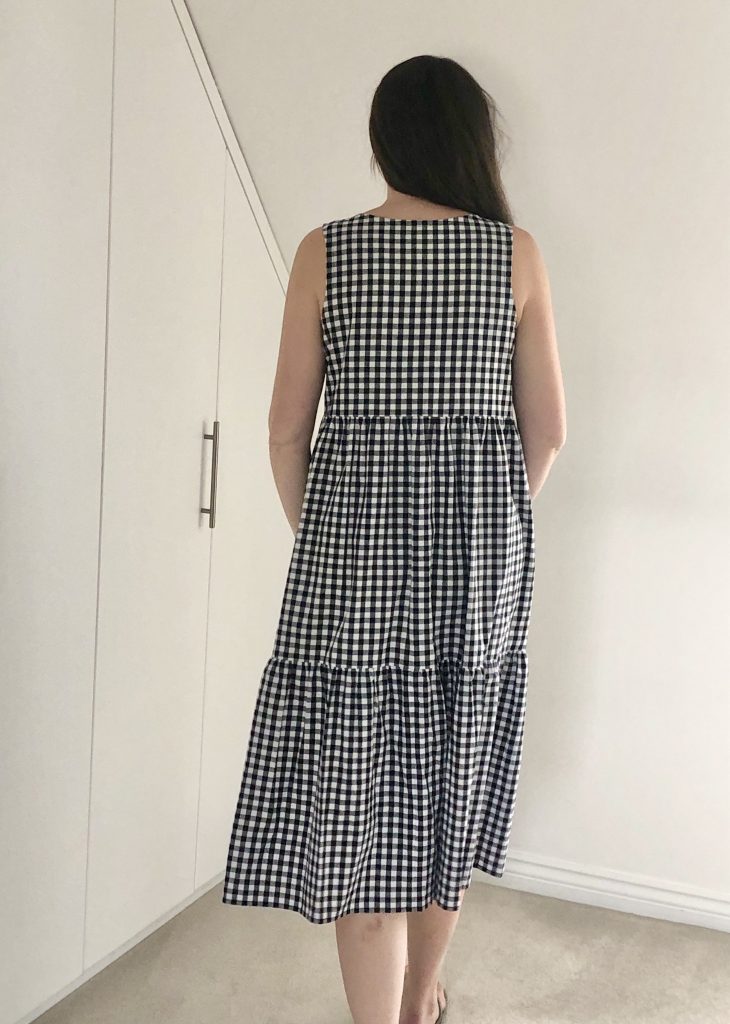
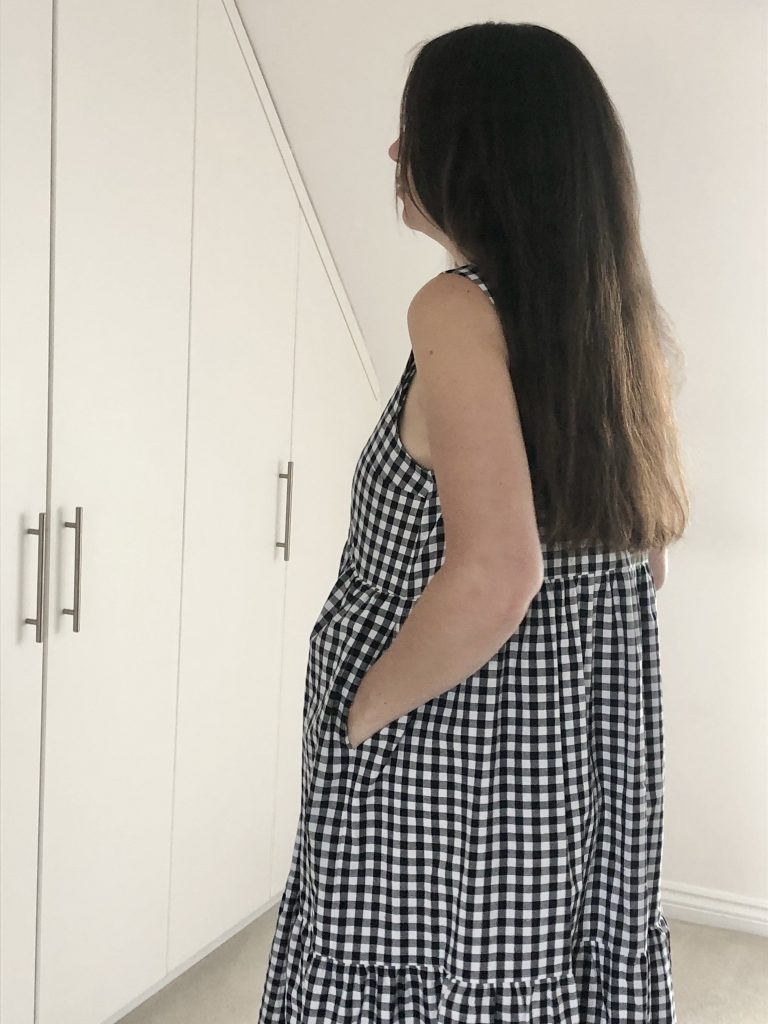
I made View D, the tiered dress, without the button front. I’ve used yarn dyed cotton gingham in black from Fabric Godmother
It’s a relatively quick and easy make – the longest time is spent trying to evenly distribute the gathering on the skirt tiers.
Preparing the Fabric
After prewashing and ironing the fabric, I found that I needed to align the grain to make sure that the lines of the fabric matched up correctly before I cut out the pattern pieces.
To do this, fold the fabric so the selvedges come together. The raw edges should now line up. If they don’t and one corner is short, pull on this short corner and on the opposite diagonal corner. Stretch the fabric out slightly and then match up the selvedges again to see if the raw edges are now aligned. Repeat this process until the raw edges align.
Cutting Out the Pattern
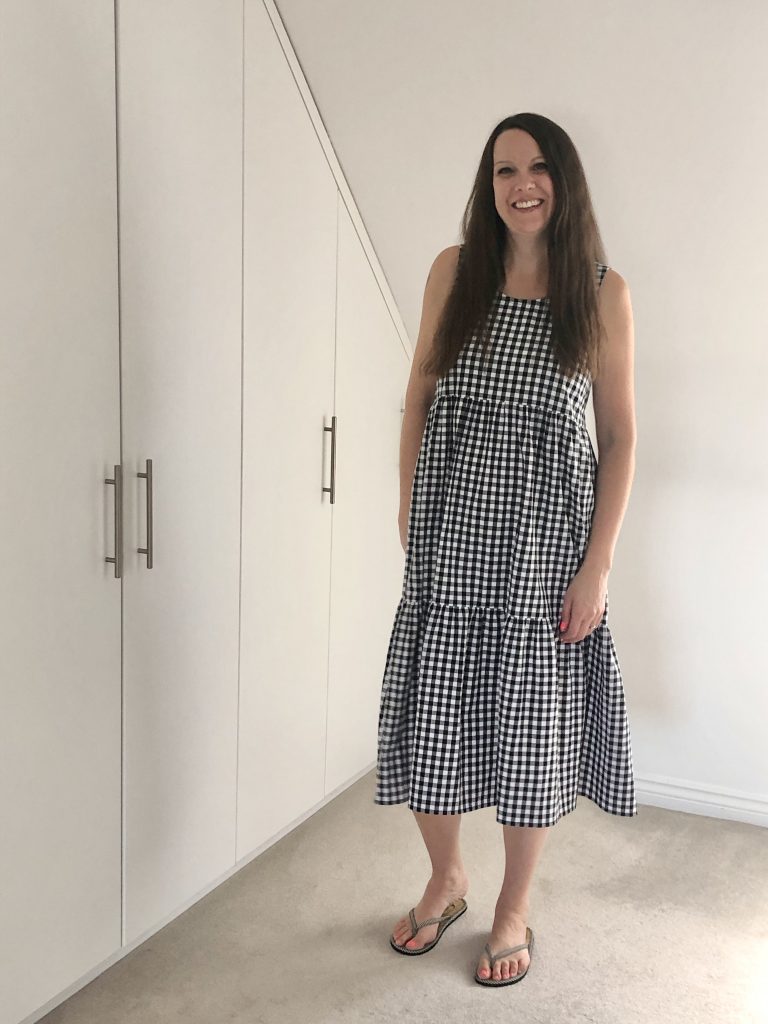
This dress is very spacious. Check the finished garment measurements and use these to decide which size to cut. I added an extra 1.5cm to the length of the bodice but after constructing realised this was unnecessary and ended up taking this off plus an additional 4cm so the skirt / bodice seam sits much closer to the under bust.
To use the fabric in the most economical way, cut the skirt panels first and then cut the remaining pieces.
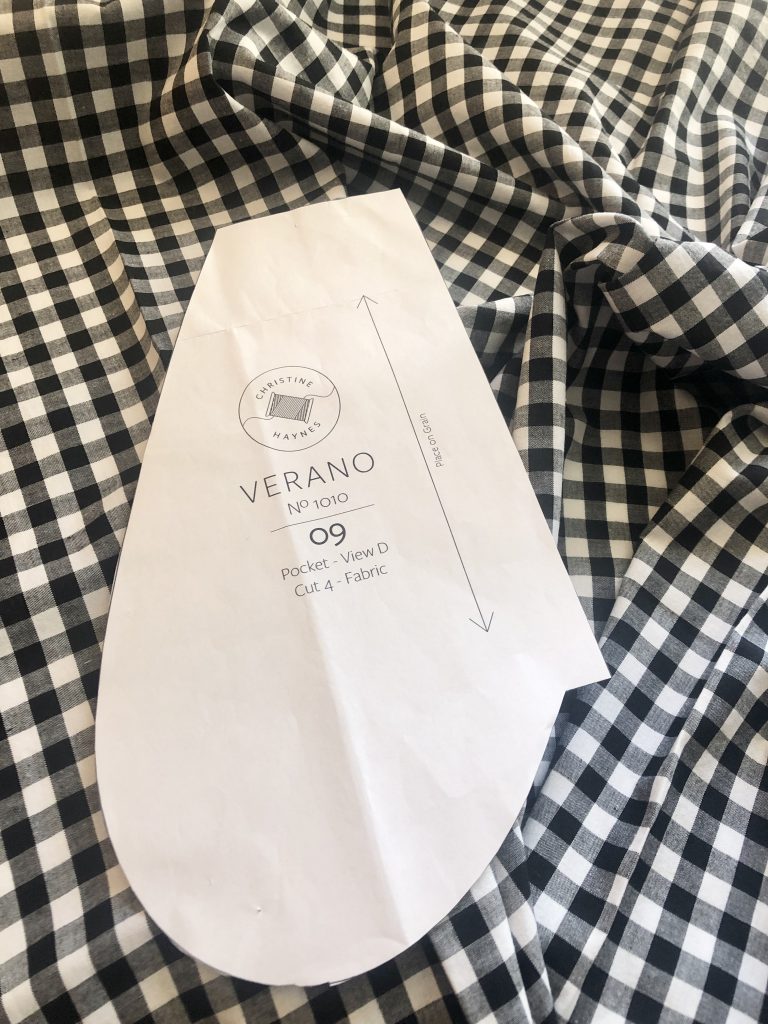
There are 5 panels to cut for the tiered skirt. These can be cut from the fabric using the pattern piece or by measuring and cutting out rectangles as noted in the instructions.
Pattern Matching
I decided to use the black lines as a placement line for all my pattern pieces, including the pockets. All the side seams of the skirt panels were cut along a black line and all the upper and lower edges of the skirt pieces were also cut along a black line. I extended the skirt pattern pieces slightly to make them fit exactly along the black lines to make the pattern matching easier, they’re going to be gathered after all so a few extra millimetres won’t hurt.
To cut out the pocket pieces, I positioned the top right corner and right edge along the black lines of the fabric.
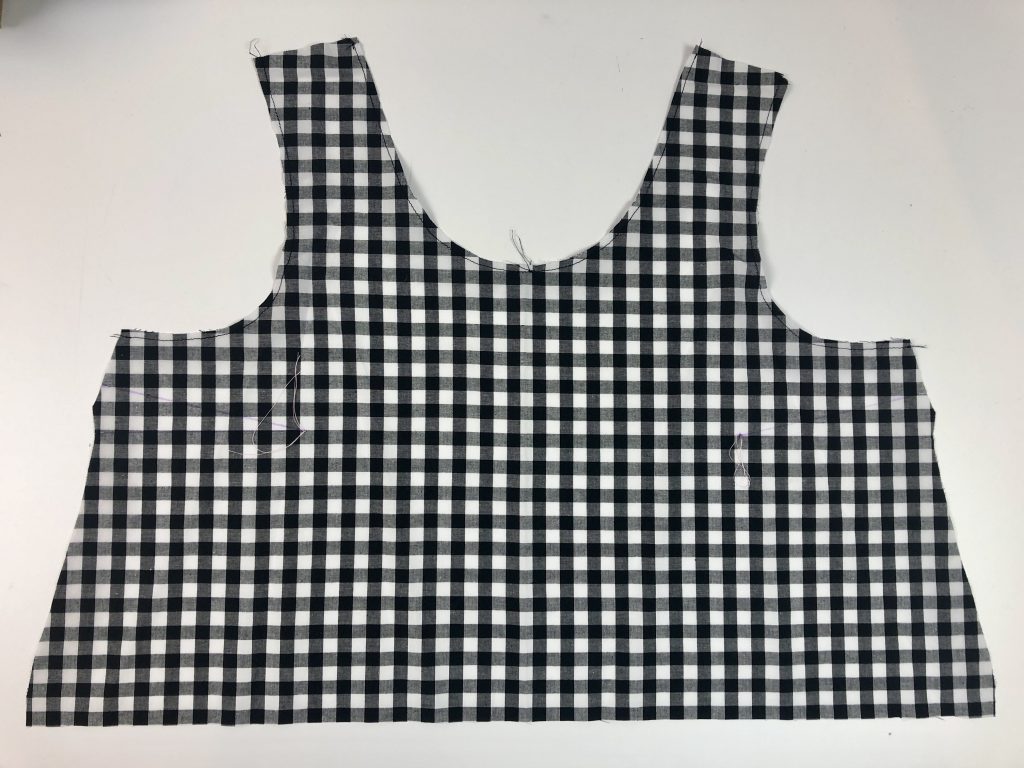
When cutting out the front and back bodice pieces, I made sure that one line on the pattern of the fabric sits exactly on the centre front and centre back lines. I used the white line on the fabric for this.
When cutting out the bodice pieces, I lined up the lower edge of the pattern to one of the lines on the fabric, again I used the black lines.
The neck and armhole bindings are both cut on the bias as they need to stretch.
Transferring pattern markings
There aren’t many pattern markings but make sure that you mark the position of the darts.
As there’s so much gathering, I placed small snips into the fabric to mark the lower edge of the centre front, centre back and quarter marks of the upper sections and did the same on the skirt sections to help when distributing the gathering.
Making up the garment
I used a size 80/12 universal needle as the fabric is medium weight.
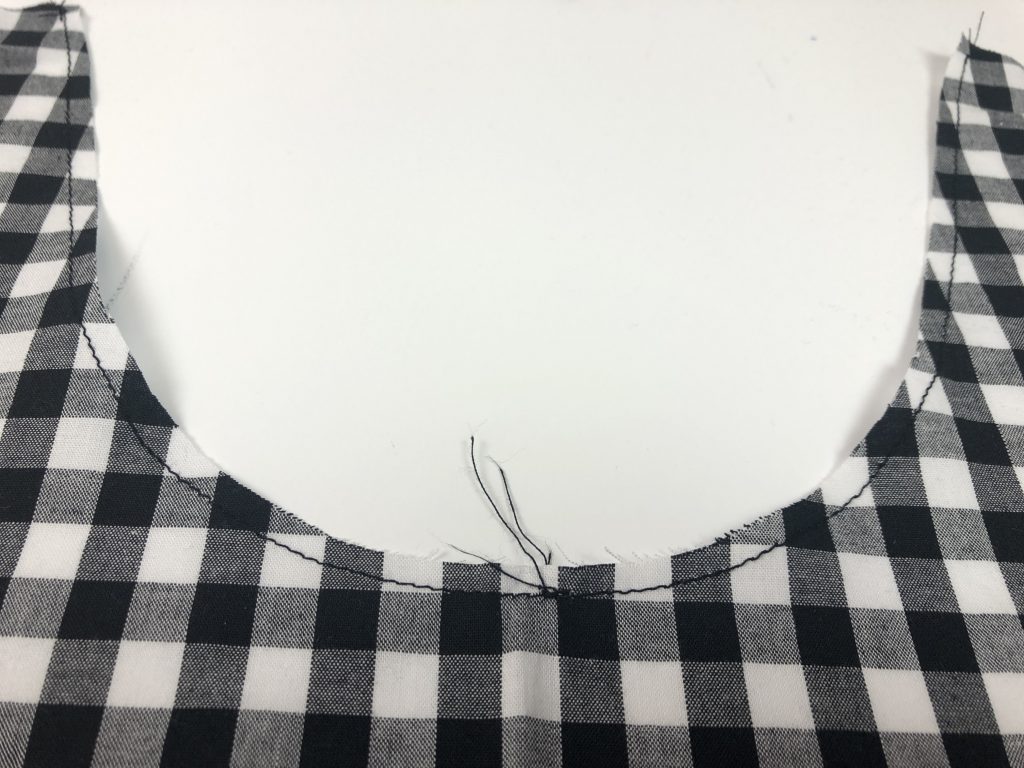
Staystitching
The purpose of stay stitching is to stop you from stretching out the curved edges of the neckline and armhole edges.
Staystitching is done through a single layer of fabric using a regular length stitch. The neckline should be sewn from shoulder to centre front / centre back.
Staystitching will stay in the fabric so needs to sit within the seam allowance. The pattern instructions for the Verano state to sew a scant 1/4″, so I sewed at 5mm.
Sewing Darts
After staystitching the neckline and armhole edges, the first stage in the construction of dress D is to sew the darts.
There are a number of methods to sewing darts but the main aim is to make sure that the tip of the dart is well pressed and sits flat.
I’ve made a video of my tips for sewing single point darts which you can find below.
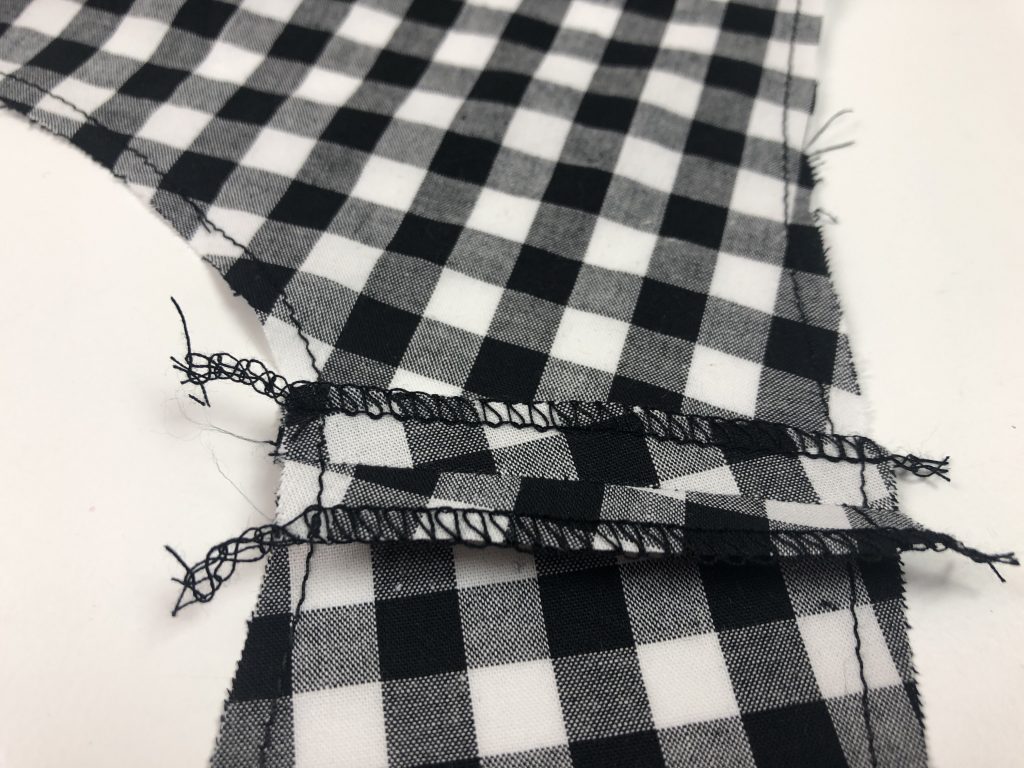
The pattern suggests to ‘ease’ the shoulder seams to fit, but mine just lined up perfectly without the need to do this.
I used a 3-thread overlock stitch to edge finish the seam allowance and pressed the shoulder seams open.
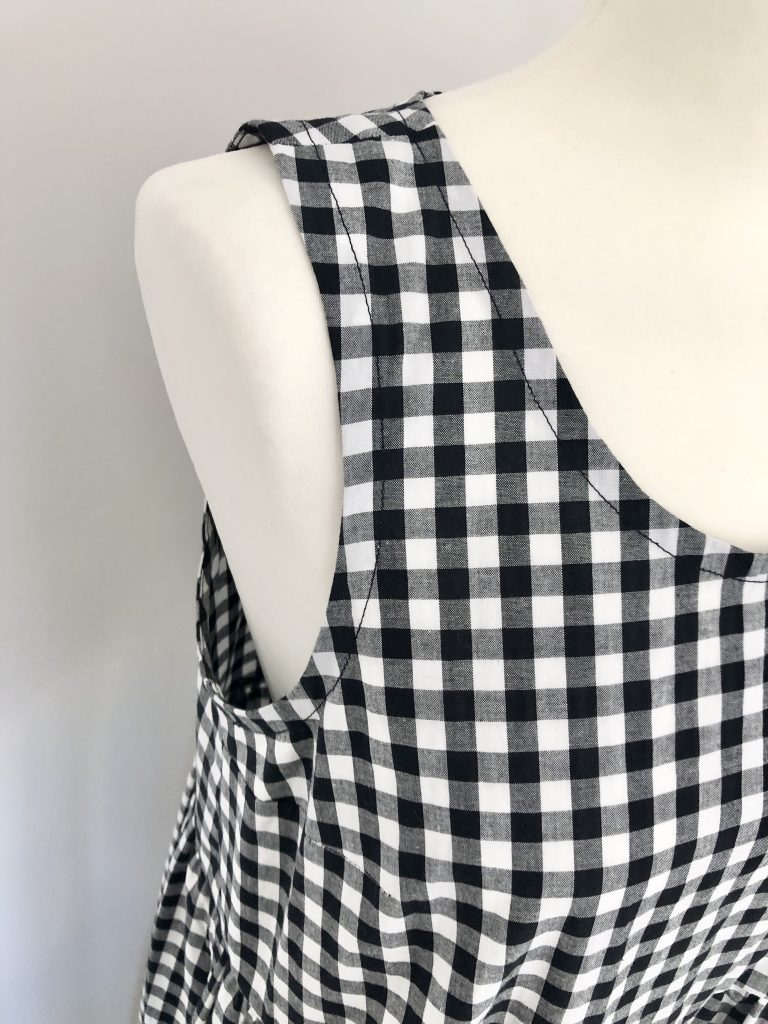
Neckline and Armhole Binding
I wasn’t sure if the seam allowance on the short ends of the binding strips was 1.5cm (5/8”) or 6mm (1/4”) but after pinning and laying out the binding to check for fit, I used a 6mm (1/4”) seam allowance.
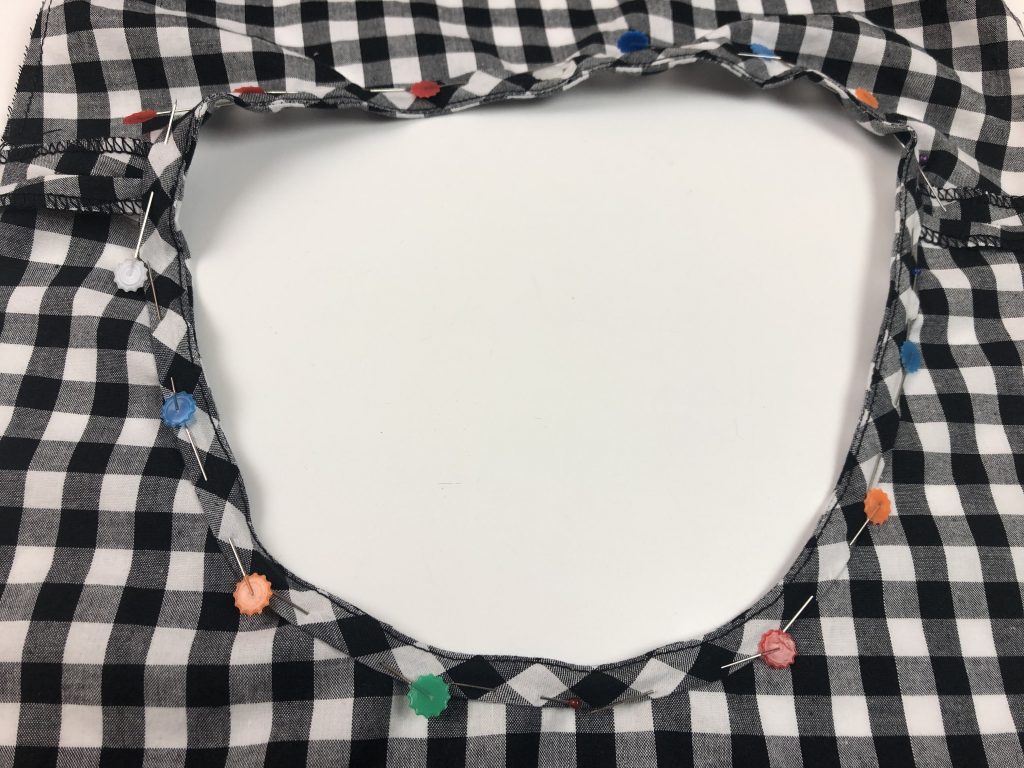
To attach the neckline binding I marked the centre front and centre back on the neckline and the centre of the binding. Then I matched the binding seam to the centre back of the neckline and the centre of the binding to the centre front. The rest of the binding was evenly distributed around the neckline, stretched slightly, and pinned in place.
The binding is then sewn on with a 6mm seam allowance.
After sewing on the binding I trimmed away 2-3mm of the seam allowance and clipped into the curves up to the stitching line, clipping every 1-2cm. These steps will help to remove some of the bulk and keep the binding nice and flat once it is finished.
The next stage is to understitch.
If you’re wondering what on earth understitching is then you’re probably not alone.
Understitching is like magic – it helps bindings, facings or linings stay in place on the inside of a garment and stops them from rolling over to the outside of the garment.
Understitching is a line of stitching sewn using a regular length of stitch (2.5mm in my case). The stitching is done from the right side of the binding, facing or lining and goes through the binding and seam allowance, but not through to the main garment fabric. It can only be seen on the inside or wrong side of the garment.
If you want to see how this is done, then see my video below on how to attach a facing. The instructions for sewing the understitching start from 11:42 but you can see the preparation before this of trimming, layering and clipping the seam allowance.
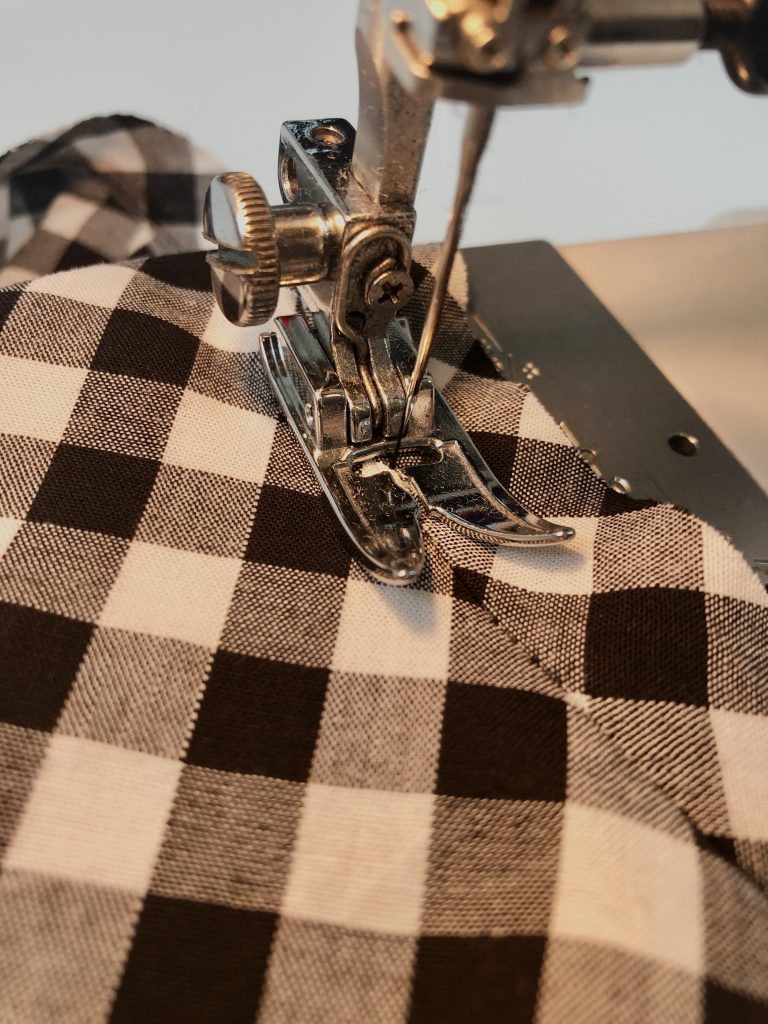
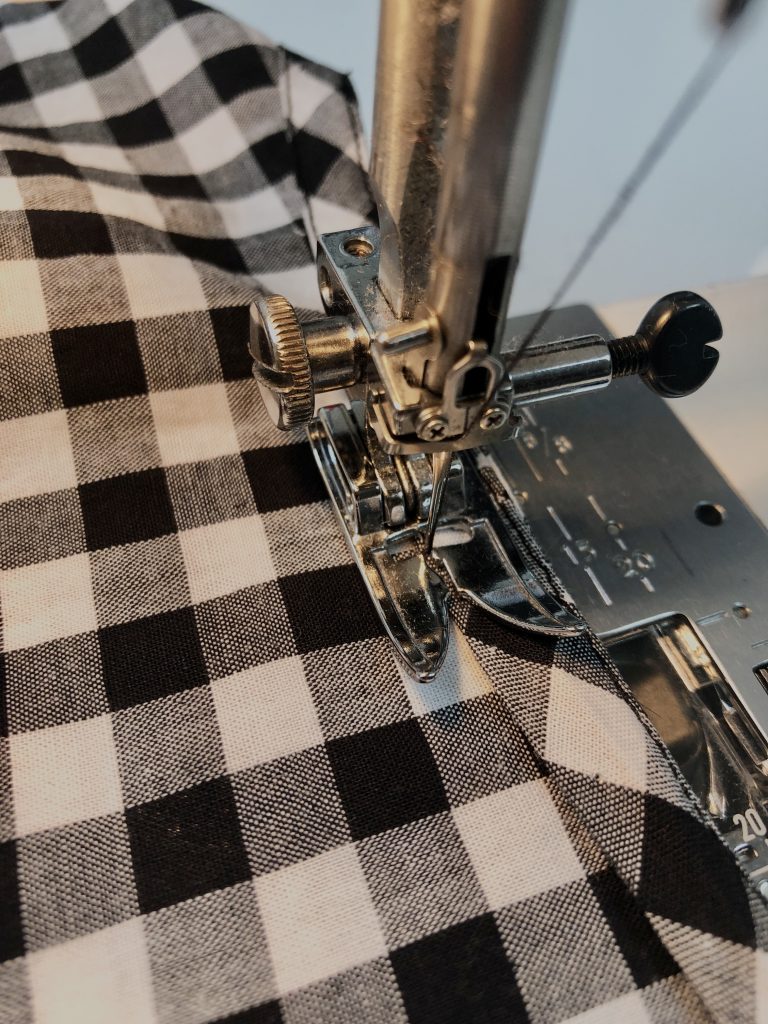
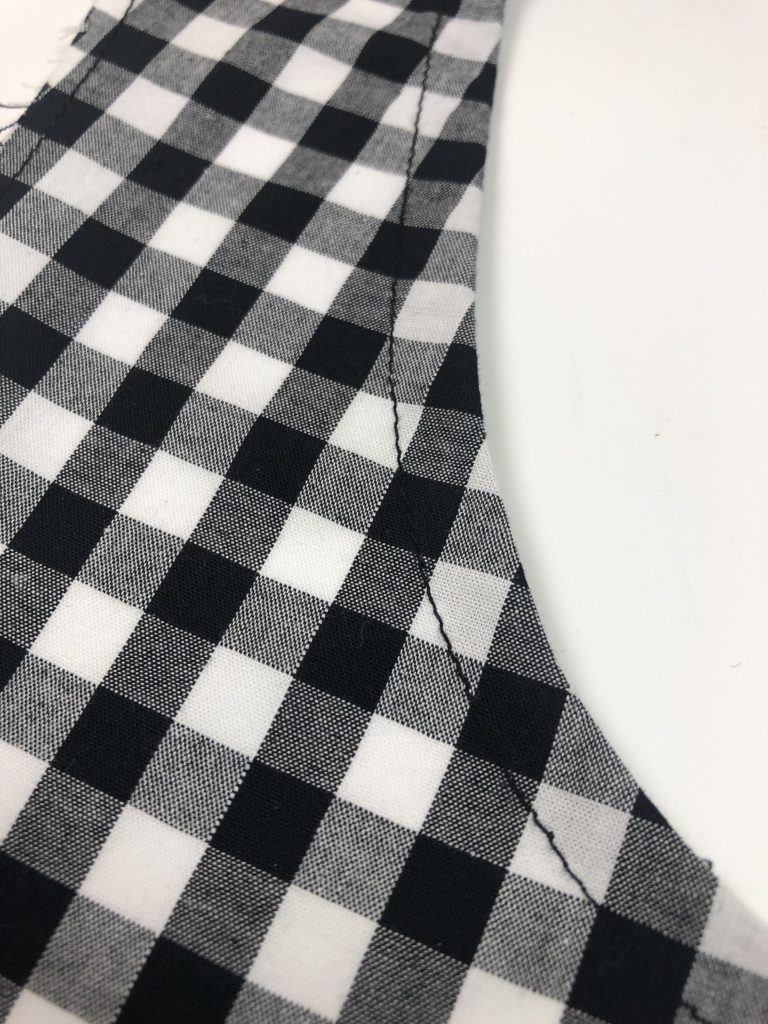
In the image below you can see the binding to the right of the presser foot and the main garment to the left. The understitching is sewn from the right side, 2-3mm from the seam line. The stitching line goes through the binding and catches the seam allowance underneath, pressing the raw edges of the seam allowance towards the binding.
After understitching, the binding is turned to the inside of the garment.
First the outer raw edge of binding is folded under by 6mm, towards the centre of the binding and the seam allowance.
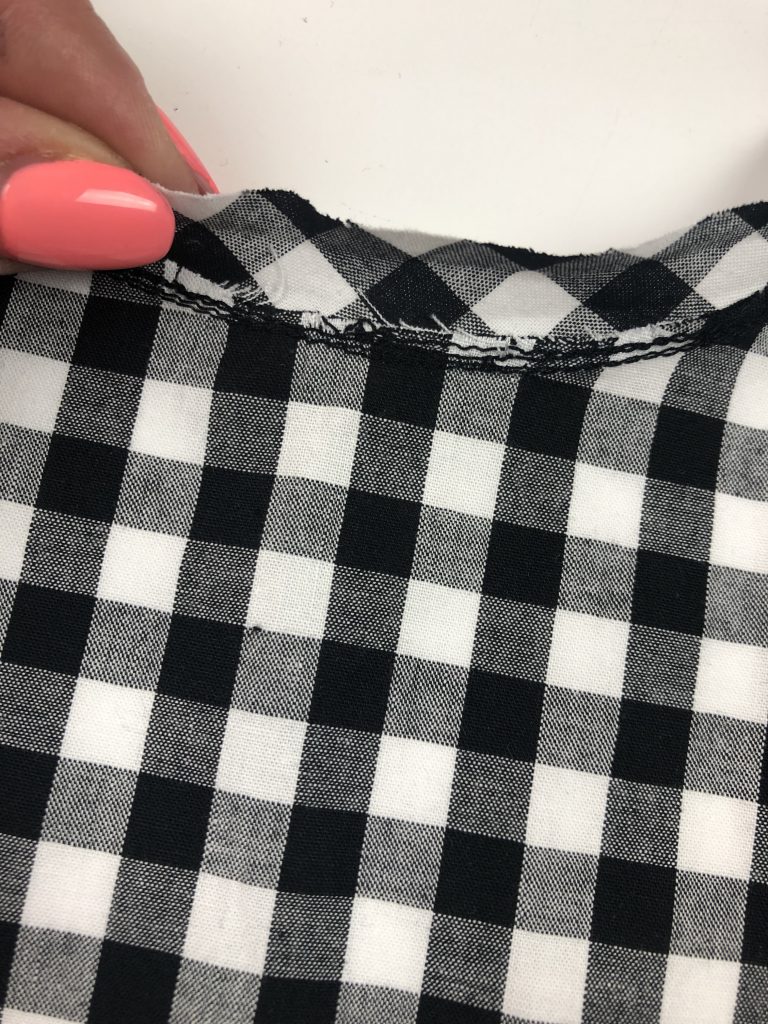
The binding is then folded to the inside of the garment.
The line of understitching should help here, to keep the binding to the inside of the garment.
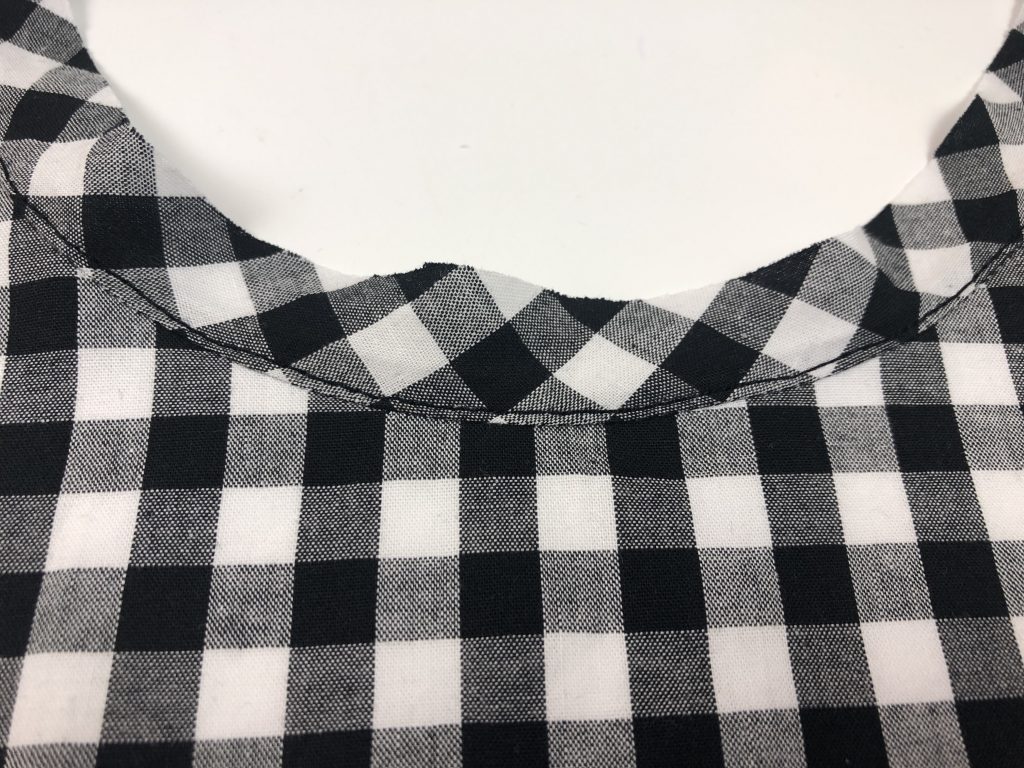
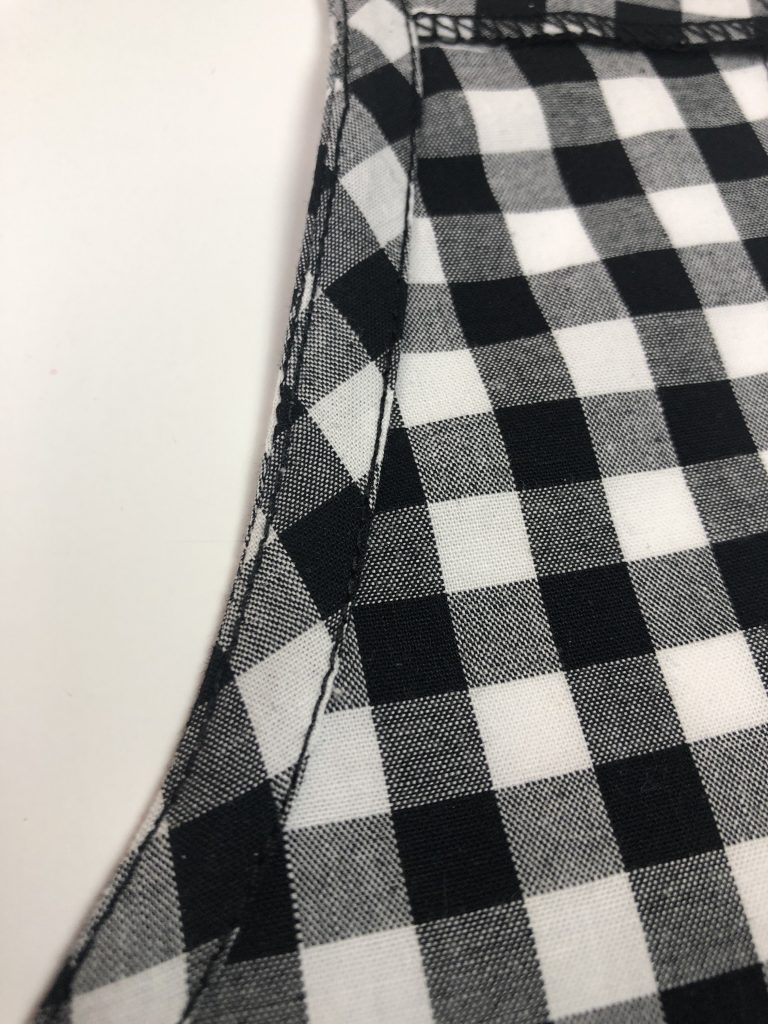
The binding should not show on the outside / right side of the garment.

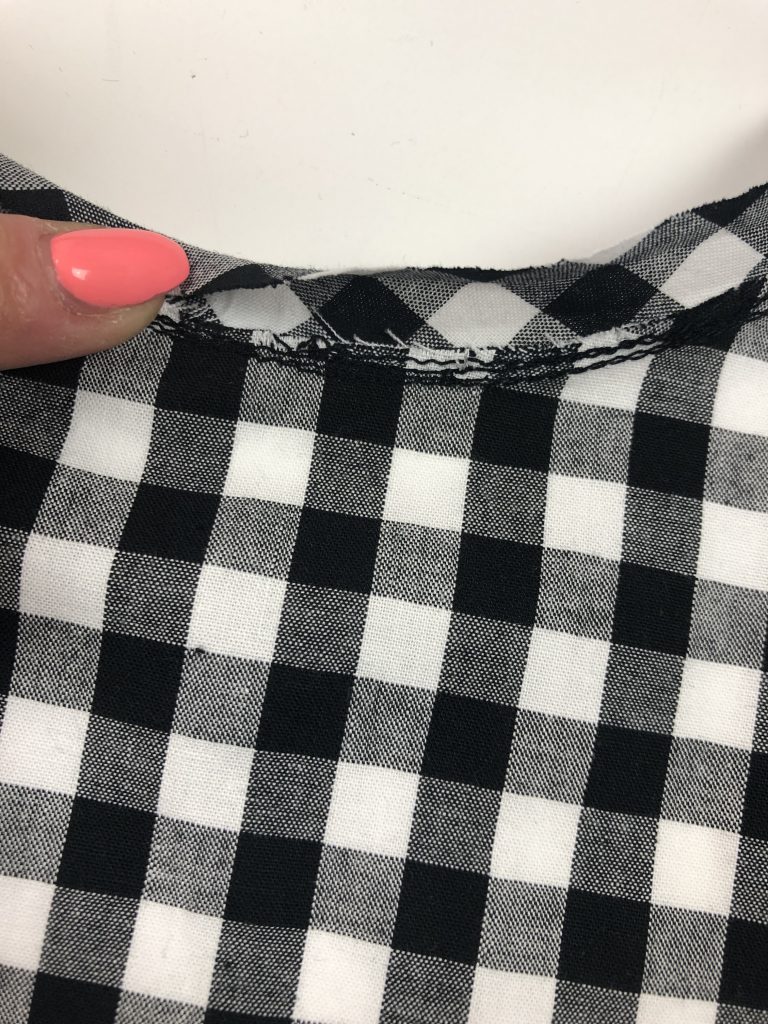
The binding is then pinned in place.
And then sewn close to the inside fold.
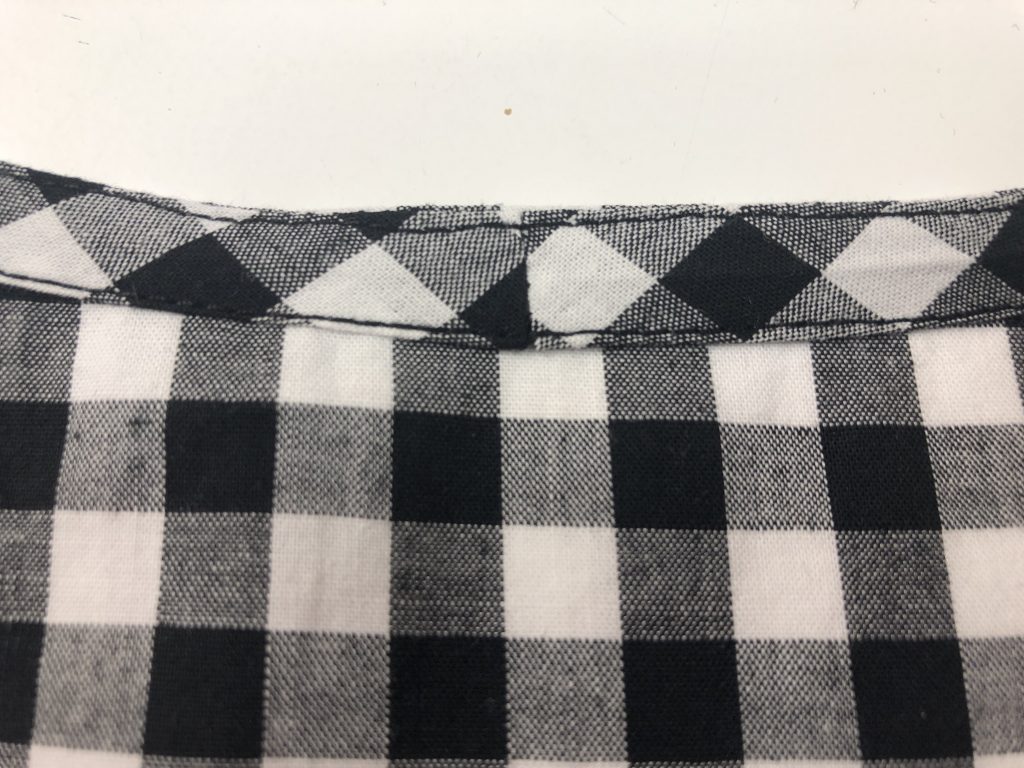

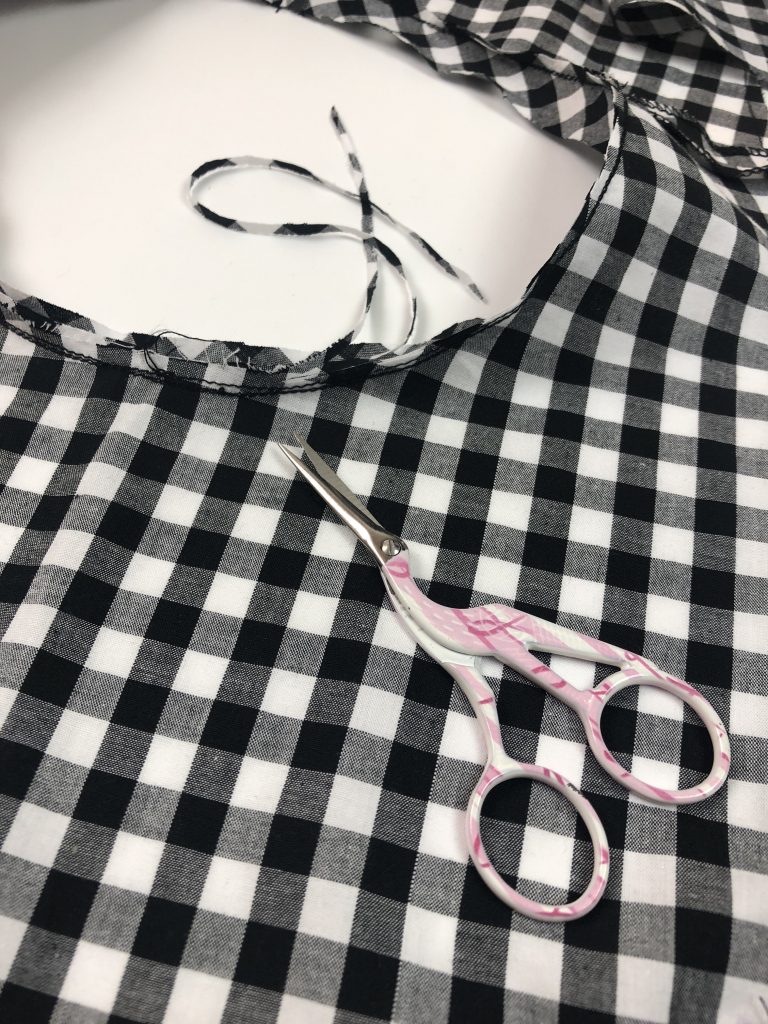
Once the neckline binding is finished, give this a good press. It should sit completely flat when worn.
Next, the side seams of the bodice are sewn.
I used a 3-thread overlock stitch to edge finish and pressed the side seams open.
The next stage is to attach the armhole binding.
The same process that was used for the neckline binding is used again for the armholes. The seam on the binding is matched to the underarm seam.
Pockets
I’ve made a video on how I create in-seam pockets.
You can see the video below, and then stepped photographs of my stages of applying the in-seam pockets to the Verano dress.
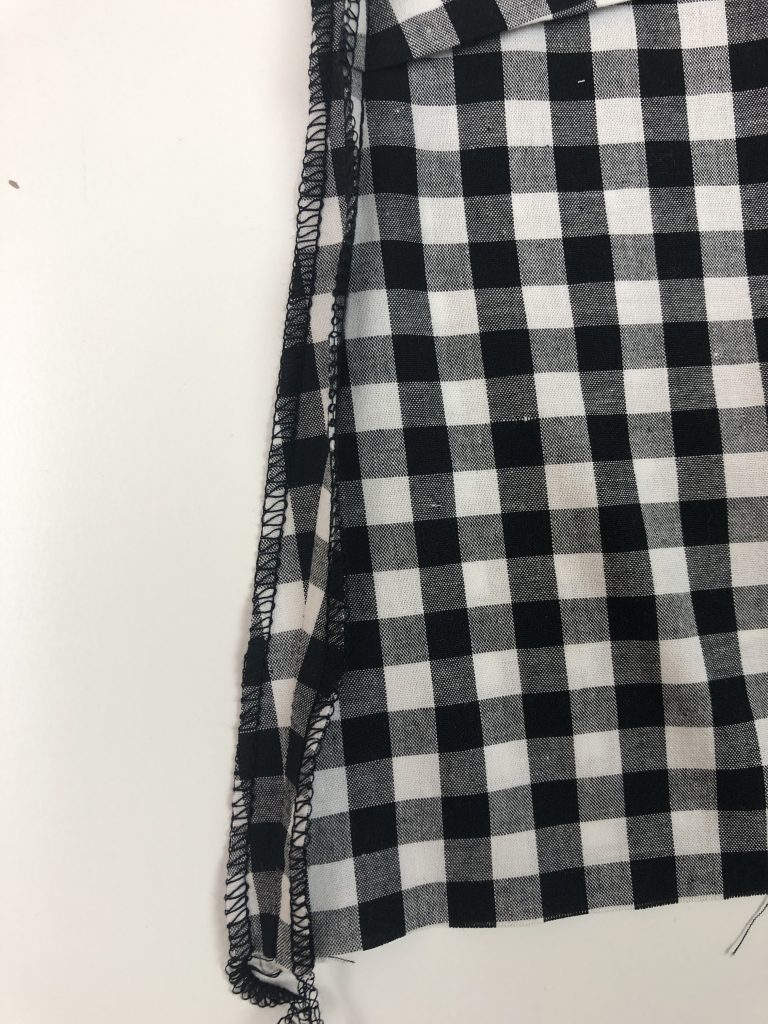
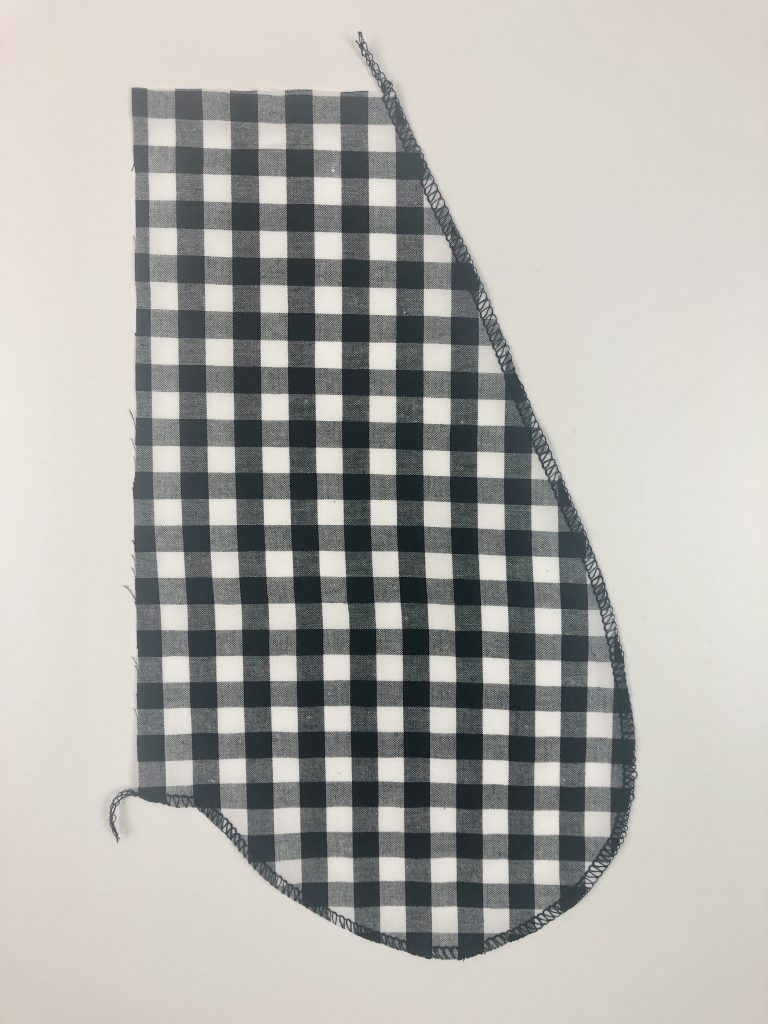
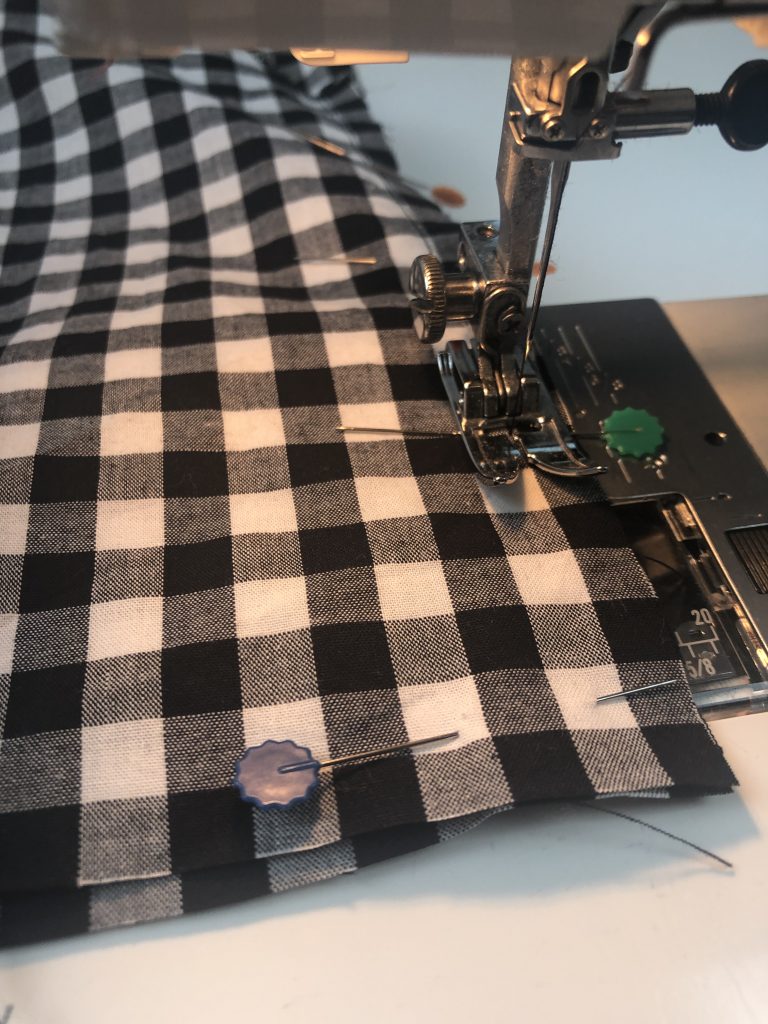
I normally edge finish each pocket piece and then edge finish the side seams before I attach the pocket pieces, but on the Verano dress I’ve chosen to start by edge finishing only the curved section of the pocket before sewing this to the skirt pieces.
The top edge of the pocket will be edge finished after sewing the top tier of the skirt to the bodice.
Then I attached the pockets to the front and back pieces with a 1cm (3/8”) seam allowance.
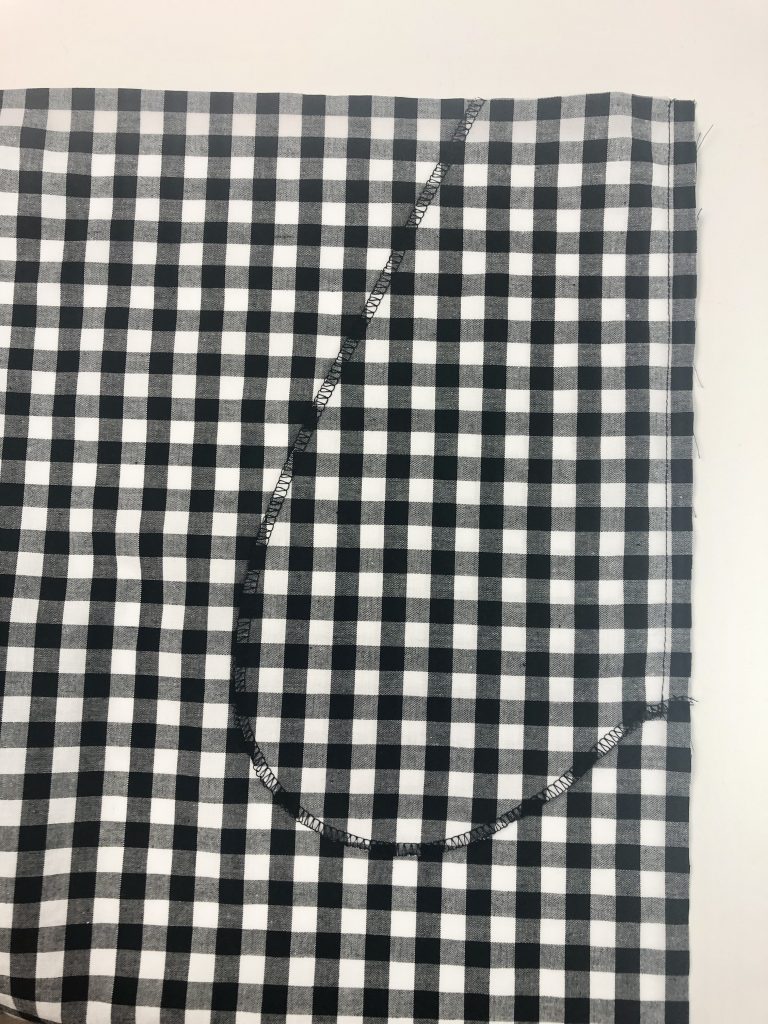
Next I edge finished the seam allowance, overlocking the pocket and side of skirt panel together.

The next stage is to press the pocket and seam allowance away from the garment.
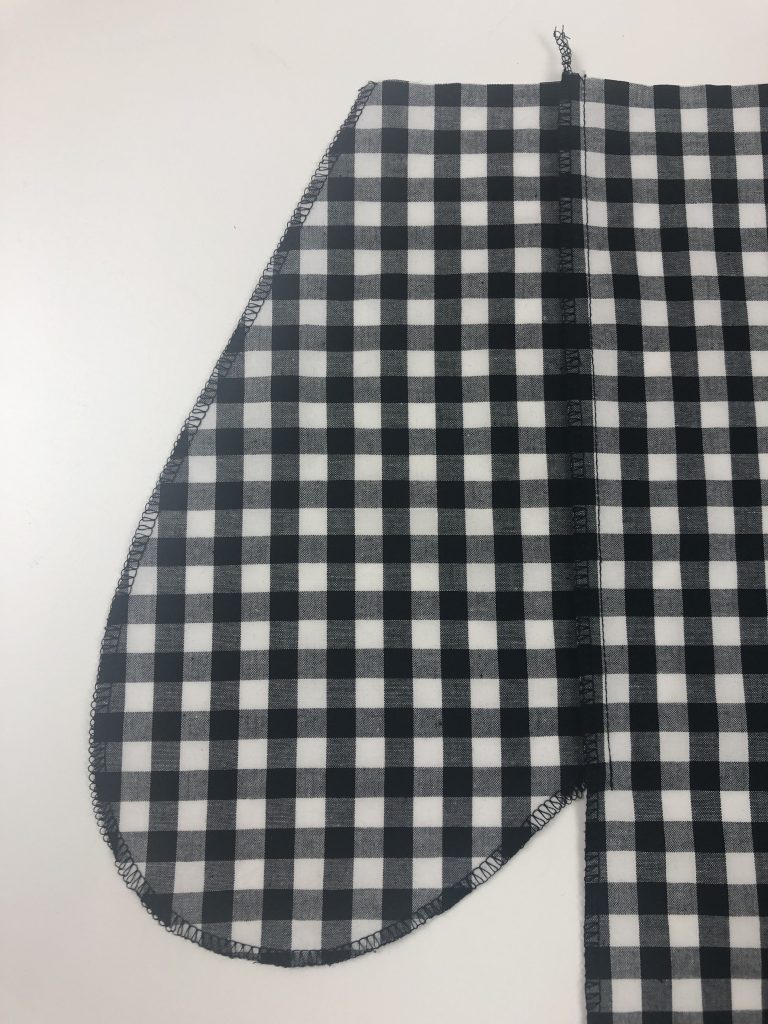
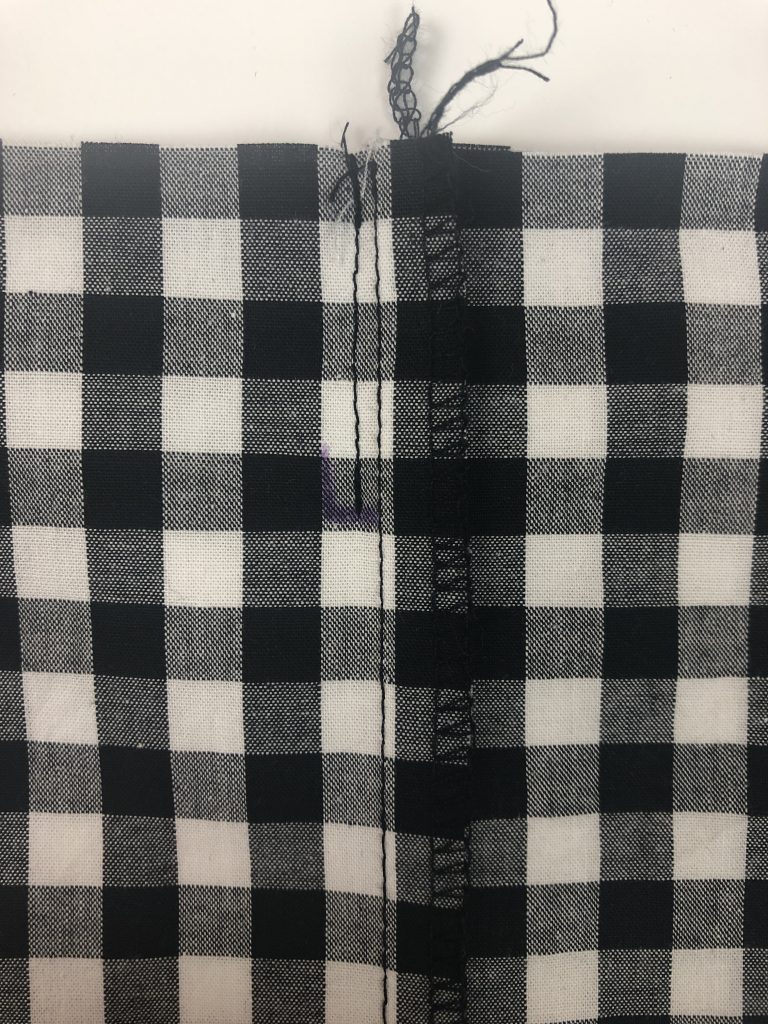
The front and back skirt panels are then placed right sides together, pinned and stitched.
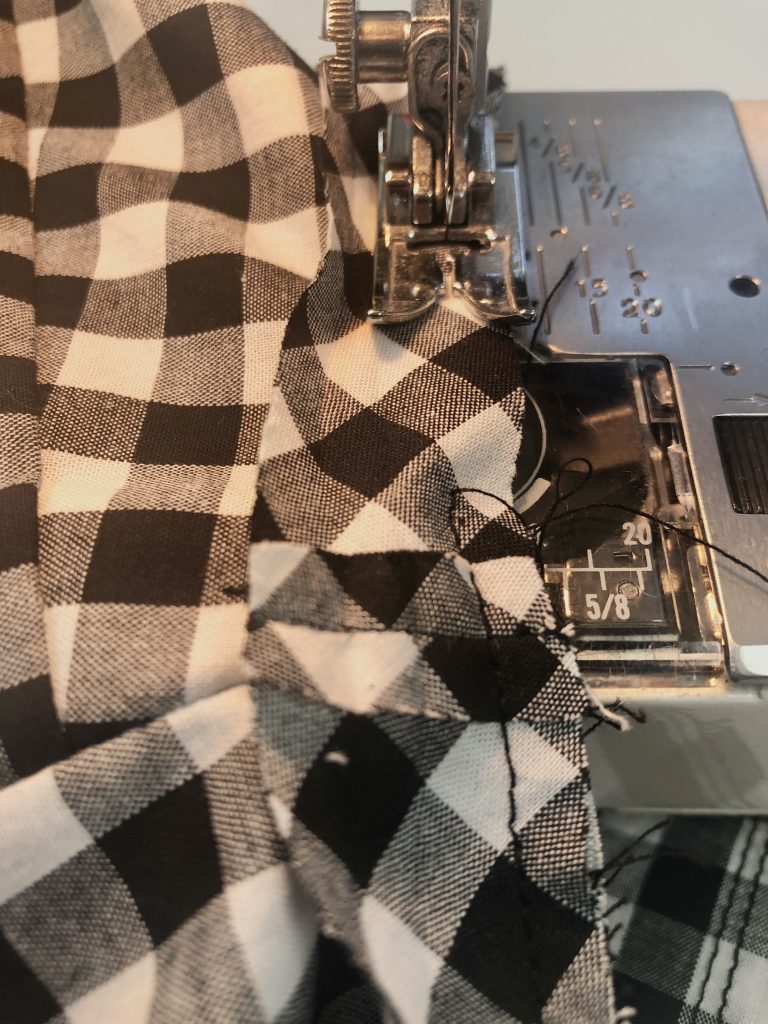
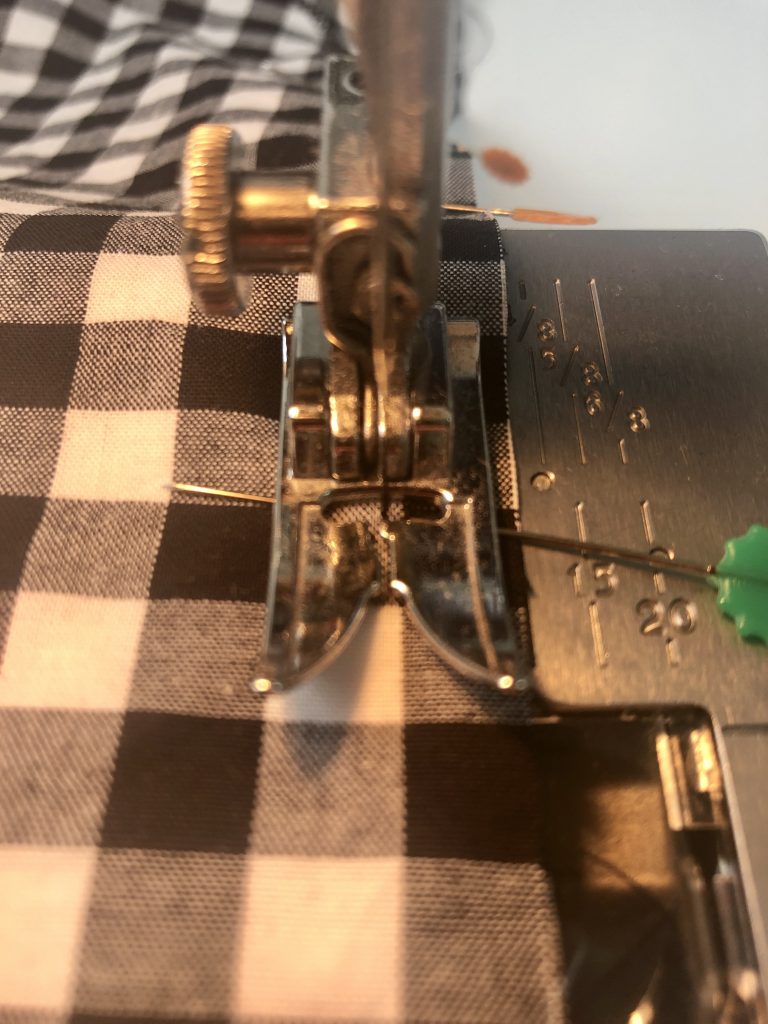
I used a 1.5cm (5/8”) (or thereabouts) seam to sew the side seams of the skirt and around the pocket bags.
I marked the seam line with a purple pen but then chose to keep the seam line in the centre of the white square to match the pattern.
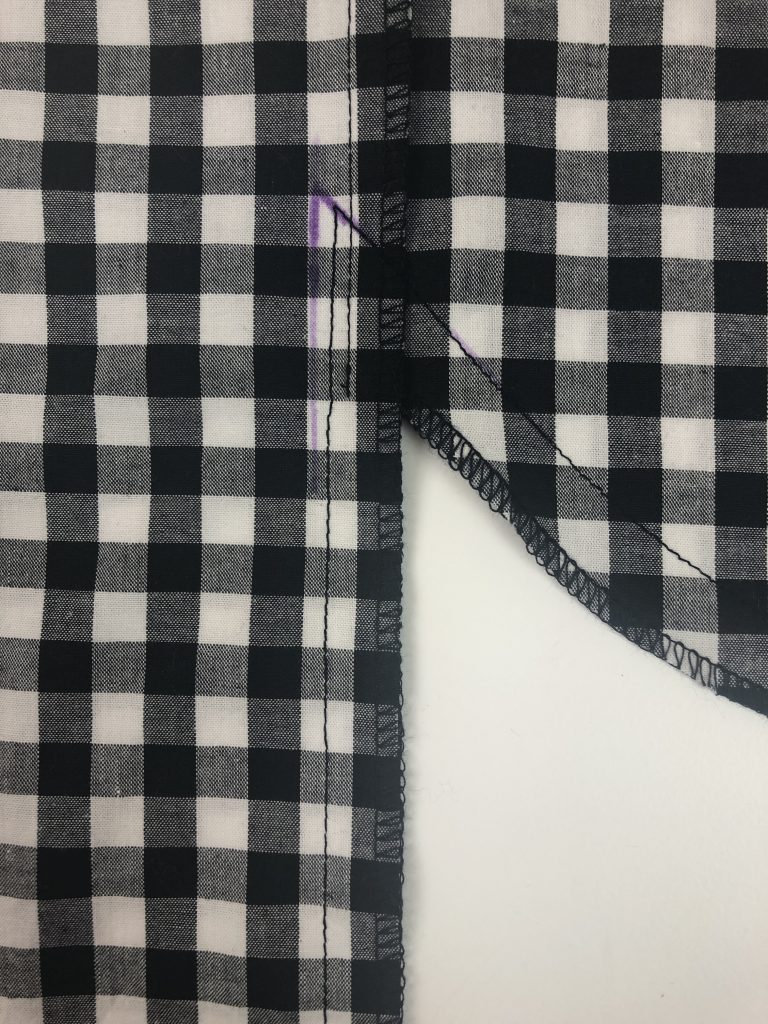
The pocket is then pressed towards the front but held out of the way for the gathering stage.
There are different approaches to gathering fabric and I prefer to place two lines of long machine stitches within the seam allowance so that once the seam is made I don’t need to unpick or pull out any stitching that shows beyond the seam line.
To help with distributing the gathering I cut small snips to mark the centre and quarter points of the skirt and bodice.
I’ve created a video on gathering which can be seen below.
I placed my lines of long machine stitching at 1cm and 1.3cm so it’s close to, but not on the seam line.
I also split the lines of gathering at the side seams, stopping stitching as I reached the pocket. The pocket needs to stay flat and doesn’t have gathers across the top.
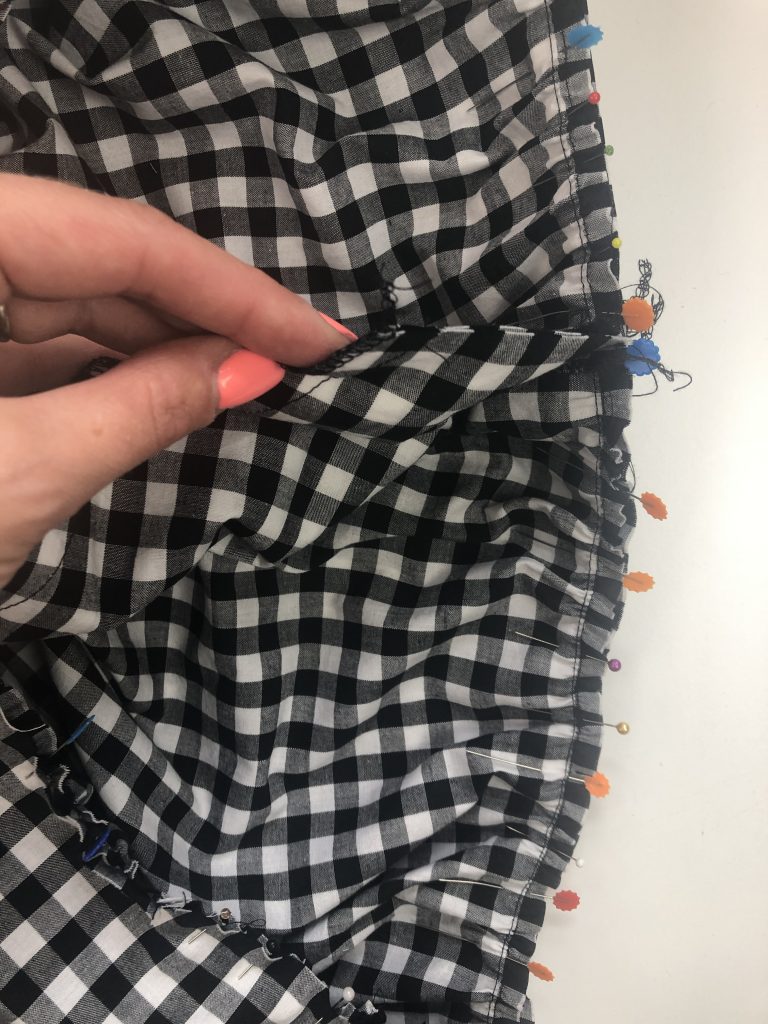
Once the gathering is in place, this can be distributed evenly, matching the quarter snip marks and placing lots of pins on the gathered side of the skirt.
Once you are happy with the distribution of the gathering, place the pockets in position along the front sections and pin these in place.
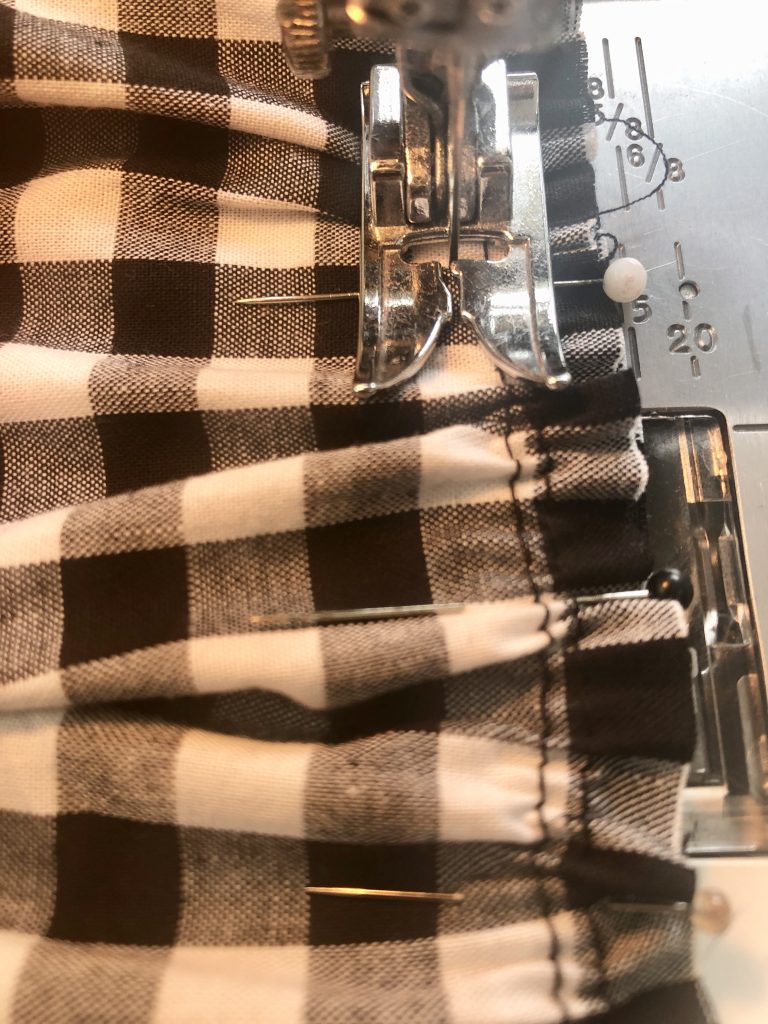
Stitch the skirt to the bodice, sewing over the gathering and to the left of the previous stitching lines. I’ve tried to keep my stitching in the centre of the white squares again.
Check the gathering from the right side.
If there’s any visible stitching this can be removed. If you’ve accidentally puckered the fabric then just unpick and redo the section that’s not correct.
Once you’re happy with the gathering, edge finish the seam allowances together and cut any long threads from the gathering stitches.
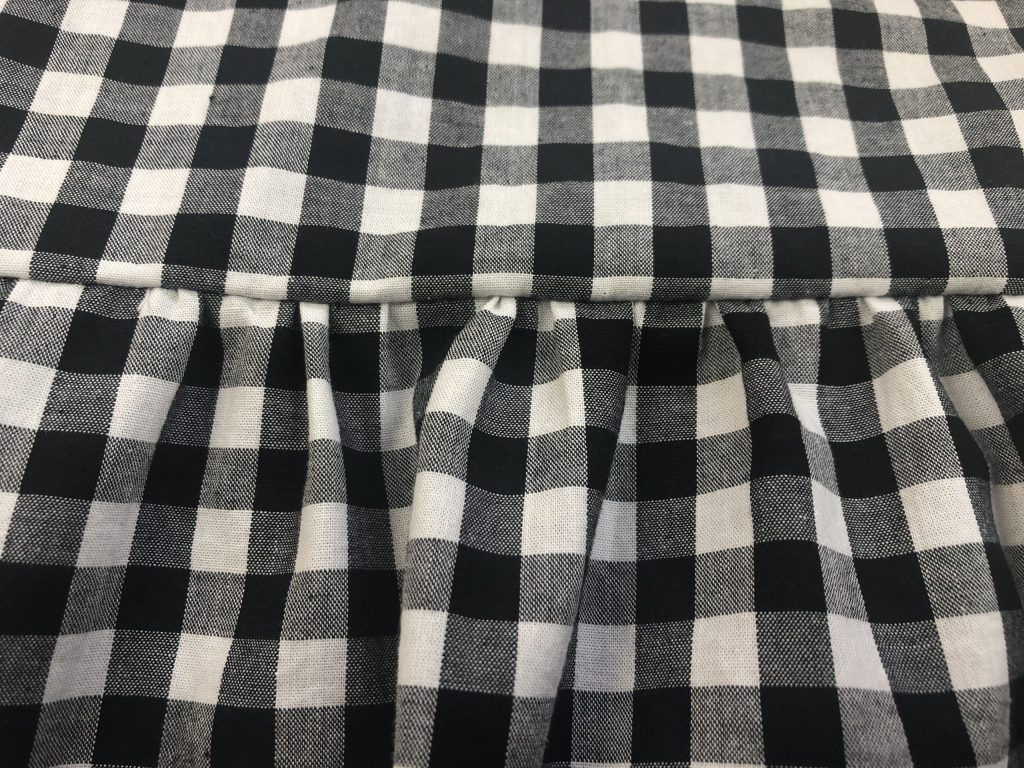
The gathering process is repeated on the lower tier of the dress.
To make sure that I distributed the gathering evenly, I measured the lower edge of the top tier and divided this into 3, placing one marker at the centre back. This is where I planned to match the seams of the lower tier.
Then I split each of the thirds into quarters and placed small snips.
After sewing together the side seams of the three skirt panels that make up the lower tier, I divided each panel into quarters and placed small snips to be matched with those on the lower edge of the top tier.
The panels of the lower tier were then gathered, snips matched, fabric pinned and the lower tier sewn into place.
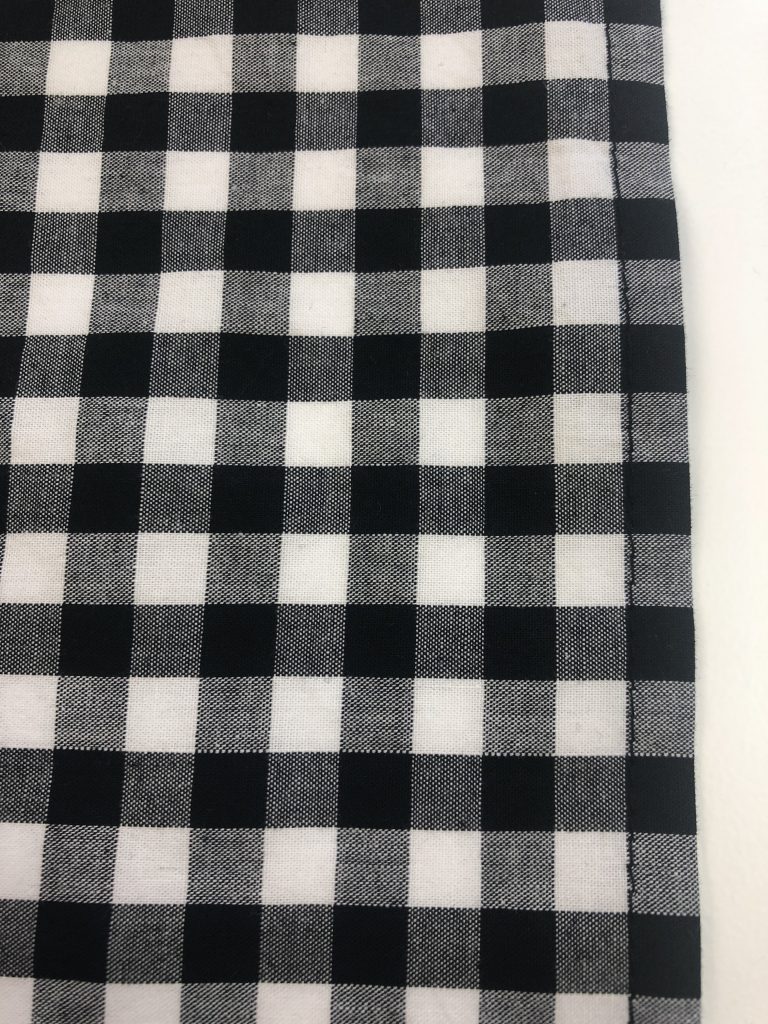
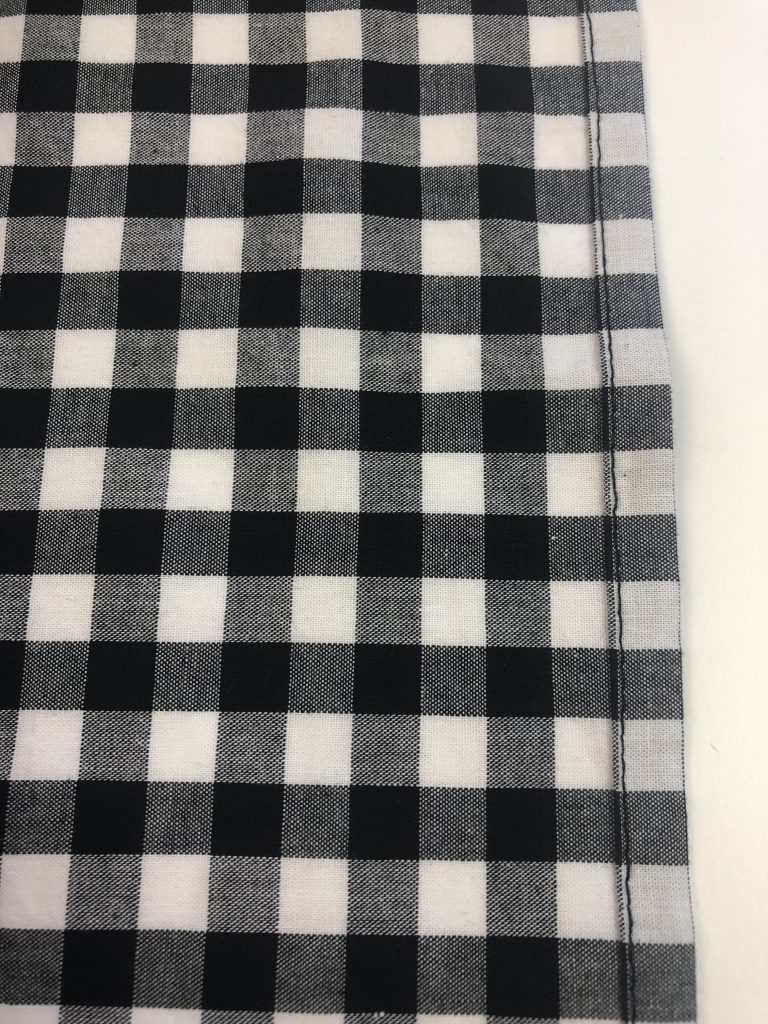
Hemming
The next stage is to hem the lower edge of the blouse. I used the lines of the fabric to create the hem, turning up first by 2 squares and pressing in place. Then I opened up the fold and turned the raw edge to meet the crease and folded to enclose the raw edges before stitching in place.
You can see how I create a machine stitched hem in the video below.
Here are some images of the finished dress.