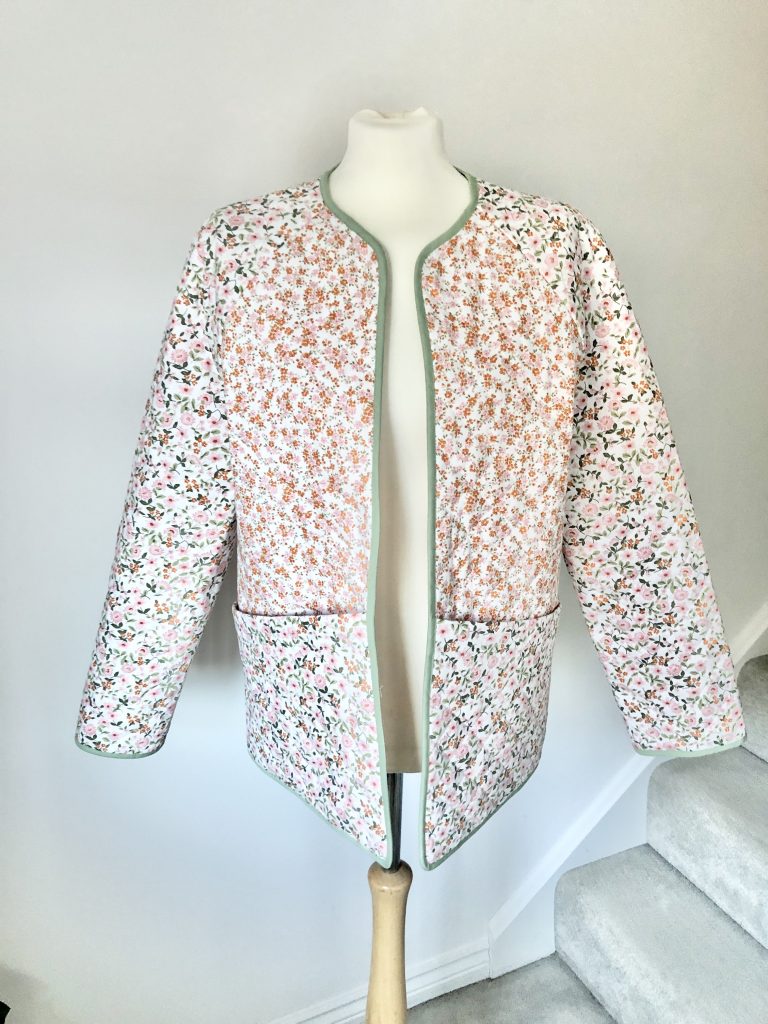
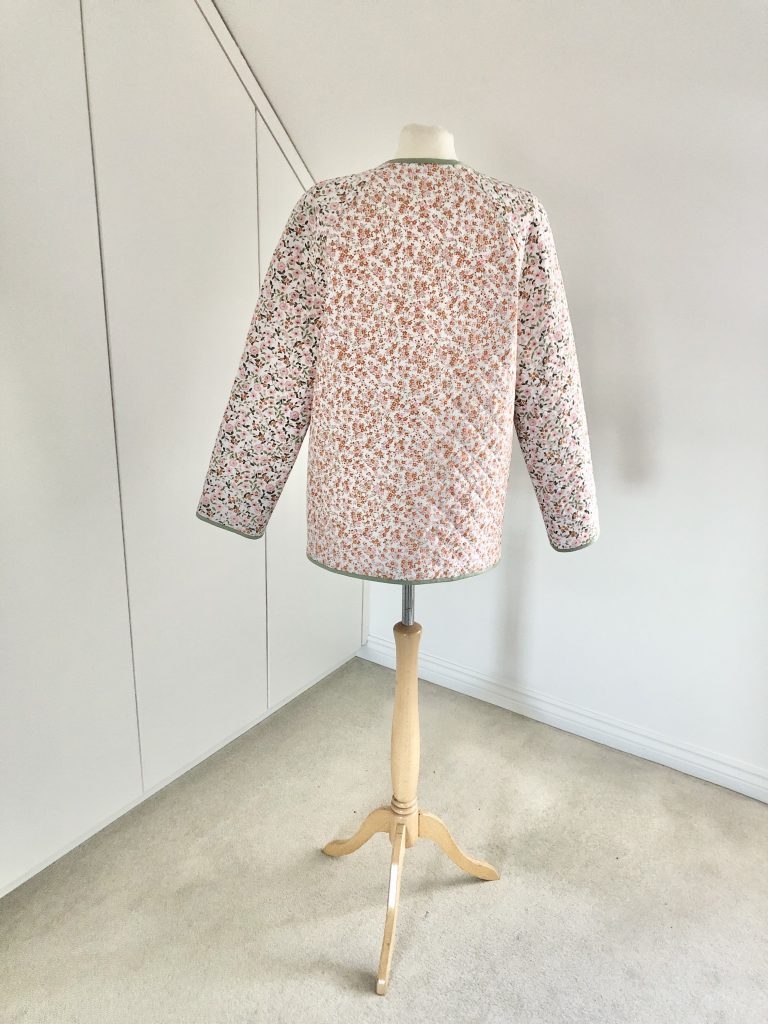
Here is my latest make for the December 2021 Fabric Godmother Dream Wardrobe Subscription Box.
The pattern is by Atelier Scämmit and is available in UK sizes 6-20 (European sizing 34 – 48 / US sizing 4-18).
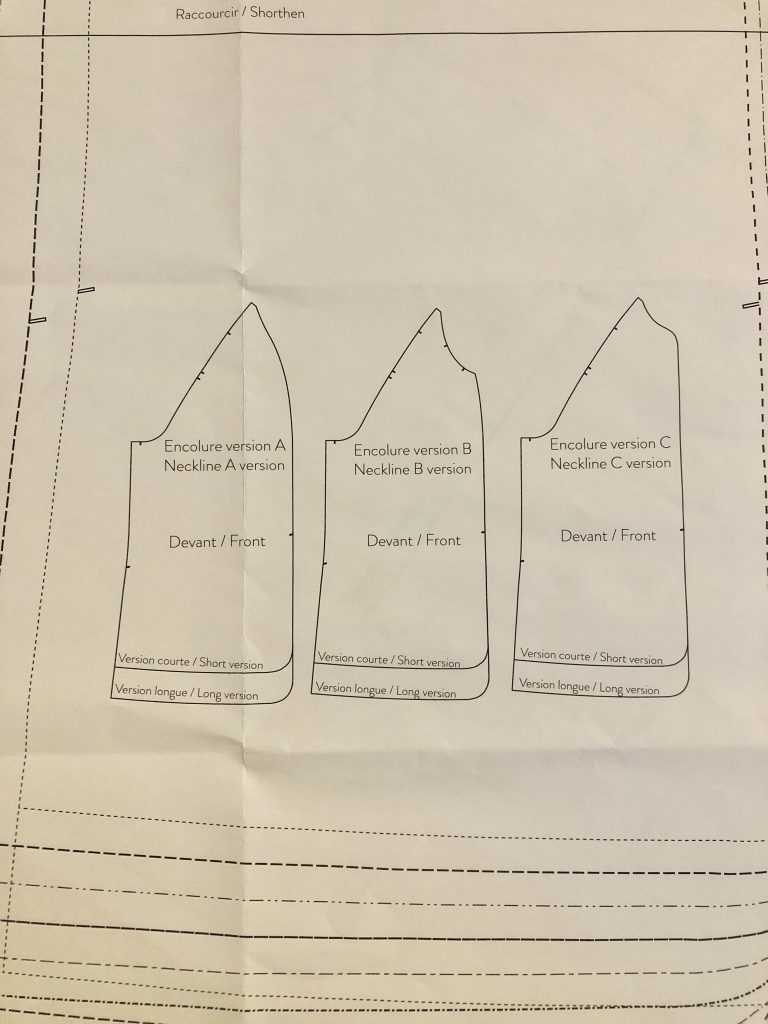
The pattern has a total of 12 different variations of different lengths, collar style and pockets.
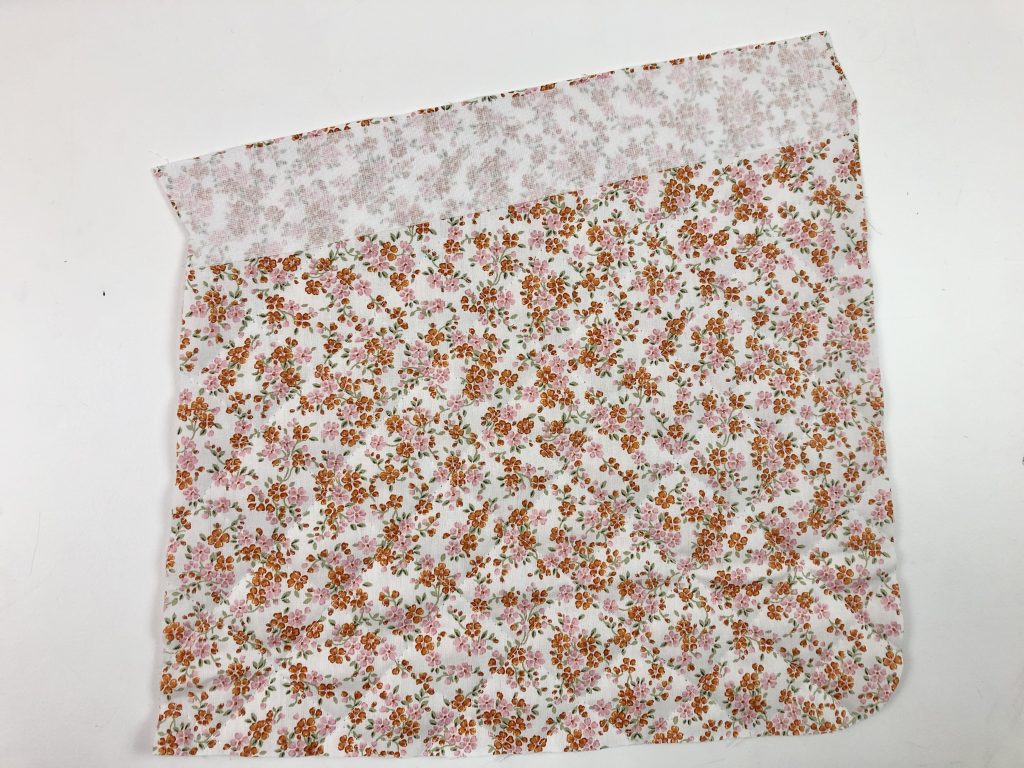
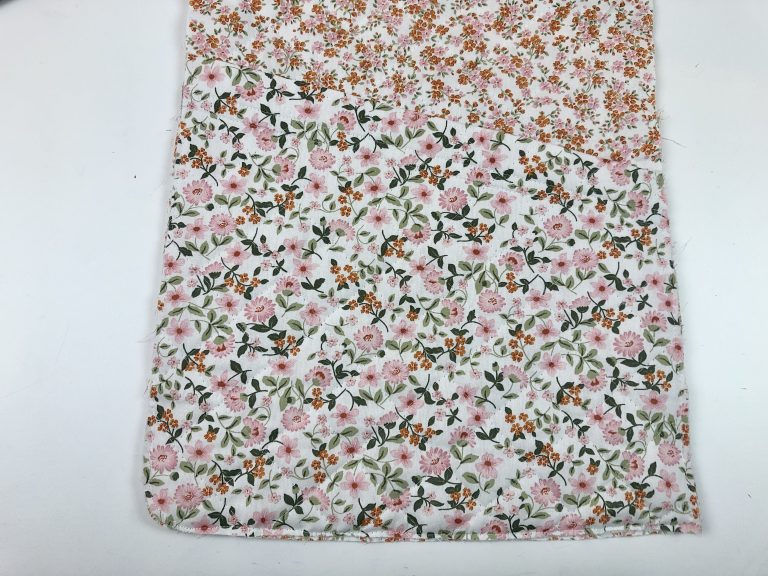
I made View C ( the longer collarless version with pockets) using a quilted floral cotton fabric from Fabric Godmother.
This fabric is reversible with large flowers on one side and smaller flowers on the other. This fabric is not currently available on the Fabric Godmother website.
It’s a relatively easy make but requires a lot of bias binding (10m). It also involves a lot of time spent binding all the seams and raw edges but I think it’s worth the effort for the finished result.

Preparing the Fabric
I didn’t prewash this fabric – not sure if that’s going to come back to haunt me later but I’m not sure the jacket will be washed after it’s made so I’m hoping for the best.
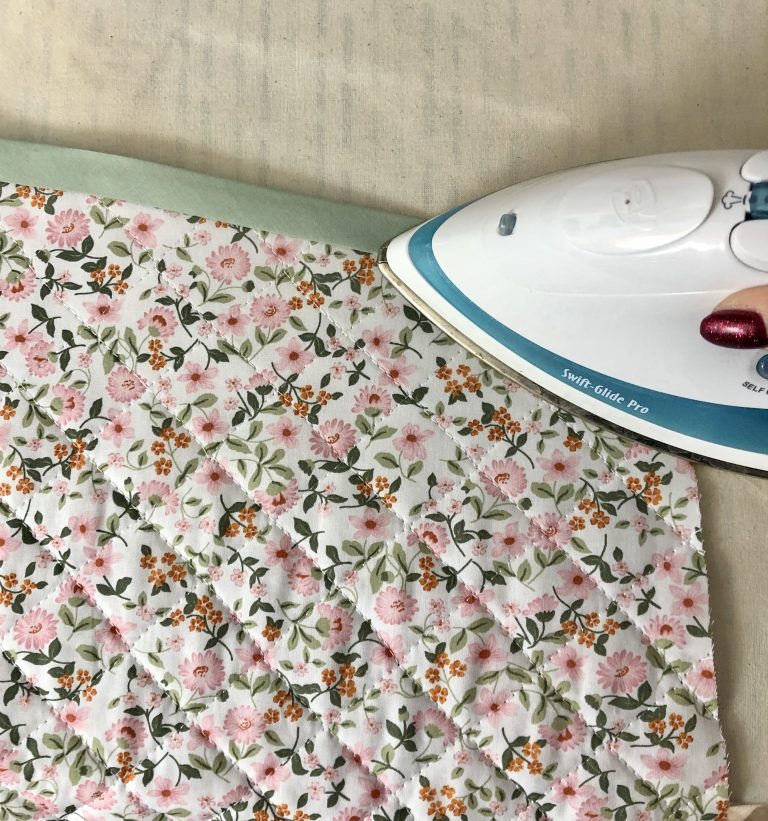
This fabric irons beautifully and easily although ironing does compress the wadding (batting) slightly. I used almost the maximum heat setting on my iron and a little steam.
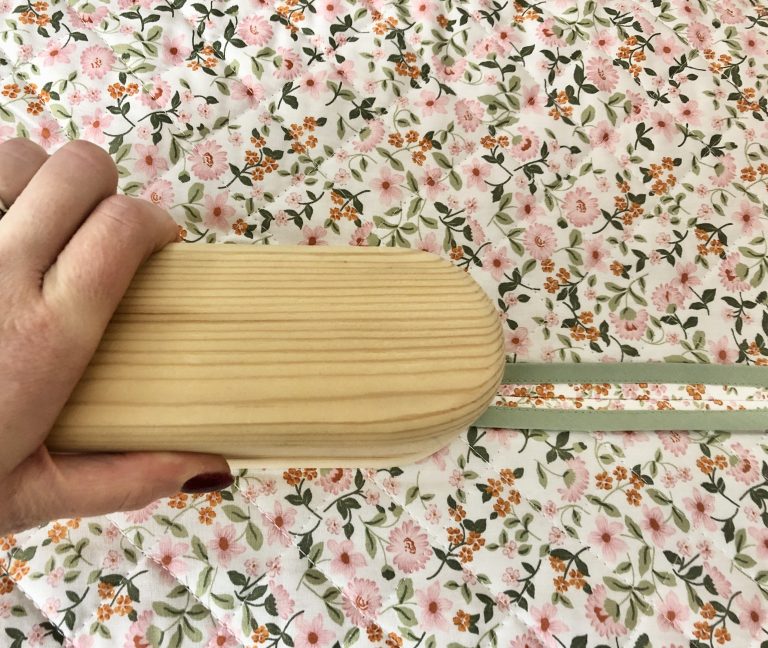
When pressing the seams, I also used plenty of steam and a wooden clapper, particularly over the side seams where the addition of the pockets adds a little bulk.
Cutting Out the Pattern
There is plenty of sizing information for body measurements and finished garment measurements so the correct size can be easily selected. I didn’t make any alterations to the pattern.
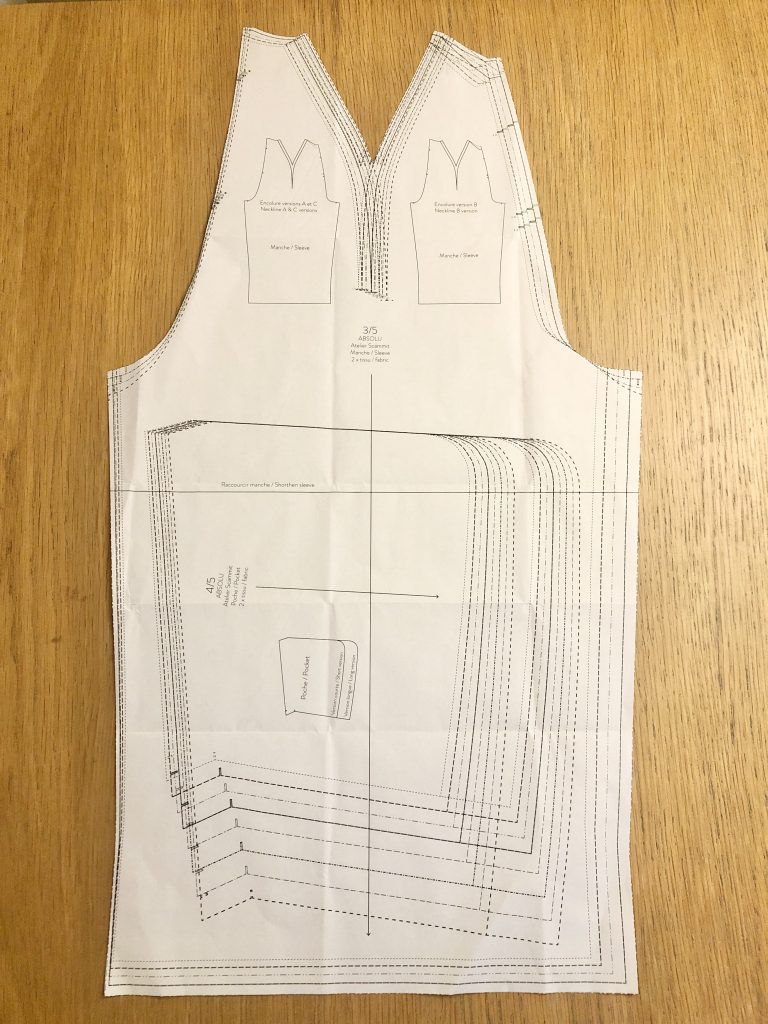
Take care when cutting out the sleeve and front pattern pieces to ensure that you select the correct cutting line for a collared or collarless jacket. The images on the pattern piece show which line to select for each style.
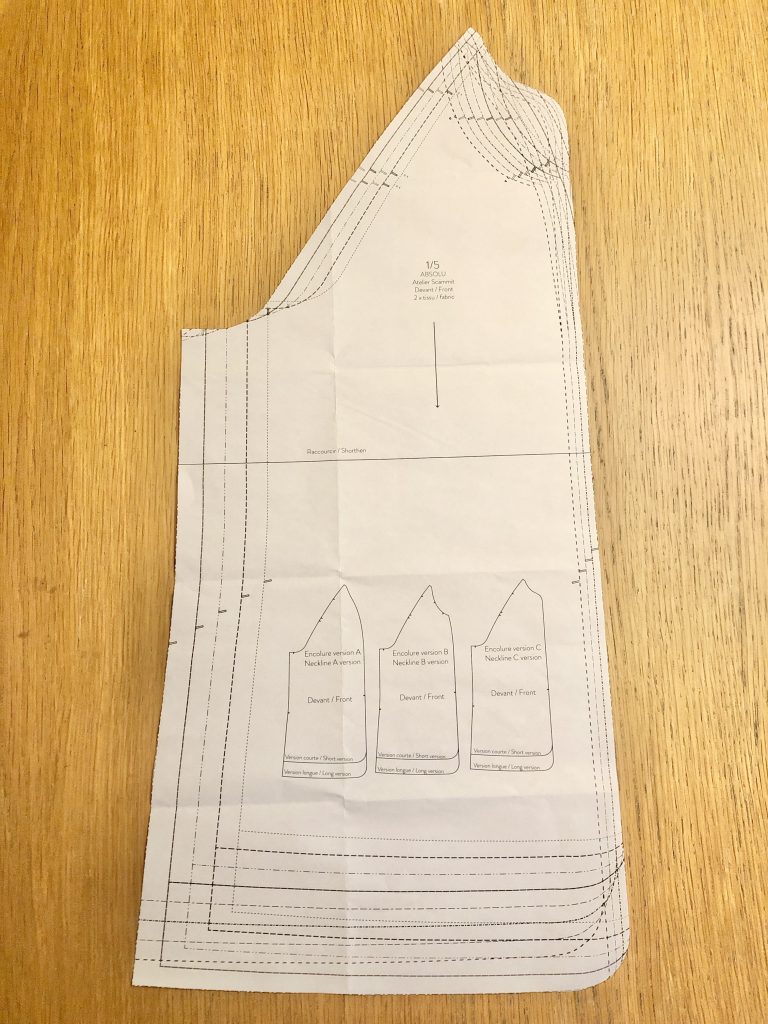
If you’ve chosen to cut out the paper pattern instead of tracing this off you’ll need to trace off the pocket piece since this is in the centre of the sleeve pattern.
Transferring Pattern Markings
After cutting out all the pattern pieces, transfer the notches from the pattern to the fabric, particularly around the sleeve and armholes so these can be correctly inserted.
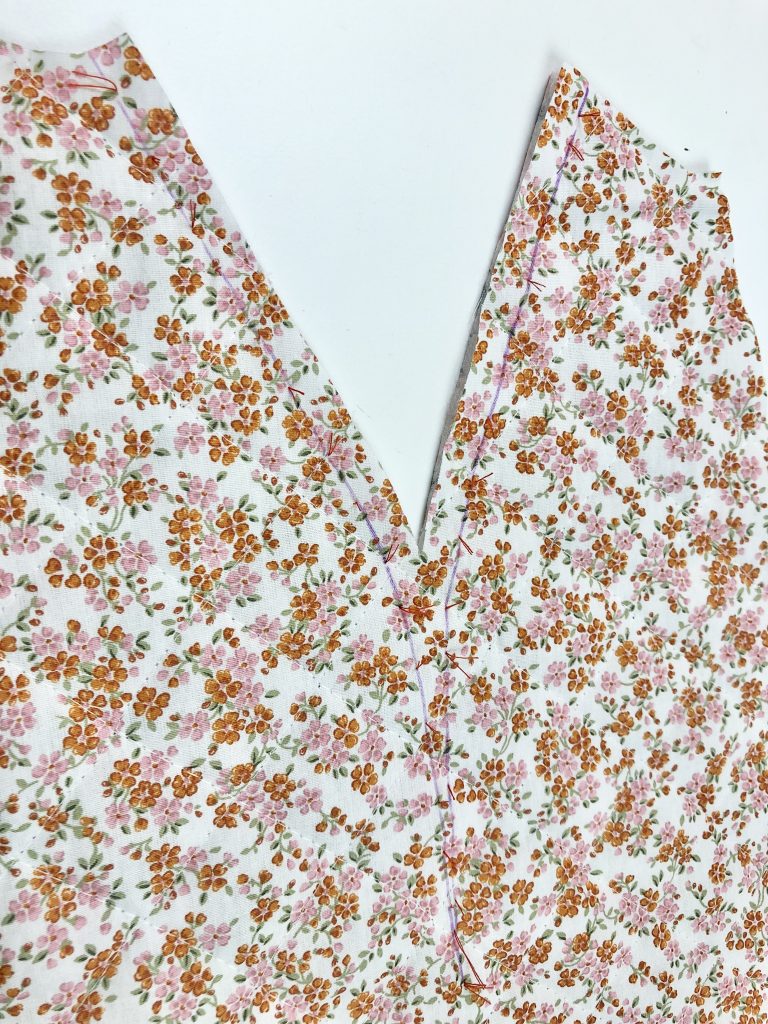
Don’t forget to trace the stitching line for the dart. I used a loose loopy tacking line to transfer the line from the pattern to the fabric.

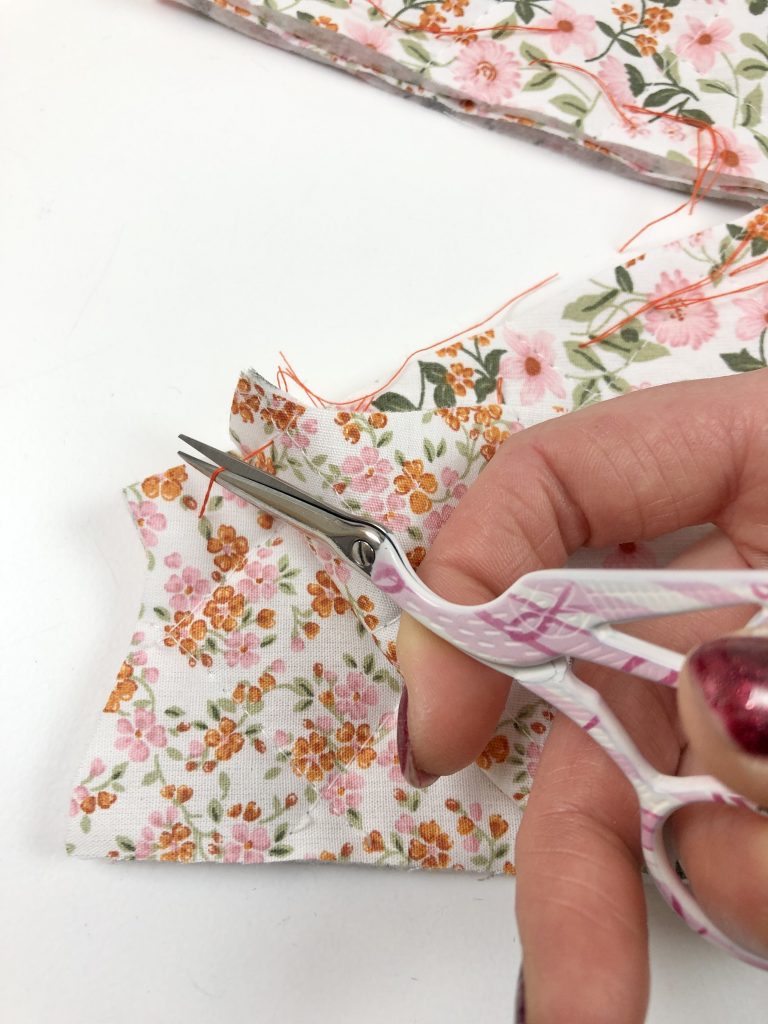
After creating the loose lines of stitching, the threads are cut on the top of the pattern.
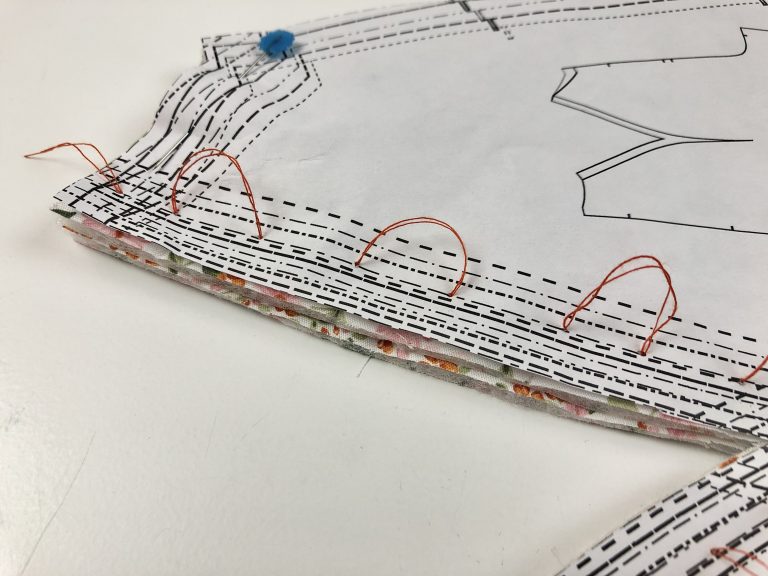
The pattern can then be carefully removed, making sure that the threads are not pulled out at the same time.
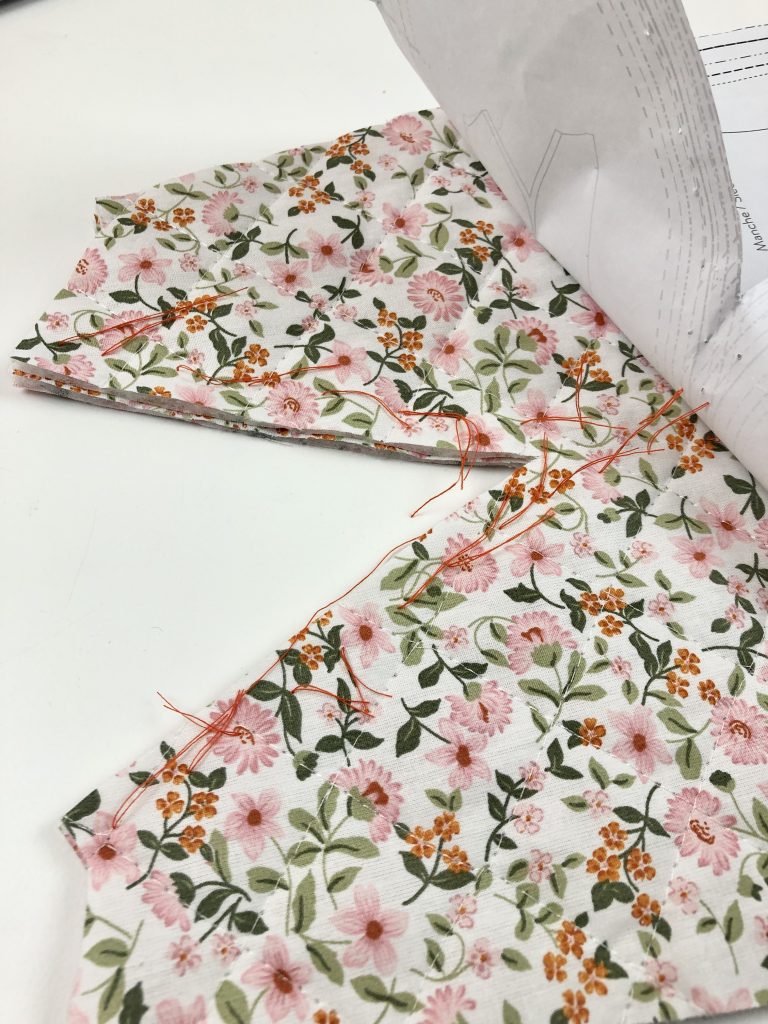
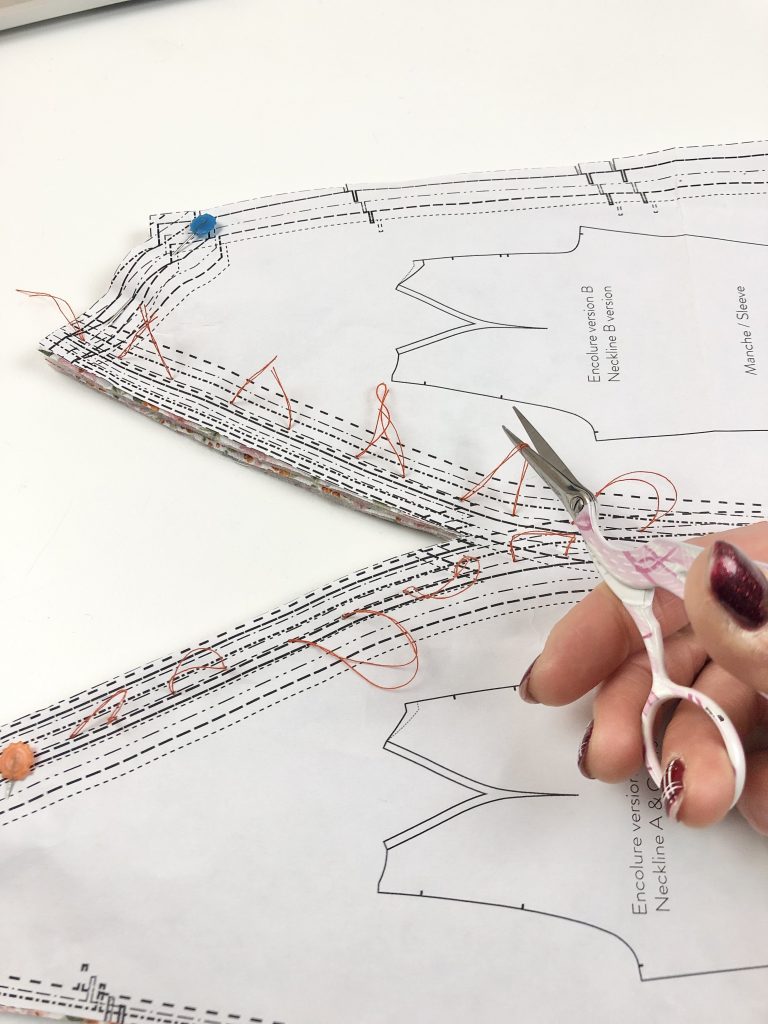
Next, the two layers of fabric are pulled apart and the threads cut in between, keeping a line of threads on each layer of fabric to mark the stitching line.
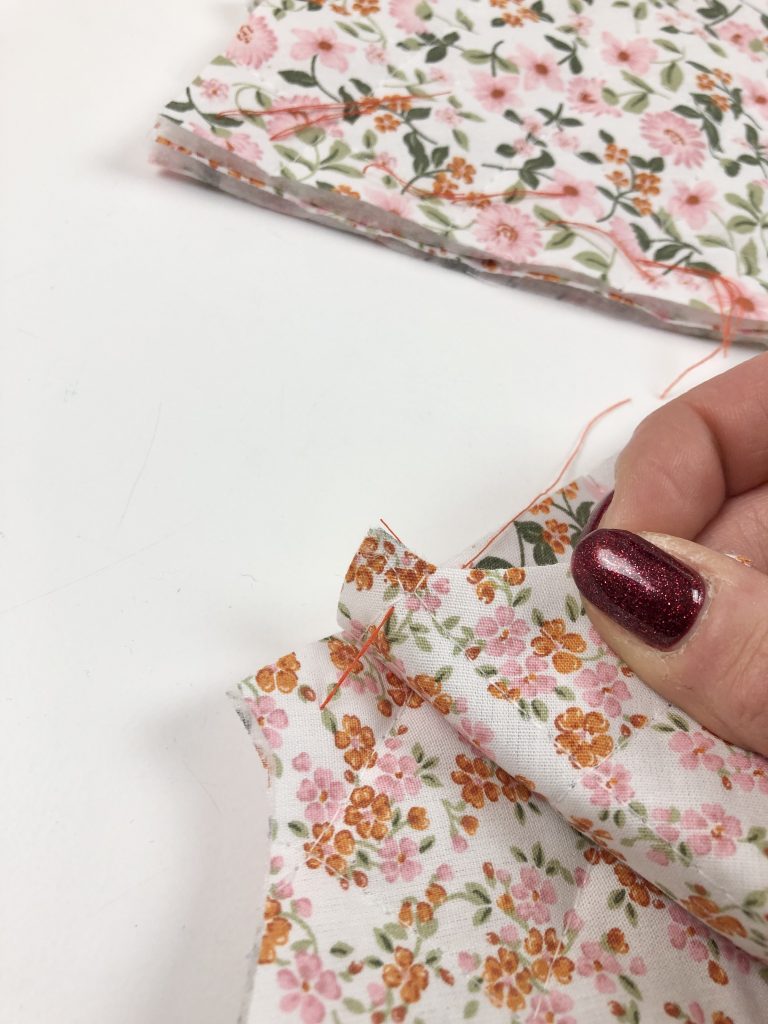
Once the two layers of fabric are separated, a fabric pen or chalk can be used to mark the lines of the darts. The threads can then be removed.
Pattern Matching
This fabric doesn’t require pattern matching but I could have spent more time considering where the stitching lines of the quilting would sit and centre these on each of the pattern pieces, particularly on the back piece.
After cutting out the pattern pieces and transferring notches, I chose to use the reversible nature of the fabric and used the large flowers for the sleeves and pockets.
Transferring pattern markings
There aren’t many pattern markings but make sure that you mark the position of the darts.
As there’s so much gathering, I placed small snips into the fabric to mark the lower edge of the centre front, centre back and quarter marks of the upper sections and did the same on the skirt sections to help when distributing the gathering.
Making up the garment
I used a size 90/14 universal needle as the fabric is medium weight.
I also used a walking foot for a lot of the construction to help feed the fabric through the machine evenly.
There is a really good instructional video that can be found via the Atelier Scammit website which I’ve pasted below. The video has a voice over in French but if this isn’t a language that you understand, on YouTube you can select subtitles and in the settings select auto translate. Then choose your preferred language for a written translation.
Staystitching
After cutting out all of your fabric pieces I would advise staystitching 6mm from the raw edge around each of the pieces, this will stop the quilting stitches on the fabric from coming undone at the ends.
The instructions suggest applying tape interfacing or fusible seam tape around all the fabric pieces on the wrong side of the fabric. I don’t think this is necessary and I don’t like the way it can be seen on the wrong side after the binding is attached.
Stay-stitching serves the same purpose to stop the edges of the fabric stretching out of shape as you construct so I have used this instead. It’s also a lot quicker to do than ironing on tape.
To staystitch, simply use a regular stitch length (I use 2.5mm) and sew 6mm from the edge of each piece of fabric, backtacking at the start and end of your stitching to secure the threads.
The seam allowance is included on the pattern – the initial instructions state that this is 1.5cm on the side seams and armhole, 1cm on the collar and no seam allowance around the jacket’s circumference. However, I think there is an error. There is 1.5cm seam allowance on the side seam of the main body and the sleeve seam but only 1cm of seam allowance on the armhole. When you come to insert the sleeve, use a 1cm seam allowance.
Pockets
The first stage of construction is to attach the pockets.
To begin with apply a 5cm strip of interfacing to the wrong side of the top of the pocket. I’ve positioned my interfacing a few millimetres away from the raw edge so as not to stick to my ironing board.
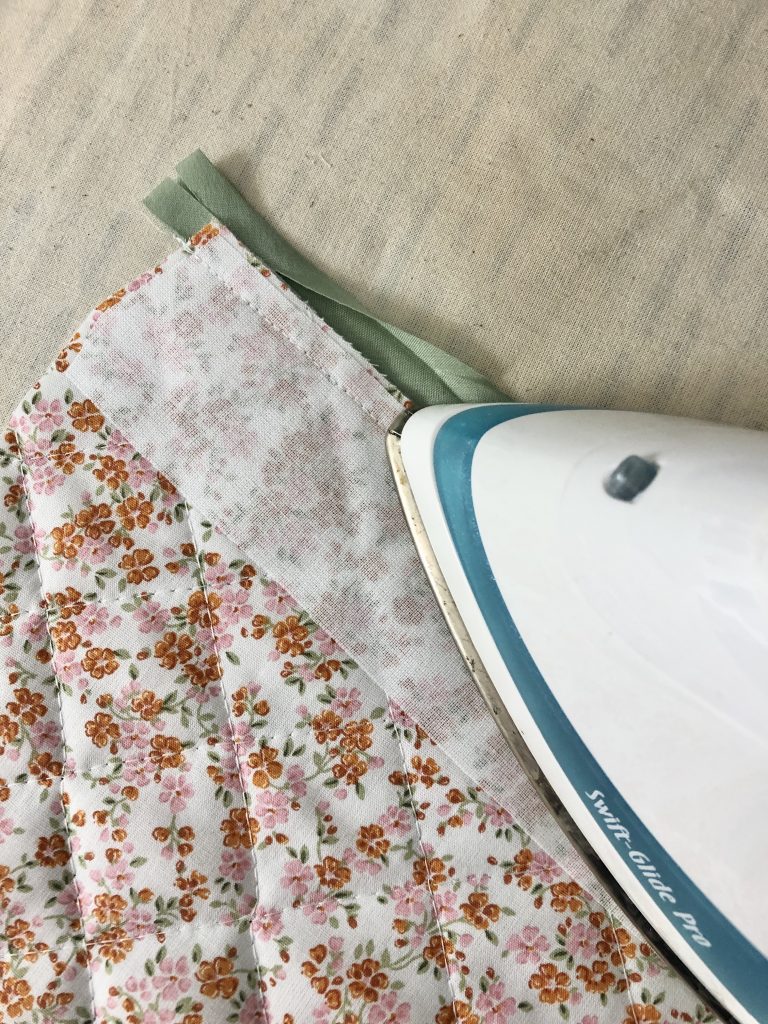
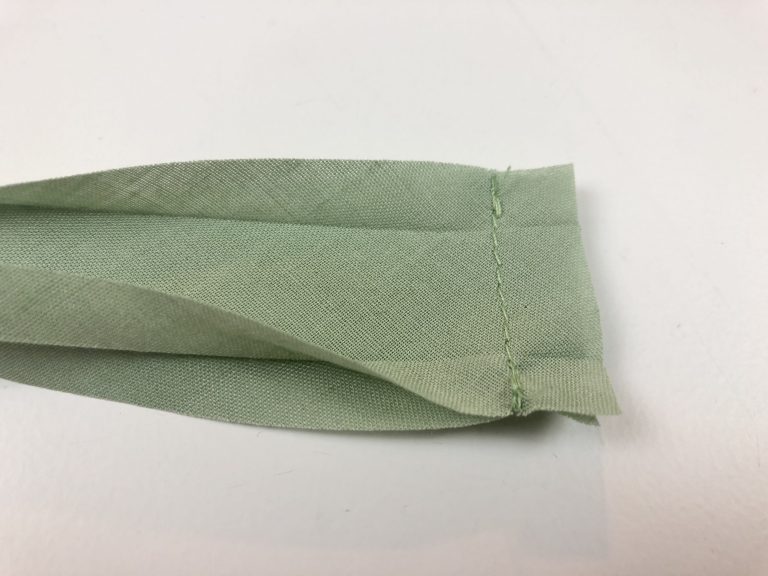
Next, I applied bas binding to the top of the pocket to finish the raw edge.
The pattern suggests the use of 20mm bias binding or wider. I’ve used 18mm binding. This width of binding is ideal but anything narrower would prove too difficult to cover the bulk of the fabric sufficiently.
I used a type of Hong Kong finish where the binding is wrapped over the raw edge but not turned under again so as to reduce a little bulk in the layers.
Open out one of the folded edges of the bias binding and apply the right sides of the binding to the wrong side of the top of the pocket. Pin in place.
I’ve allowed the binding to overhand the pocket edges slightly. I will trim this off later once the binding is attached.
Stitch the binding in place, sewing along the ‘ditch’ or fold line close to the raw edge.
Press the bias binding away from the pocket,
Then turn the pocket over and press the bias binding again to open the folded edge. This will give you a wider piece of binding which extends from the pocket.
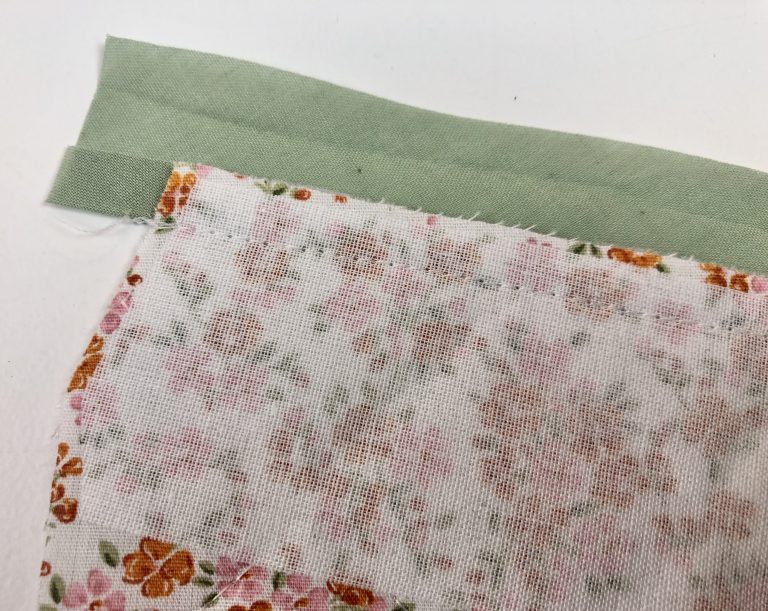
With the binding now unfolded, wrap the raw edge of the pocket and press the binding in place.
The raw edge of the binding should cover the previous line of stitching.
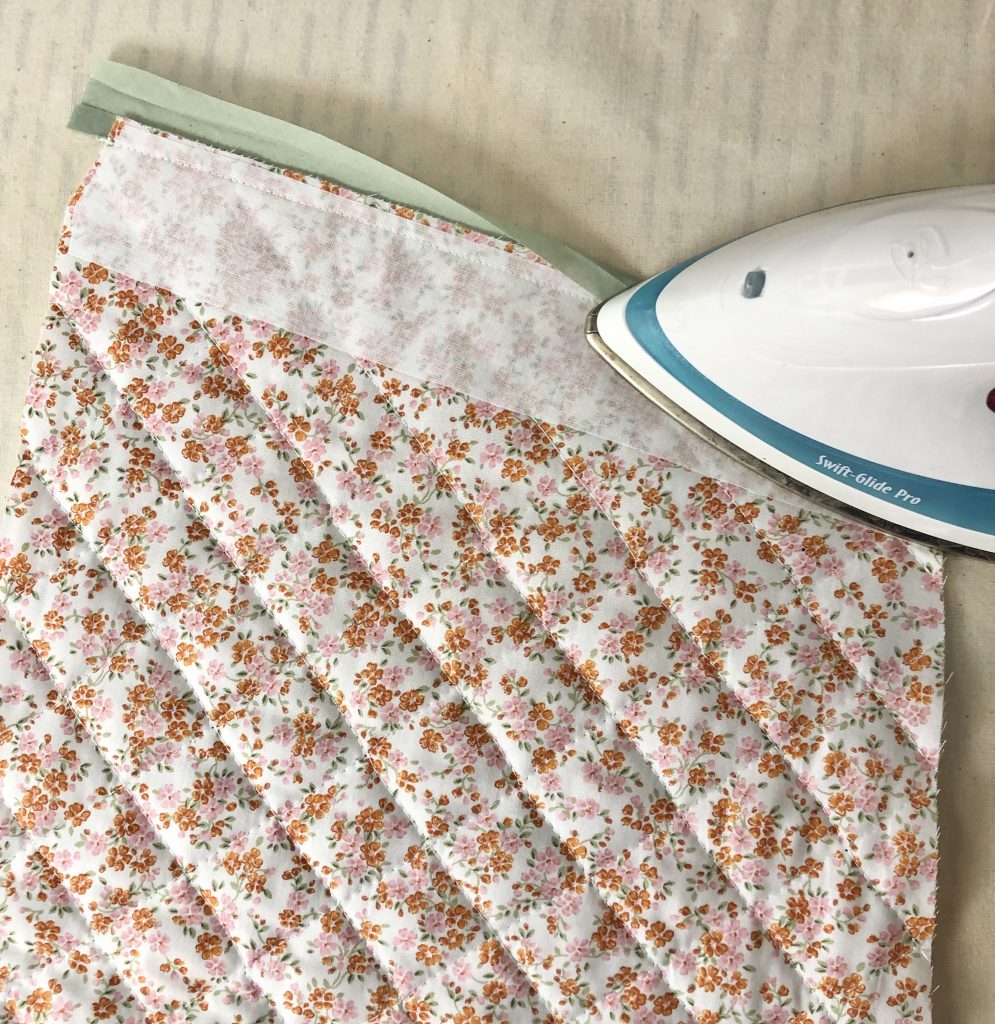
Fold the top edge of the pocket along the fold line, bring the wrong sides of the fabric together. (in this case the small flowers are the wrong side). The fold line should be 3.5cm from the bound edge of the pocket. Press again.

Pin the folded edge in place.
From the wrong side of the pocket, stitch in the ditch of the binding. I’ve used a blind hemming foot to keep my stitching straight.
Stitch again along the lower edge of the binding to give a second line of stitching.
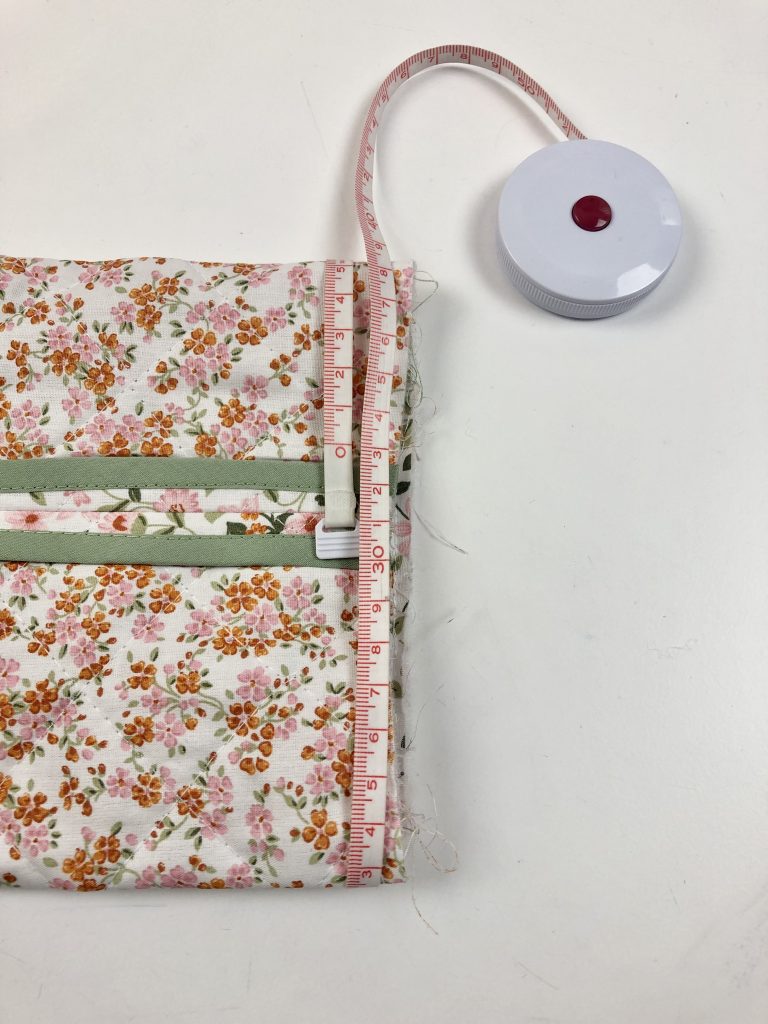
Repeat with the other pocket and then apply the pockets to the jacket front, matching the notches, the lower edge and side edges.
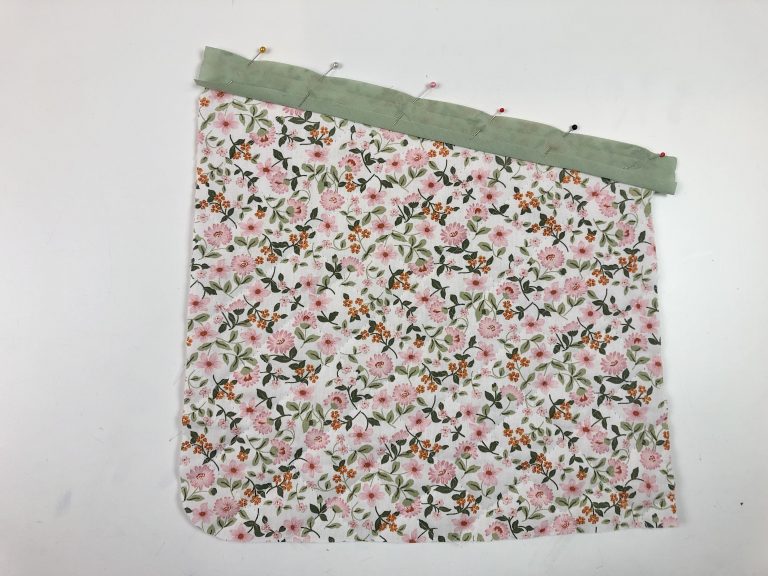
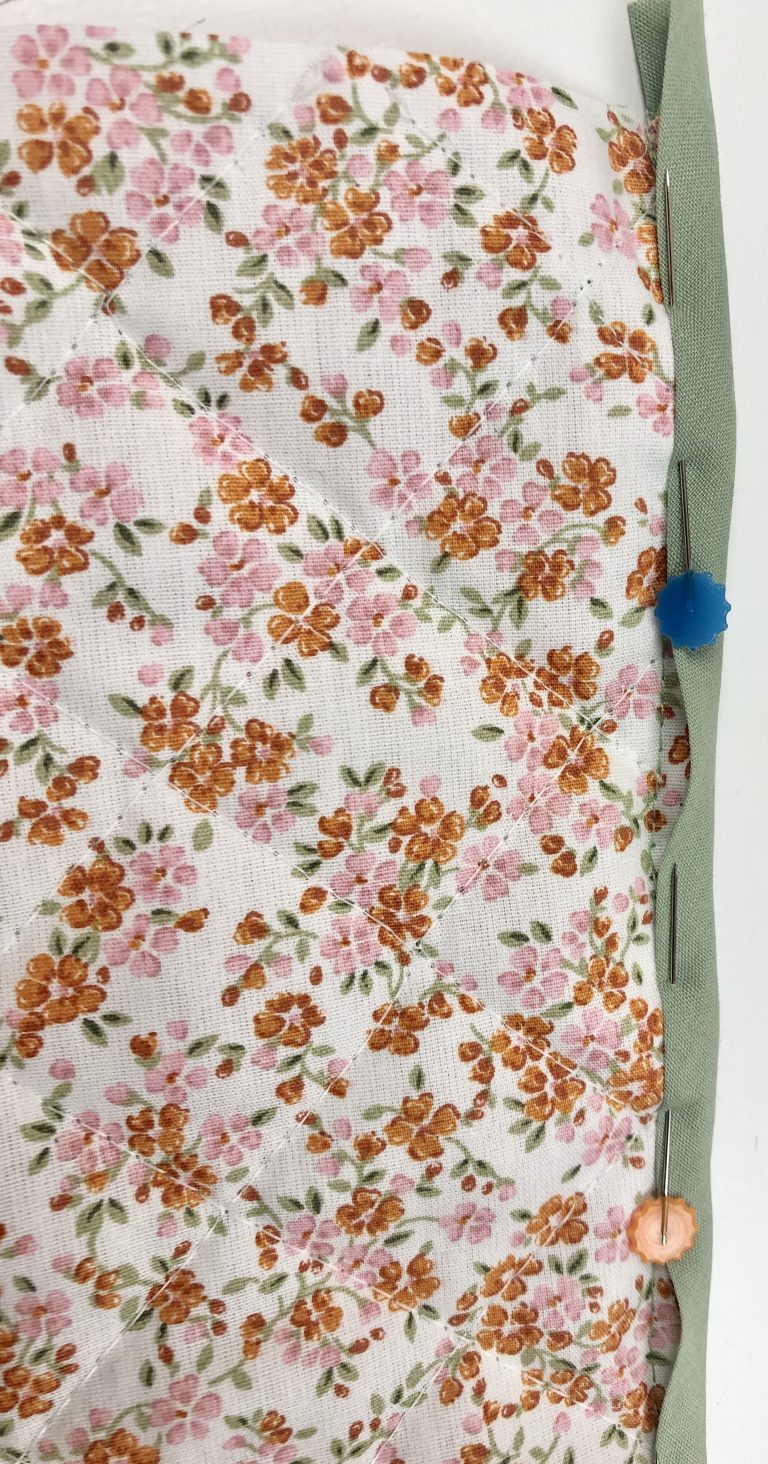
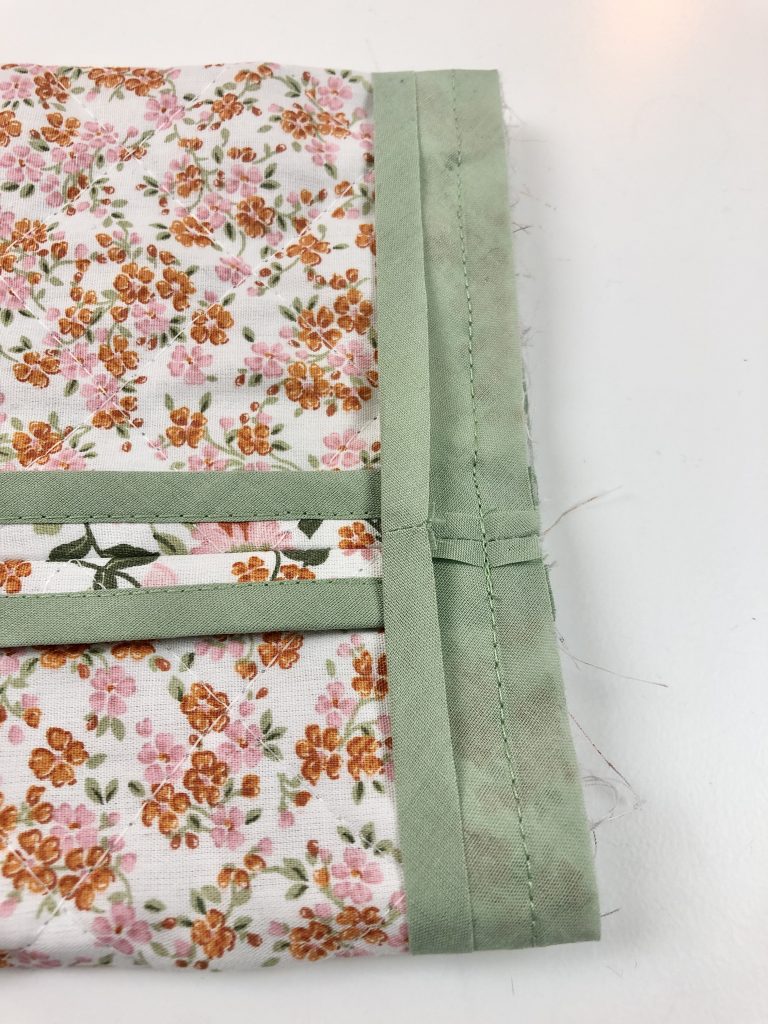
Binding the side seams of the Front, Back and Sleeves
It is a good idea to follow the instructions in the pattern and bind the seam allowances before the seams are stitched.
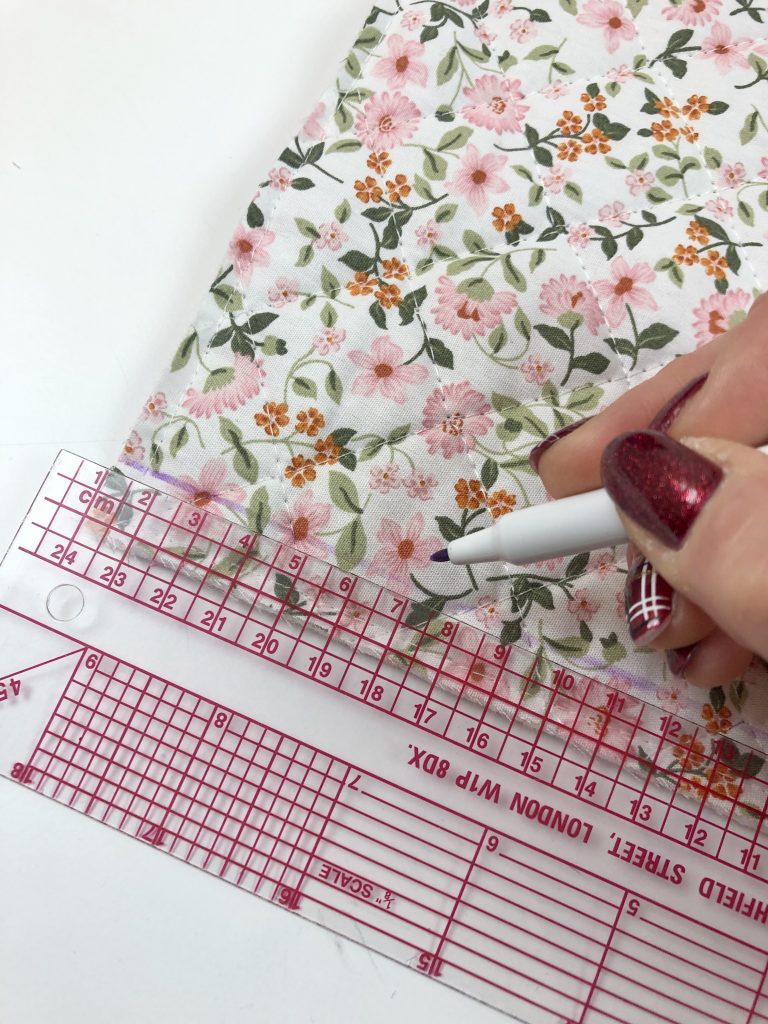
Before applying the binding, first mark the seam line on each of the fabric pieces. I’ve used a purple pen that will disappear over time.
It is important to mark the seam line before binding since the binding will add extra bulk so when the seams are sewn, the true seam line is less than 1.5cm from the edge.
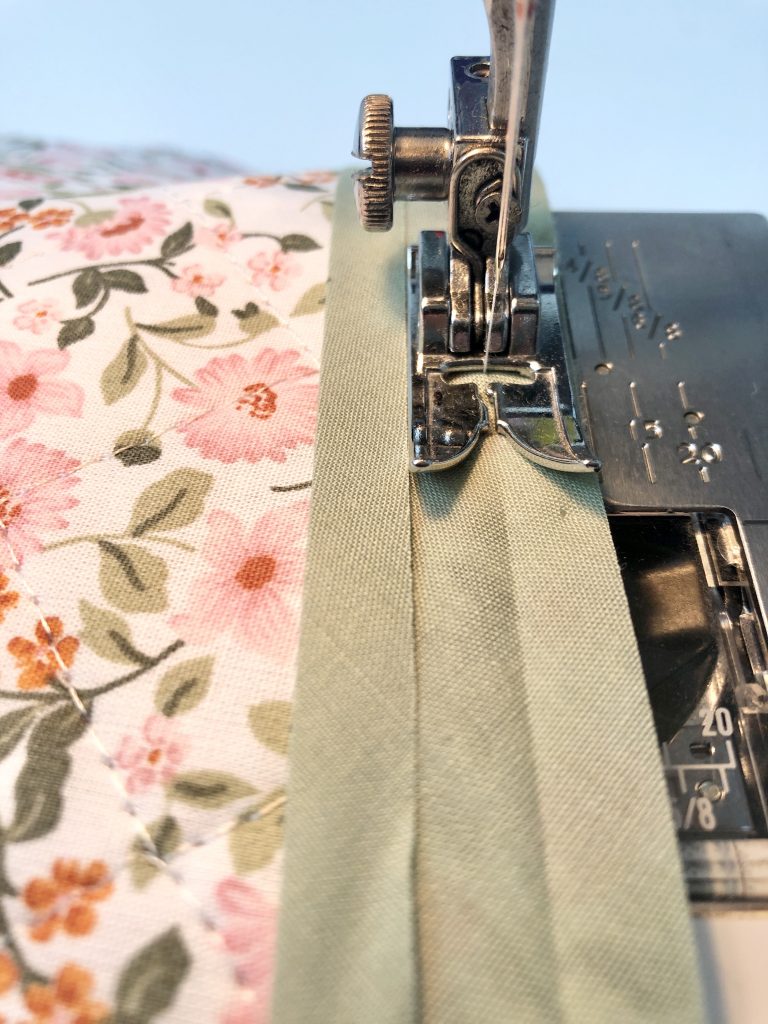
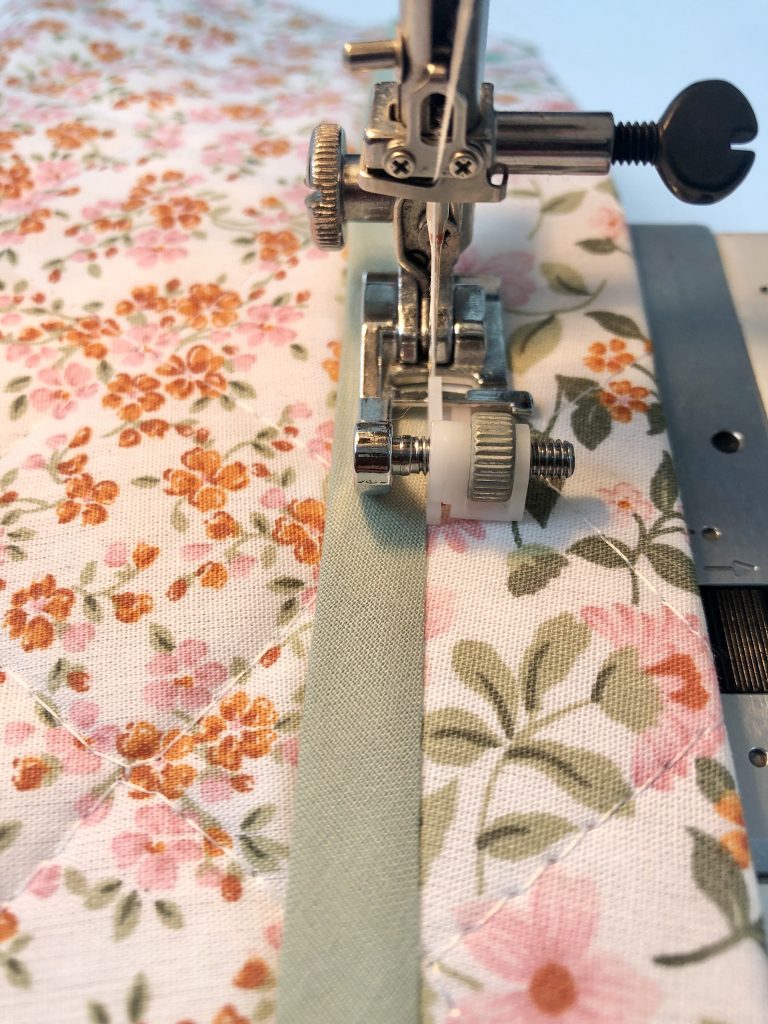
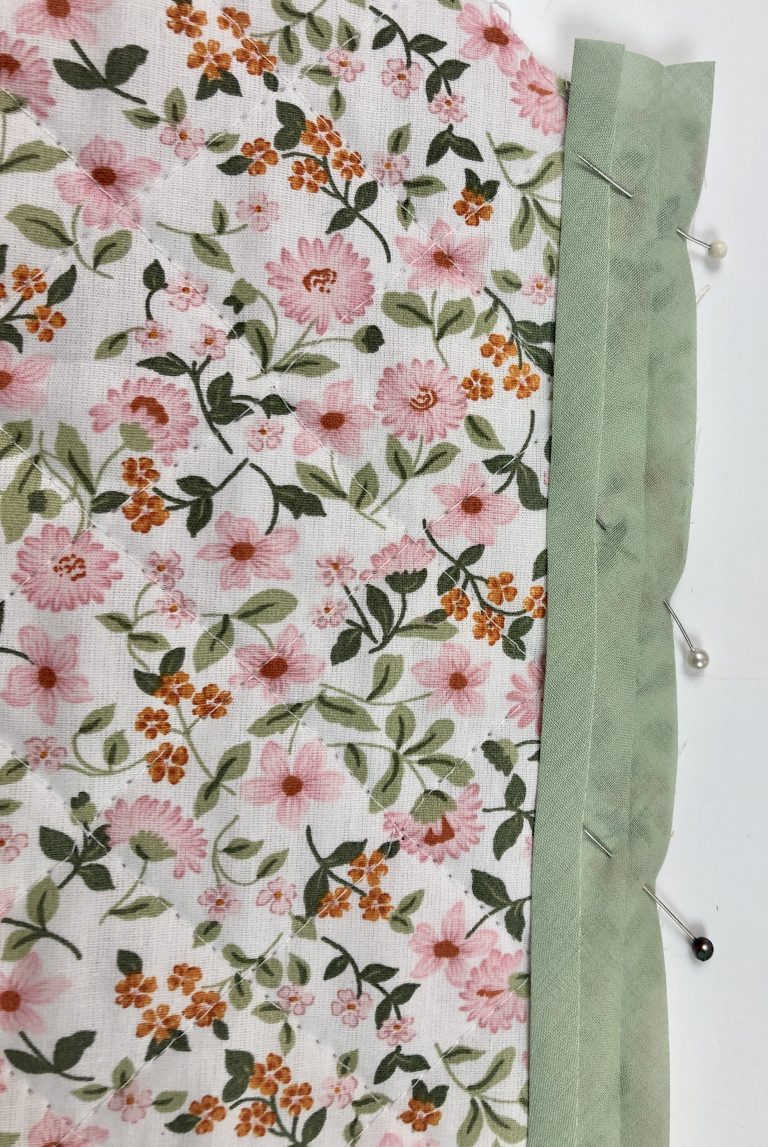
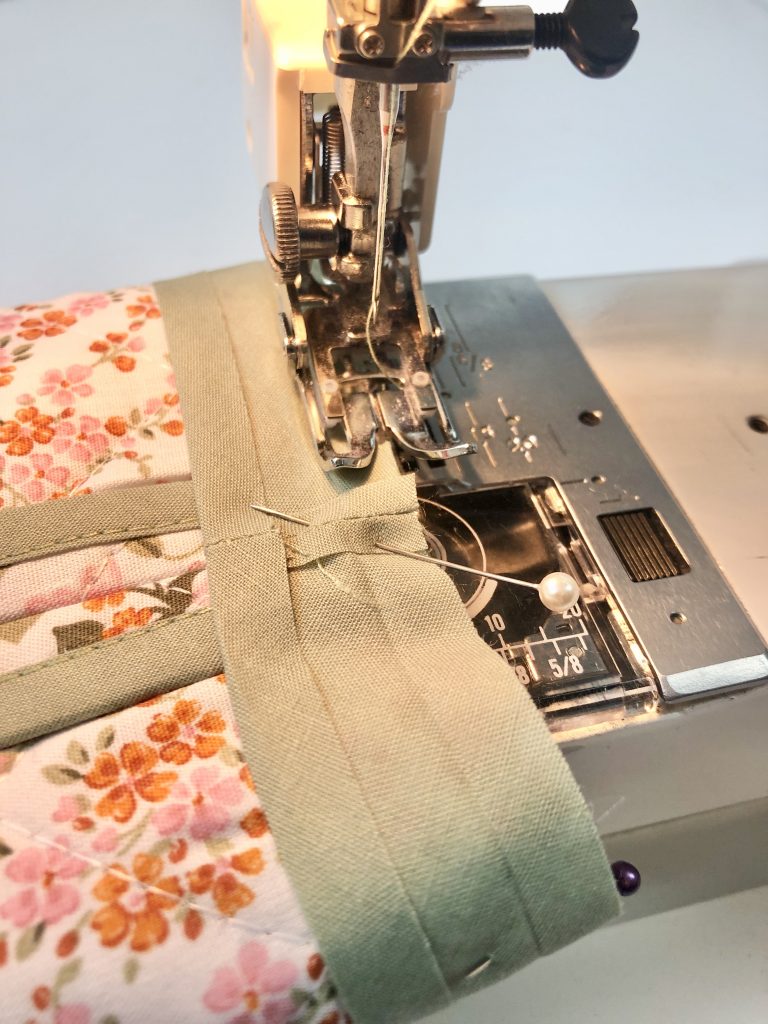
To apply the binding, open out one edge of the binding and apply the right side of the binding to the wrong side of the fabric, matching the raw edge of the binding to the raw edge of the fabric.
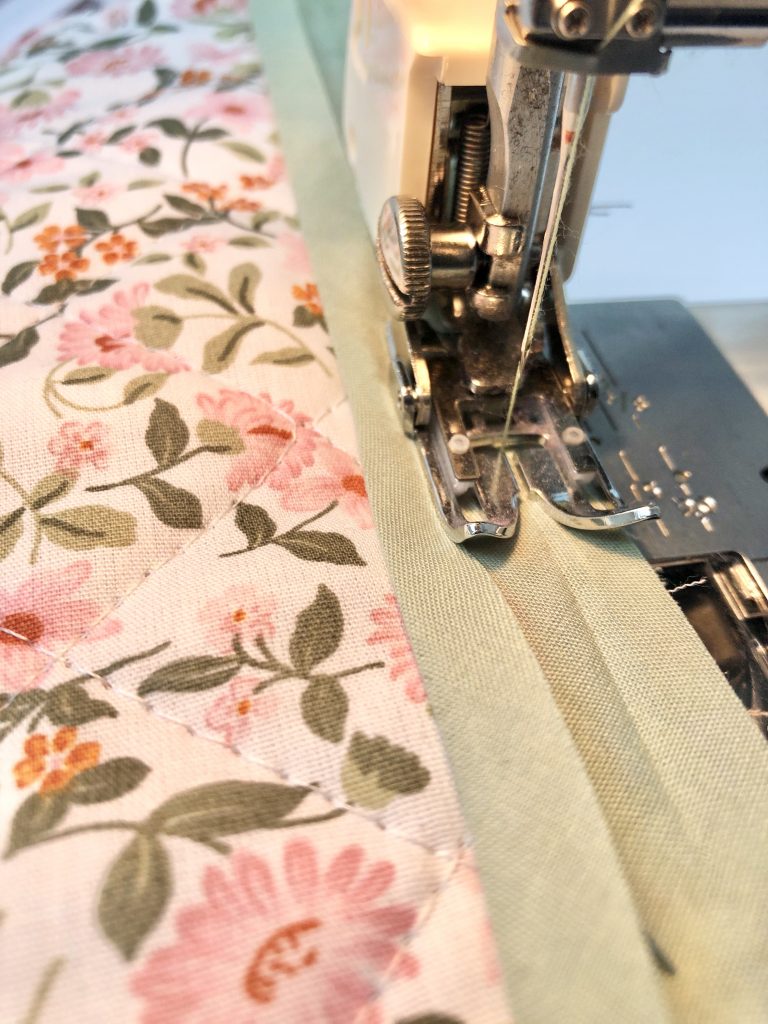
Stitch along the groove of the binding, approximately 9mm from the raw edge. I’ve used a walking foot here to help manage the layers and bulk of fabric under the presser foot.
Trim 2-3mm off the seam allowance to reduce a little of the fabric bulk at the raw edge.
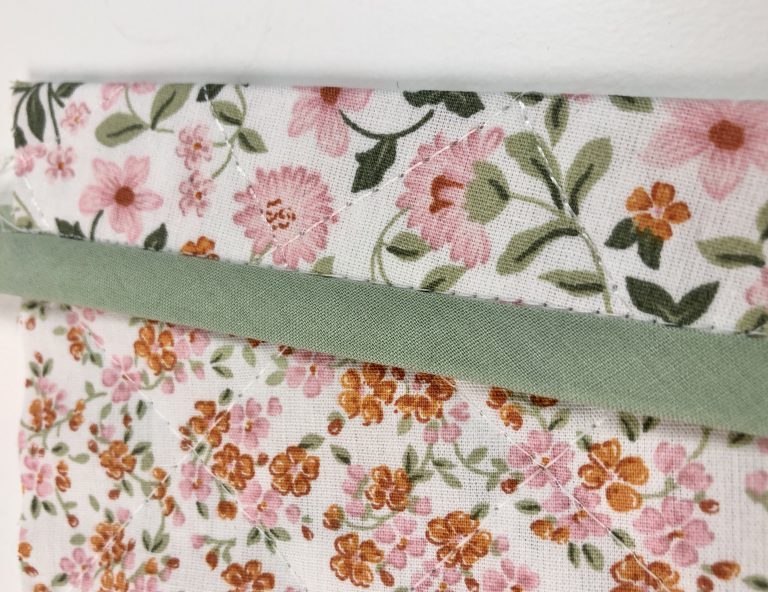
Fold the binding over the raw edge to the right side of the fabric.
Allow the fold of the binding to just cover your first line of stitching and then pin the binding in place.

Stitch close to the fold. Don’t worry about where the stitching line sits on the wrong side of the fabric as this won’t be seen unless you’re inspecting the insides very closely.
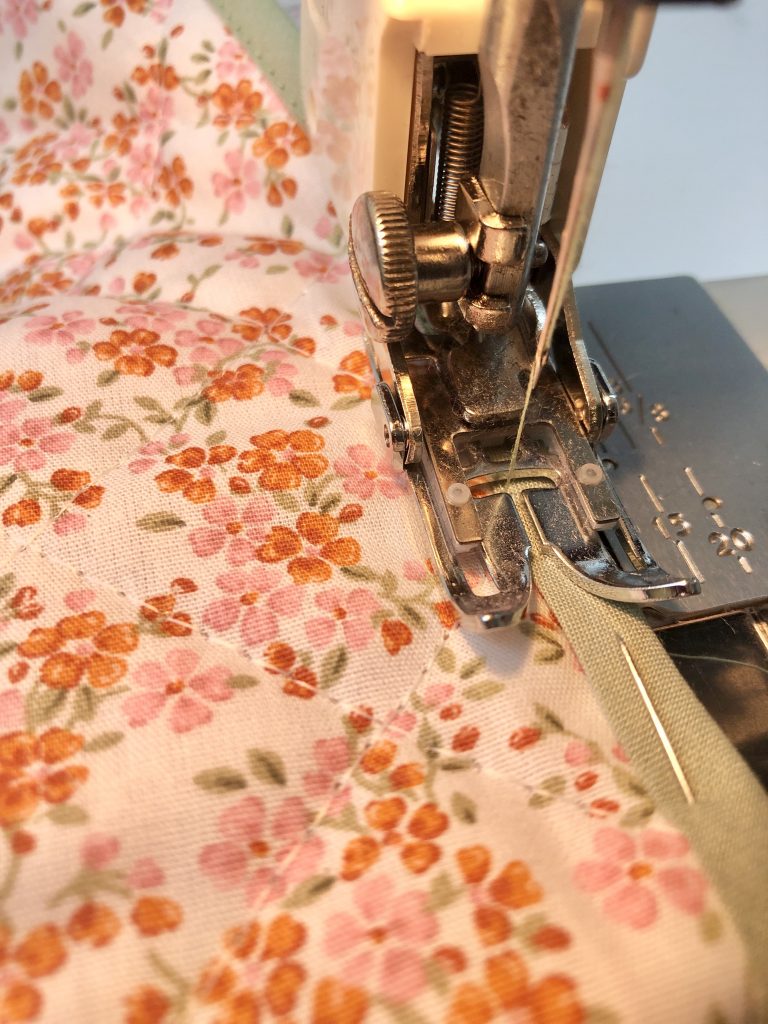
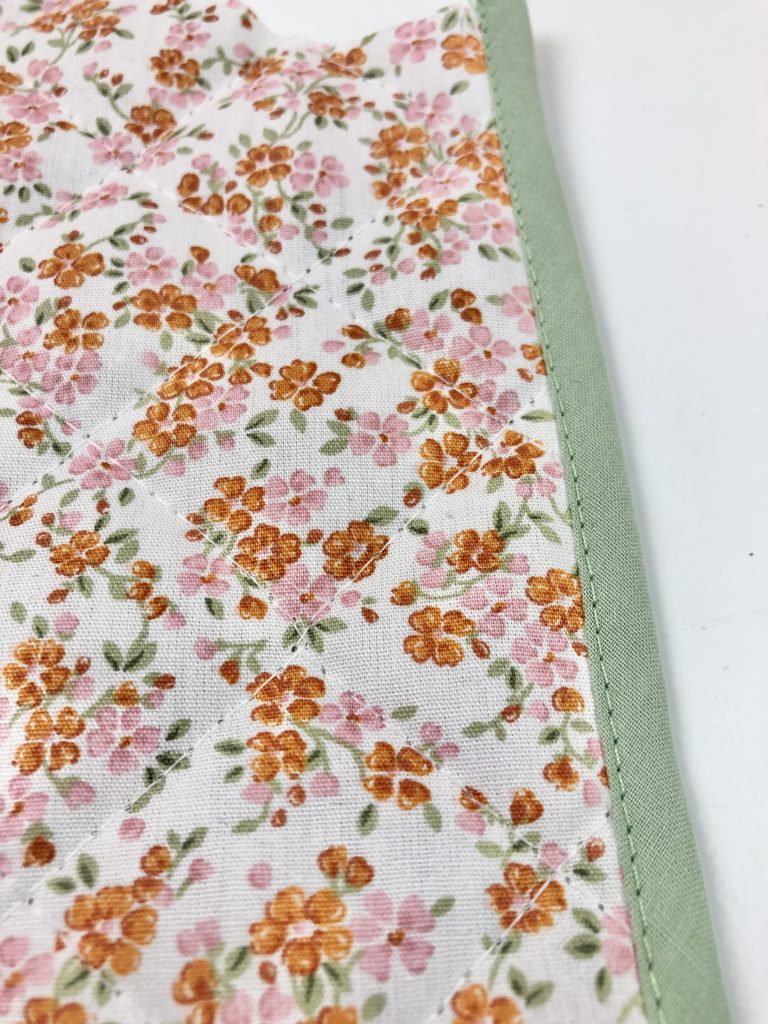
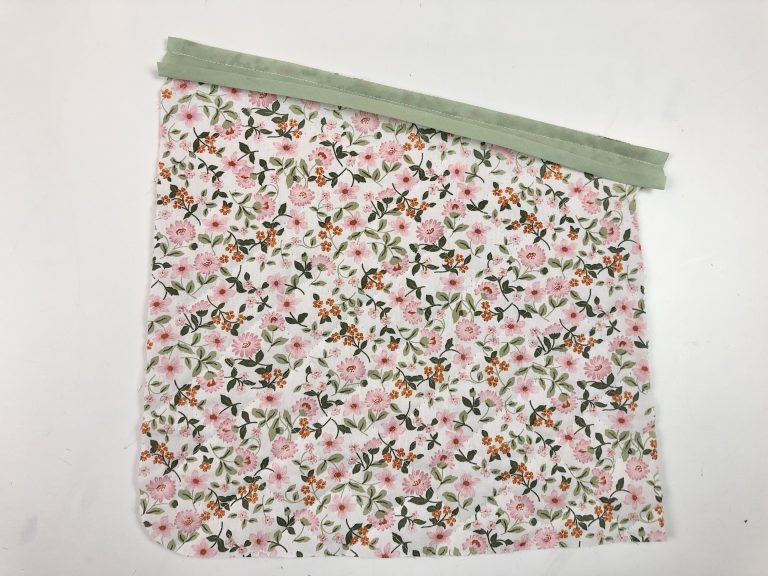
Repeat this process to apply binding to the sides of the back, front and sleeves.
Stitch the front to the back at the side seams and press the seams open.
After applying plenty of steam, I used a wooden clapper to help the bound edges to sit flat.
Sewing the Dart
The next stage is to sew the dart. This is a type of single point dart. Place the fabric right sides together to bring the edges of the dart together. Pin in place.
Stitch the dart from the widest part at the shoulder, to the tip, following the lines you transferred and marked earlier.
At the tip, take one stitch off the fabric and the raise the presser foot. Bring the fabric forwards, place the needle between the stitched line and the raw edge of the fabric and take a few stitches to finish off.
The video below shows 3 ways to sew a single point dart to create a neat finish at the tip.
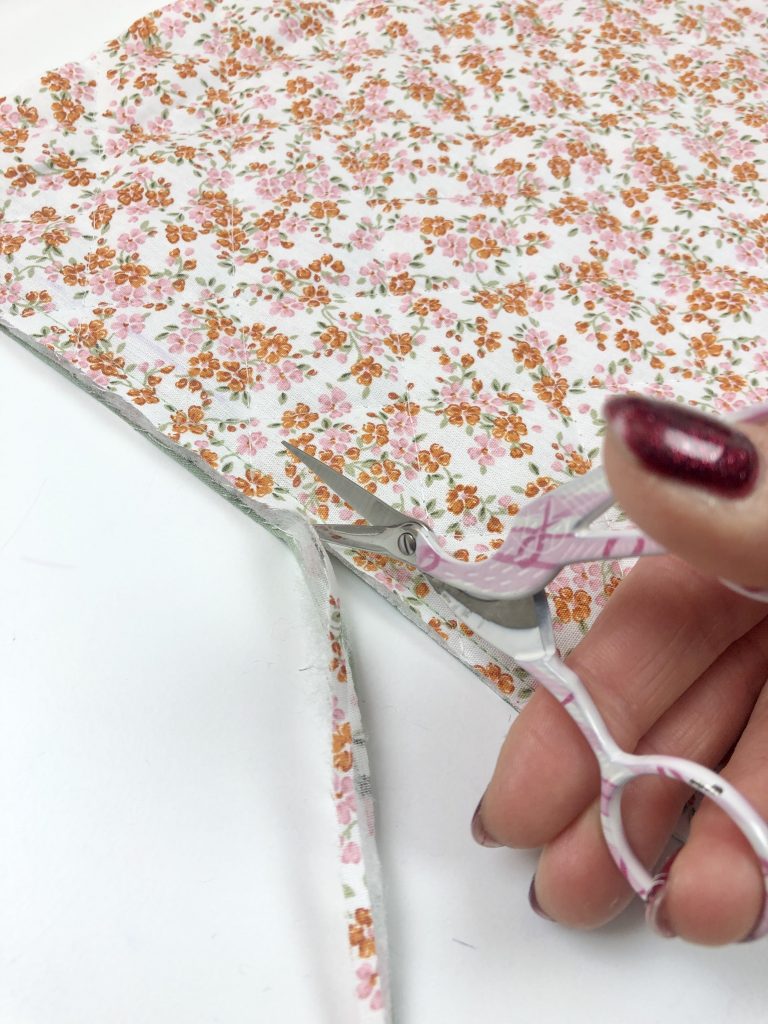
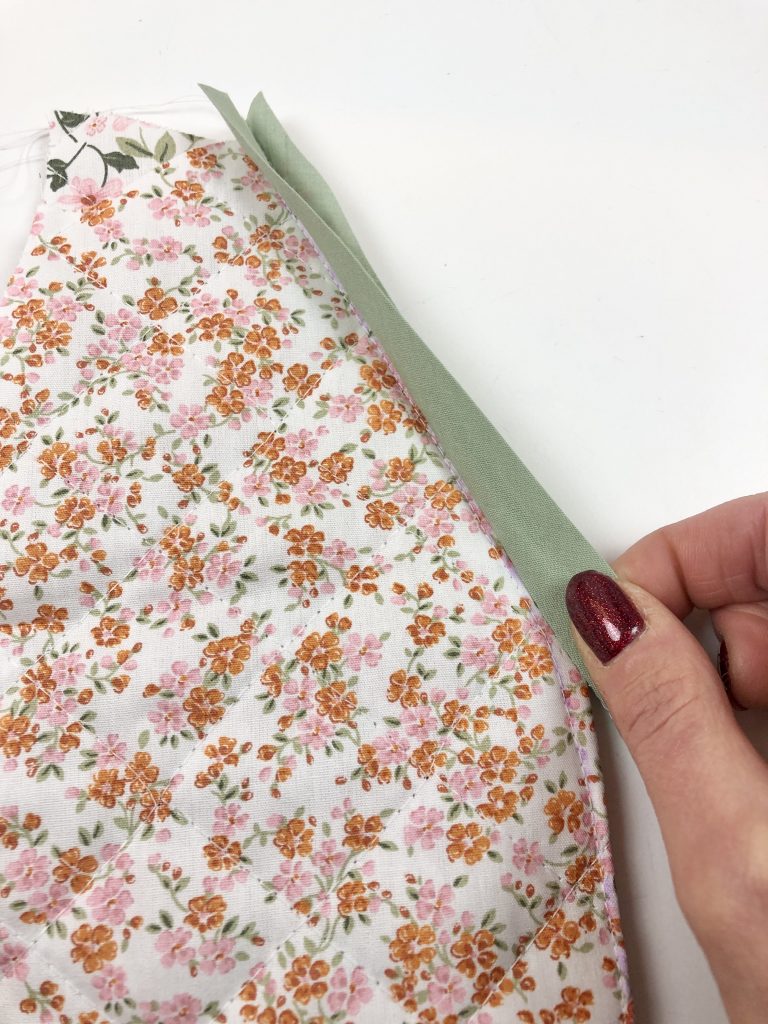
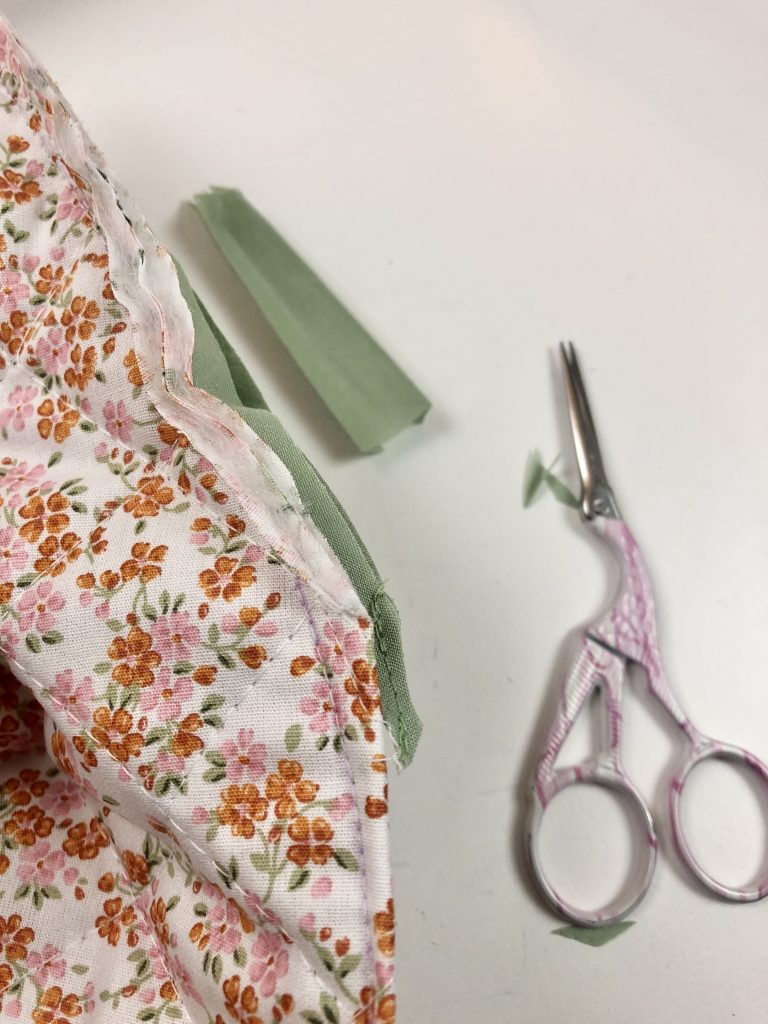
Binding the Dart Edges
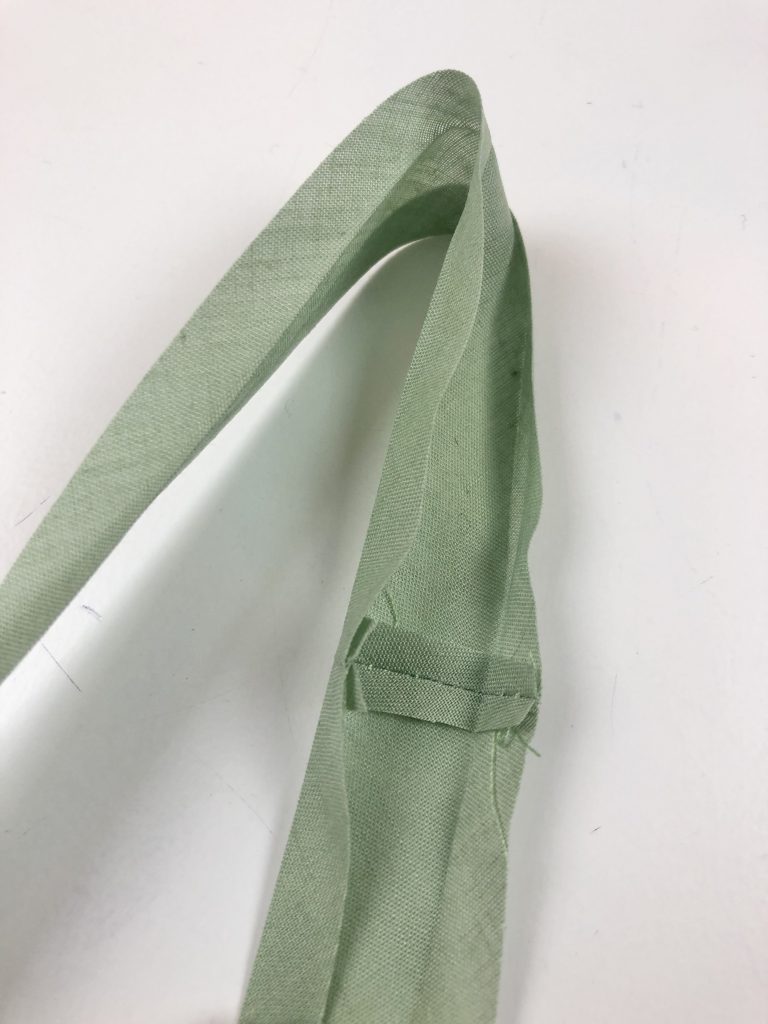
The create a neat finish on the inside of the jacket, the raw edges of the dart are finished with bias binding.
As the dart will be pressed towards the back of the garment, I apply the binding first to the side which is closest to the back (the part which will be hidden once the dart is pressed.)
You can see the double notch marked in purple pen in the image below, indicating the back of the sleeve.

I didn’t like the look of the finish in the images on the pattern so I finished the binding in a slightly different way.
First, press / pull the binding away from the dart.
Then fold the binding so the right sides come together at the tip of the dart.
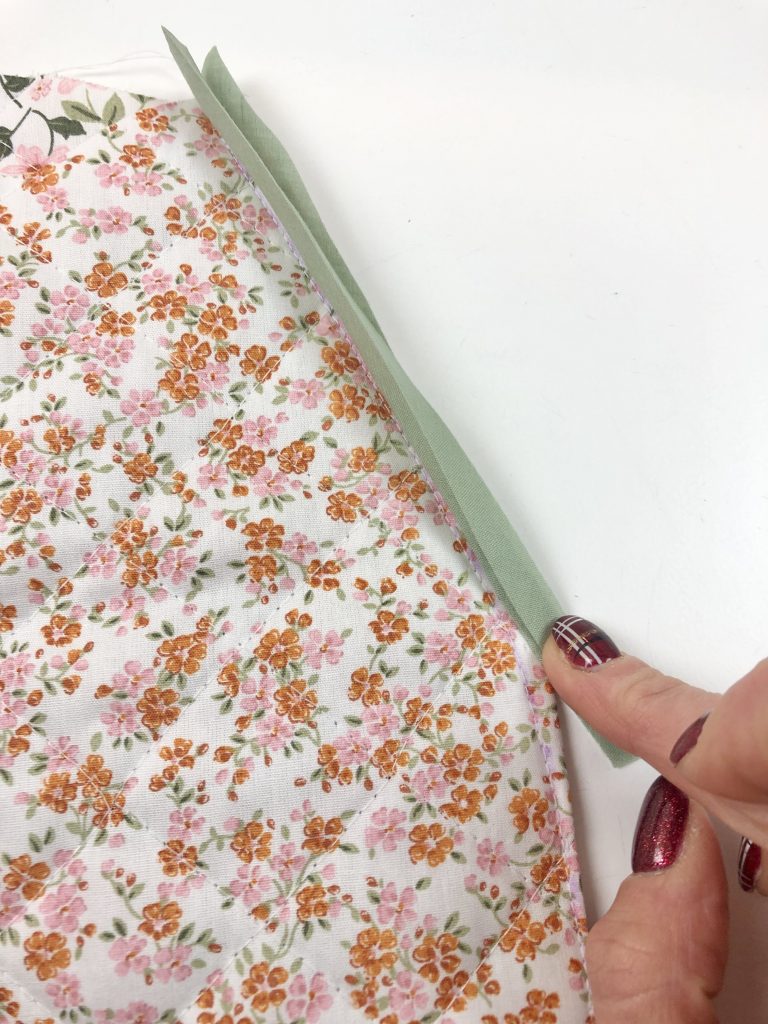
Pin this in place.
Stitch along the line marked by the pin, stitching diagonally across the binding, in line with the edge of the dart.
Trim the seam allowance.
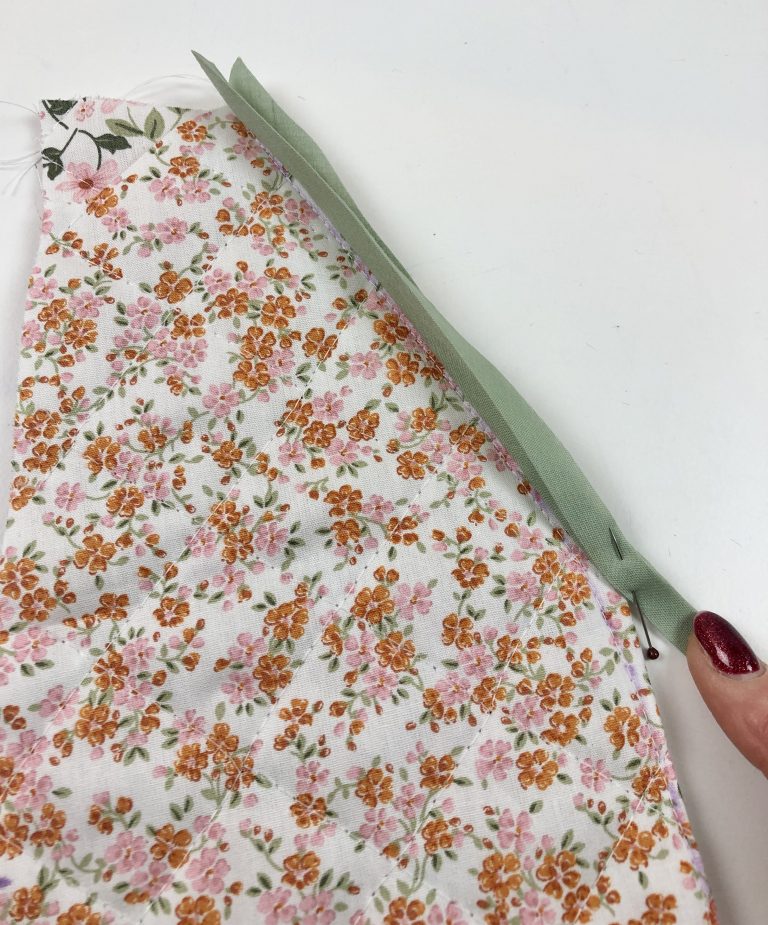
This image shows the binding on the second sleeve (I forgot to photograph this the first time!)
Trim away any seam allowance of the dart if necessary.
Fold the binding over the raw edge of the dart and pin in place.
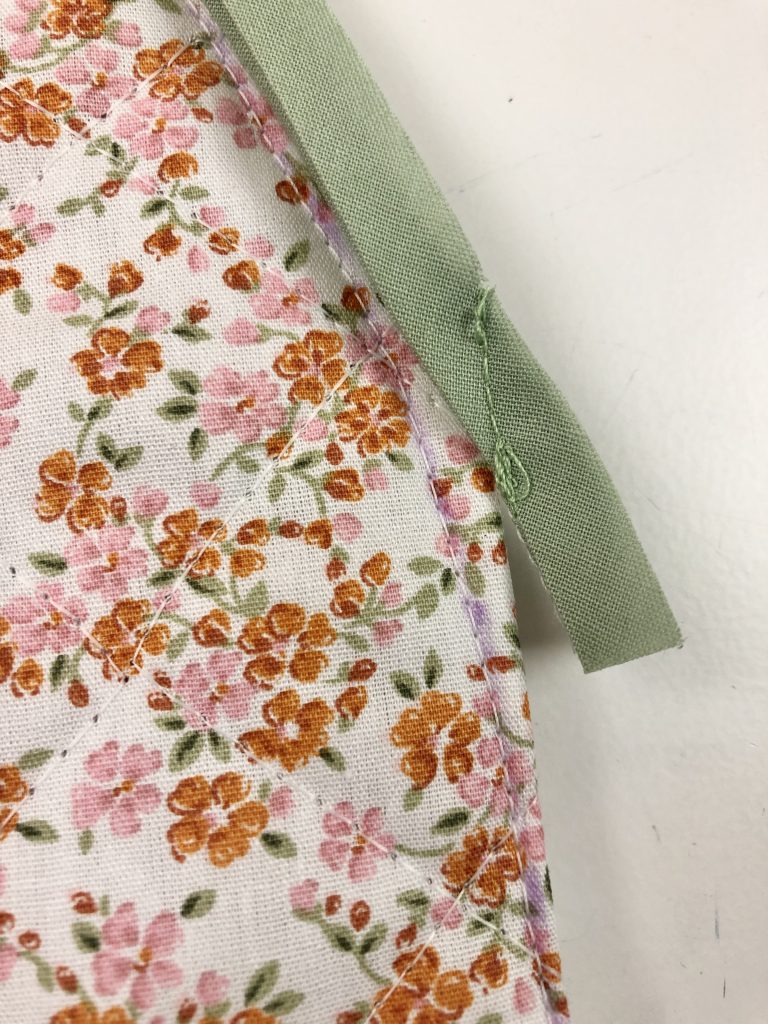
You can see in the image below how the diagonal stitching on the binding sits neatly.
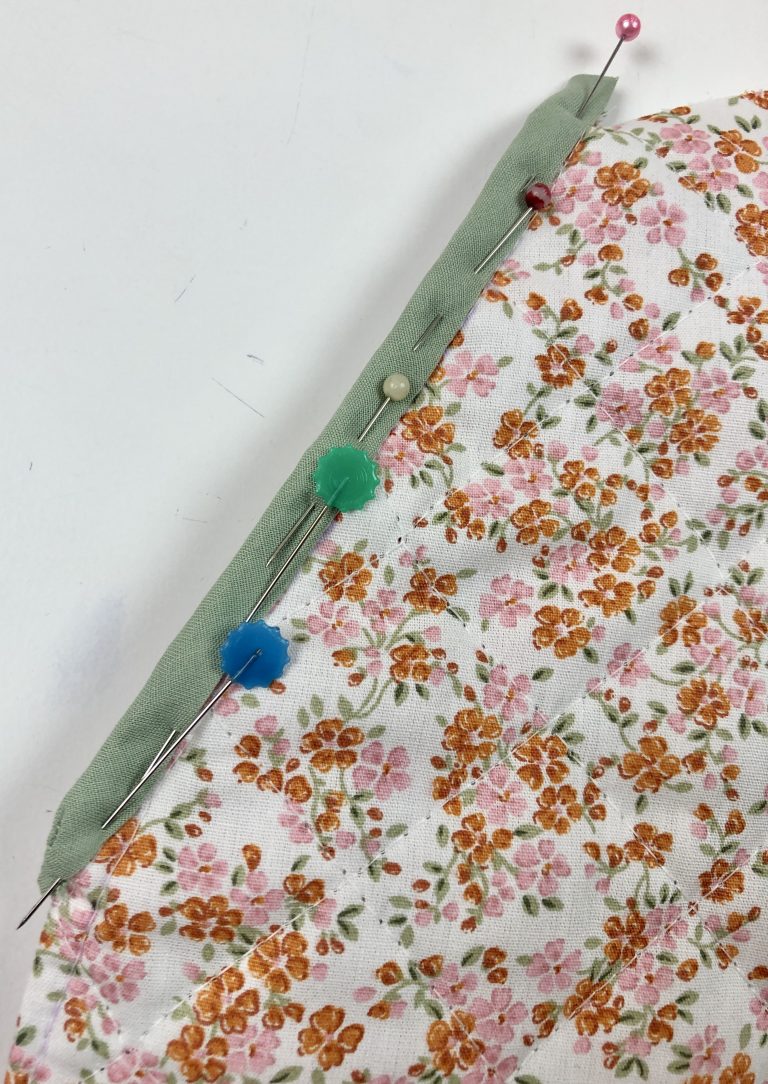
Stitch the binding in place and then press the seam towards the back of the sleeve.
Stitch the sleeve seam and press the seam open.
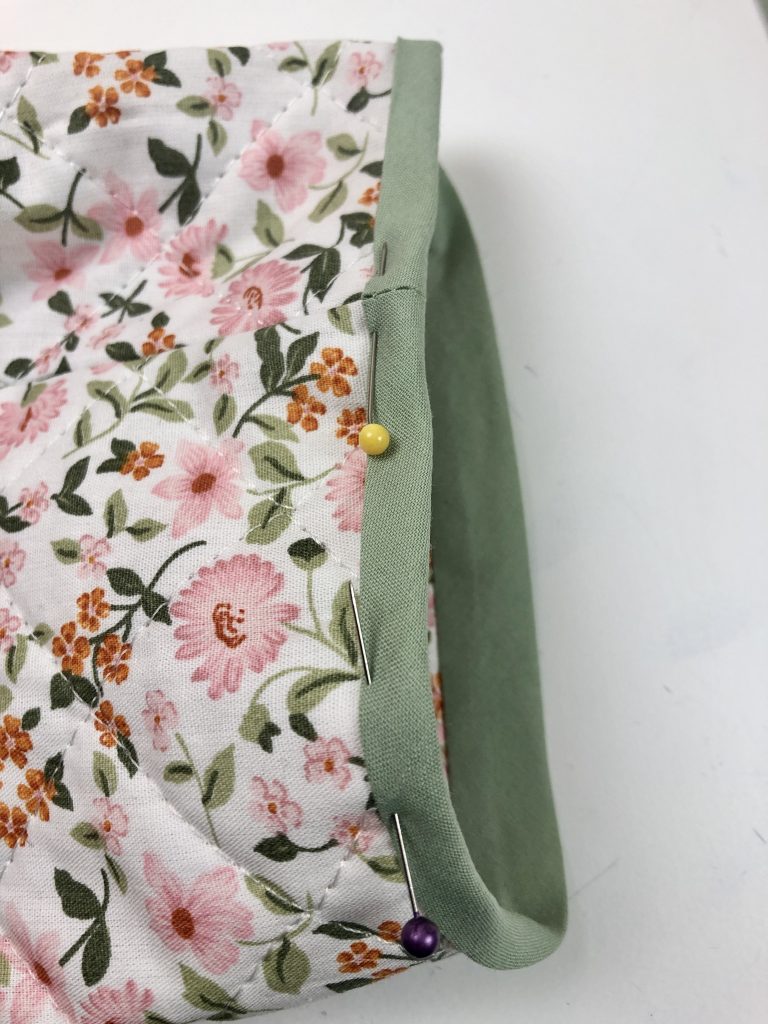
Next, binding is sewn to the lower edge of the sleeve.
I trimmed the edges of the binding first.
I wanted a neat finish on the binding of the sleeve and planned to wear the jacket without the sleeve turned up at the cuff.
I measured the circumference of the sleeve and then cut a length of bias binding this measurement plus 2cm for seam allowance.
I stitched the short end of the binding together.
Then I trimmed the seam allowance and pressed the seam open.
The binding is then applied to the lower edge of the sleeve. First, match the right side of the binding to the wrong side of the sleeve.
Note: If you want to turn up the sleeves to show off the inside bound edges when you’re wearing the jacket the binding is applied so the finishing stitching will be done from the wrong side. To begin with, apply the right side of the binding to the right side of the fabric.
I utilised the free arm on my sewing machine to sew on the binding.
As before, I trimmed a little off the seam allowance and then wrapped the binding over the raw edges of the fabric, covering the first line of stitching with the fold of the binding.
The binding is then pinned in place.
You can see where the seam on the binding lines up with the seam on the sleeve.
Once the binding on the sleeves is sewn into place, the sleeves are inserted and stitched into the armholes – use a 1cm seam allowance here.
Once the sleeves are inserted, binding can be applied to the edges of the seam allowance using the same process as used on the side seams, wrapping the binding over both layers of fabric.
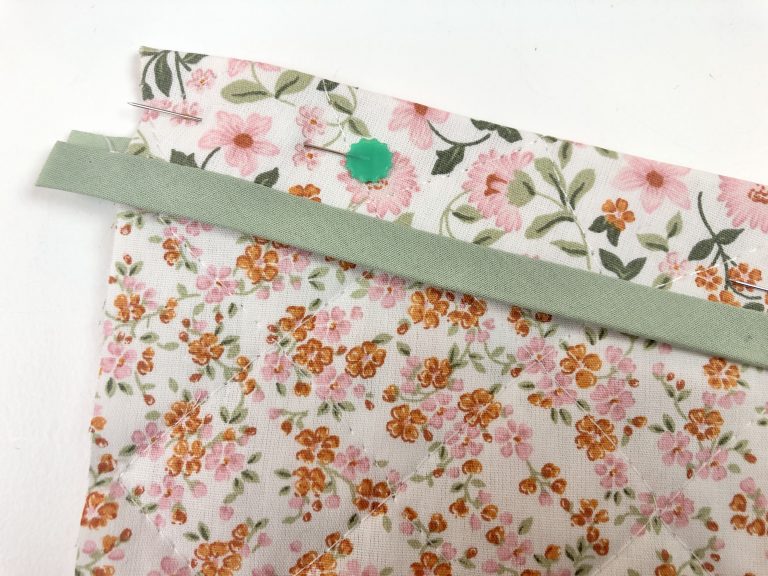
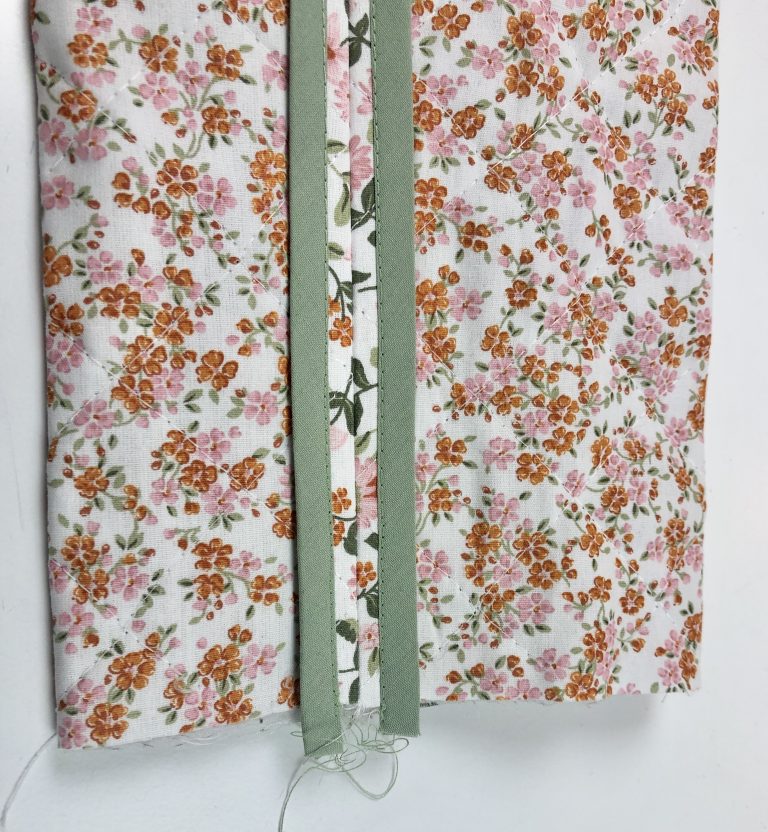
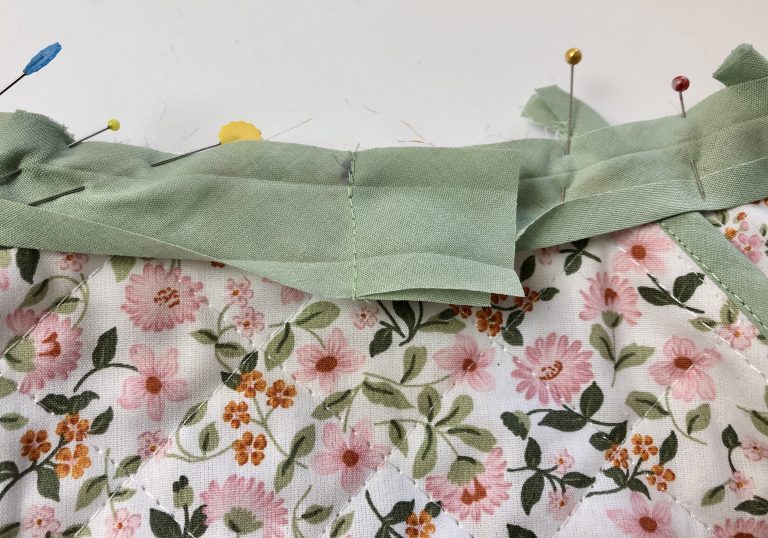
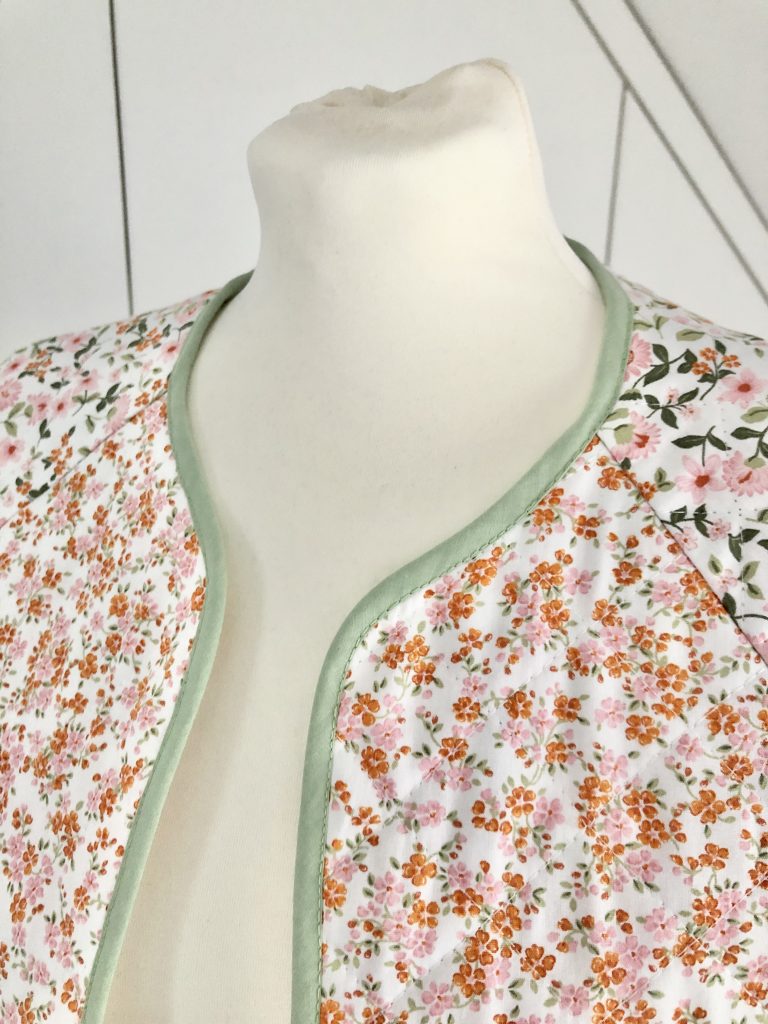
The final stage is to apply binding to the outside edge of the jacket to cover the front edges, lower back and neck.
I wanted to have a neat seam in the binding at the centre back of the neck so I marked the centre back position on the neck edge, then pinned the binding all round the garment, matching the right side of the binding to the wrong side of the jacket.
I pinned from the shoulder dart on one side, all round to the shoulder dart on the other side. I then laid the binding in place and marked the point where the binding reached the centre back on both ends.
You can see the mark for the centre back in purple in the image below.
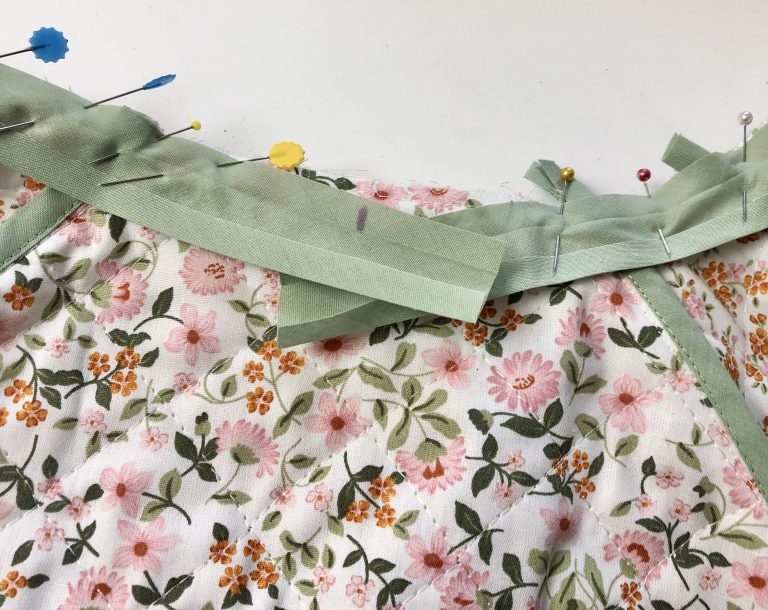
The binding is pinned with right sides together at the centre back marker.
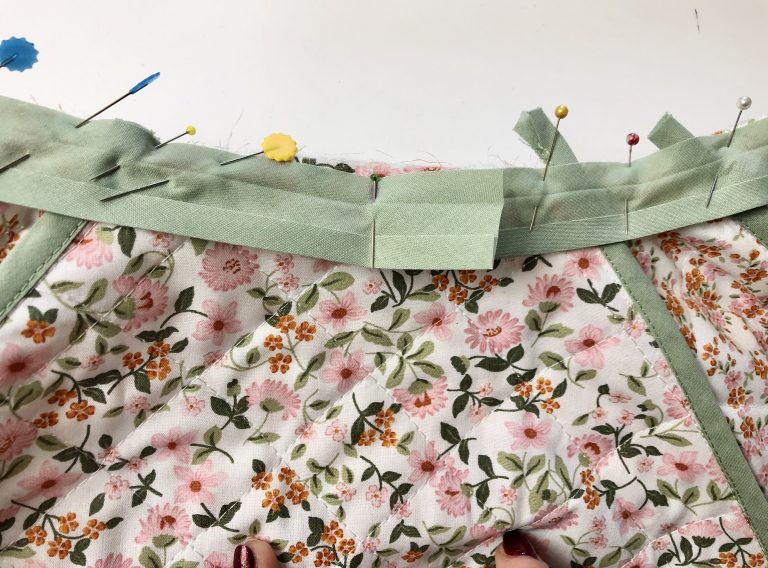
The binding is sewn along the line marked for the centre back.
The seam allowance is trimmed, pressed open and pinned in place.
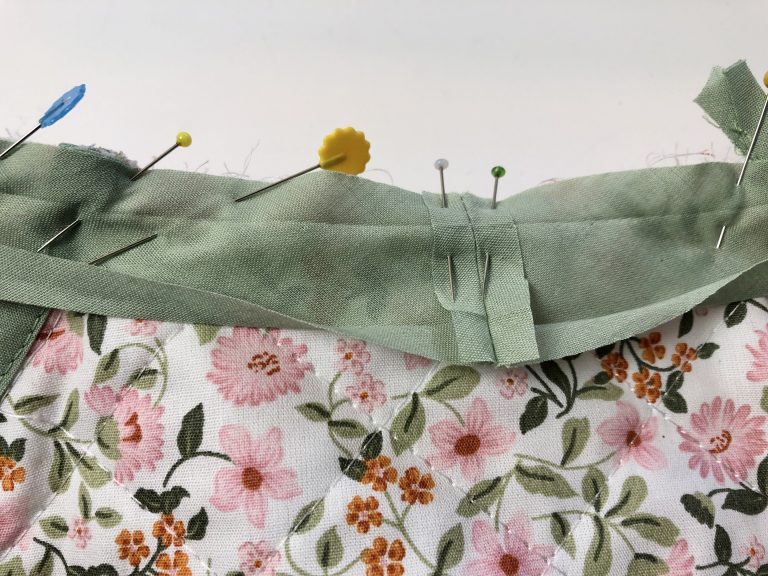
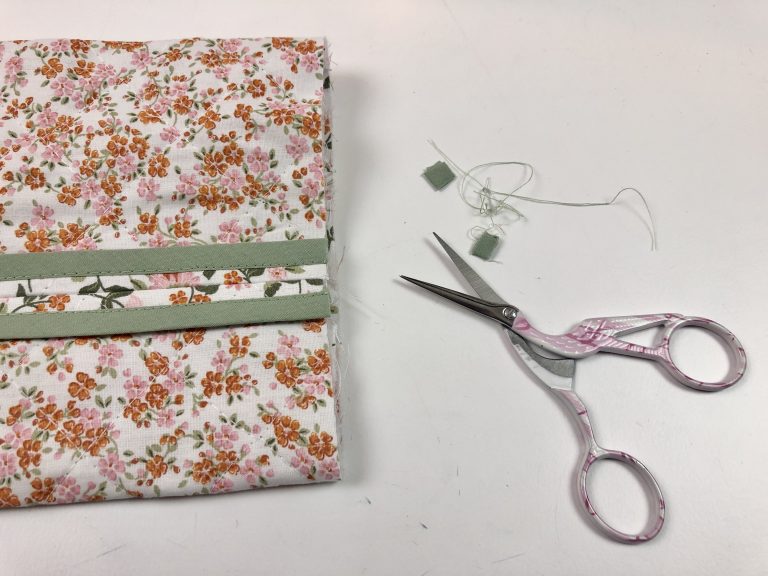
Next, the binding is sewn in place, stitching in the groove. The binding is then finished in the same way as before, trimming the seam allowance first and then wrapping the raw edge so the first line of stitching is just covered by the folded edge of the binding.
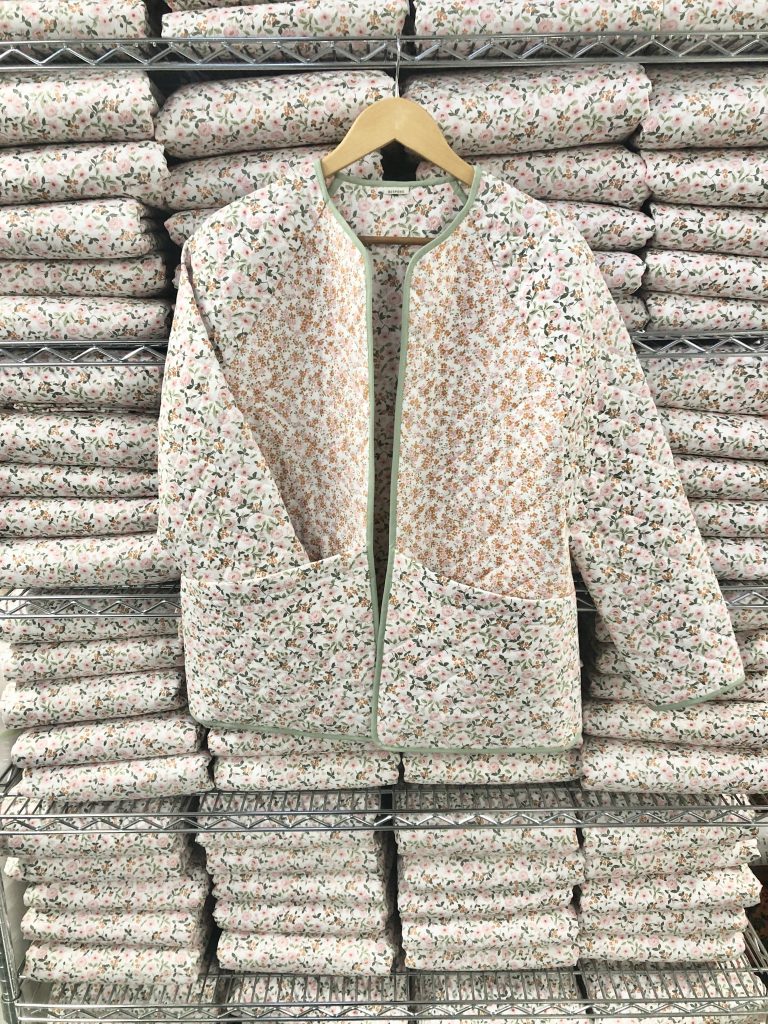
Here are some images of the finished jacket.
This image shows the jacket in front of all the cut lengths of fabric, ready to be packed into the Dream Wardrobe boxes and sent out to customers.