Have you ever thought about sewing with checked, tartan or plaid fabrics and worried about how you’ll pattern match across the seams?
This blog post will explain some really easy tips for perfect pattern matching.
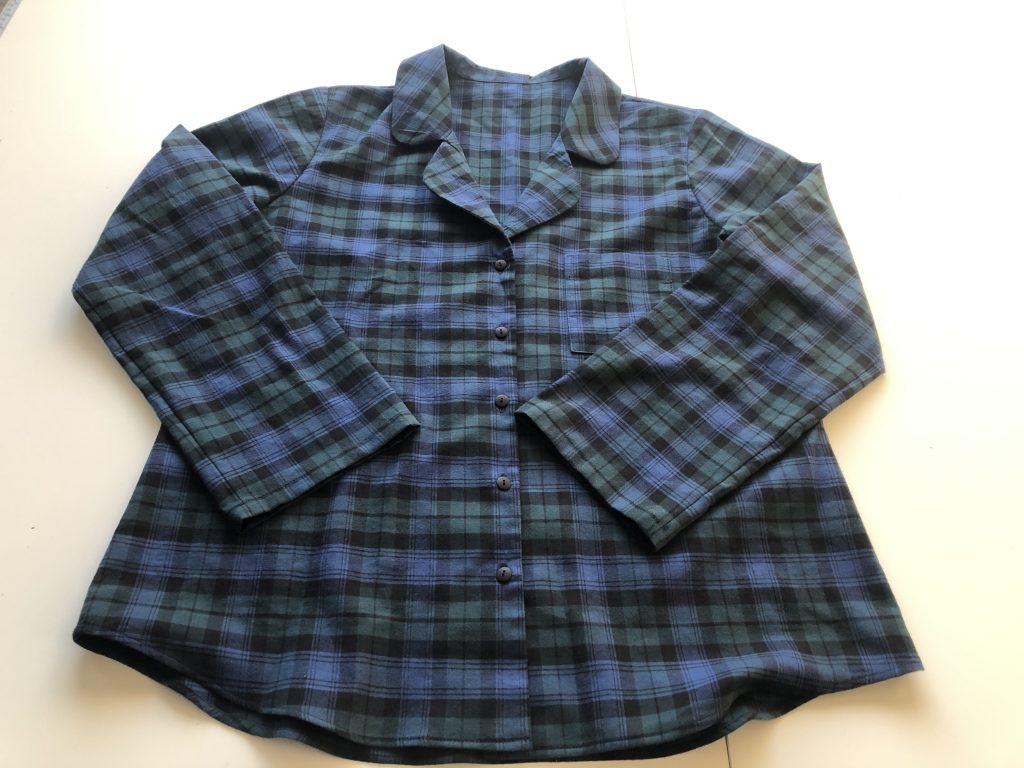
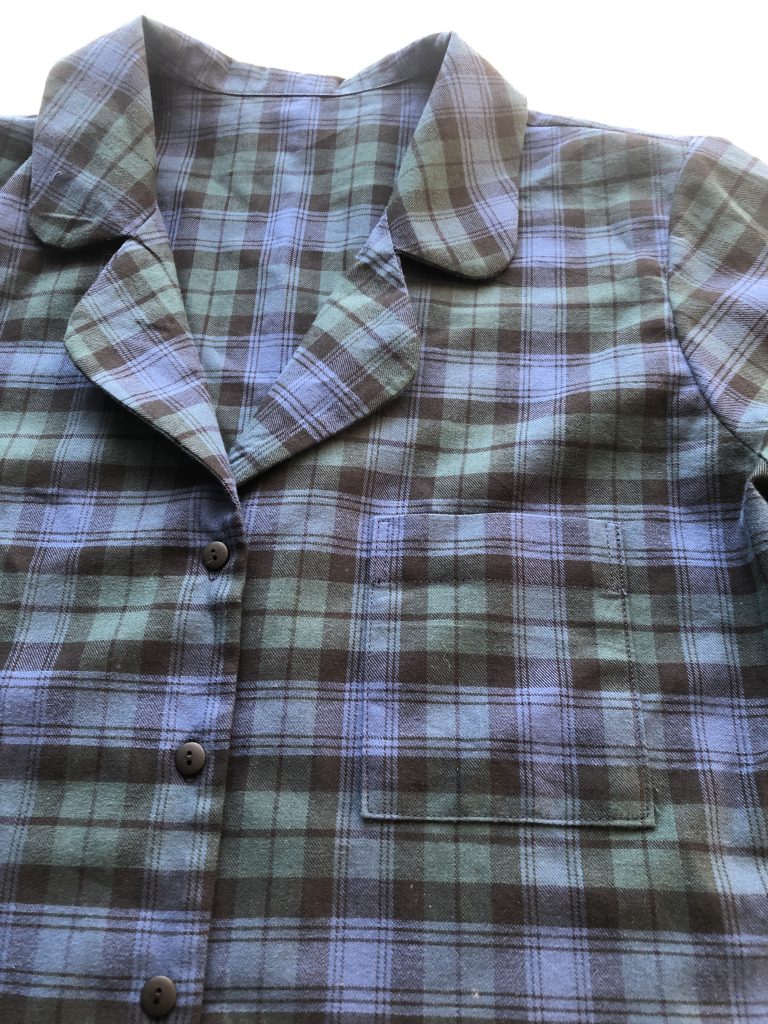
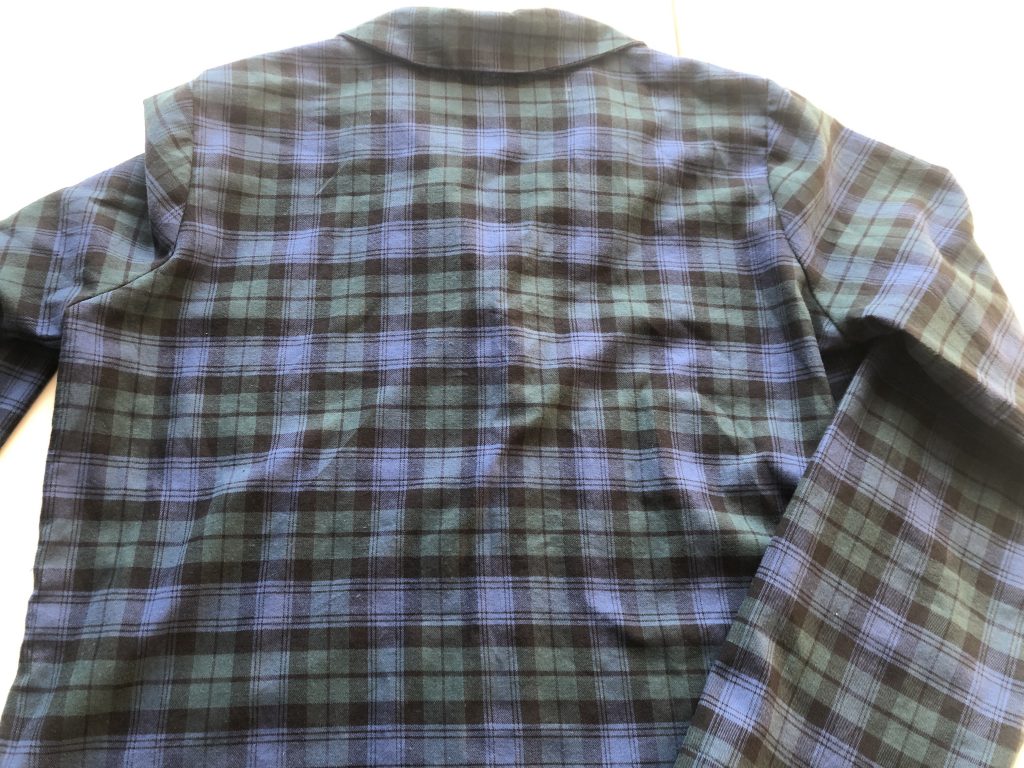
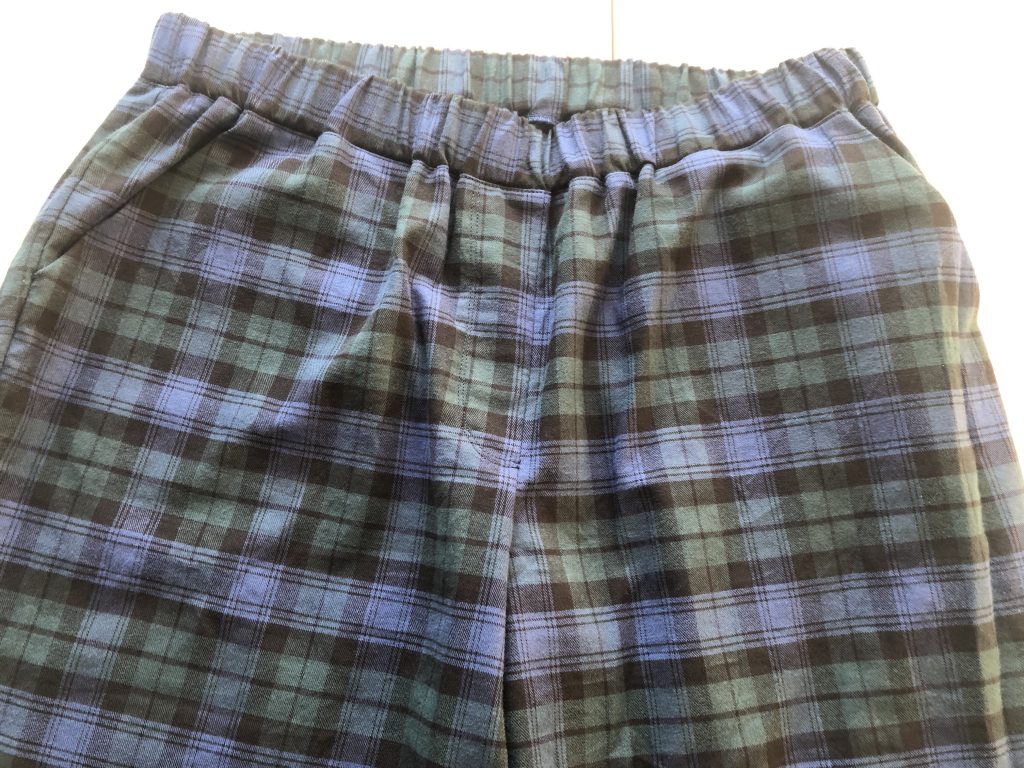
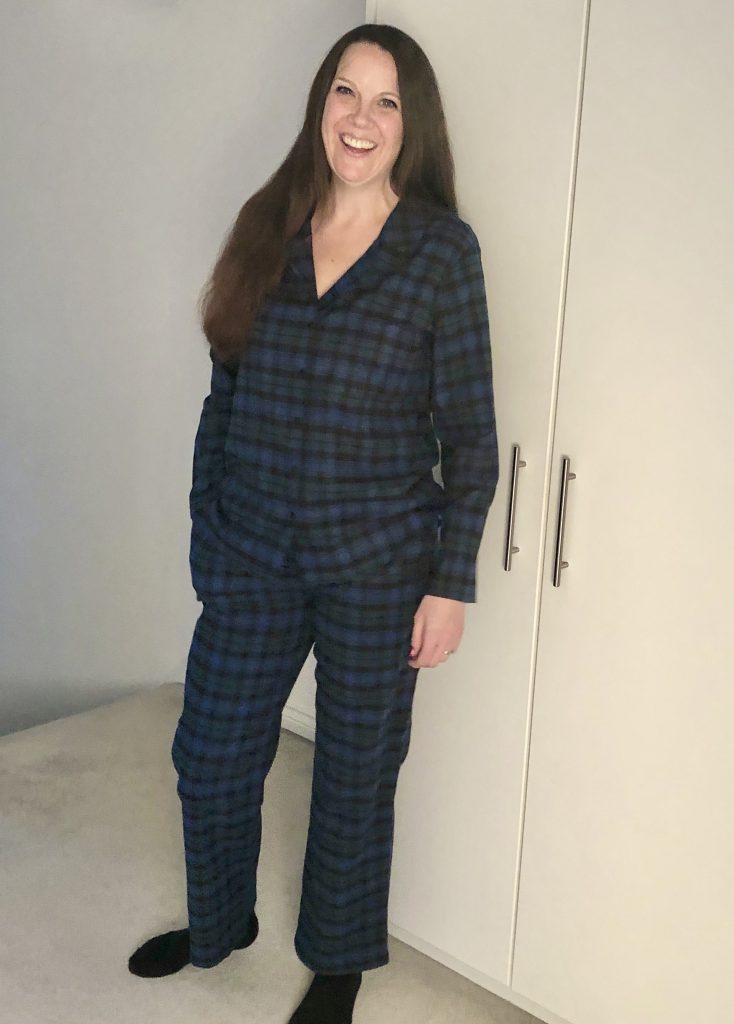
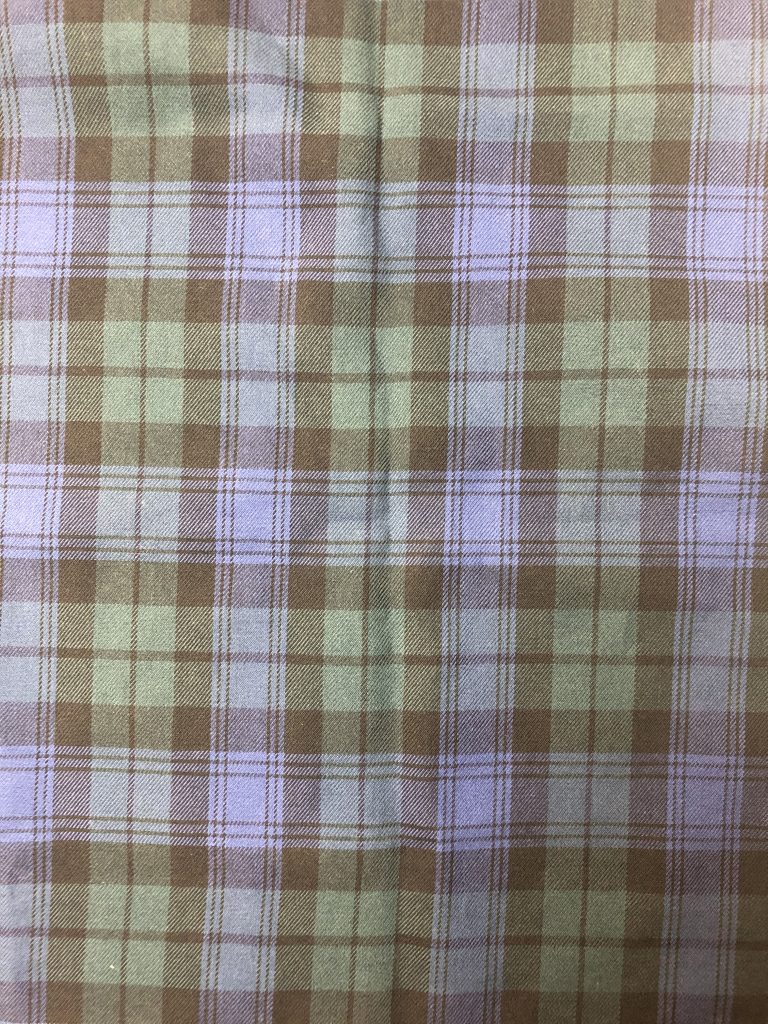
I’m working on some Carolyn Pajamas by Close Core Patterns using Blackwatch Tartan Brush Cotton Twill from Fabric Godmother so I’ll take you through my process of laying out and cutting the fabric.
Preparing the Fabric for Cutting
I’ve pre-washed the fabric and pressed it.
There’s around 2% shrinkage along both the warp and weft so pre-washing is a necessary process before cutting out.
Before pre-washing I always overlock (serge) the raw edges of the fabric to avoid excess fraying in the machine.
Once the fabric is washed and pressed, take a look at the pattern of the fabric.
Step 1: Determine the right side (outward facing side) of your fabric.
One side is slightly softer than the other – this is the wrong side, the side worn next to the skin.
The twill weave is more defined on one side – this is the right side, the side everyone will see when you’re wearing the garment.
If you can’t determine the right side, just choose one.
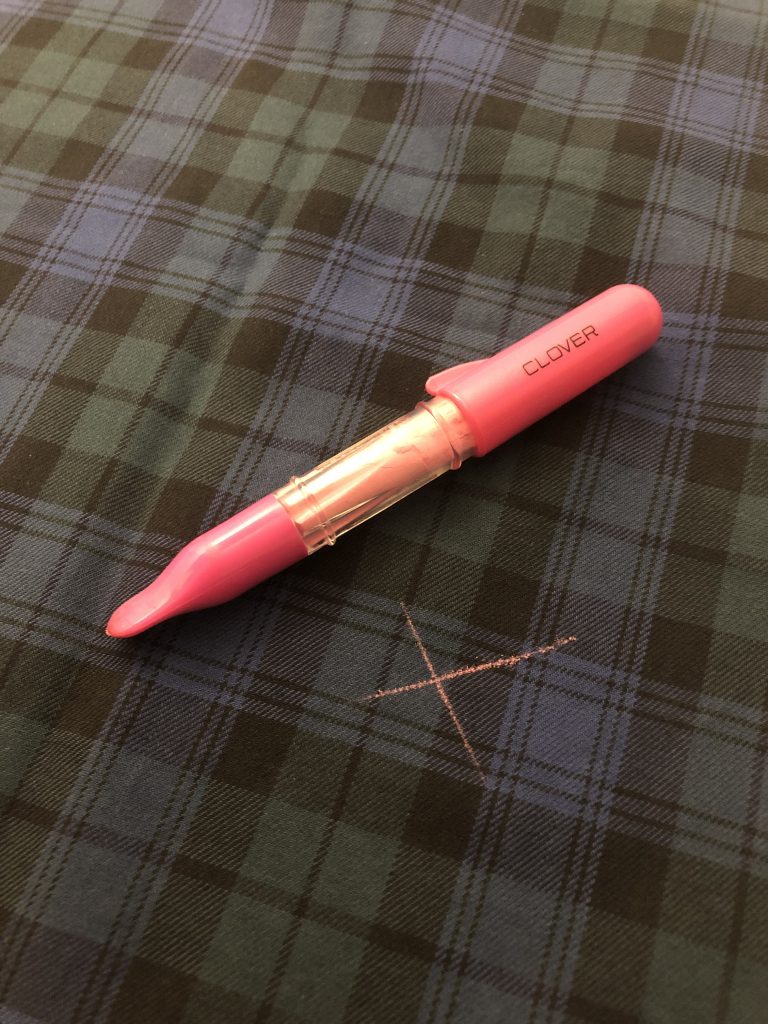
Once you’re happy with your chosen right and wrong sides, mark the wrong side with chalk so you don’t forget.
Step 2: Determine the centre line of the pattern
Is there a definitive ‘centre’ line in the repeating pattern?
I think the blue vertical bands create the centre of the repeating pattern – don’t you?
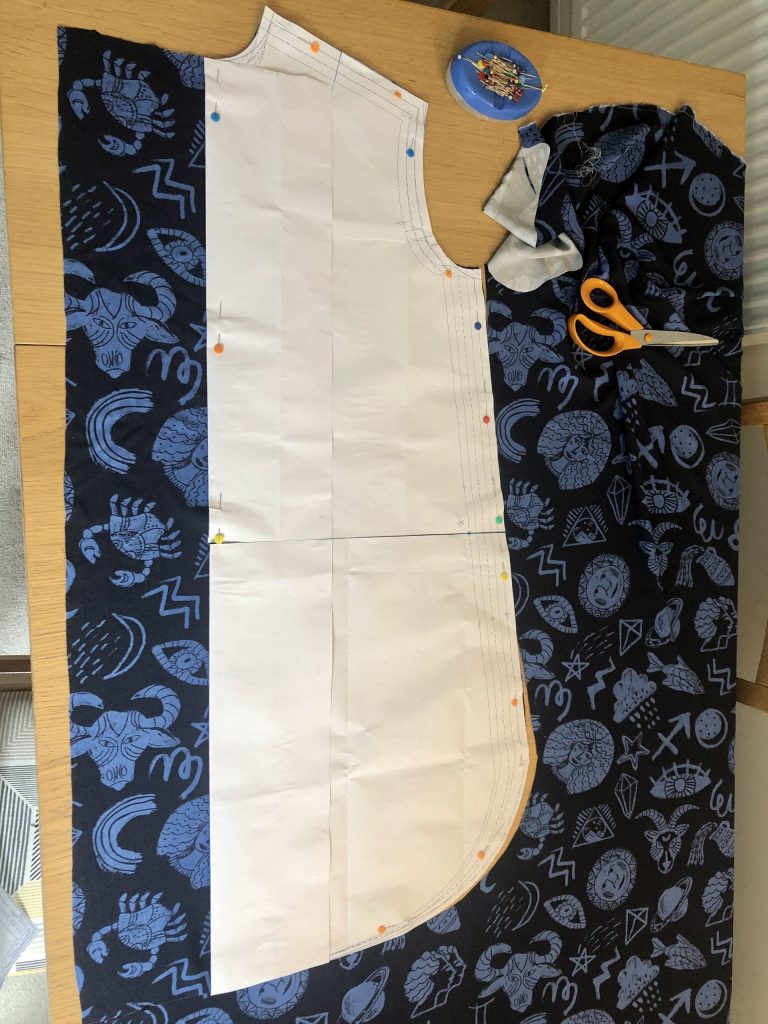
Step 3: Fold your fabric for laying out the pattern
You will most likely have a pattern layout diagram in your pattern envelope.
I sometimes use this, and sometimes I decide to try my own layout.
In this case, I ignored the pattern layout in the envelope and created my own. I didn’t like that the pieces were cut through a single layer – I much prefer to cut though a double layer to speed up the process. Although, when trying to pattern match, for the best results, cut each pattern piece on a single layer of fabric, remembering to turn the pattern piece over when cutting the second piece of those pattern pieces that need 2 – these must be cut so you have a matching pair.
For a quicker method, you can cut through a double layer providing you fold and lay this out carefully first.
You may find when cutting through 2 layers that the underside isn’t as perfectly aligned as you think it is, so take your time for the best results.
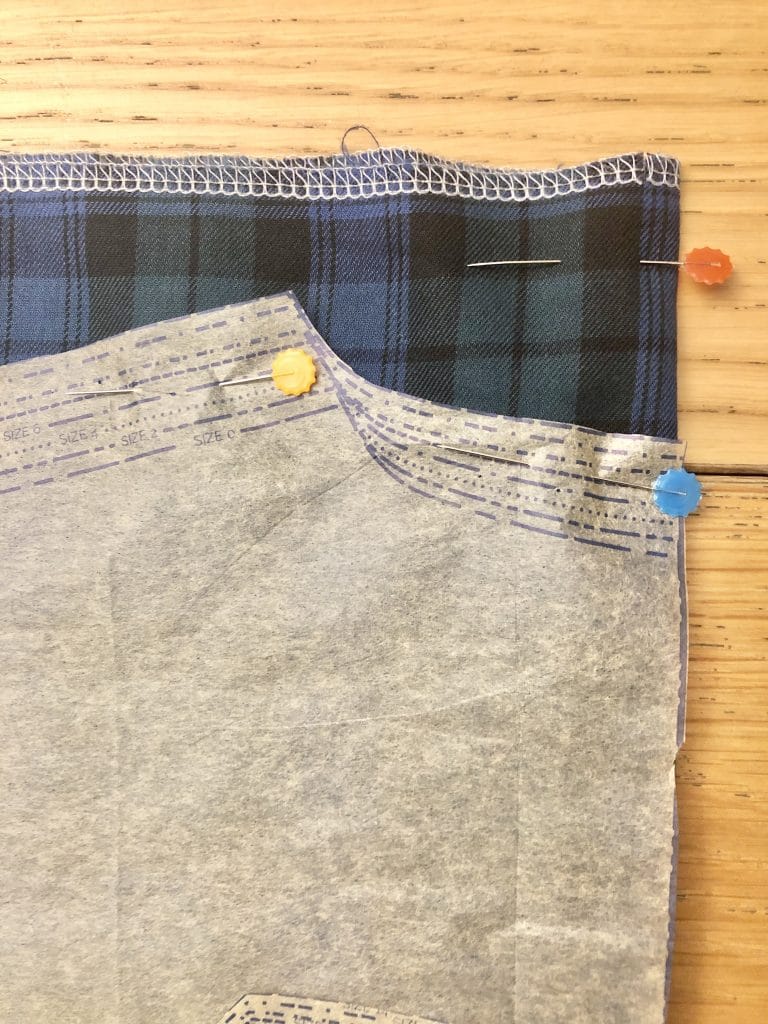
a) Fold the fabric right sides together bringing the two selvedges together (I like to mark any pattern markings with chalk so it’s easier to have the wrong side facing me.)
b) Fold the fabric along the centre line of the pattern, closest to the centre of the fabric. Don’t worry if the selvedges don’t match exactly, it’s more important to have the centre fold line correct.
I’ve folded the fabric along the centre of the blue horizontal bands, aligning the horizontal bands at the top raw edges of the two layers of fabric and aligning the vertical bands of colour along the selvedge edge.
Use pins to keep the fold correctly aligned.
Step 4: Lay out the pattern pieces
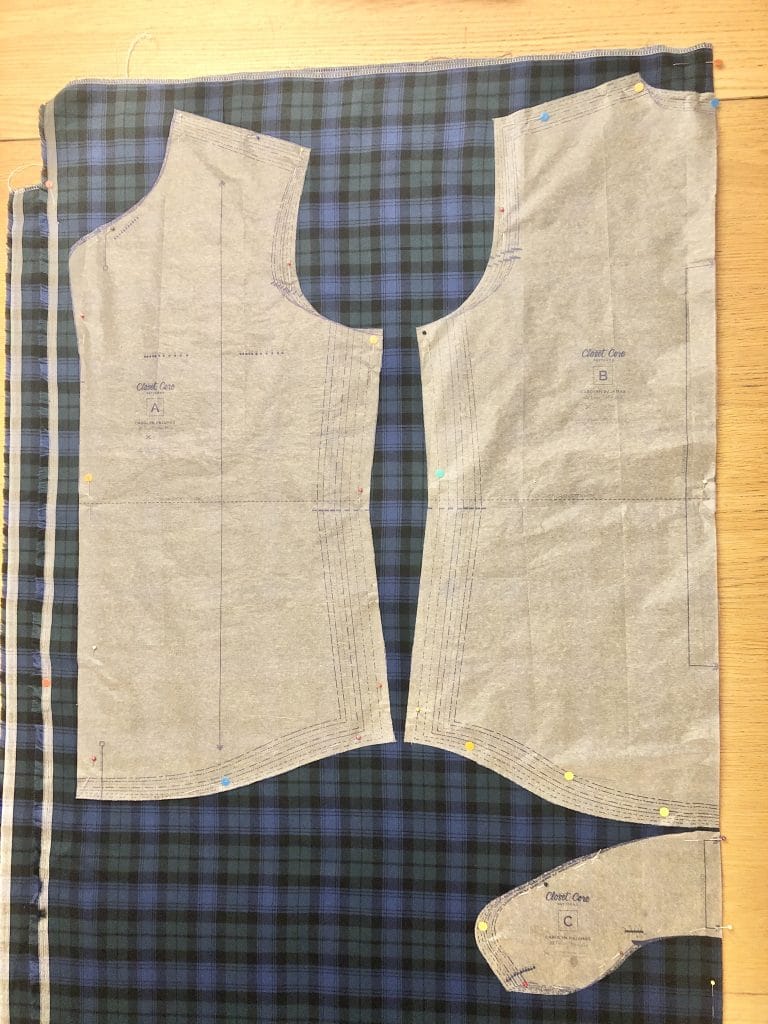
Place the back piece for the top along the centre fold line of the fabric.
Align the front piece for the top to the left of the back piece, keeping the lengthening and shortening lines aligned with the same horizontal line of the pattern.

Align the centre front line on the front pattern piece with the centre of the blue horizontal band.
The placement of the front pattern piece in the image below needs adjusting. It needs to be moved slightly to the left to be correctly aligned.
You can also see in the image below that the selvedges don’t meet but the horizontal bands of colour on the two layers of fabric are aligned at the selvedge edges on the left side of the image. I cut out a small square of fabric from the top left of the fabric which is why there’s a gap.
Continue to place the pattern pieces on the fabric, using the lengthening and shortening lines on the trouser legs to align these correctly on the fabric so they will pattern match across side seams once sewn up.
If you don’t have lengthening or shortening lines on the pattern pieces, use a corresponding notch for alignment or use the hem line at the side seam for reference.
I hope this method works for you.
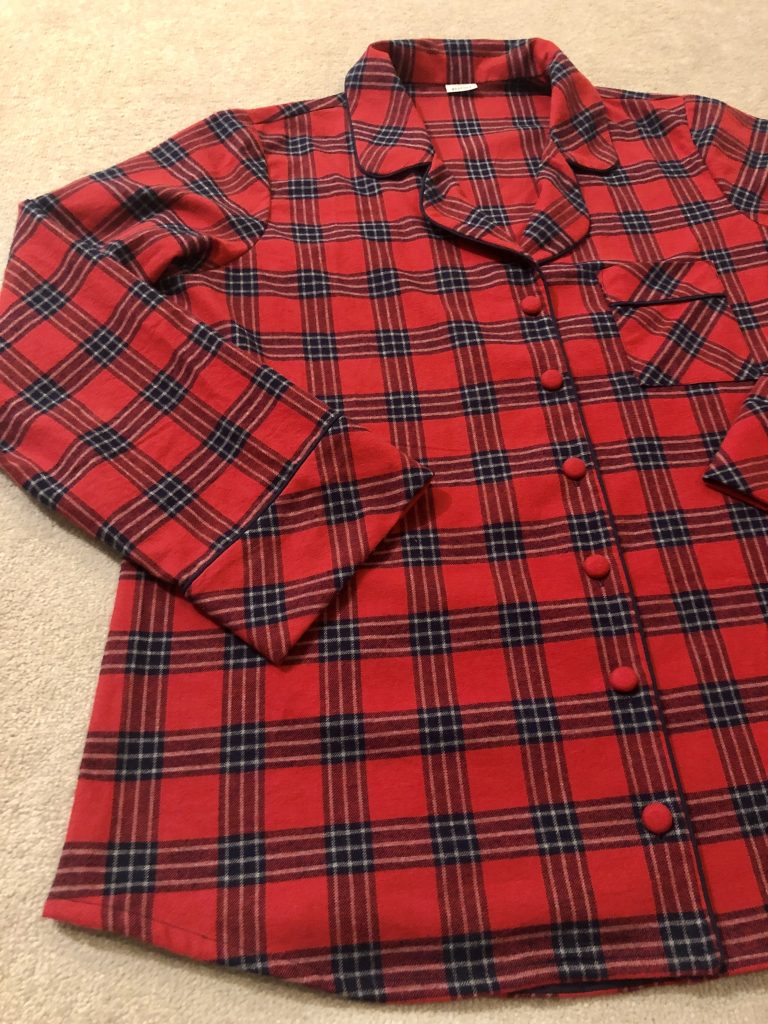
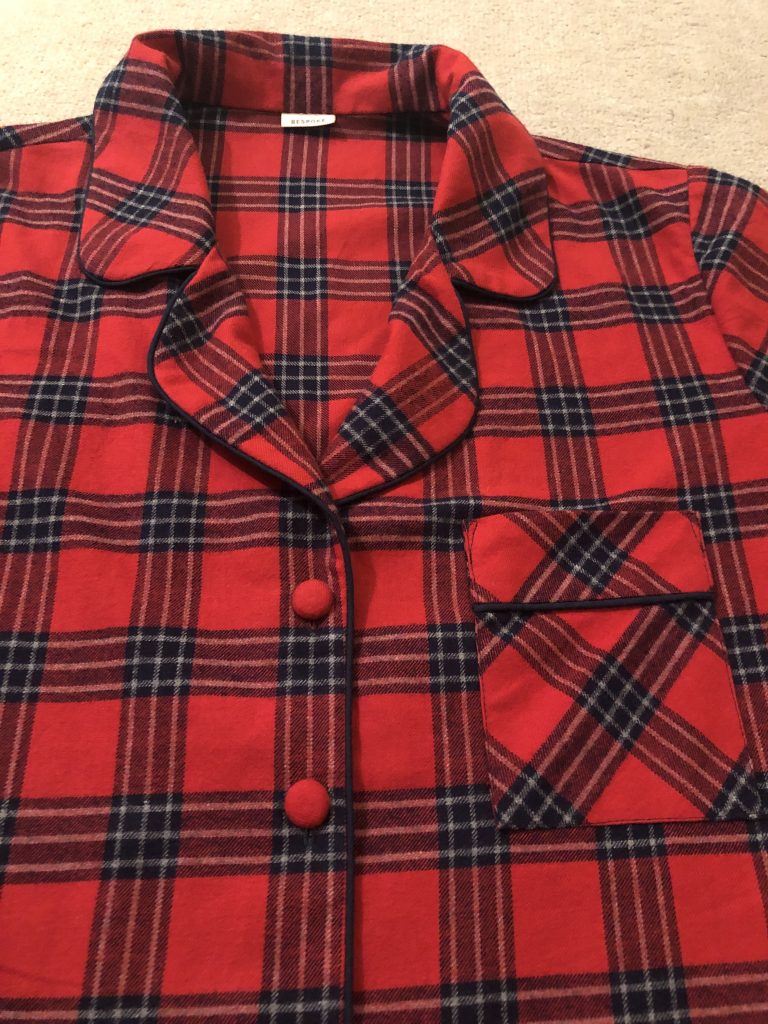
There’s a few more pictures of me in the Blackwatch pyjamas below plus a few others of the previous pair of Carolyn Pyjamas I made last year in a red brushed cotton twill tartan 😊
Happy sewing!
Julia