Yep.. I made more espadrilles… but these are definitely the best so far!
In my last espadrille post I was planning on making some pink espadrilles to go with a pink and grey dress for a wedding this July… the good news is that I actually made my own deadline (not always the case for me) but… as most things go with my makes, I changed my mind a few times.
Initially I was thinking that I’d be making pink flats, then I saw these amazing wedge bases for espadrilles and I wanted to make pink wedges… and then I thought more realistically that flat shoes were more practical and then opted to make these in grey… I know… it sounds a bit boring but finding the right shade of grey was much easier than finding the right shade of pink. I also decided that my other accessories (fascinator, bag, cardigan/wrap) were going to be grey too.
I’d got some left over grey patterned fabric from one of Mr B’s shirts that I could use for the base, an old grey bedsheet to trial a few fits for the twist part and some other grey cotton from somewhere… who knows where that other fabric came from but basically all the fabric required for the shoes was already in my sewing cupboard ready to be used up.
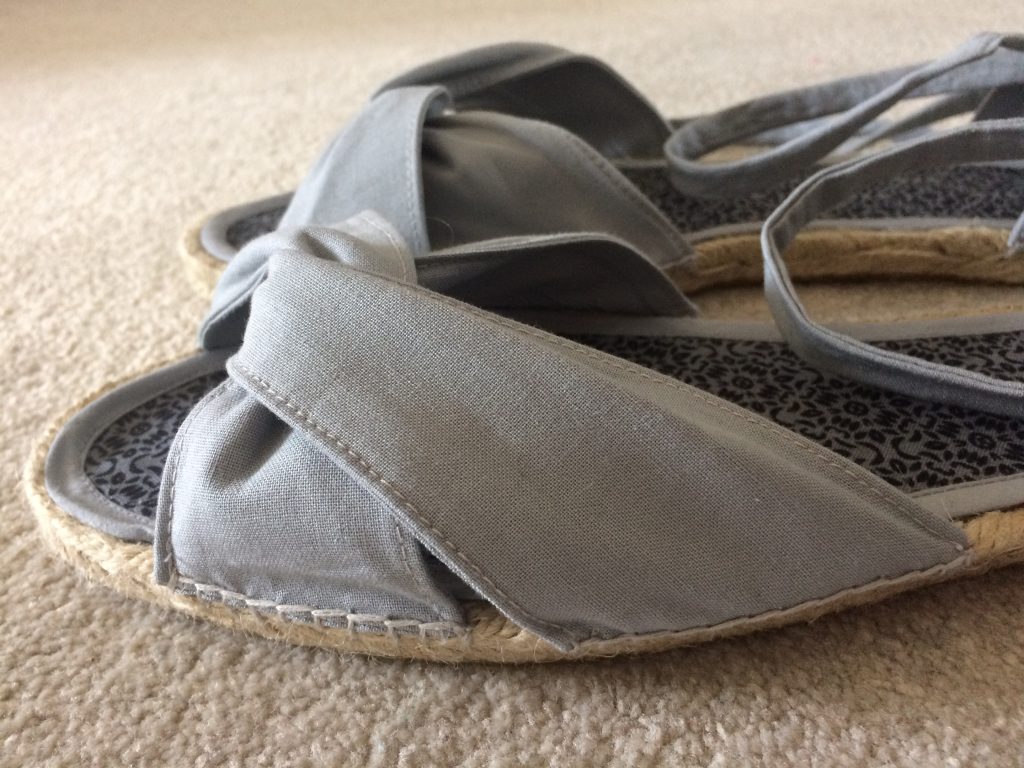
I wanted to make these espadrilles a bit different to the last two pairs and hoped to create a twisted front… I didn’t really know what I was doing here but went for it anyway… how hard could this be…??
I decided to start with the base fabric as that was the easy bit…. you can miss this bit out and have a plain jute sole… but I quite like a contrasting base to my me made shoes. I’ve documented the base section further down the page.
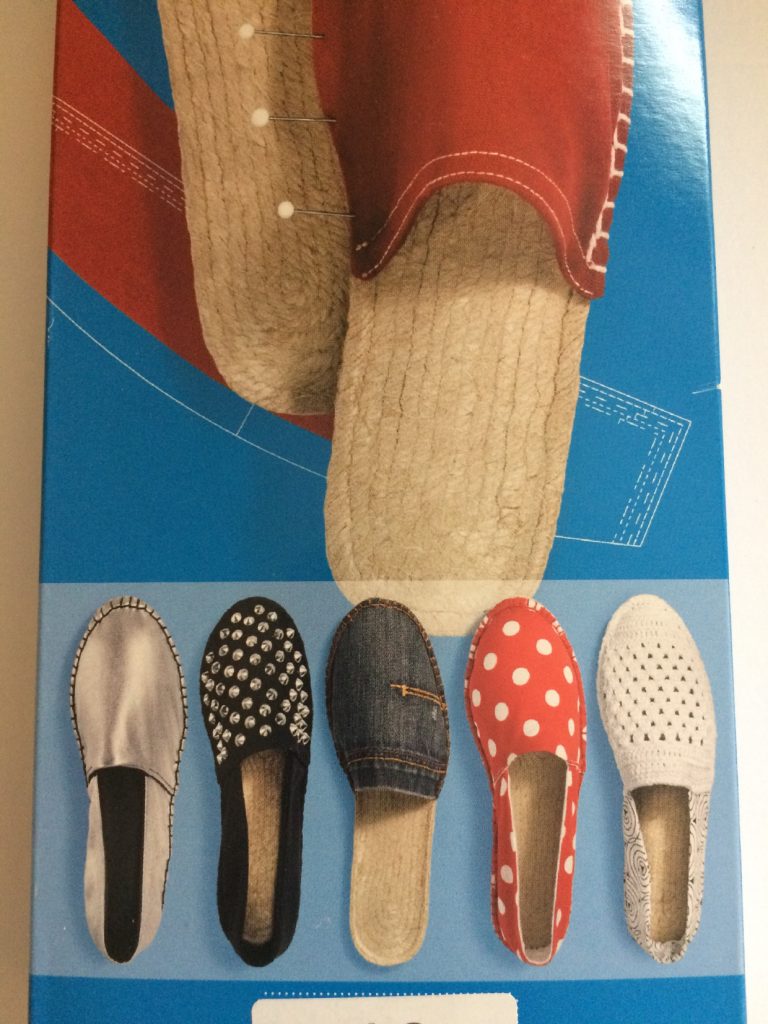
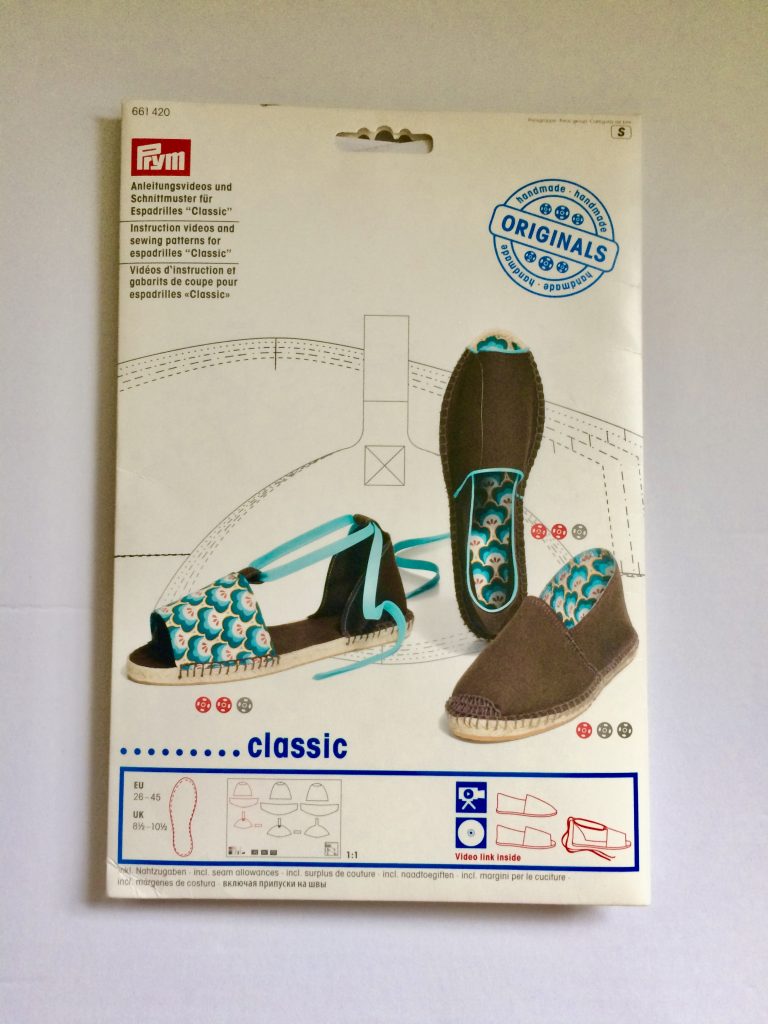
When you buy a pair of espadrille soles from Prym you get a basic pattern for the standard full shoe type espadrille like these that they show on the packaging:
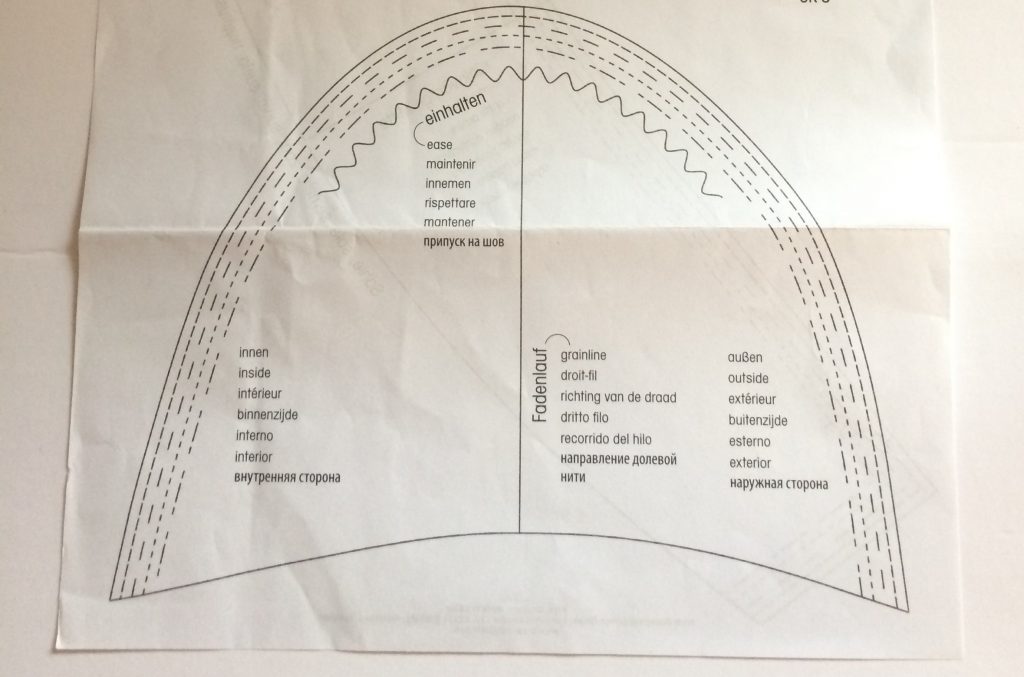
I already had a similar pattern that I’d used for my first pair of espadrilles, from this DVD kit.
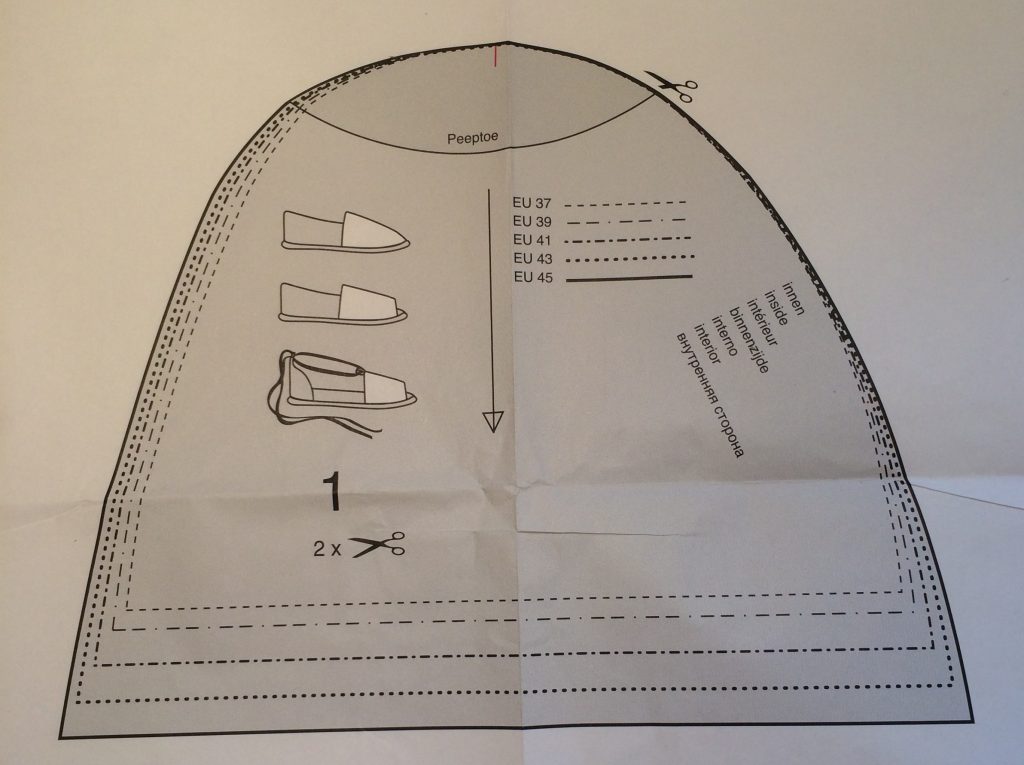
You can use either pattern but I’ve used the one above… they’re mostly the same except for the peeptoe bit and a slight difference in shape, also you’ll notice that the ‘inside’ of the shoe is on opposite sides in each pattern. If you’re using the original pattern you’ll need to cut out the peeptoe and I also shaped the bottom slightly with a curve.
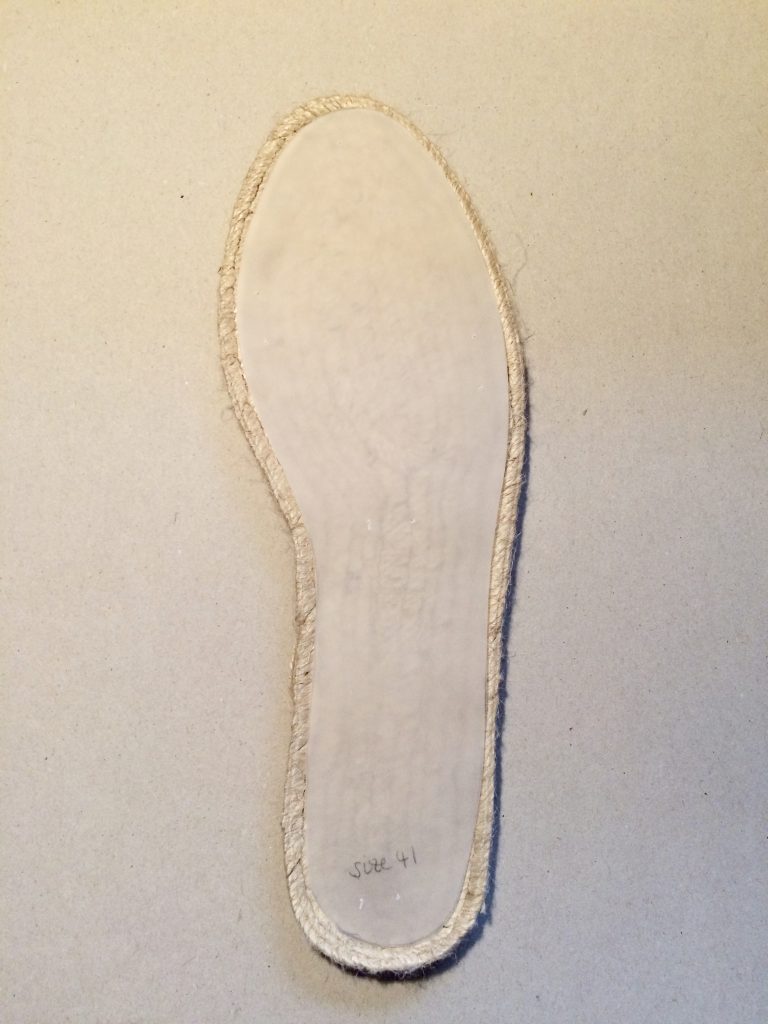
One key thing I’ve learnt when making espadrilles and buying Prym soles is that you actually need a size smaller that your usual size (or possibly 2 sizes smaller if you’re my friend and you’re asking me to make them for you… but that’s another story…) I’m a UK size 8 (EU 42) so I’m using a UK size 7 / EU 41 sole.
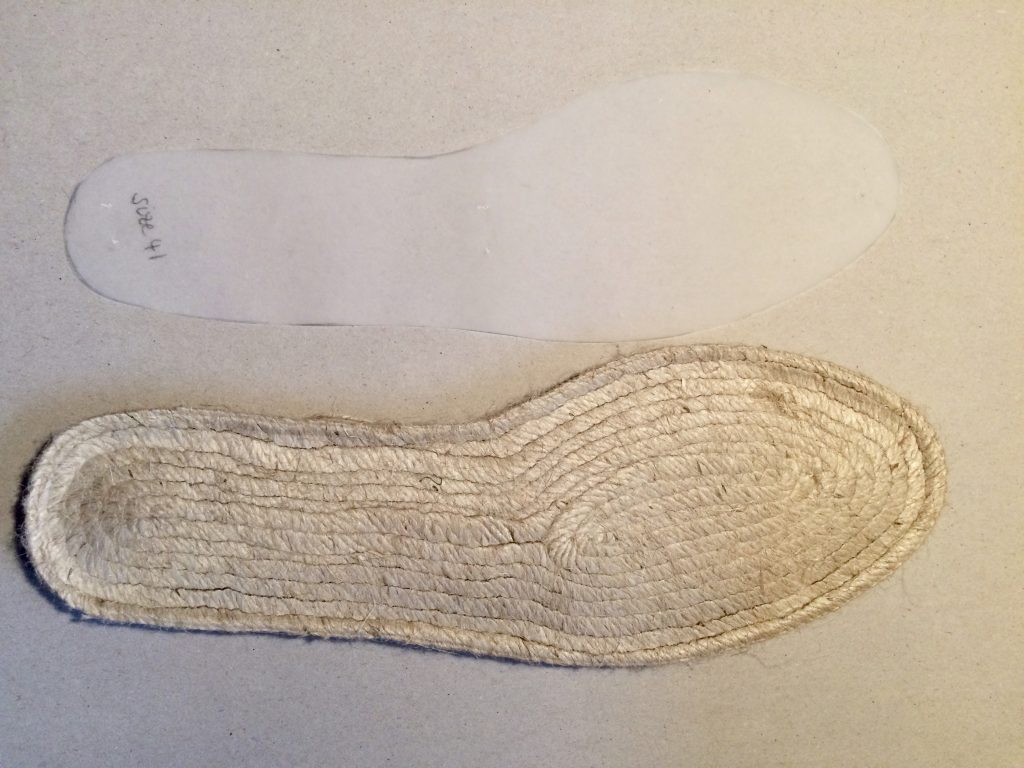
I traced the pattern for the 41. The next part was entirely experimental and I failed to document it completely…
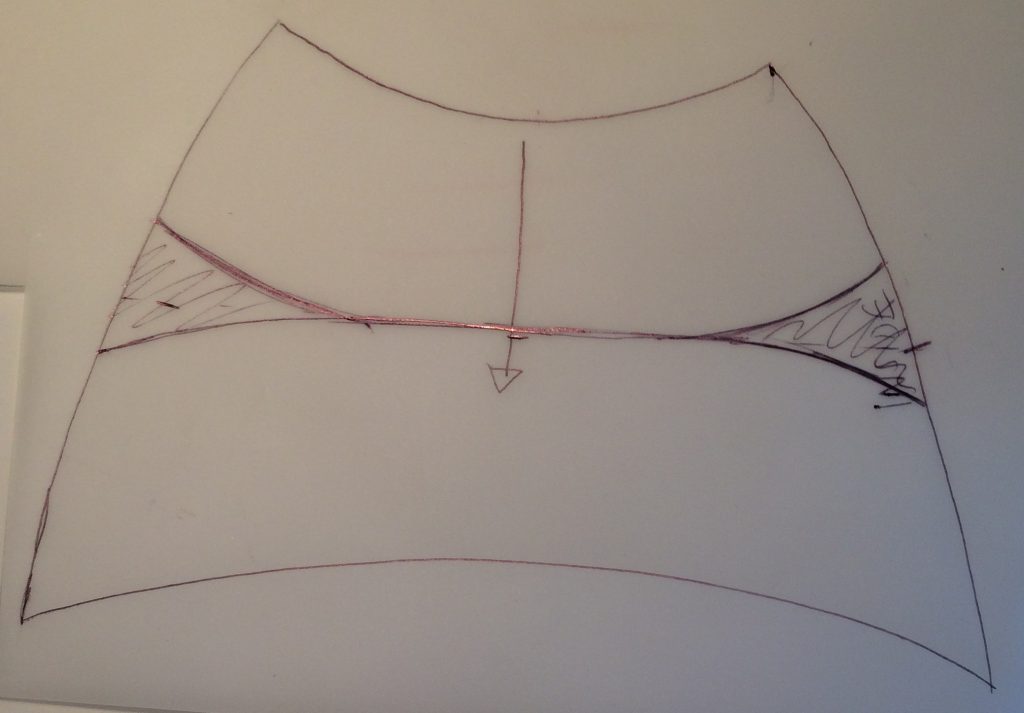
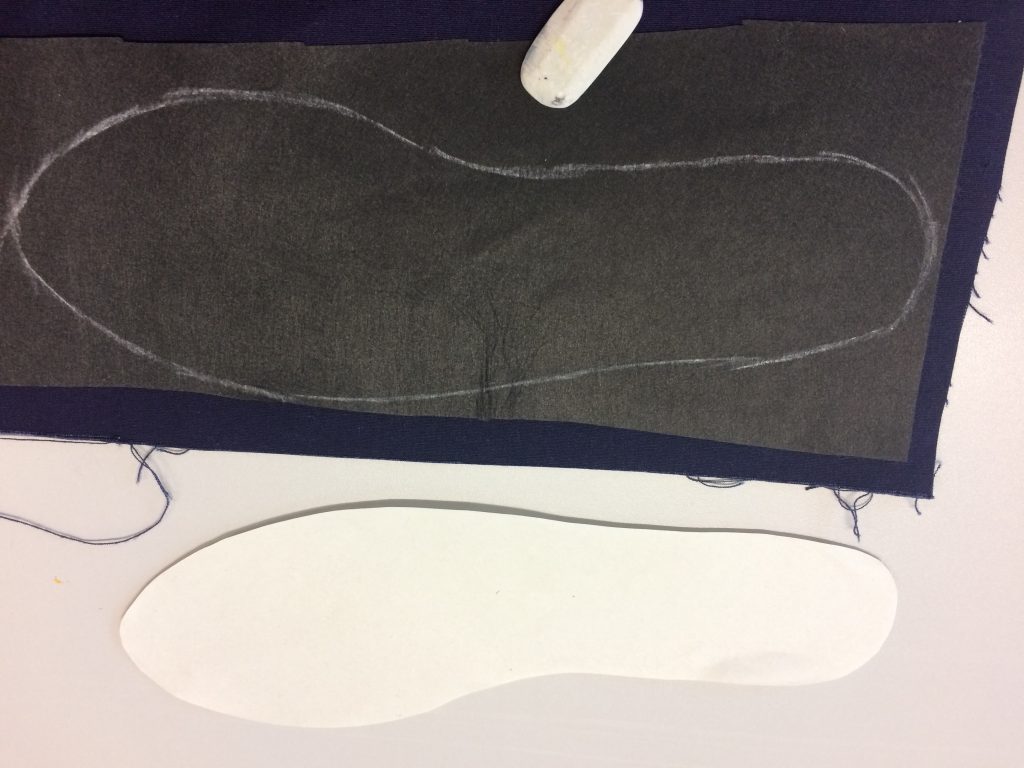
I started by tracing the pattern for the toe part of the shoe, to include a peephole or open toe section.
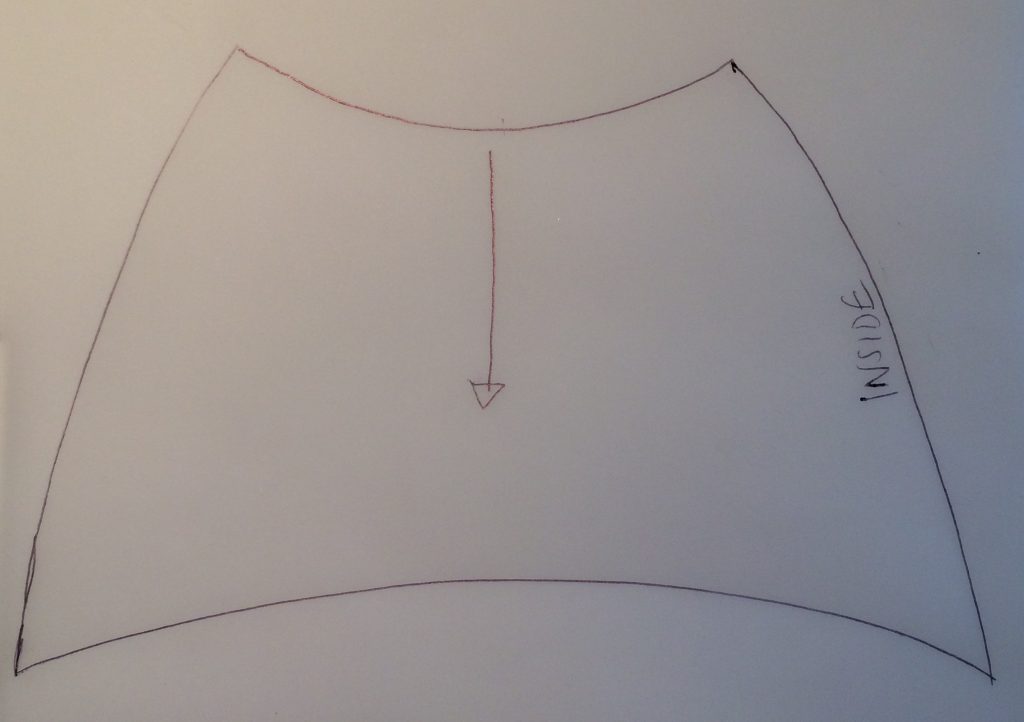
I measured a line roughly through the middle of pattern
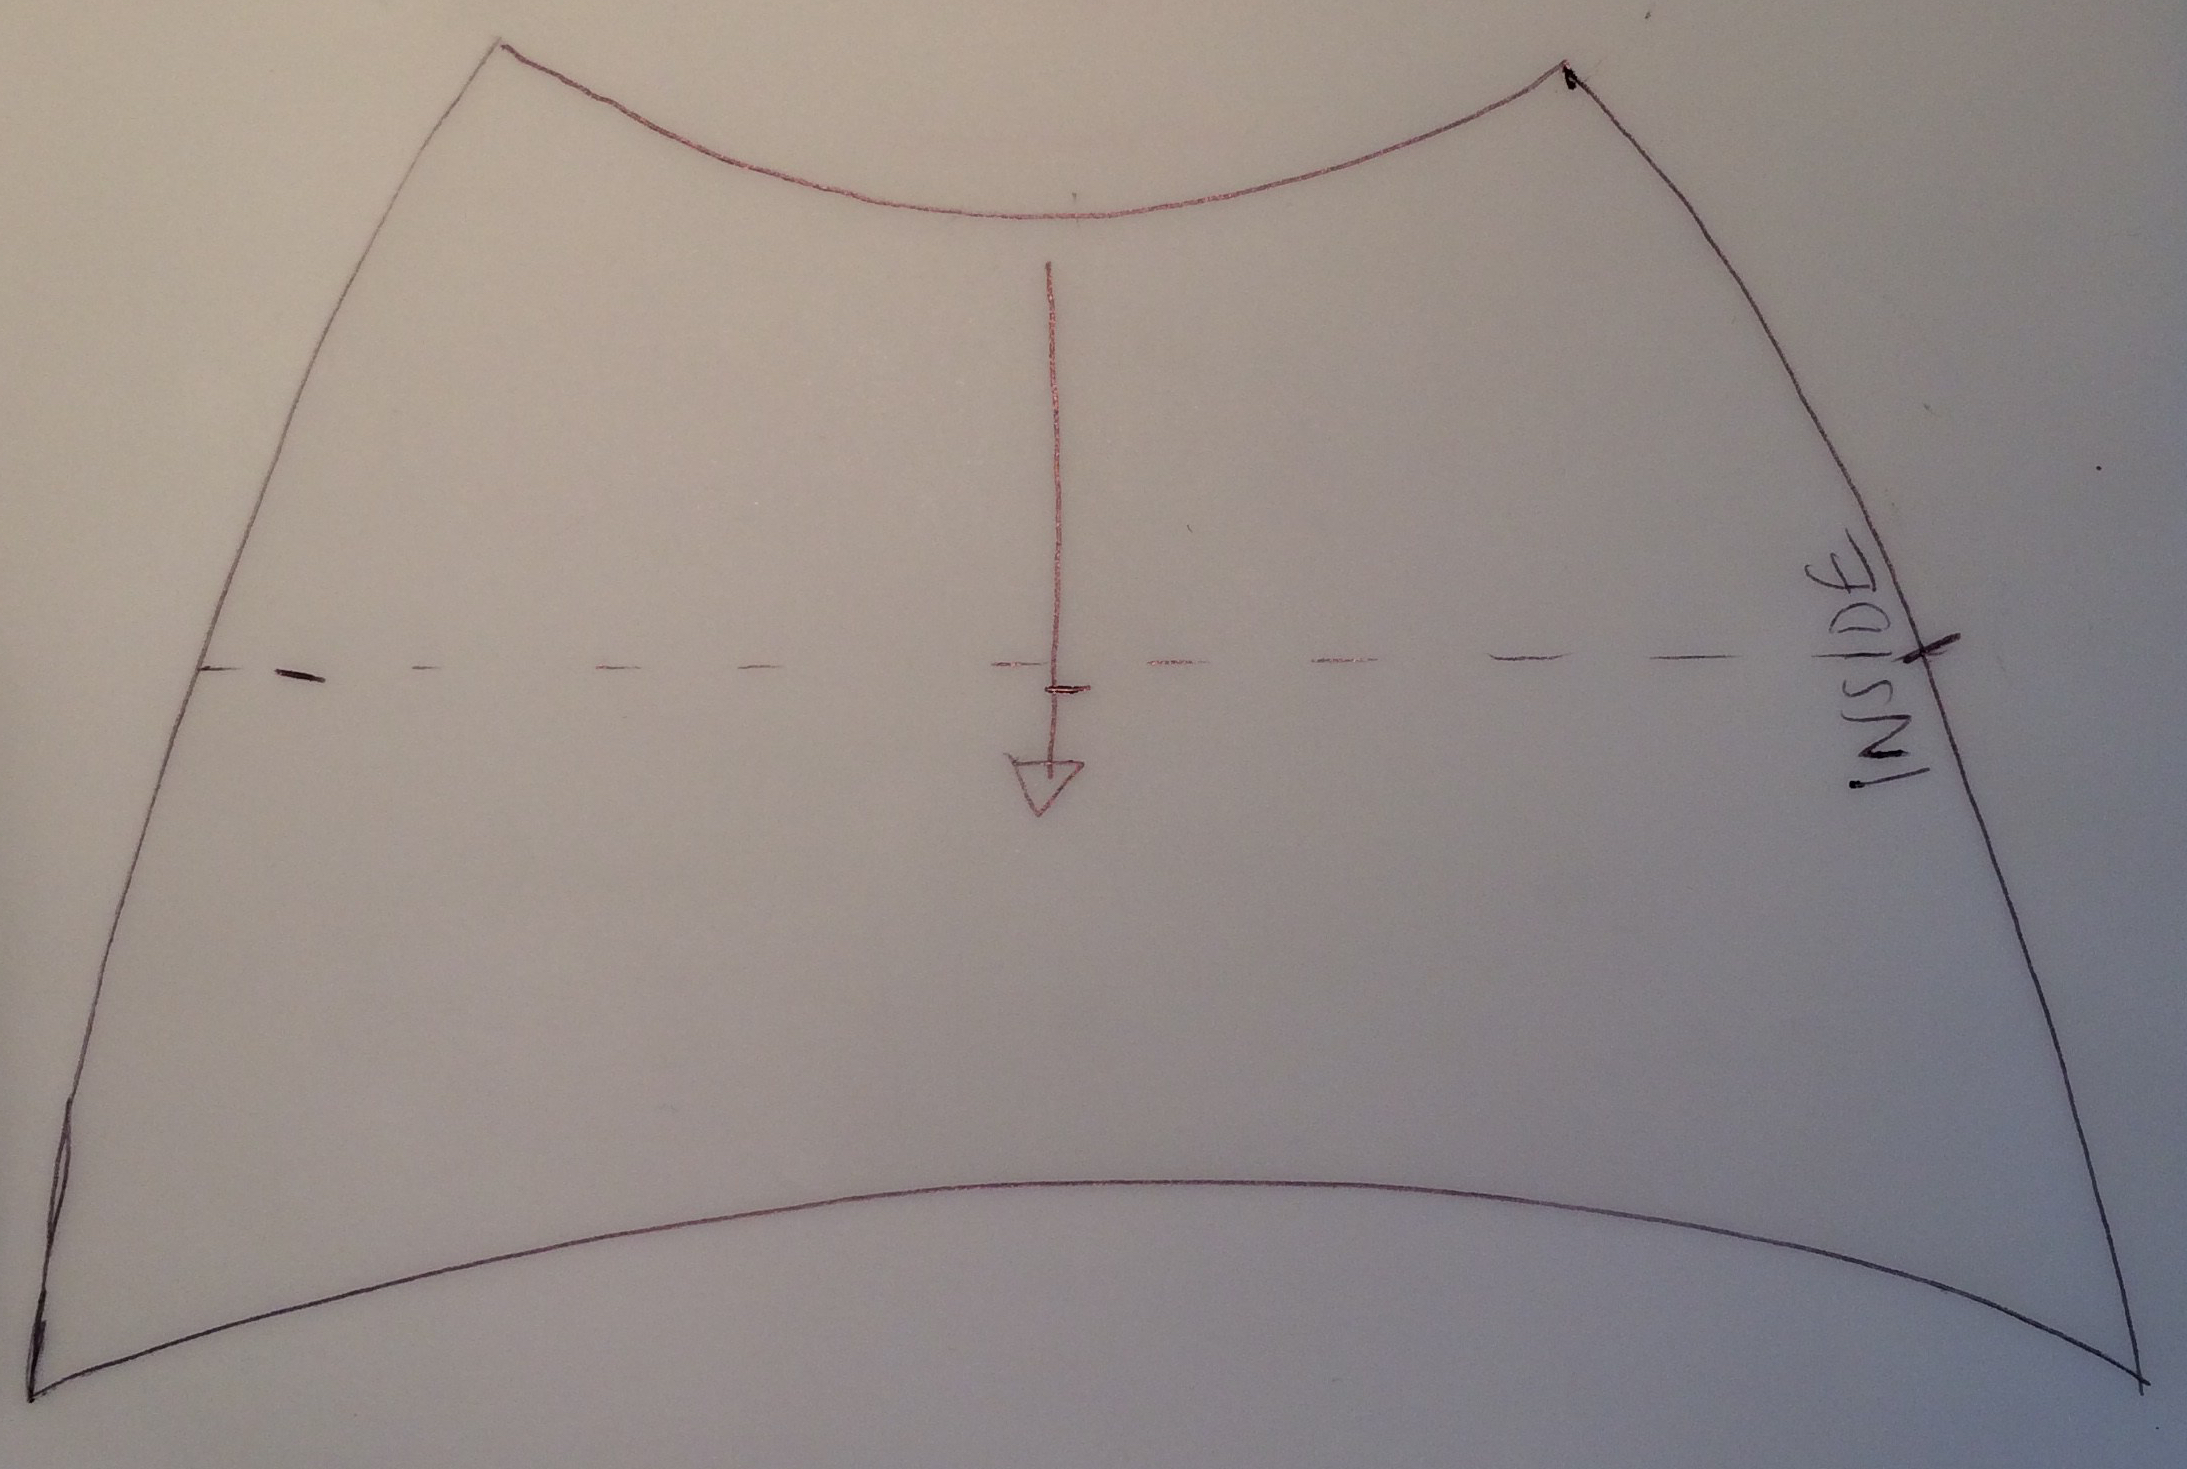
Then separated the pattern into the two pieces, tracing along the line I’d previously marked and sloping the ends off, so a to create a space between the two sections along either side of the foot.
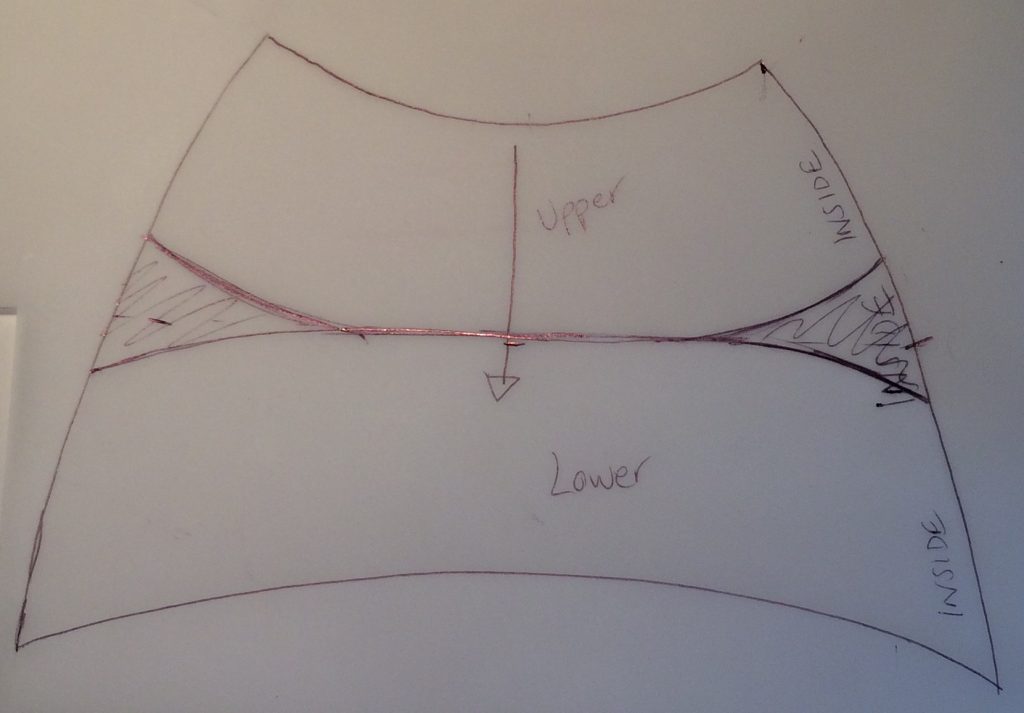
Next I marked the pieces as ‘upper’ and lower’ and wrote ‘inside’ on the inside parts of each piece to help with matching up the pieces in the right place.
I cut out the two pieces and then cut these from fabric.
It was quite clear at this stage that they were too small… I didn’t take a picture since it really didn’t work – I needed about 1 to 2cm extra in the both pieces. I wanted the lower part to wrap over and under the upper part and I’d not accounted for this at all in the pattern pieces… (duh!)
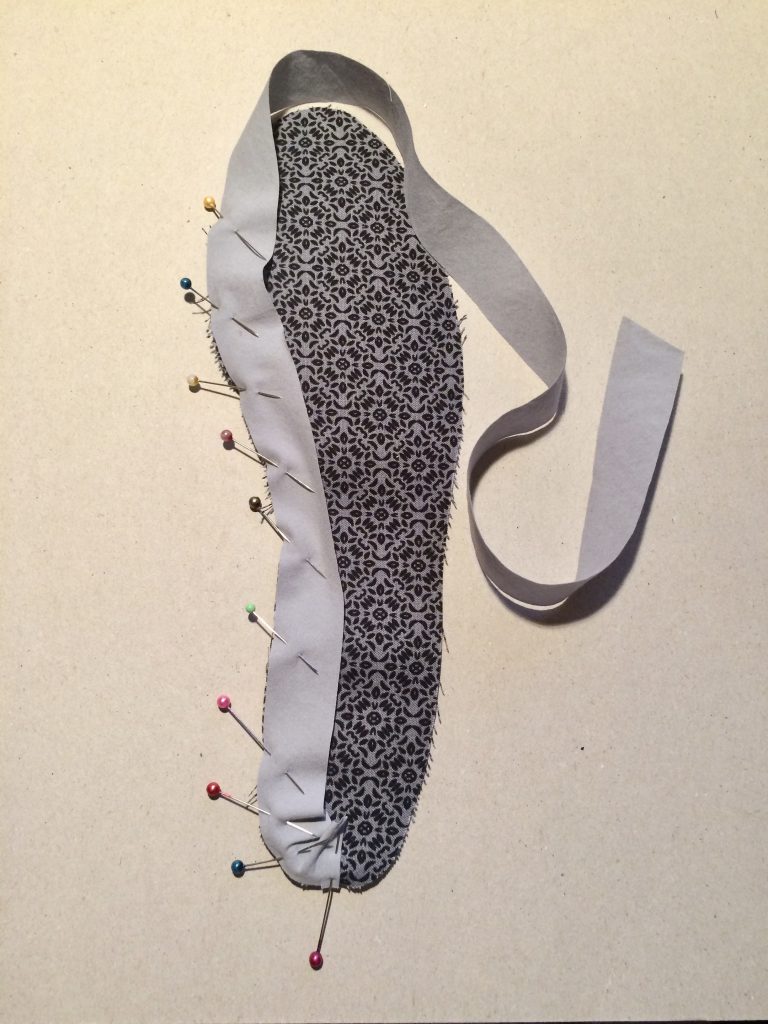
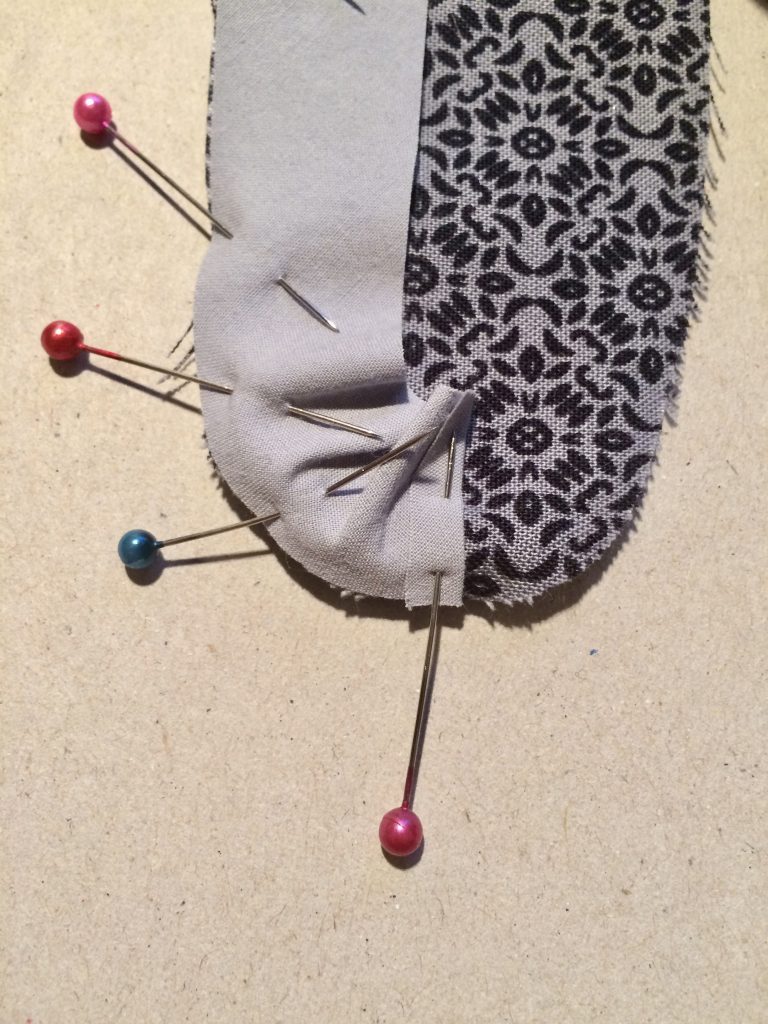
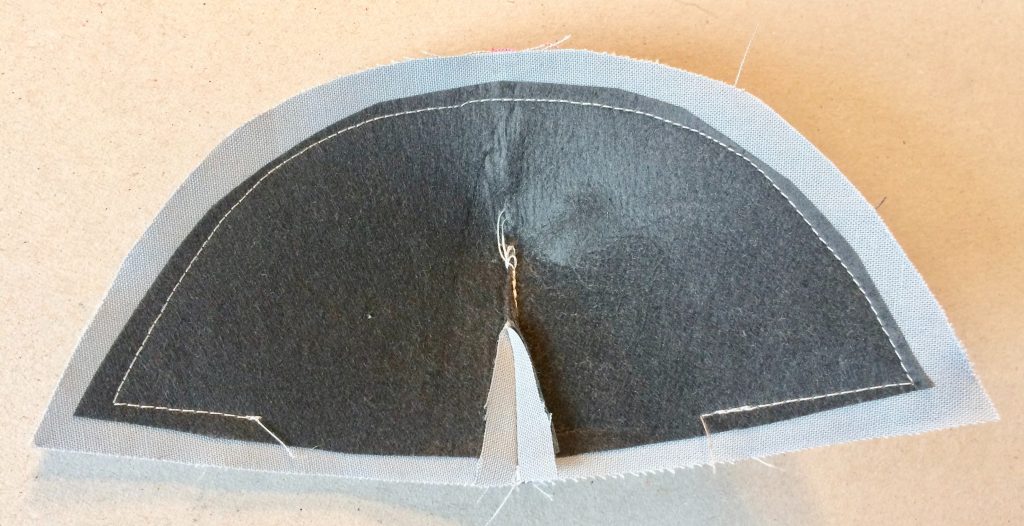
I added in 2cm down the centre of each piece, added seam allowance to the top and bottom and tried again, this time cutting two of each piece and stitching them together along the upper and lower edges. I then trimmed and turned right side out, pressed and pinned in place.
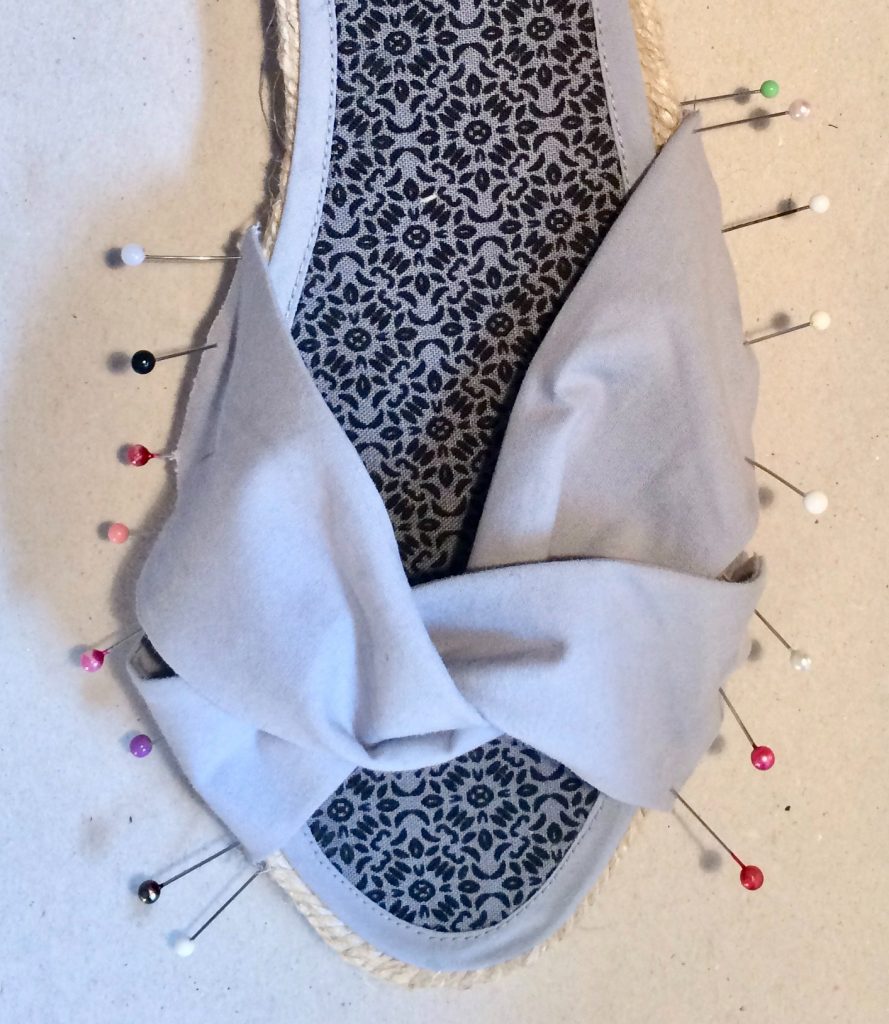
I then tried this on my foot and adjusted from there to create the fit that I wanted.
There’s definitely a much better way to do this which probably involved a shoe last like this… and a lot more money…
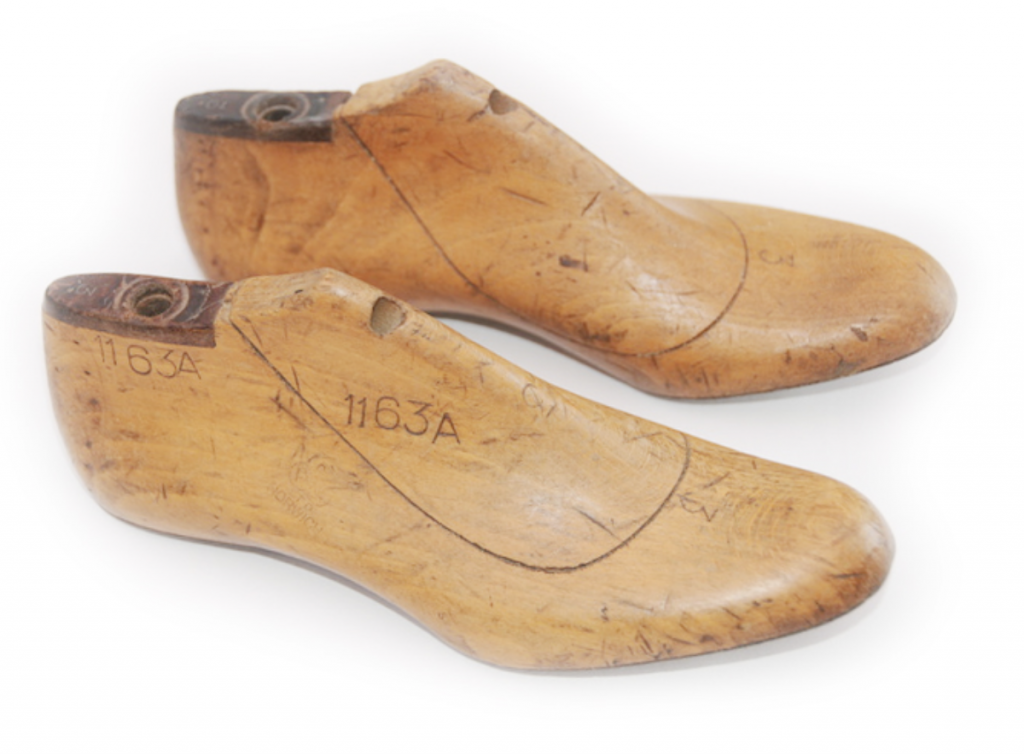
but I don’t have one… so the experimenting was my best option..
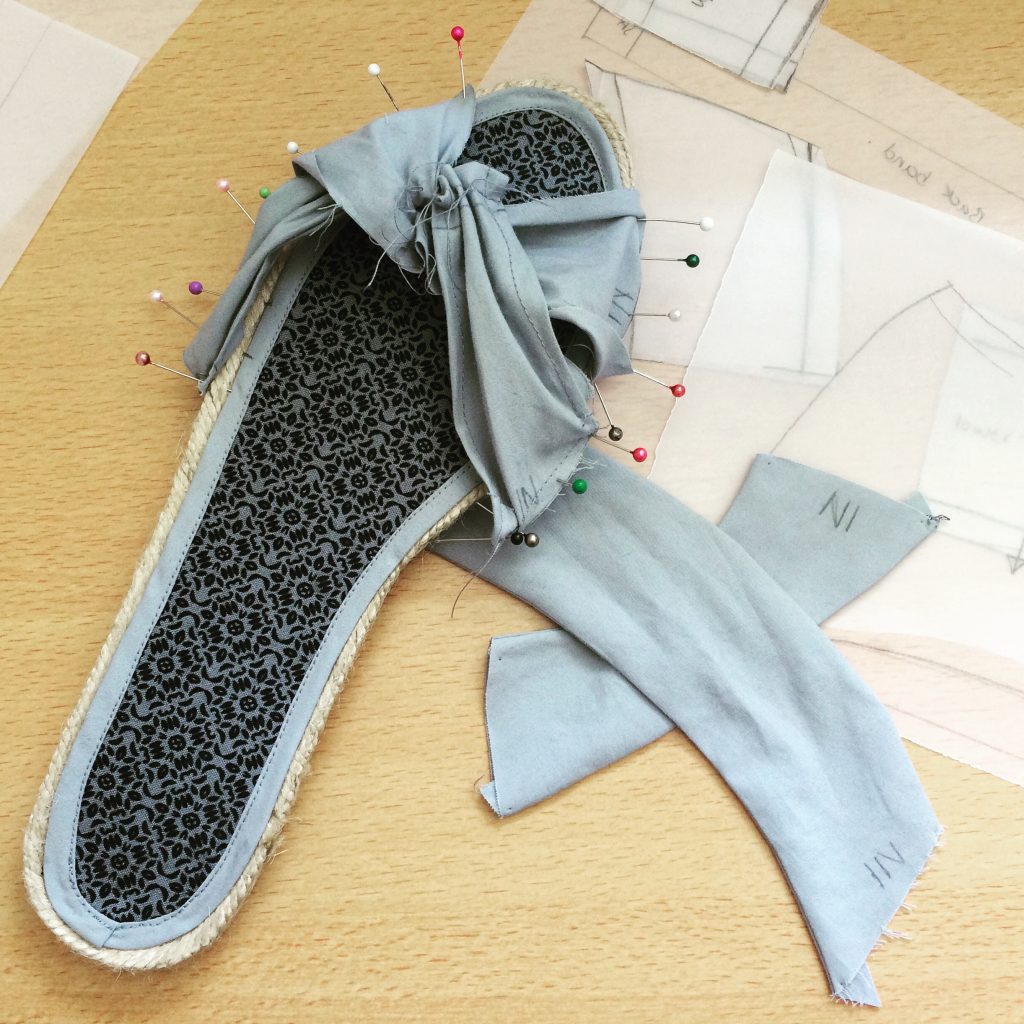
After a couple of attempts I’d got it.
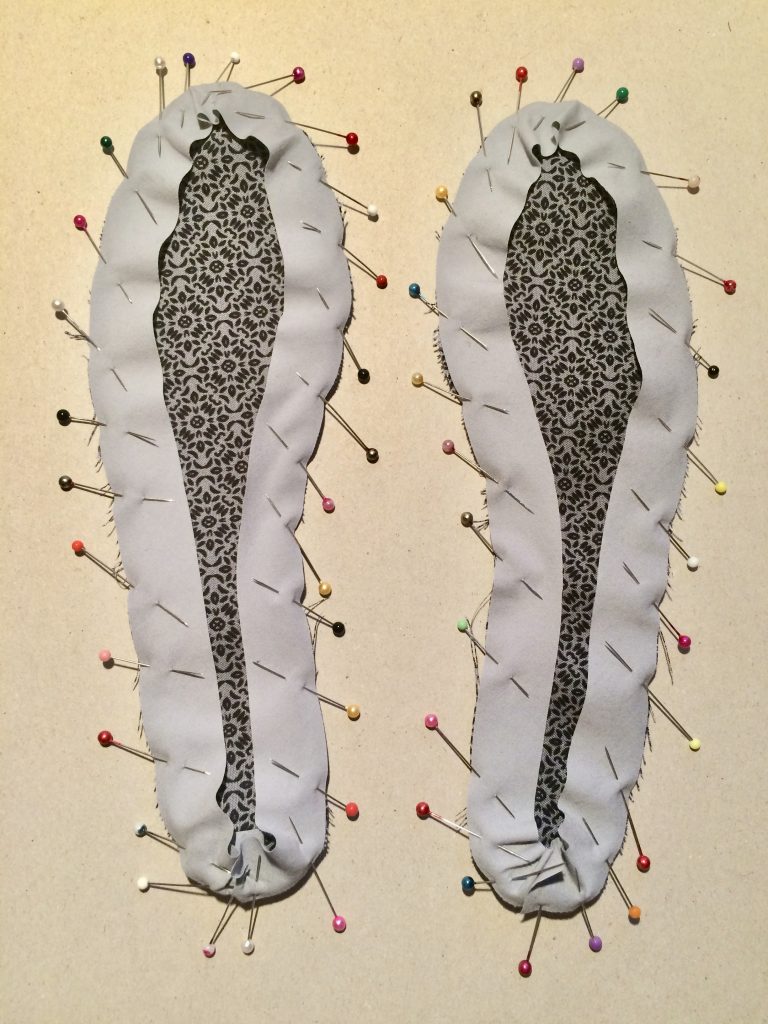
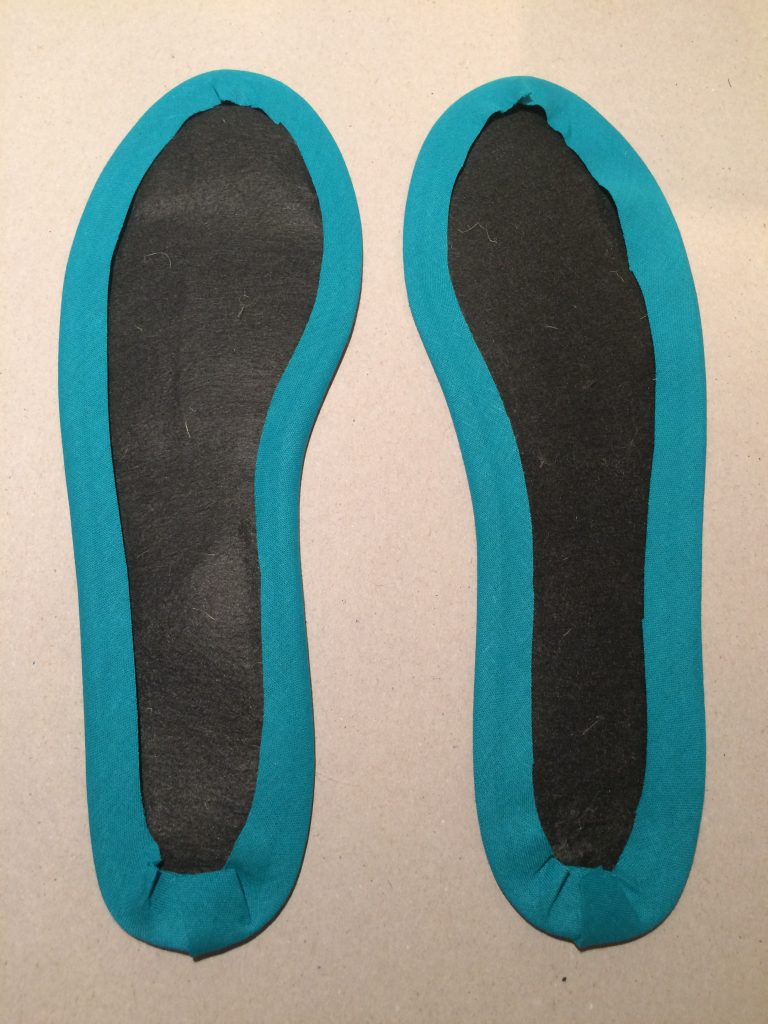
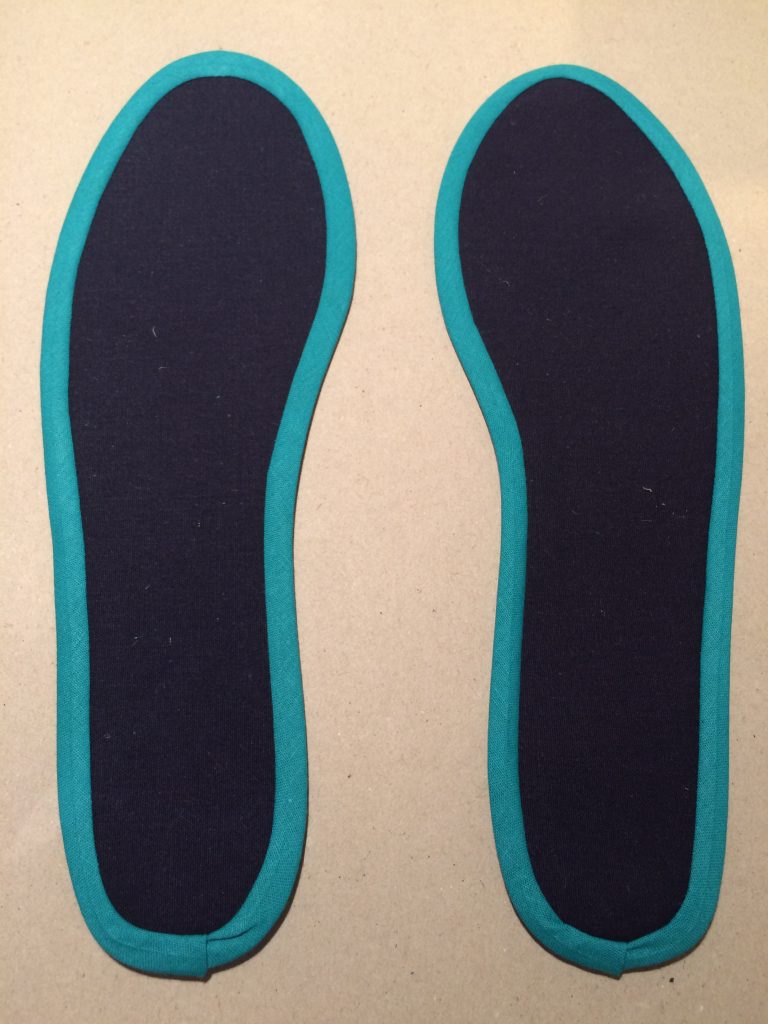
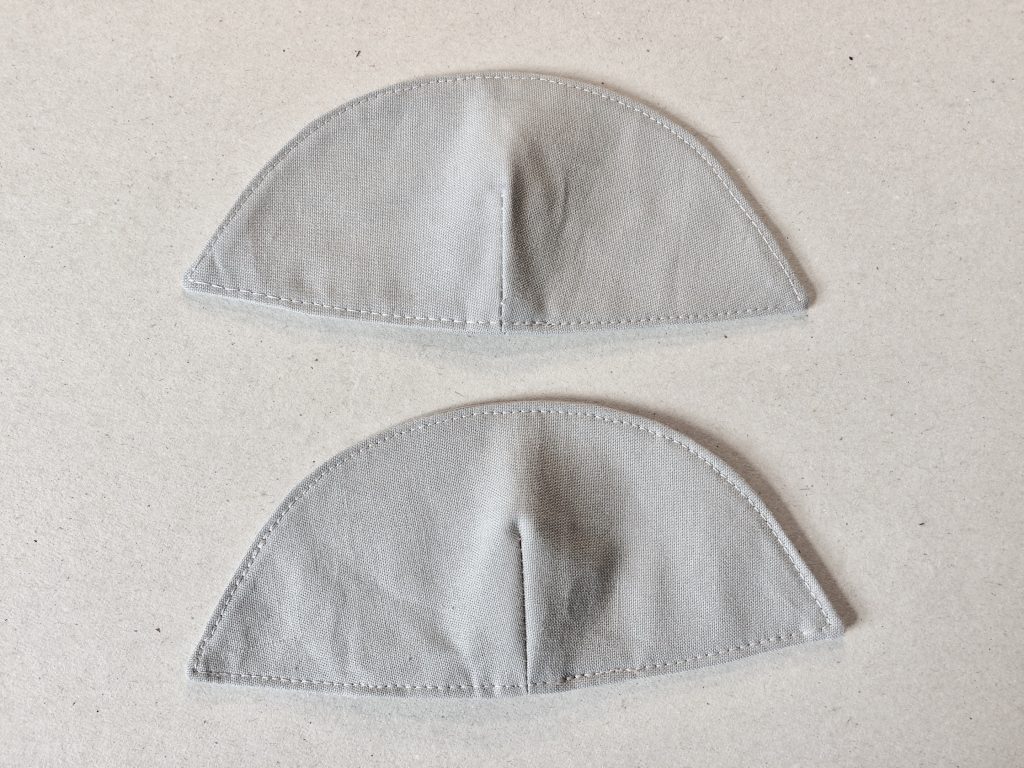
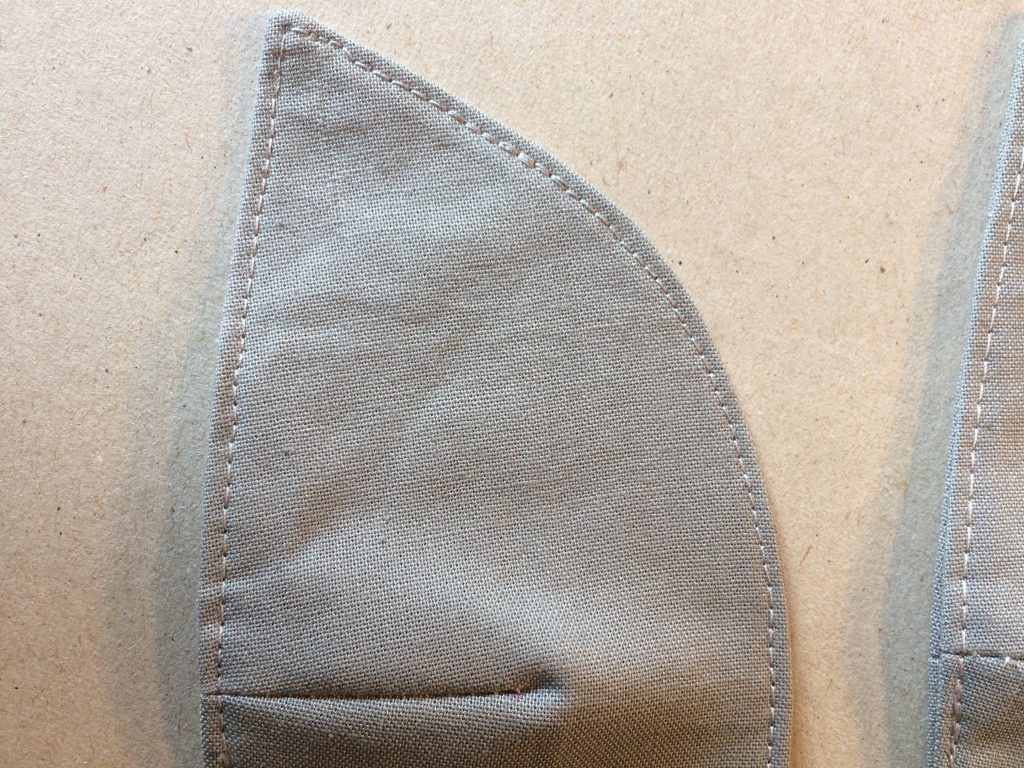
I finalised my pattern, added seam allowance all the way round, cut out 4 of each piece, stitched two of each right sides together, leaving a hole in the middle of the lower edge, trimmed the seam allowance, turned right side out, pressed and then topstitched. I’d made sure the pieces were marked upper, lower and inside so I knew where each piece would fit.
How to make the rest of the espadrilles:
Step 1 – cut out a pattern for the base fabric. Do this by tracing around the sole and then trim about 3mm or so off your cutting line, so the pattern sits slightly within the base of the shoe… you don’t want the base fabric hanging over the edge, that would look weird.
Step 2 – Cut out two of these in your chosen base fabric and also in interfacing. You can apply the fabric first to the interfacing and then cut the pattern out or cut out all the pieces first and then apply the interfacing.

Make sure you have two opposite shapes… you don’t want to end up with two left (or two right) feet.
When applying interfacing I use a pressing cloth, greaseproof paper or tissue to separate my fabrics from the ironing board and the iron… just in case something is going stick to the wrong thing.
Step 3 – Use bias binding or bias cut strips to edge the base pieces
(Please note – having tried just gluing the base straight to the sole for my first pair of green espadrilles I found that the base began to pull away from the sole and frayed at the edges.)
I cut 2.5cm bias strips from the grey fabric and pinned these to the right side of the base fabric. You can use shop bought bias binding and just iron it out flat.
I like to stitch the binding on in two steps. I find it’s more accurate for me this way.
(You can see a slightly different technique used on the last pair here.
When you start pinning the binding, fold the end under, this way when you get back to the starting point you’ll have a neat folded edge on the right side… honestly… trust me.
At the end point the binding is laid over the starting point and a raw edge left (this will be hidden in the next stage.
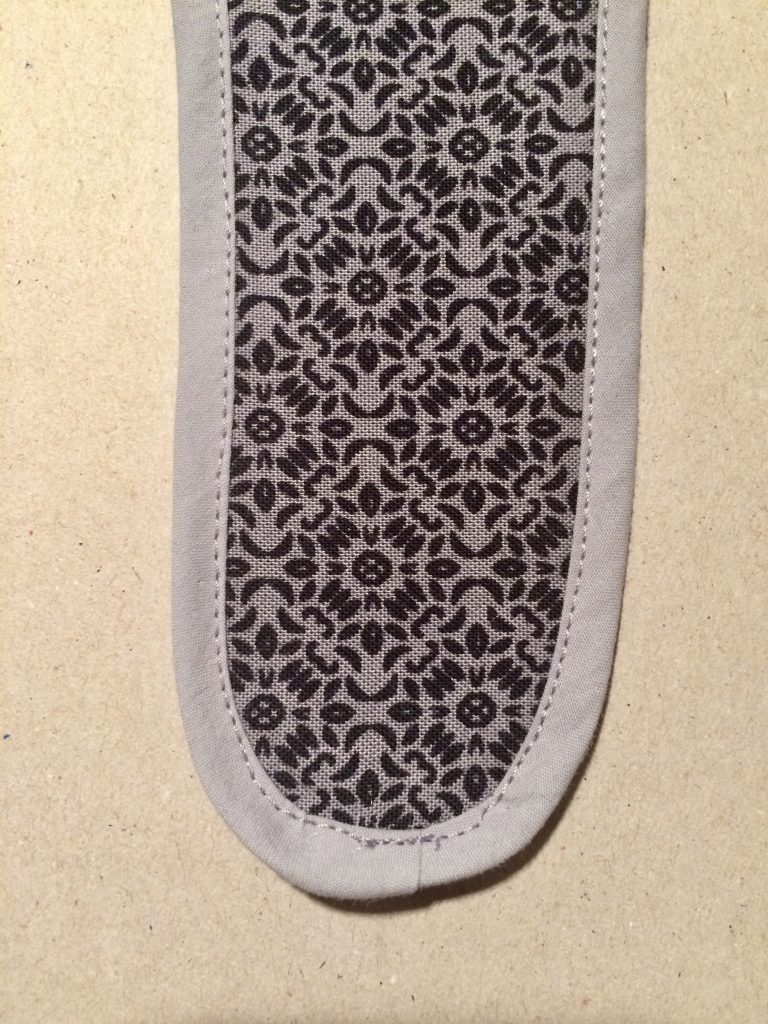
Step 4 – Stitch 3mm to 6mm away from the raw edge, all the way round the base fabric. (Keep this measurement the same all the way round – if you go for 6mm then you’ll see more of the binding fabric around the edge of the base.)
I forgot the photograph this part on my grey pair so you can see another pair I’ve made here instead…
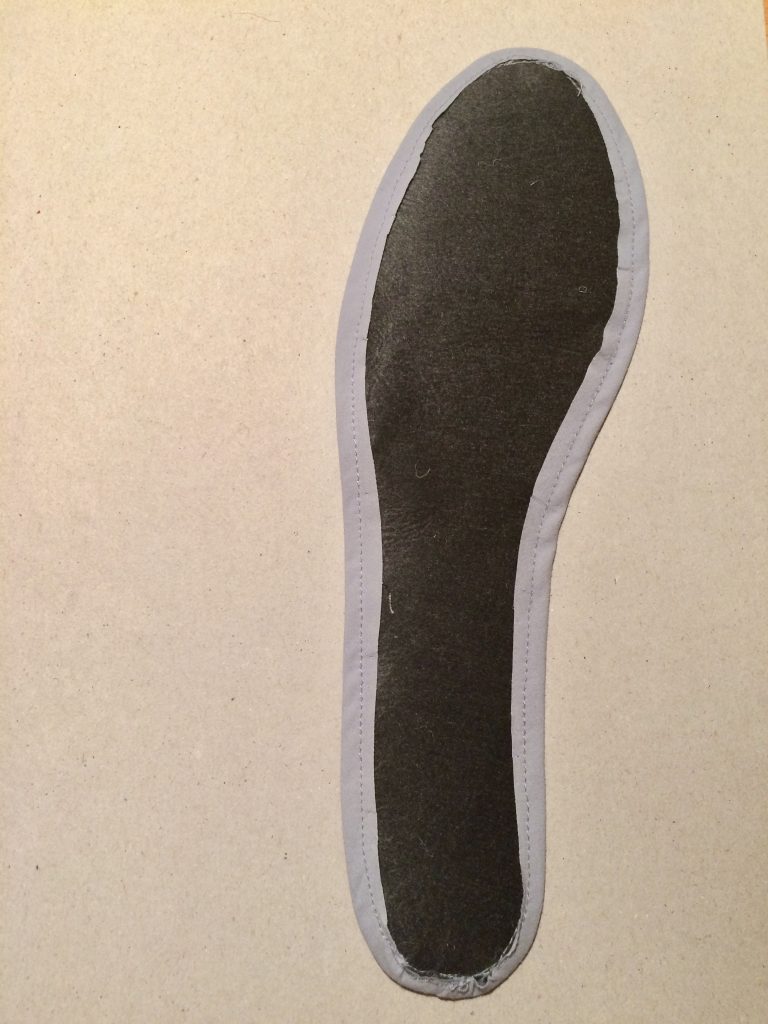
Step 5 – press the binding to the wrong side of the base – take care with the iron temperature here and keep it medium / low.
Step 6 – from the right side of the base either stitch in the ditch or stitch on the edge of your binding to keep this in place. (I’ve switched back to the grey ones here…)
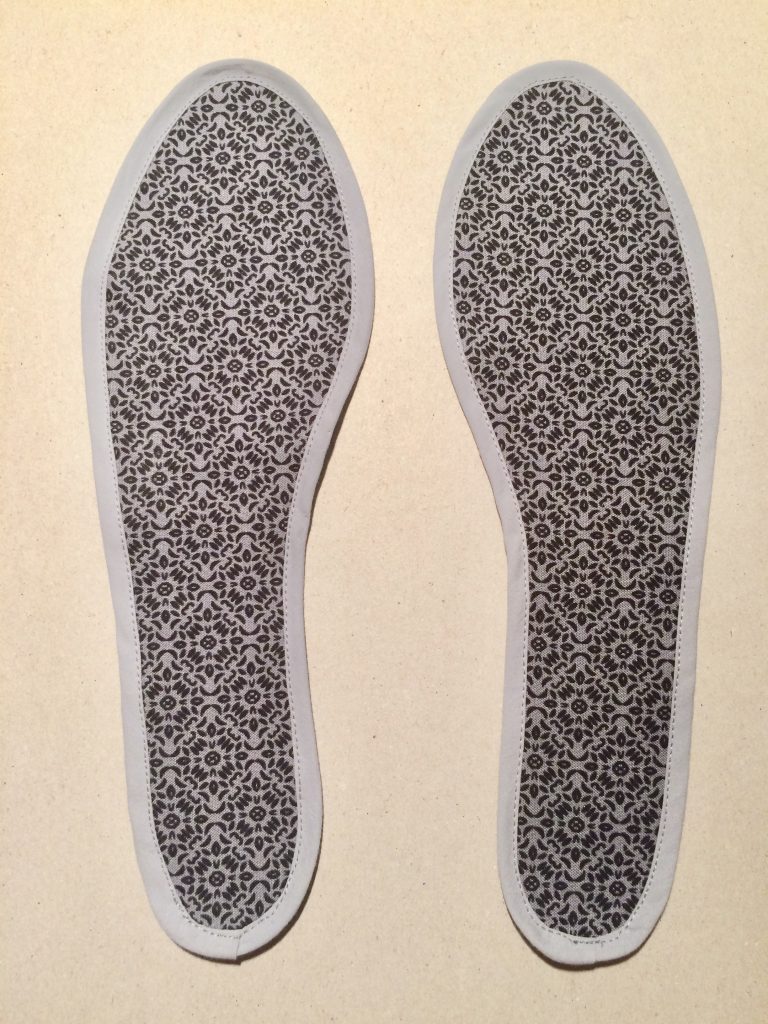
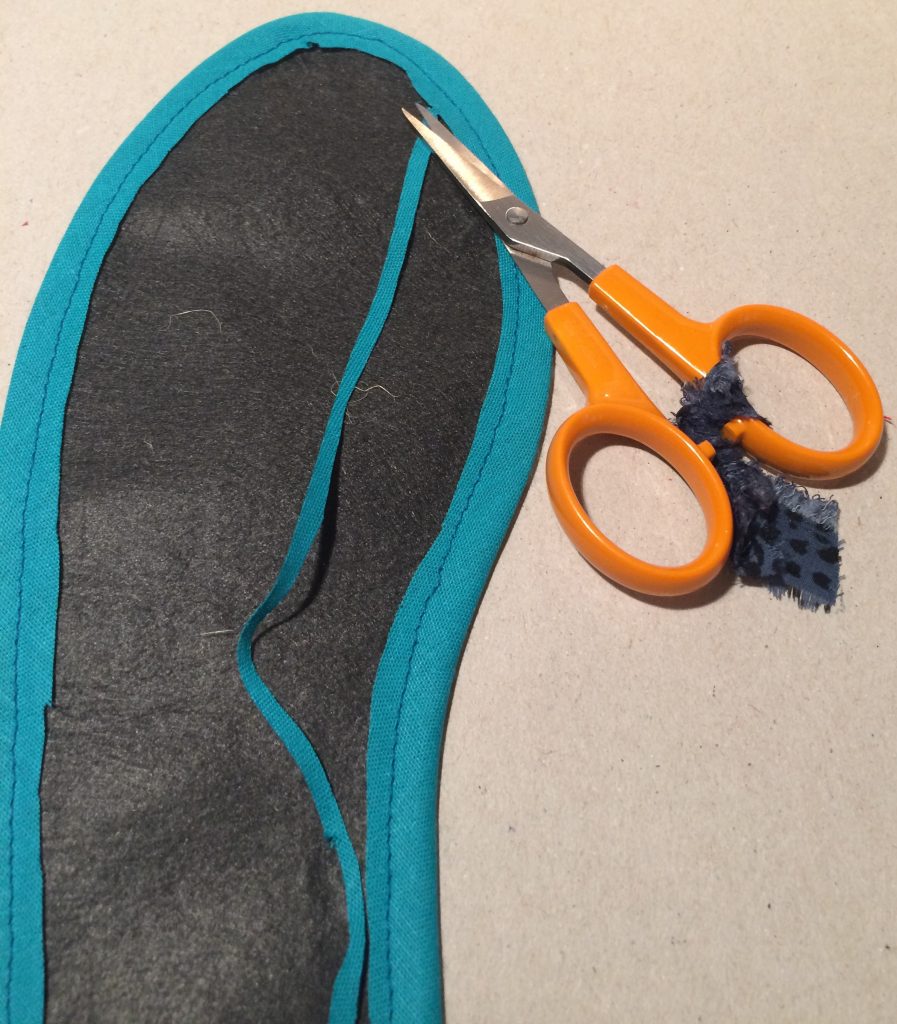
Step 7 – Trim off any excess binding from the wrong side of the base – use some small scissors for this for more accuracy.
Step 8 – Glue the base to the espadrille sole.
I’ve used the Prym textile glue from Minerva Crafts for this but any sort of textile glue would work.
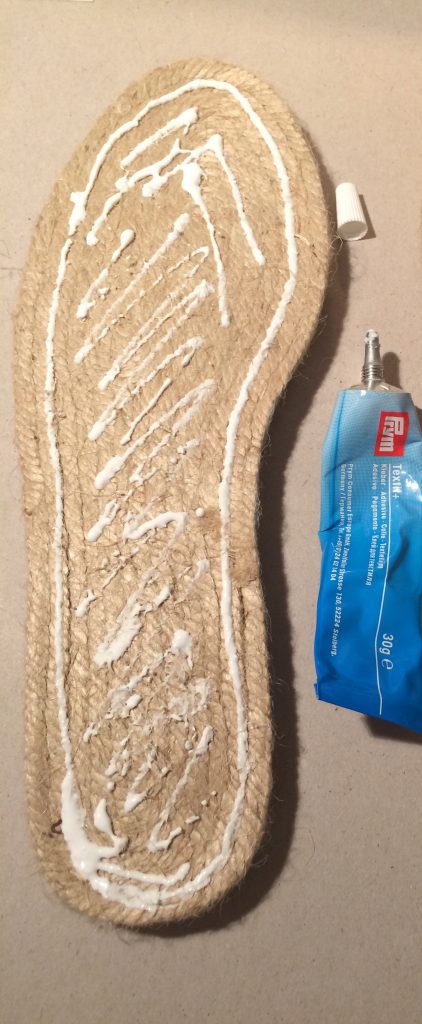
Once the bases have been glued I like to leave them overnight to dry.
Step 9 – Create the heel section
You can use shop bought heel sections... I’ve used these on my last two pairs. Minerva crafts sell them, but any other stockists of Prym supplies may have them too.
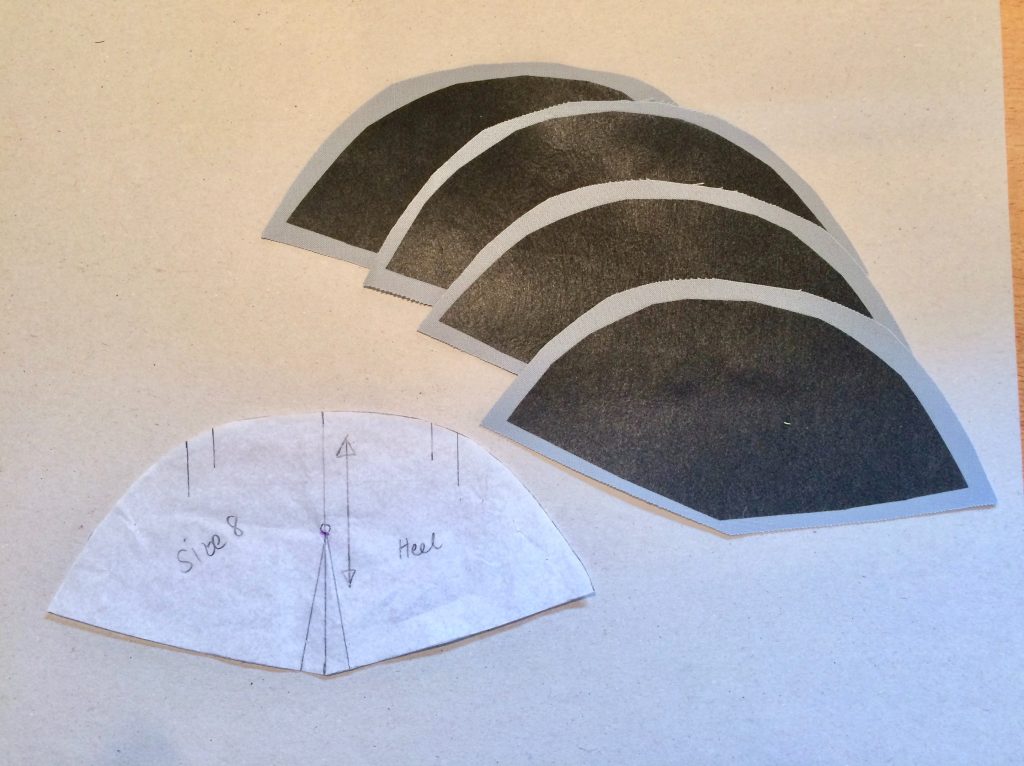
I was going to use the natural coloured heel section but they looked odd so I traced off a pattern and then made these up using the grey fabric. I’d need to cut two in grey for each heel and add a layer of interfacing to stiffen up this section.
I placed each heel section right side together with another and stitched all the way round, leaving a gap at the centre back. I then trimmed, turned, pressed and top stitched.
Step 10: Make buttonholes in the heel sections
I wanted to thread the ties through the heel sections so I made two small buttonholes in each heel section. You can see their position below:
Step 11: Pin all the parts in place and stitch using some Prym creative yarn (other thick yarn is suitable) and a large eyed darning needle. You can see more of this process in my previous post on the Minerva Crafts blog
Step 12: Create the ties.
I made these from a 3m length of 4.5cm wide fabric. Fold the fabric lengthways, stitch 6mm from edge, turn right side out, cut in half, tuck in the raw ends and hand stitch closed. You could use bias binding as in my last espadrille post here.
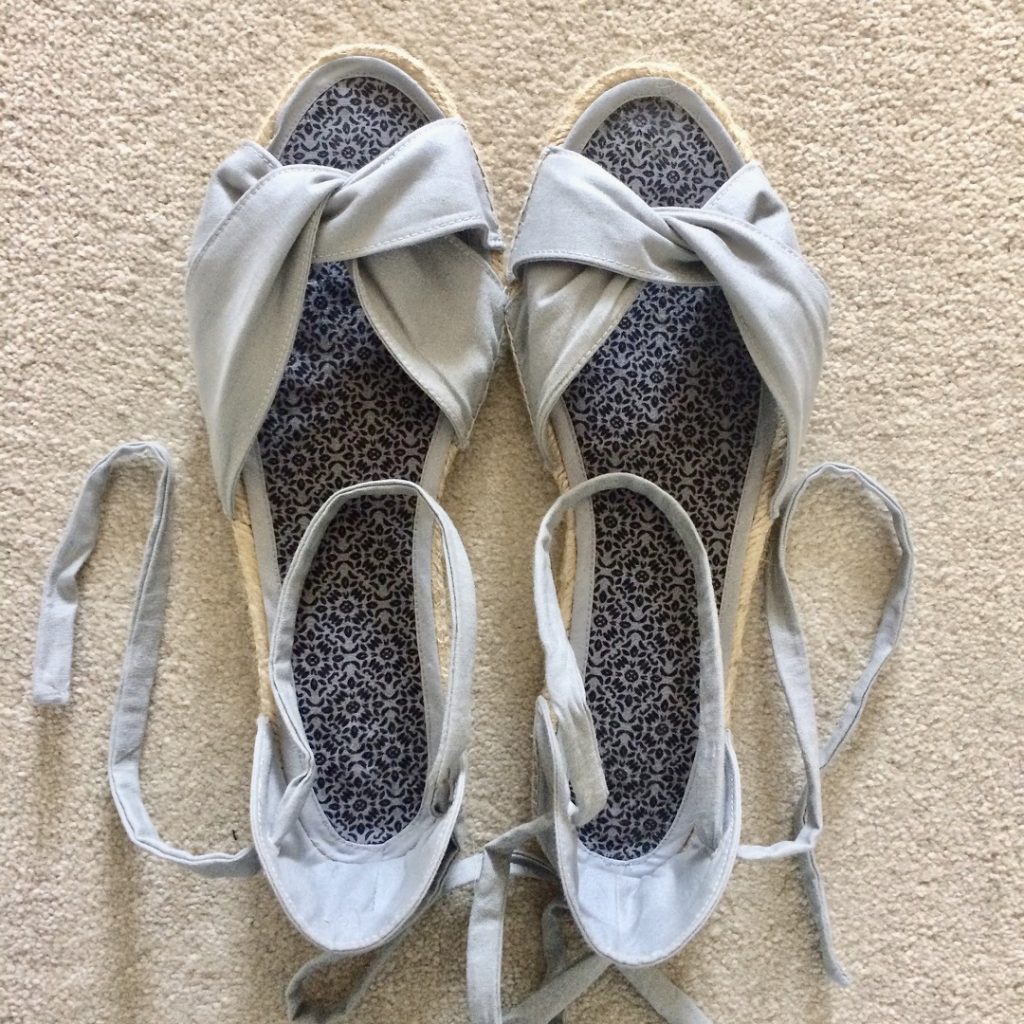
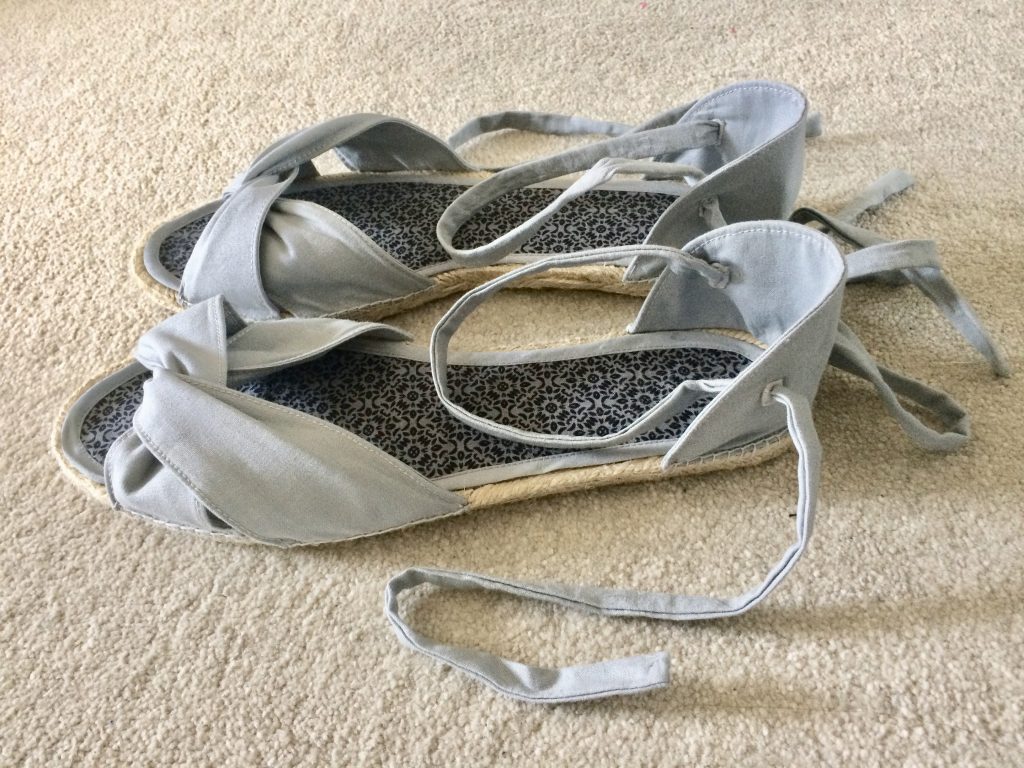
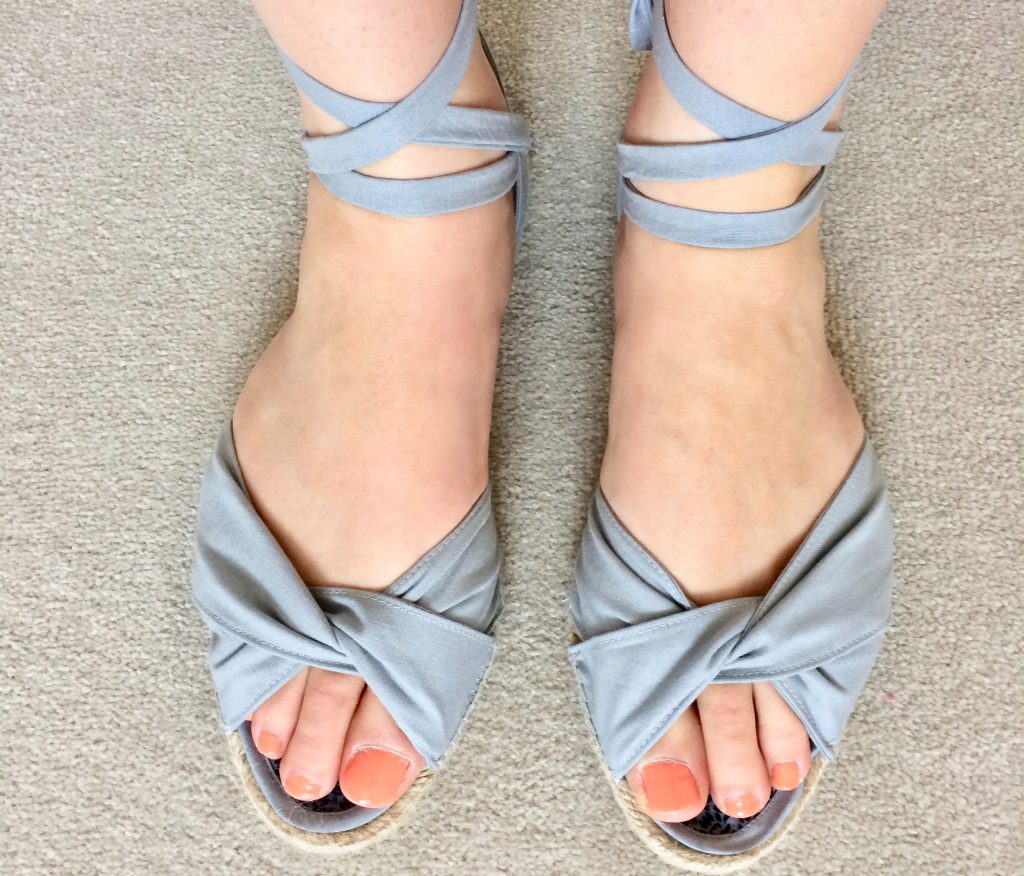
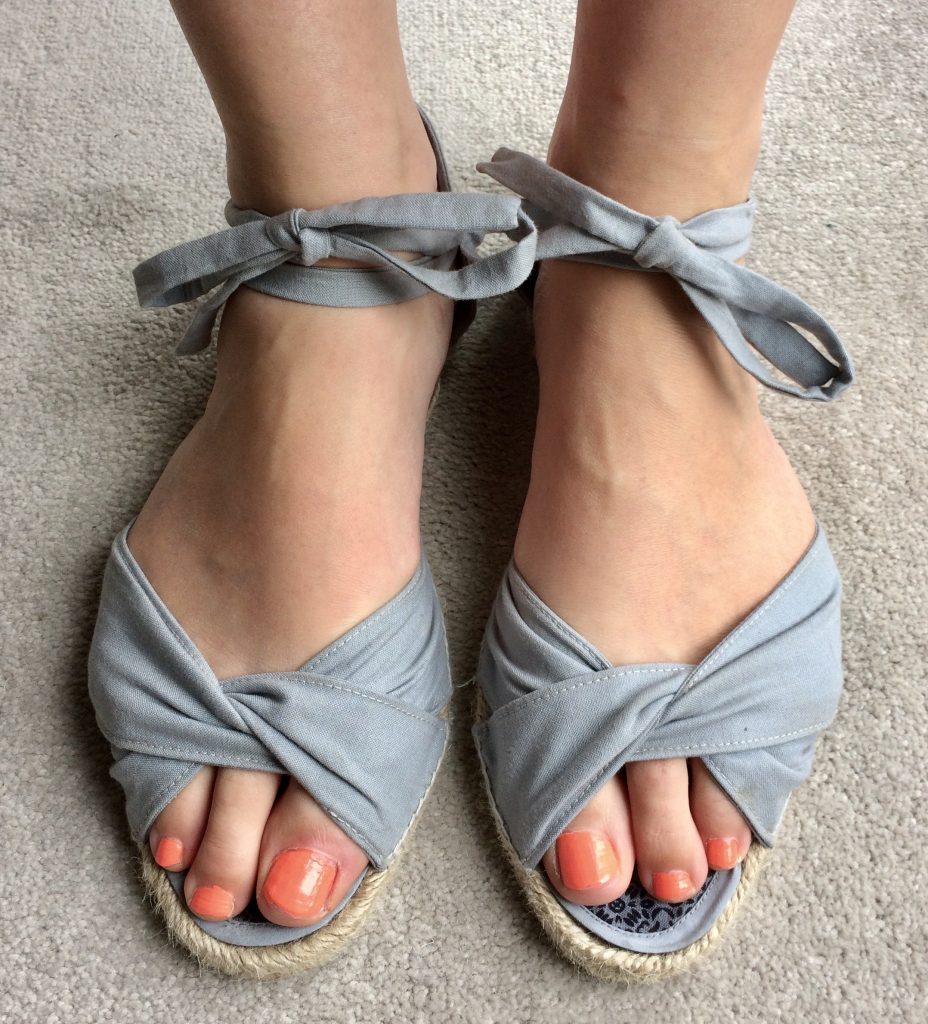
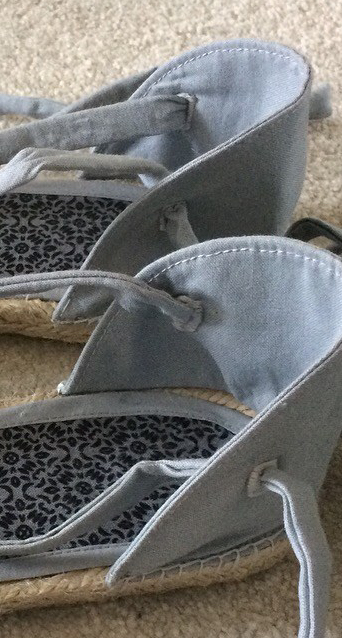
and tah-dah!! The finished espadrille: