
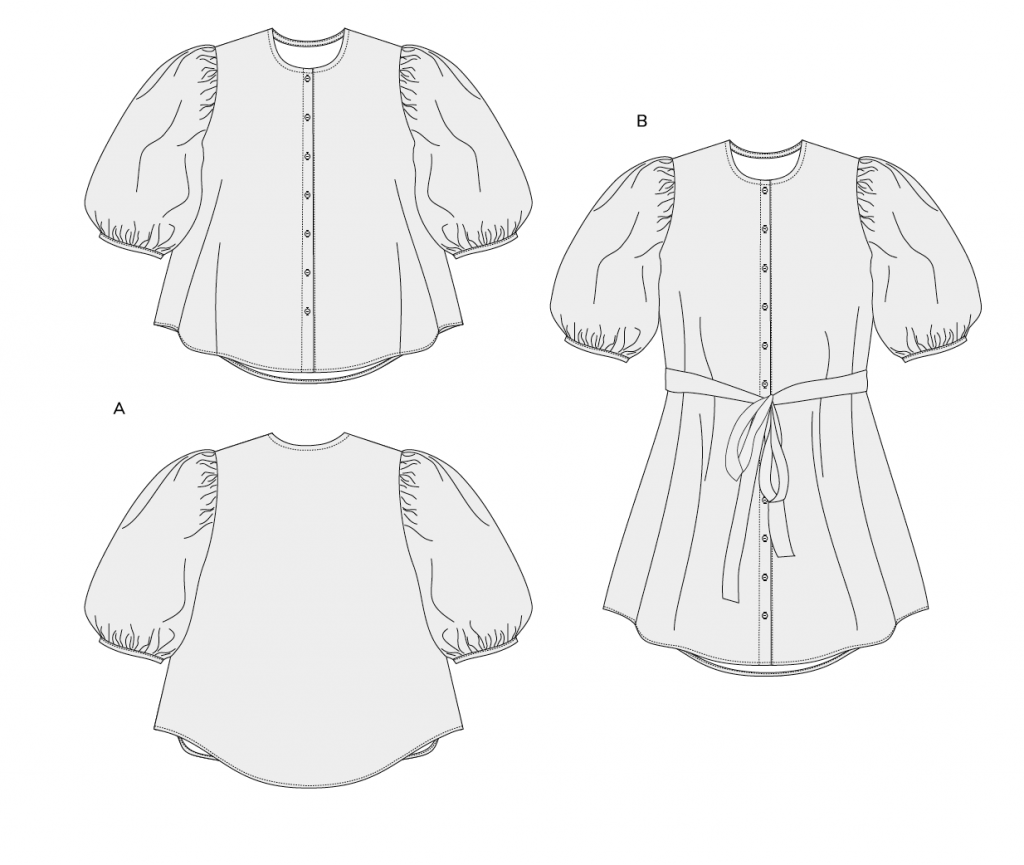
Introducing the Anthea Blouse
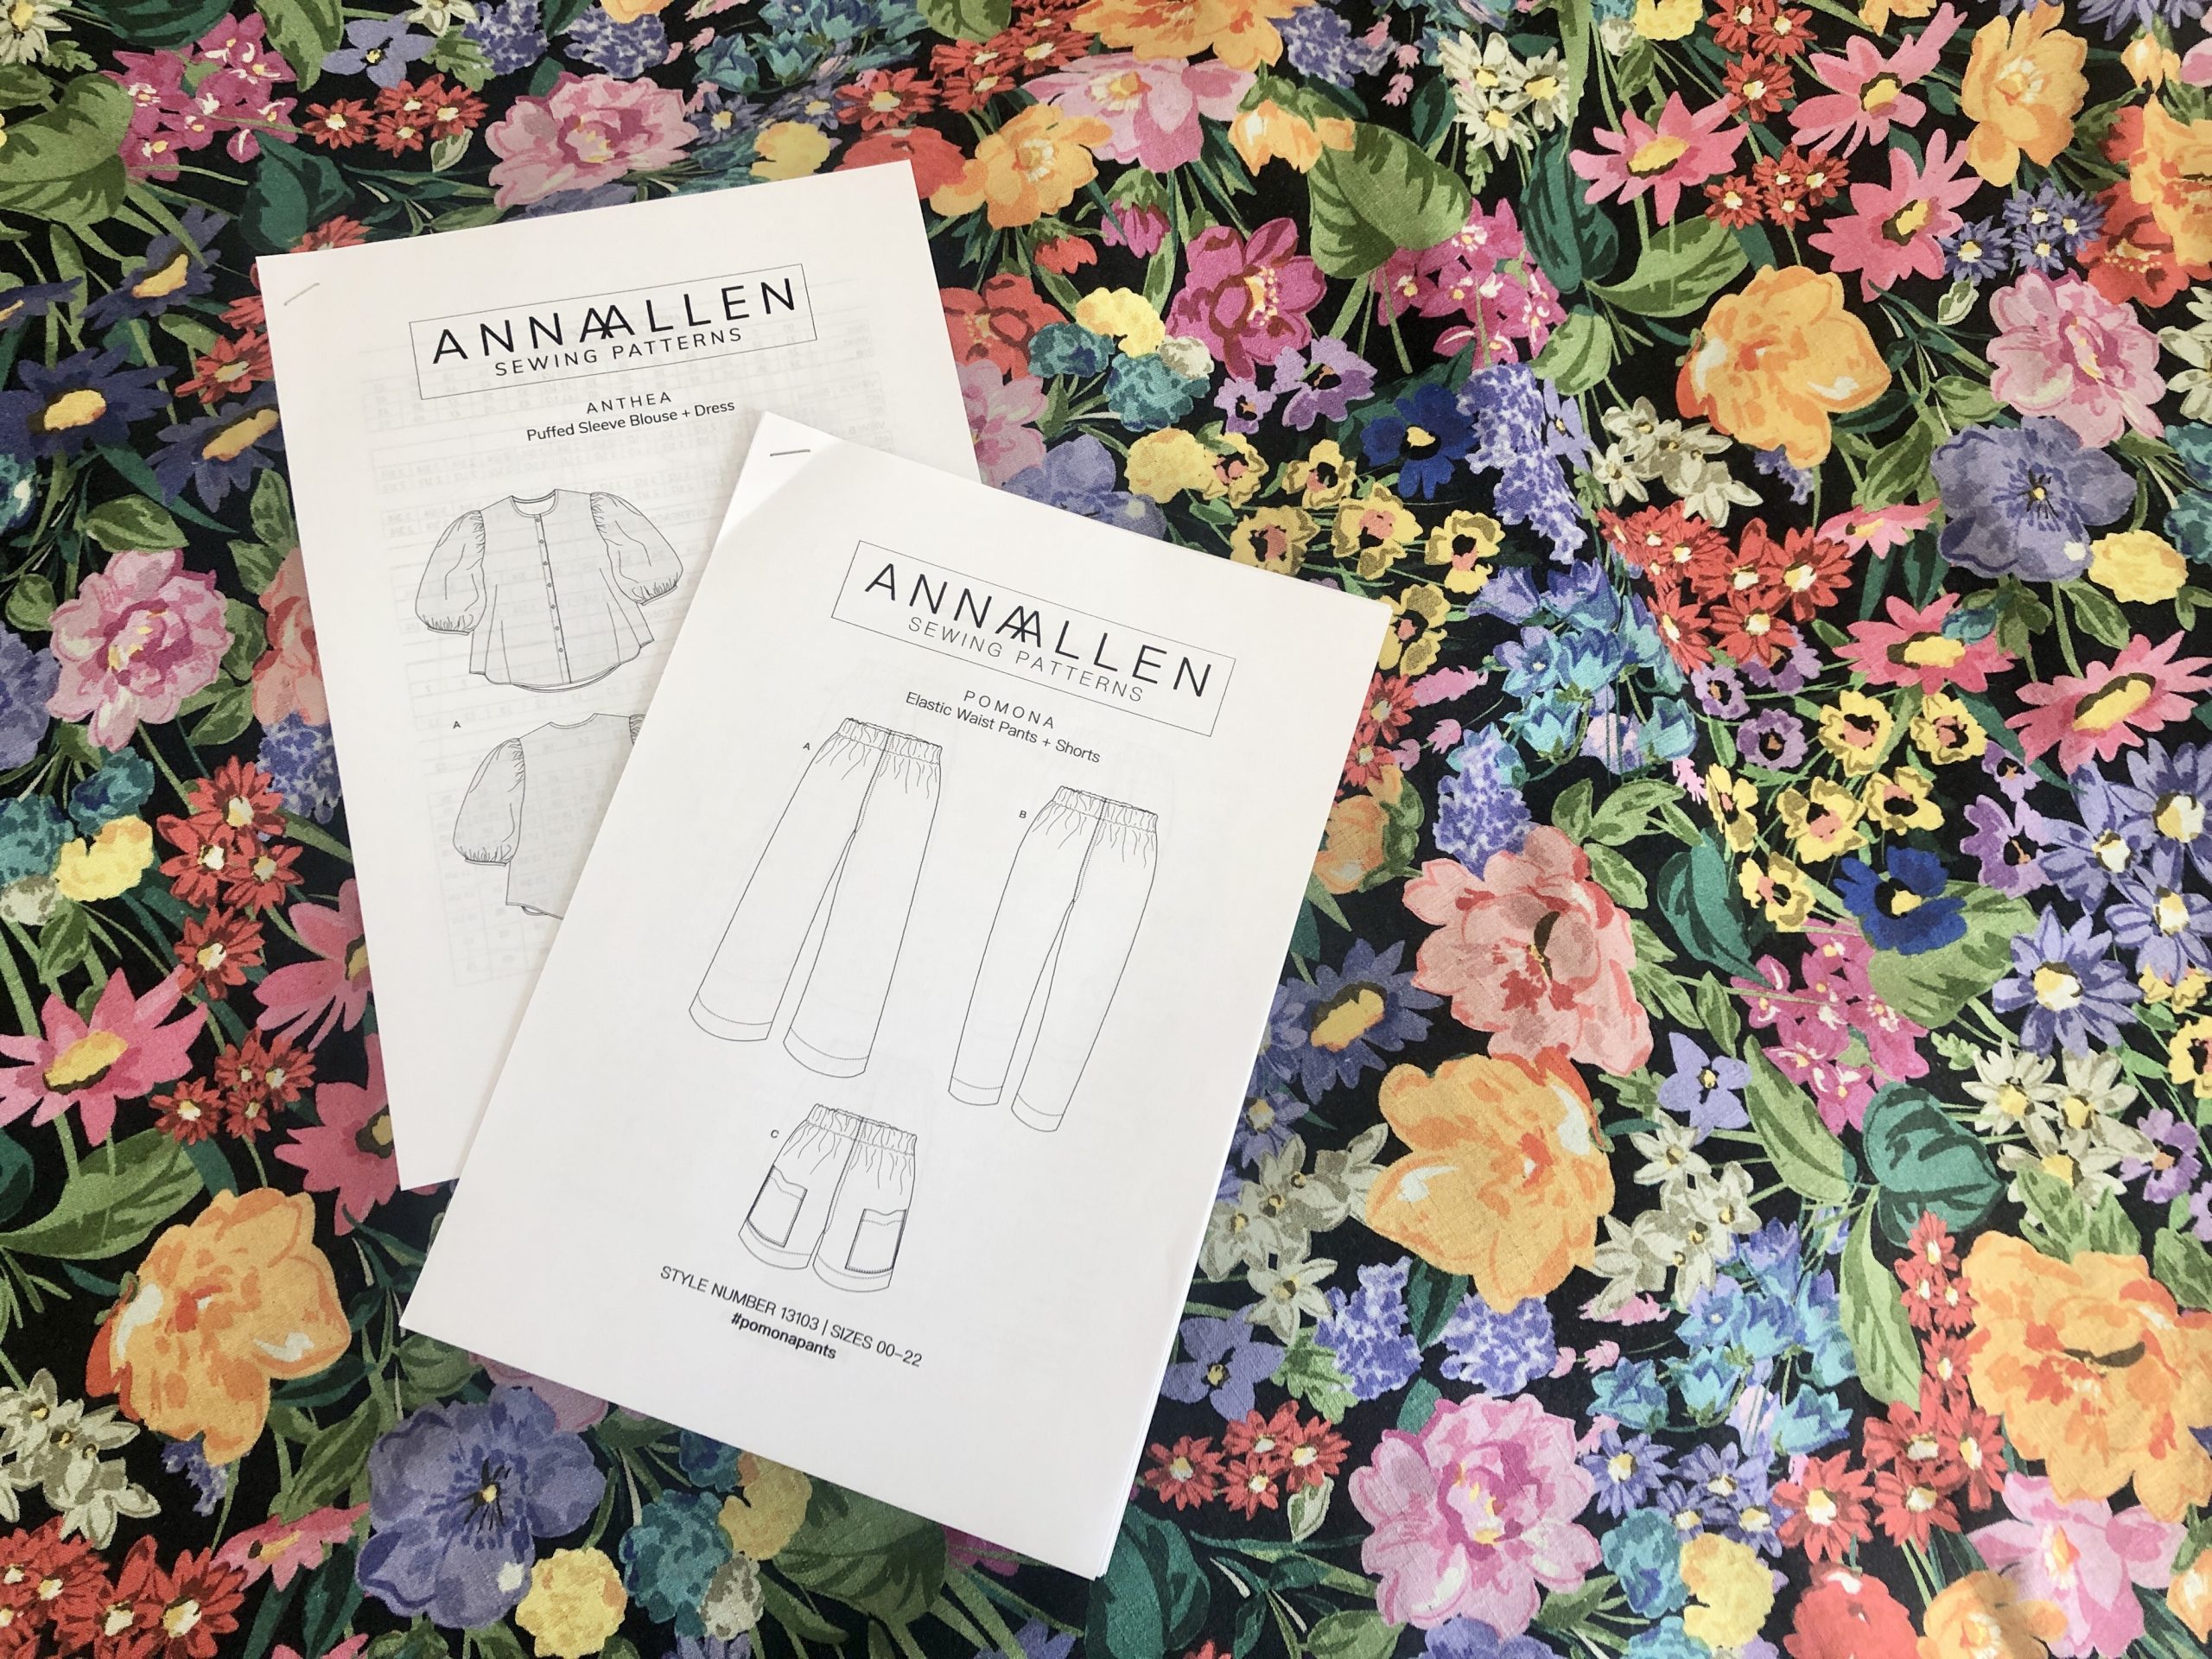
I was asked to make this for Josie at Fabric Godmother for the July 2021 Fabric Godmother Dream Wardrobe Subscription Box.
The pattern is by Anna Allen Patterns and comes in sizes 0 to 22.
The pattern has two options – a puffed sleeve blouse or dress.
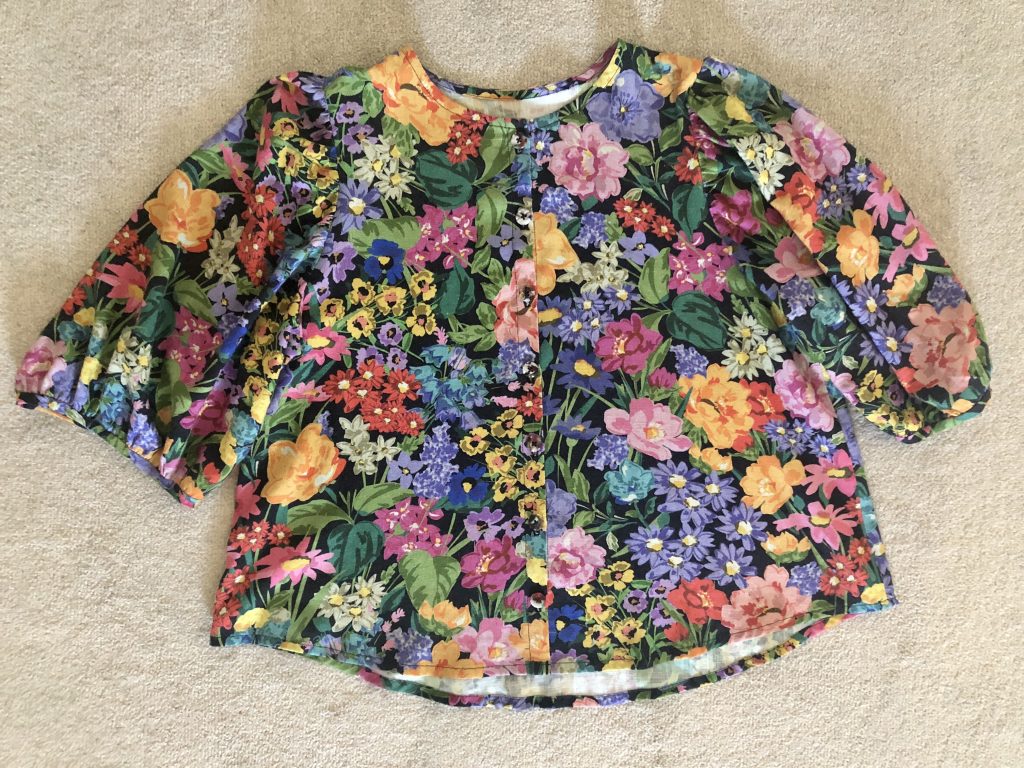
I’ve made the blouse version.
Cutting Out the Pattern
There is plenty of sizing information for body measurements and finished garment measurements so the correct size can be easily selected or you can blend between sizes as necessary.
I didn’t make any alterations to the pattern.
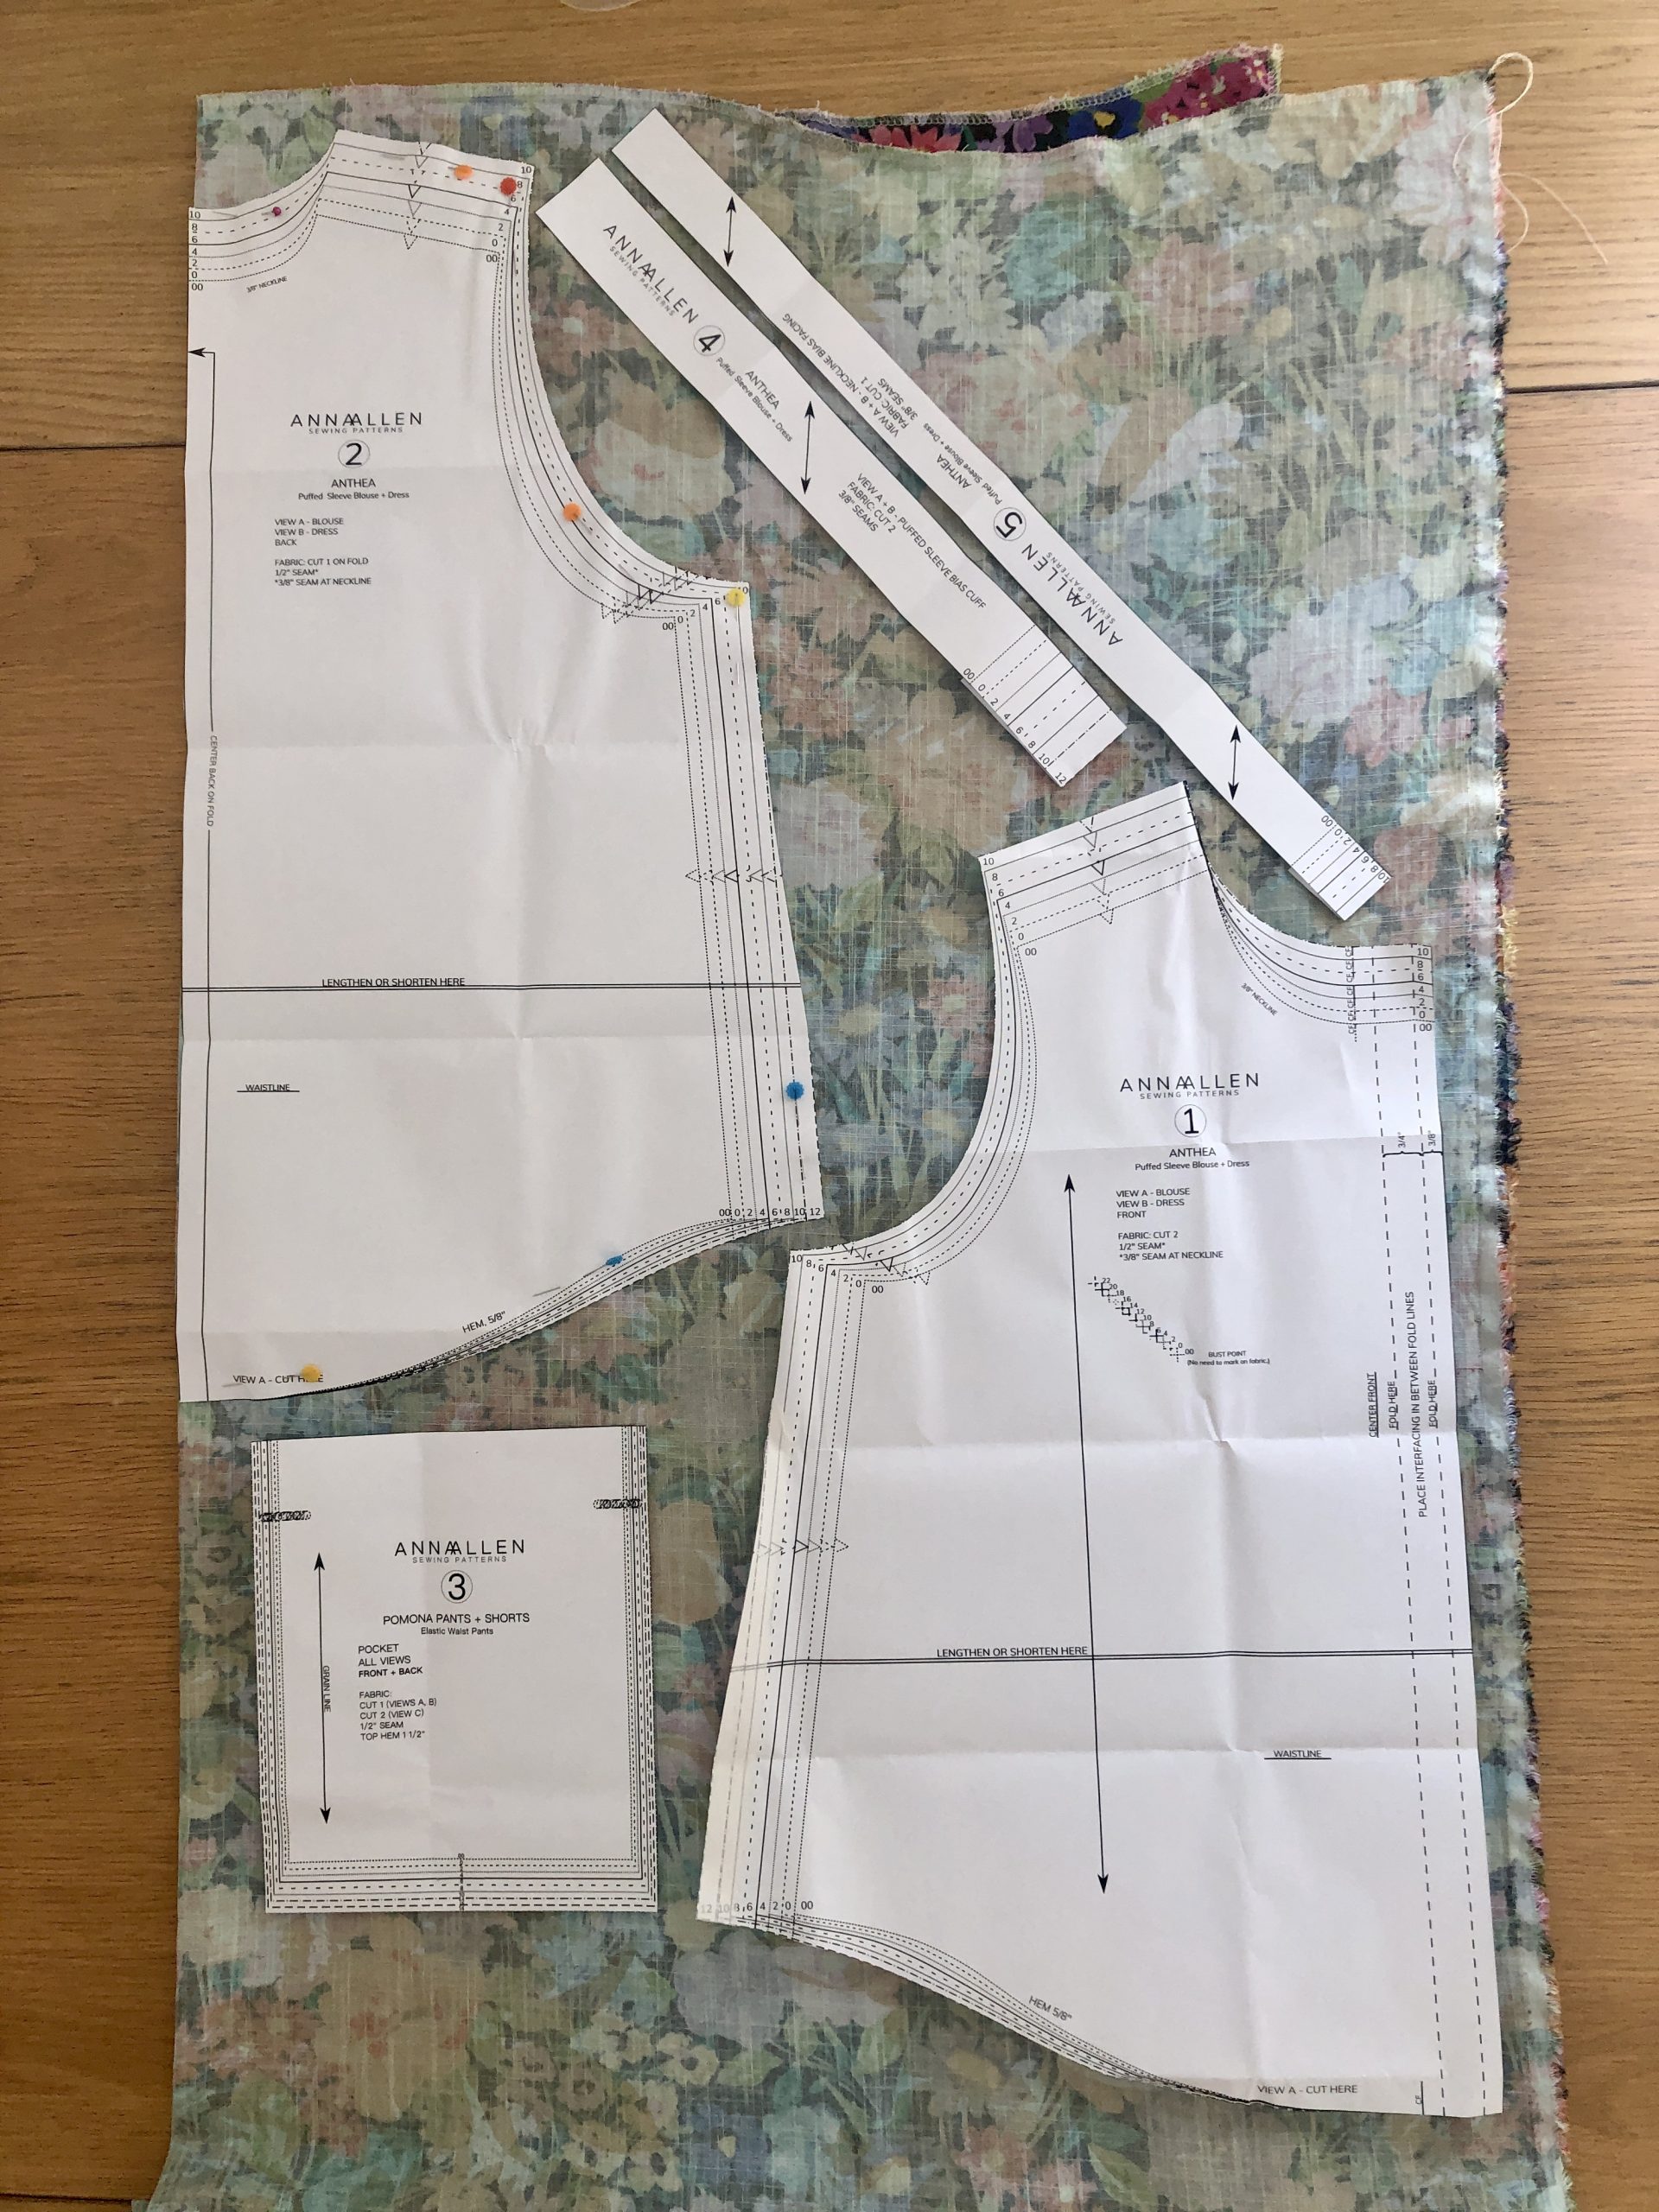
The pattern layout shows the sleeve cuff should be cut on the bias, but as the edge of the sleeve and the cuff are both straight, the cuff pattern piece can be cut on the straight grain.
I made the Pomona Shorts in matching fabric (scroll to the bottom of the post for a sneak preview!) and would suggest that if you want to do the same you can be much more economical with the fabric by cutting out the larger pieces first i.e. those cut through a single layer (shorts front/ back and sleeves), and then use the remaining fabric to cut out the other pieces. Sadly, I didn’t follow my own advice here!
You can spend ages trying to pattern match the front opening of the blouse or the front/ back seams of the short but I didn’t bother. It’s such a busy print I really didn’t think it was necessary.
The fabric is Linnaea Viscose and Linen from Fabric Godmother.
Transferring pattern markings
Make sure to transfer the notches from the pattern to the fabric, particularly around the sleeve and armholes so these can be correctly inserted.
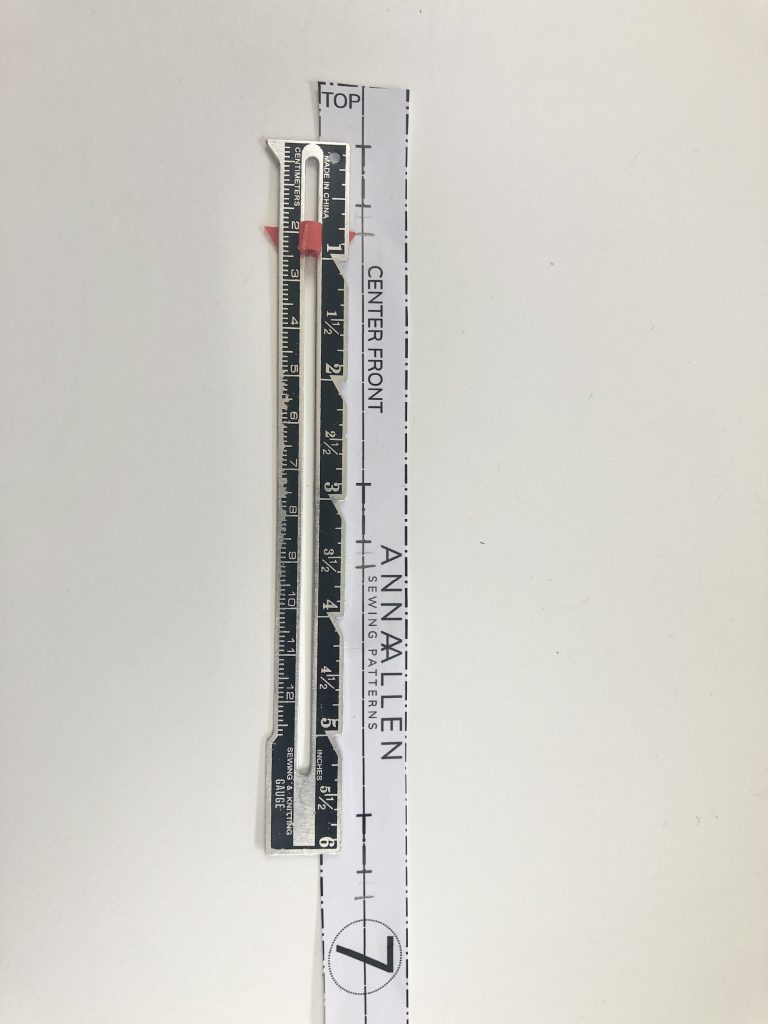
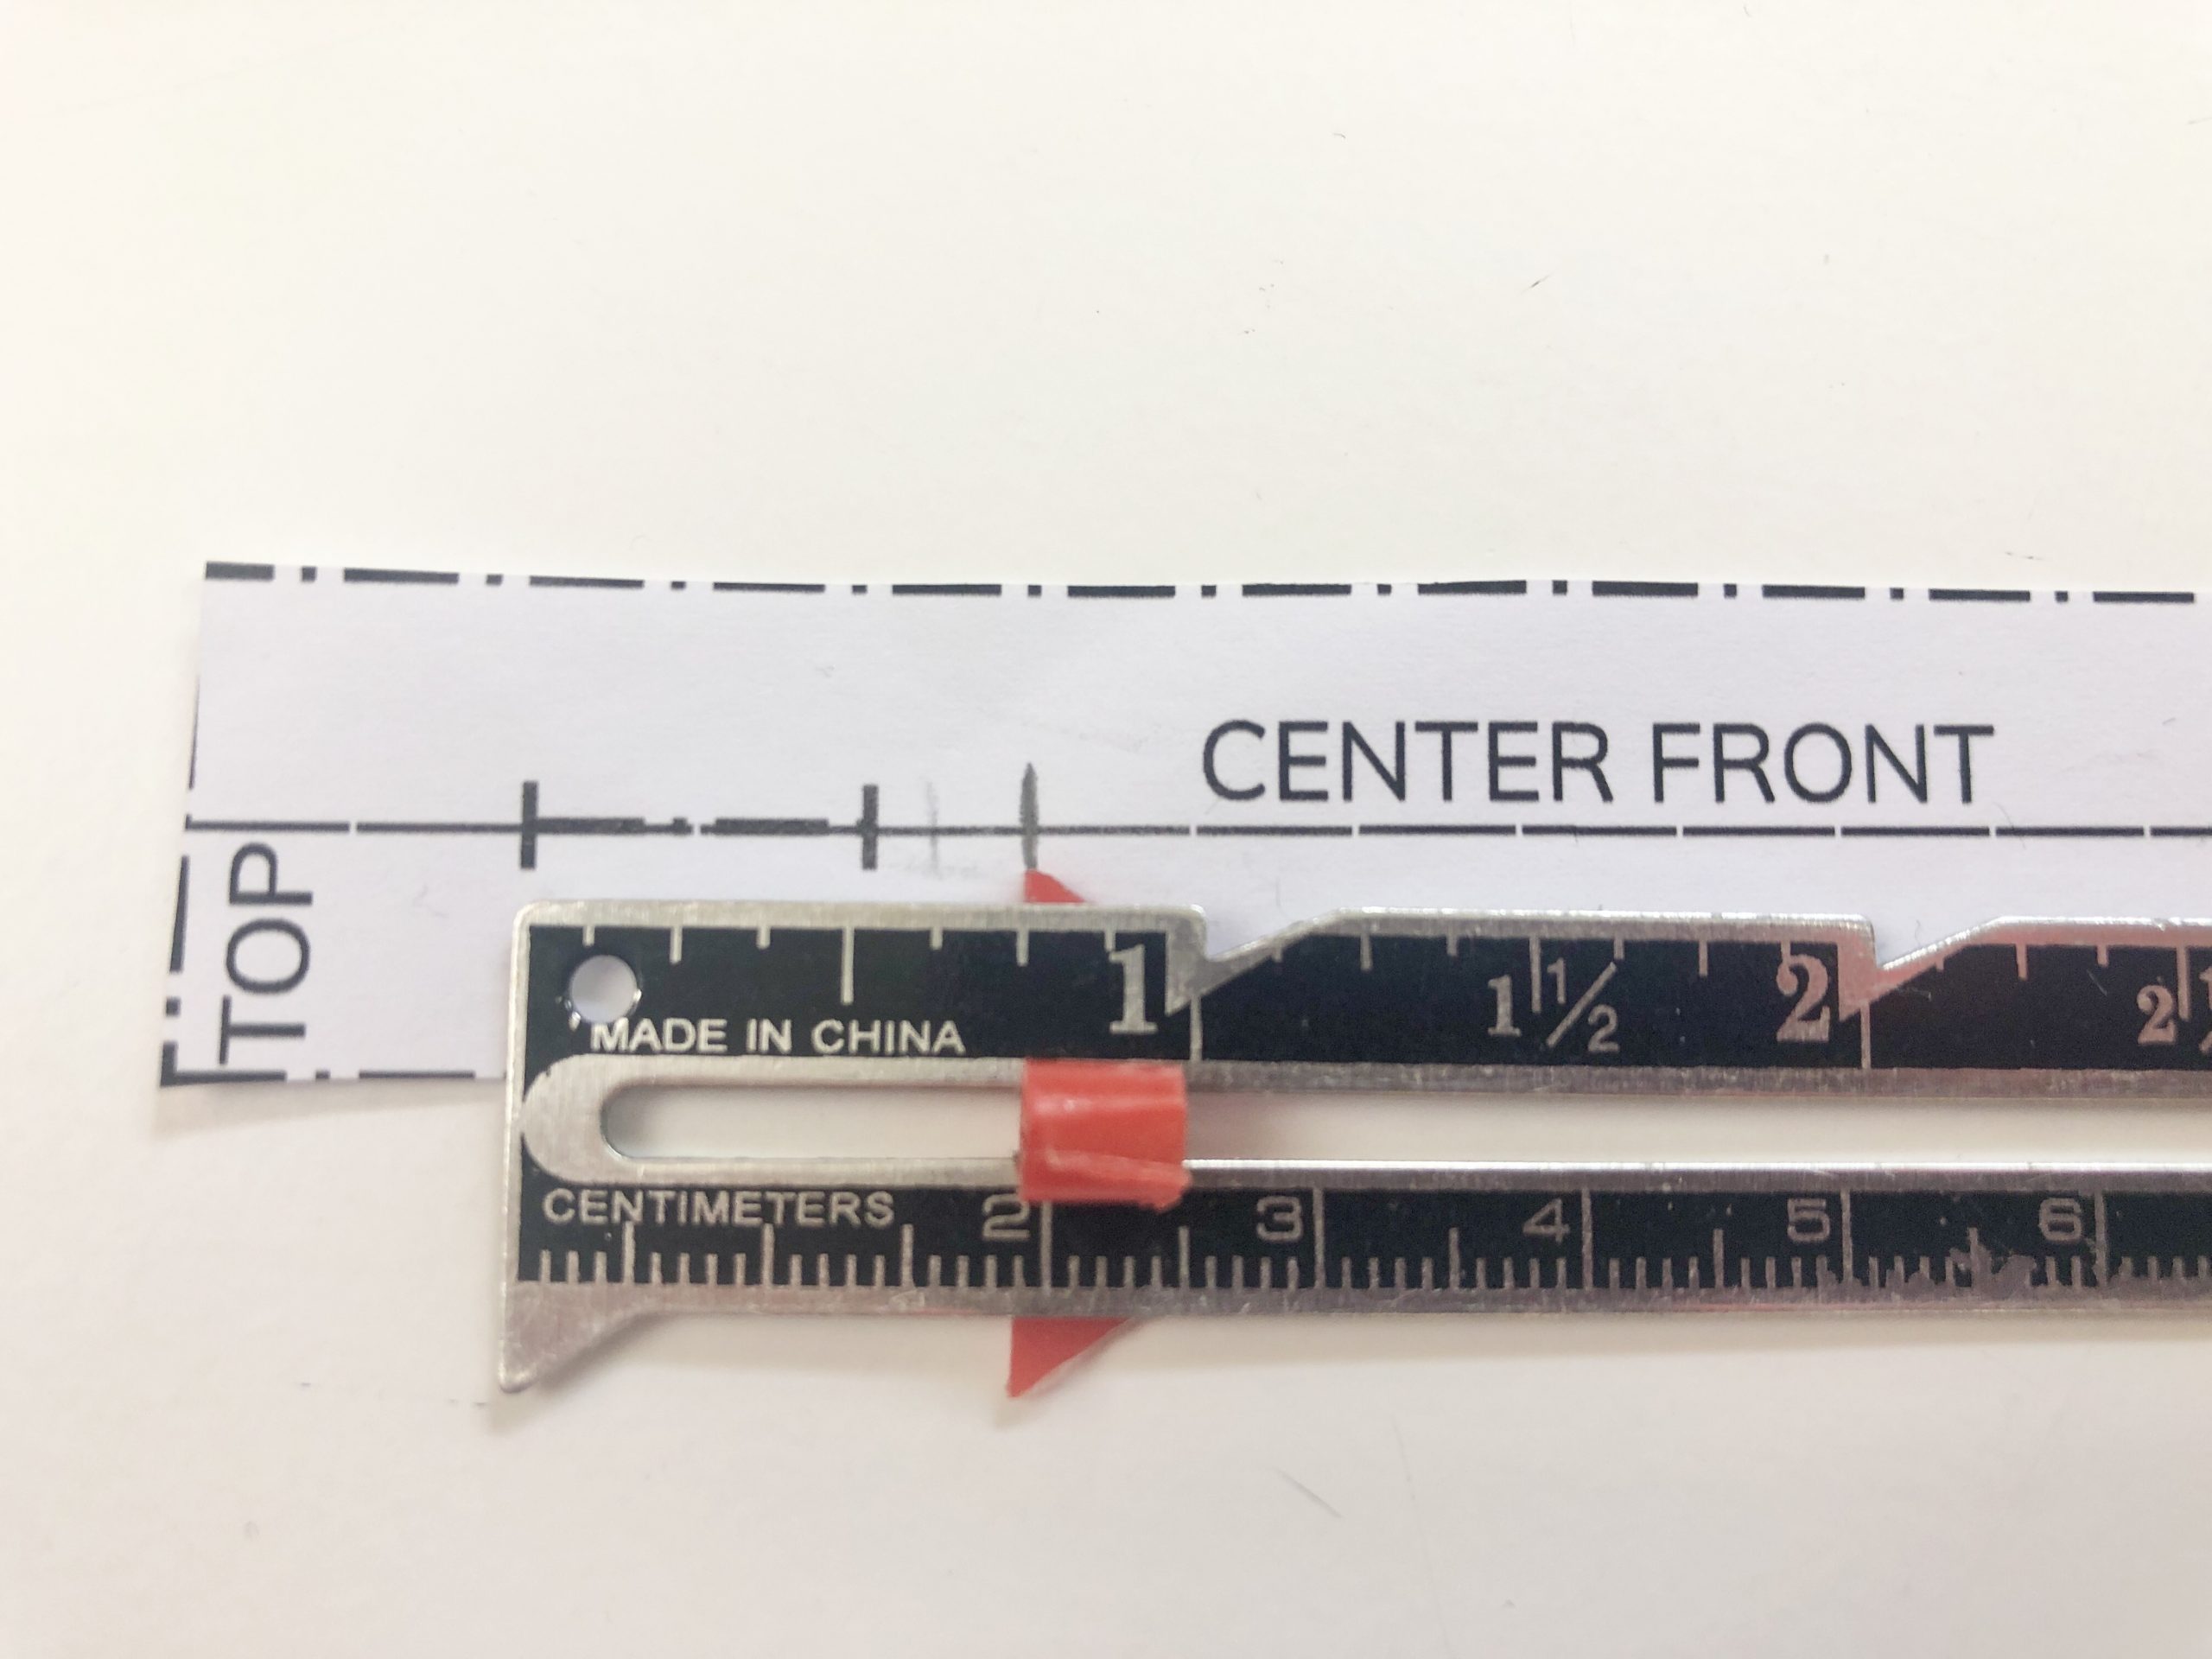
I also used small snips (5mm / ¼ inch long) to mark the top and bottom of the fold lines and centre front line on the bodice front.
Making up the garment
I used a size 90/14 universal needle as the fabric is medium weight. A size 80/12 would also be suitable.
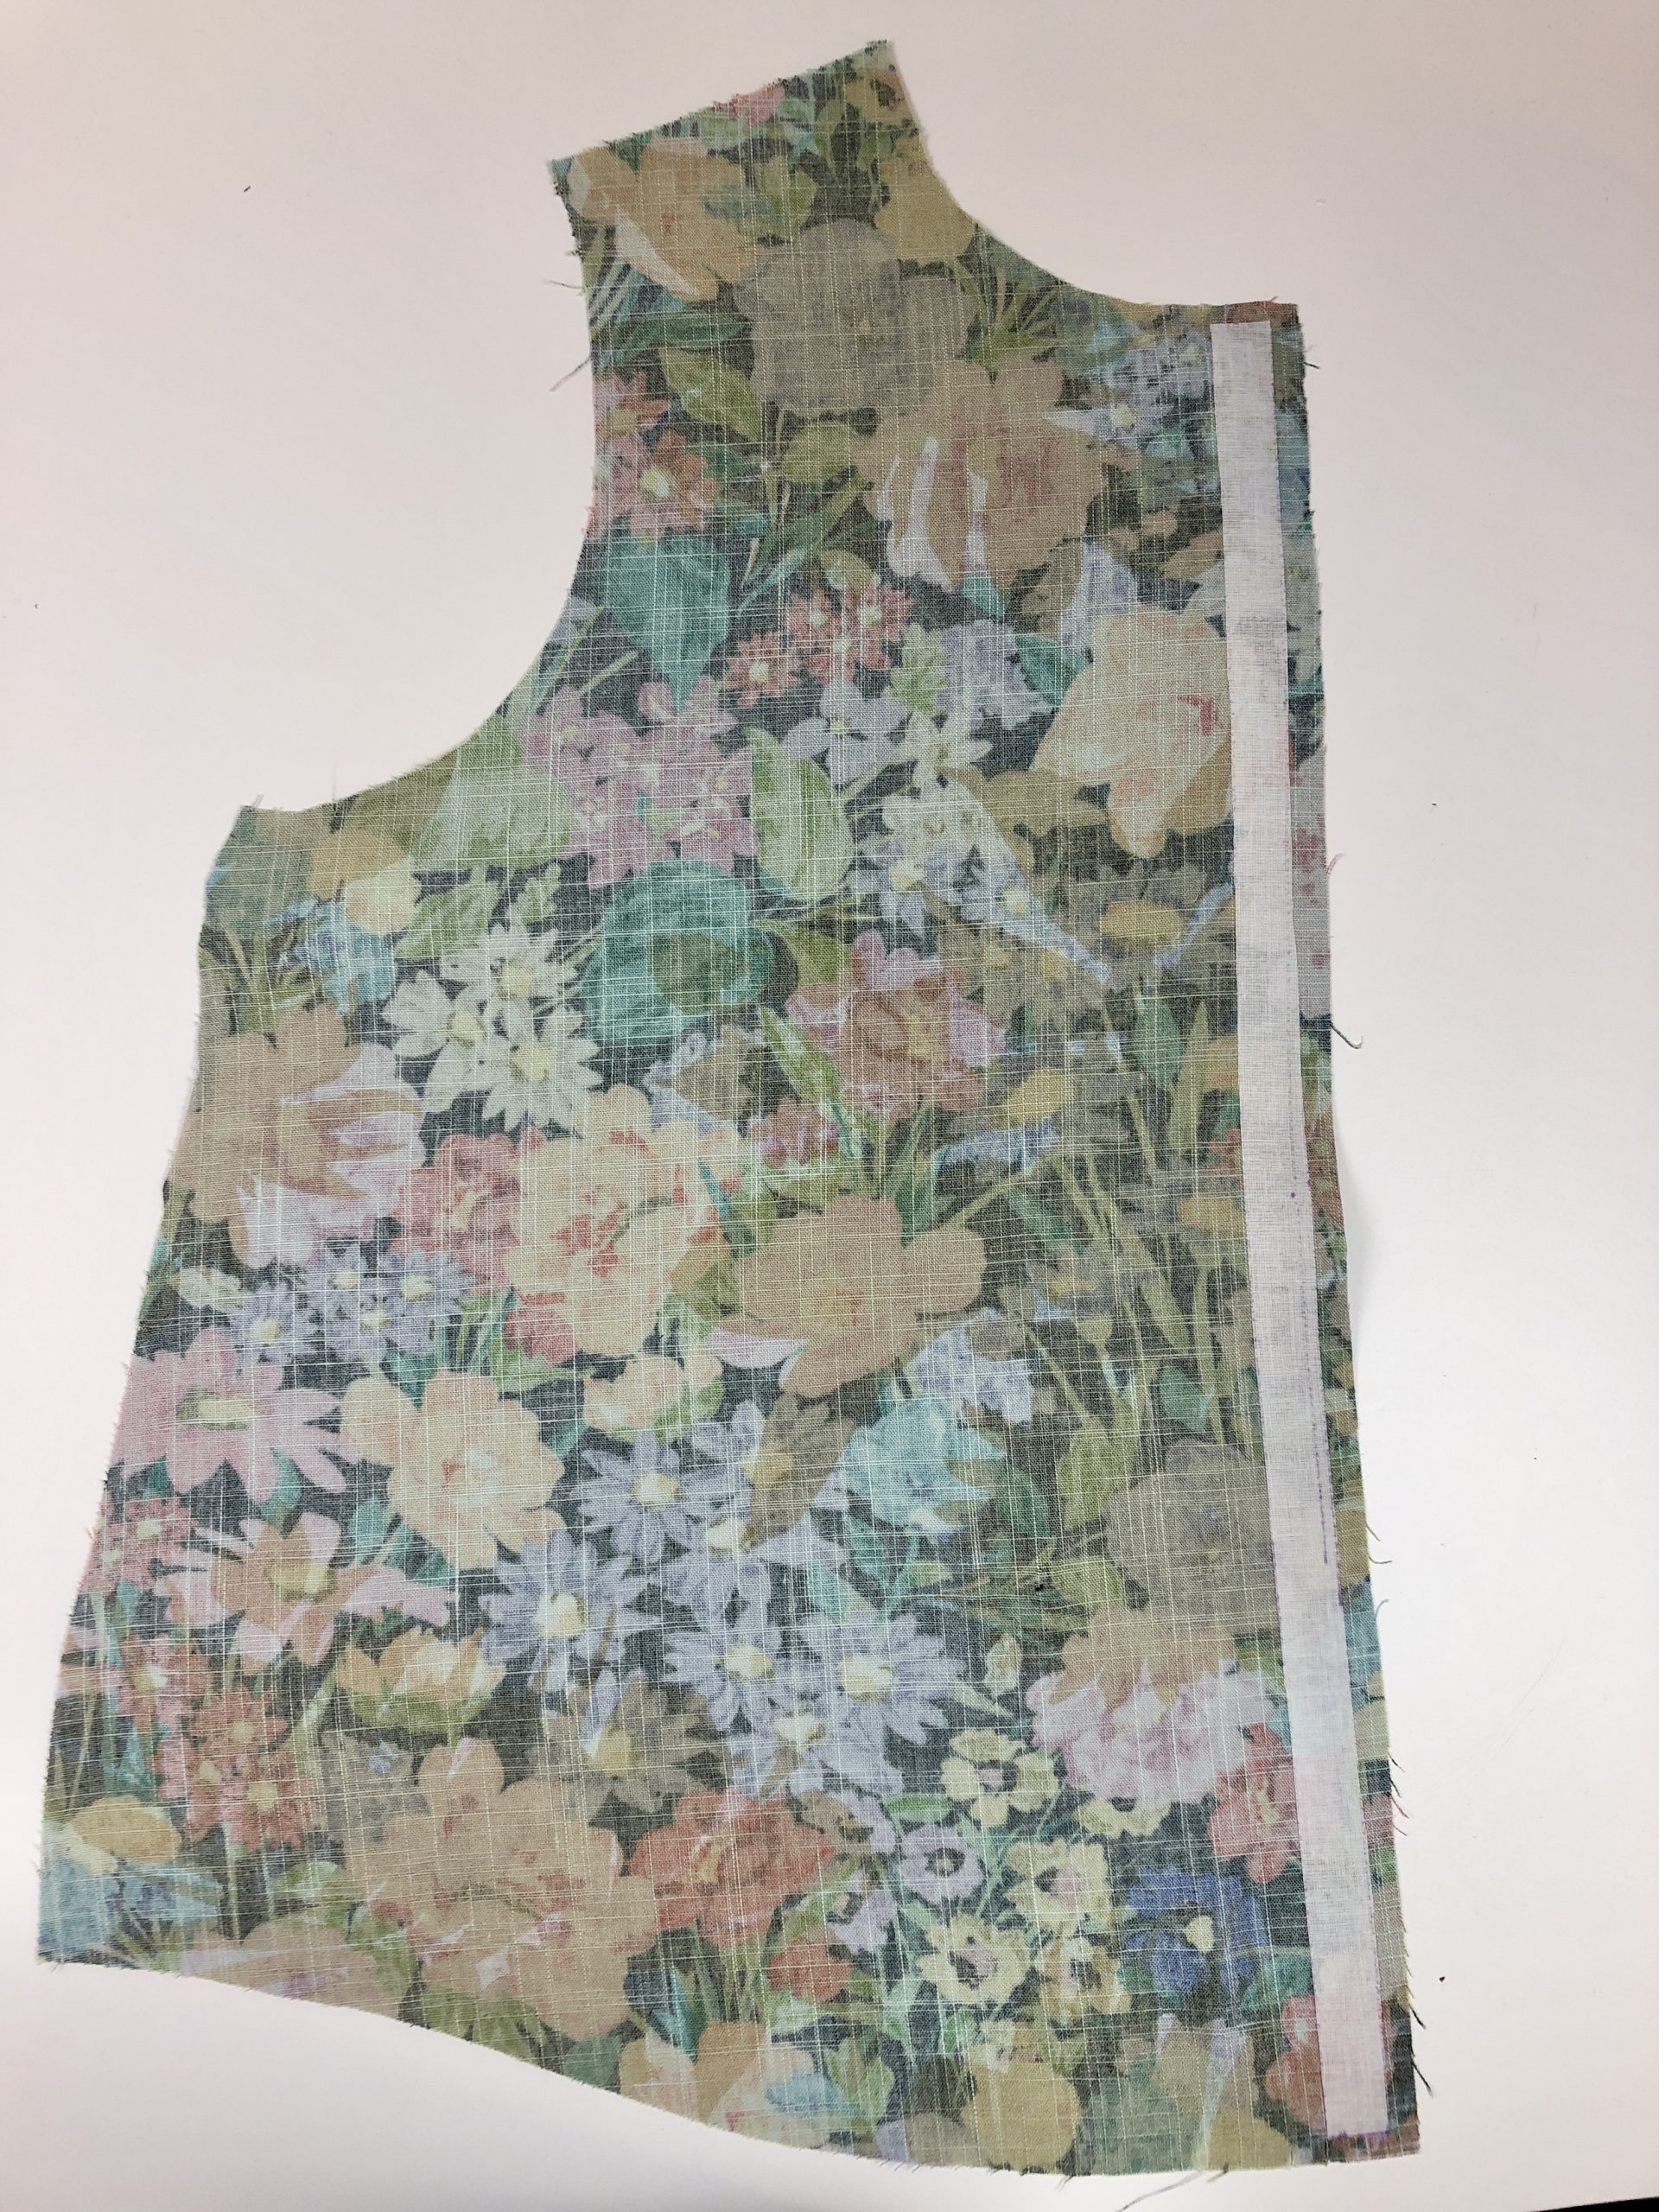
The first instructions in the pattern are to staystitch the neckline and then create the front placket.
I used a rotary cutter and cutting mat to cut out the interfacing for the front placket to make sure that it was the perfect size. It’s such a narrow pattern piece and needs to be cut and fused (ironed on) very accurately.
The small snips I’d made at the fold lines on the front bodice pieces were really useful to place the interfacing accurately.
If the interfacing is cut and placed accurately, the front edge can be folded using the edges of the interfacing as a guide to create a perfectly sized placket.
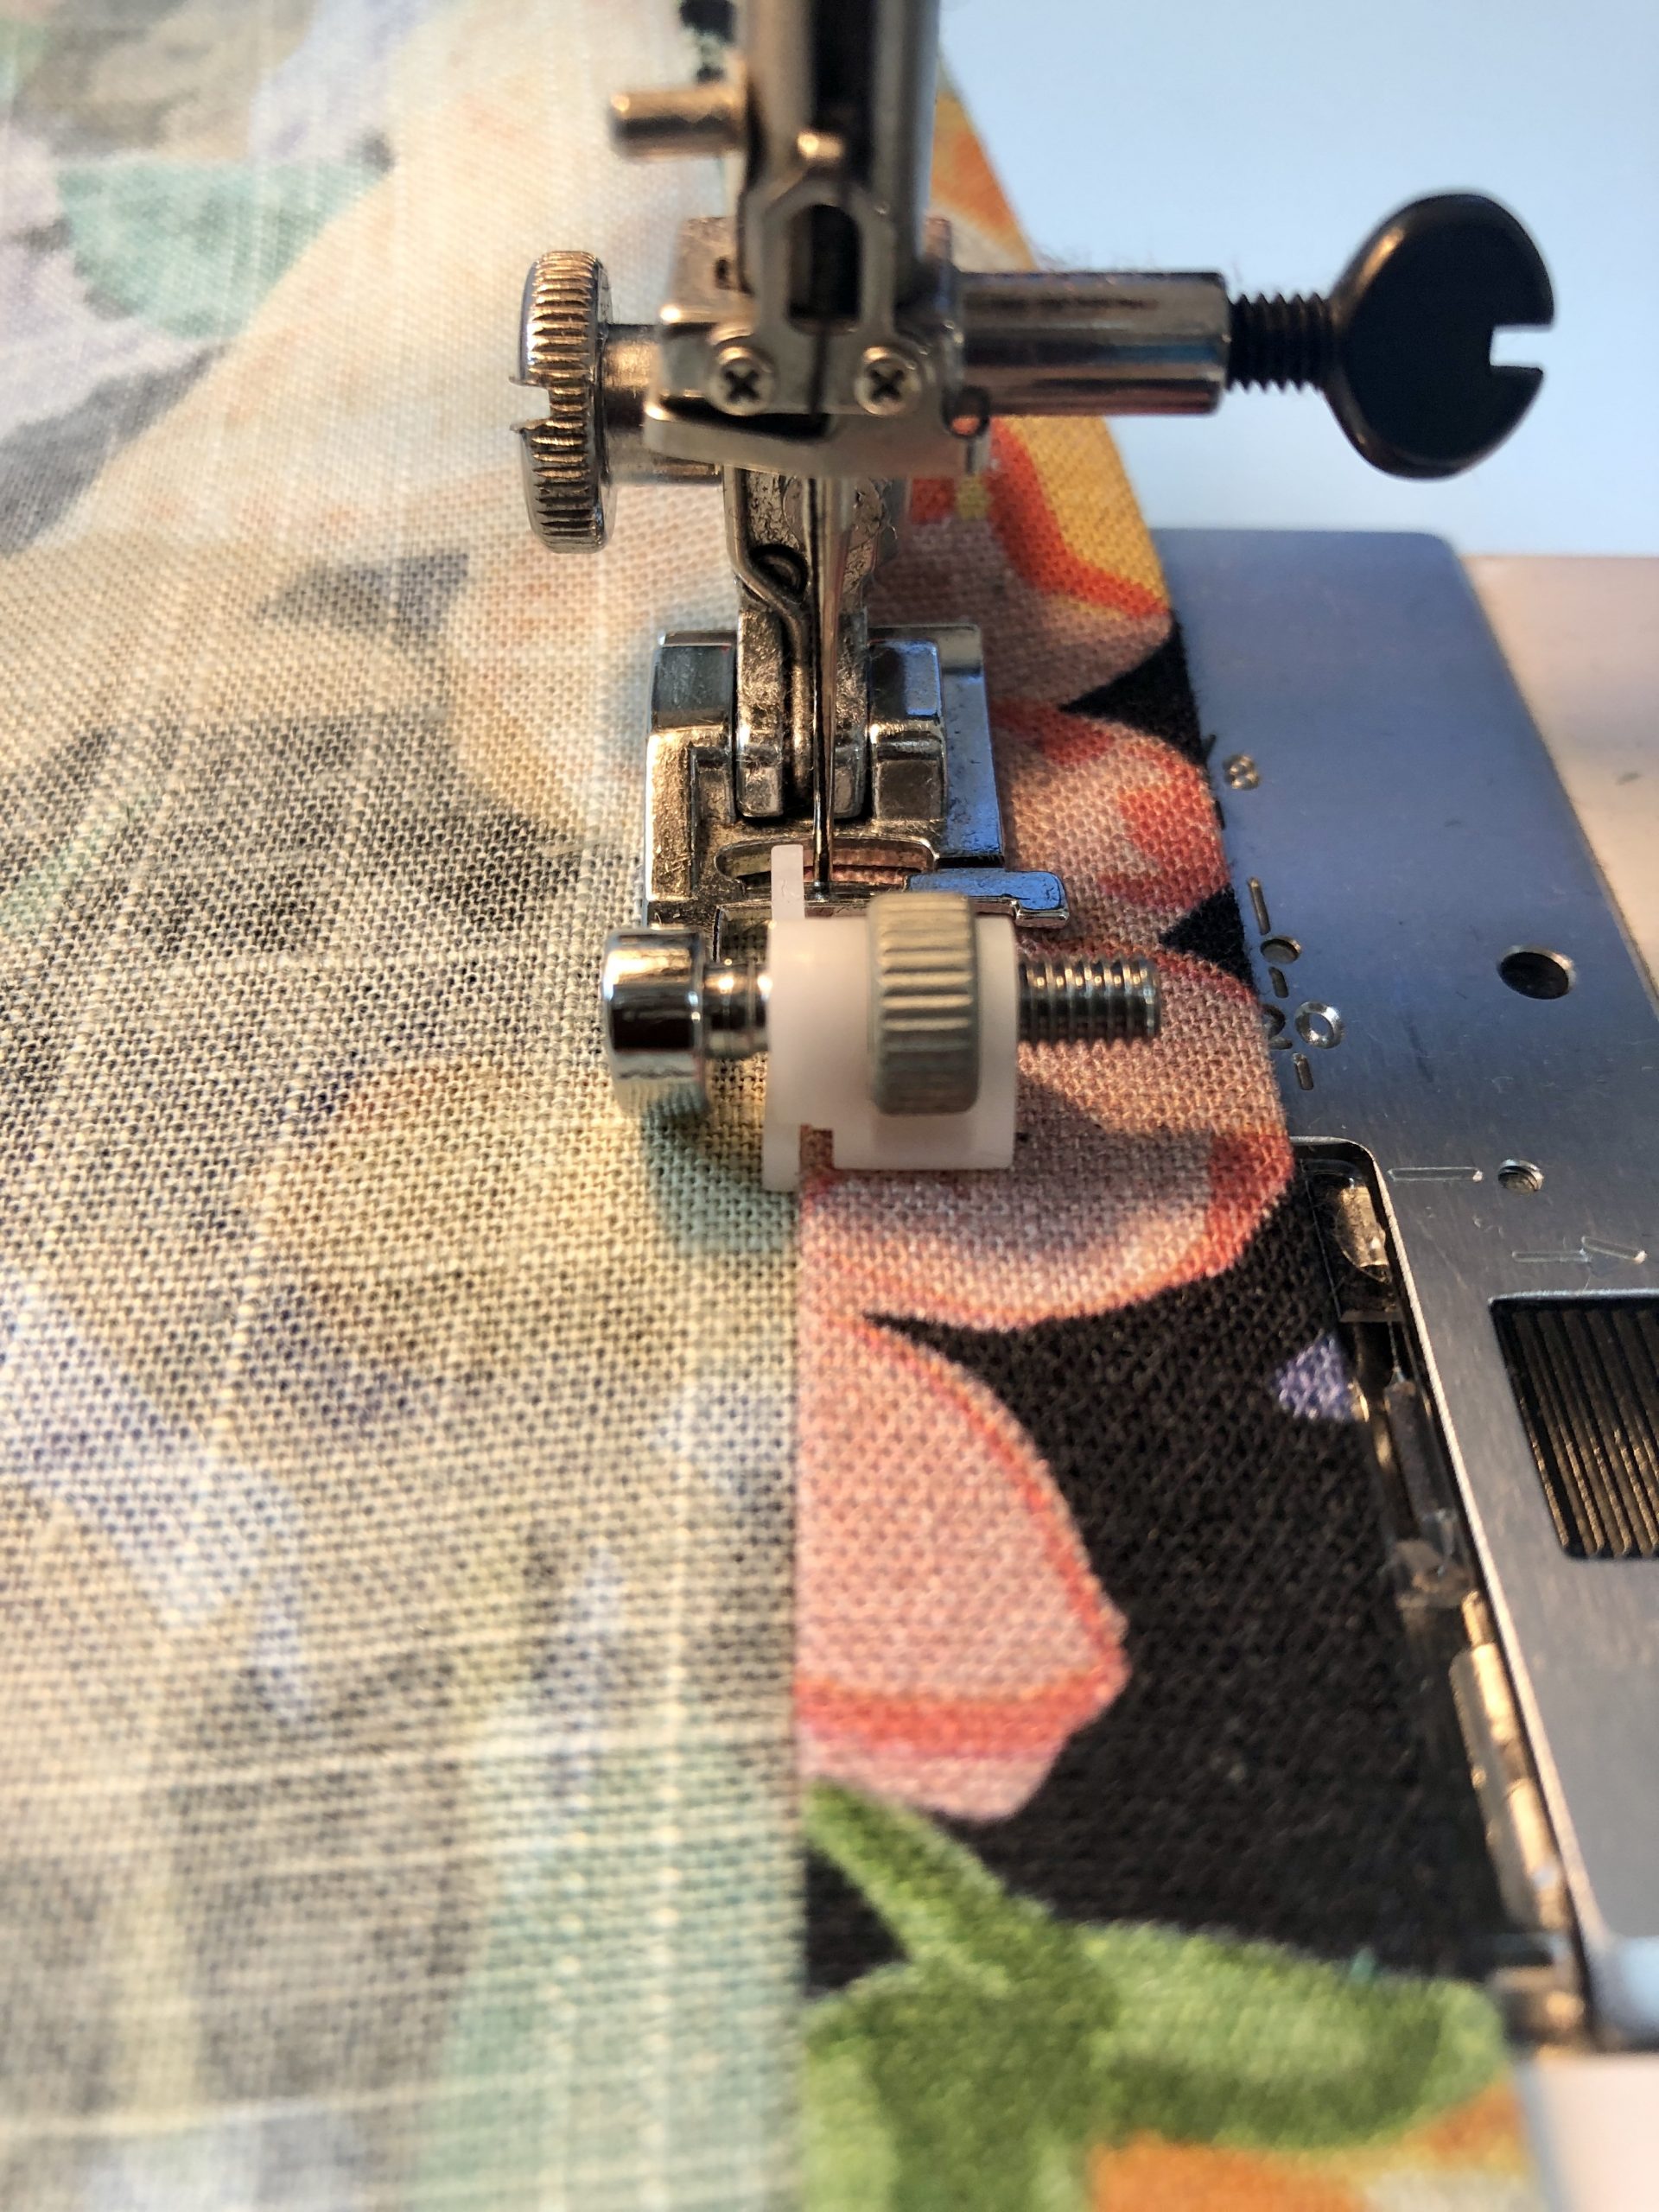
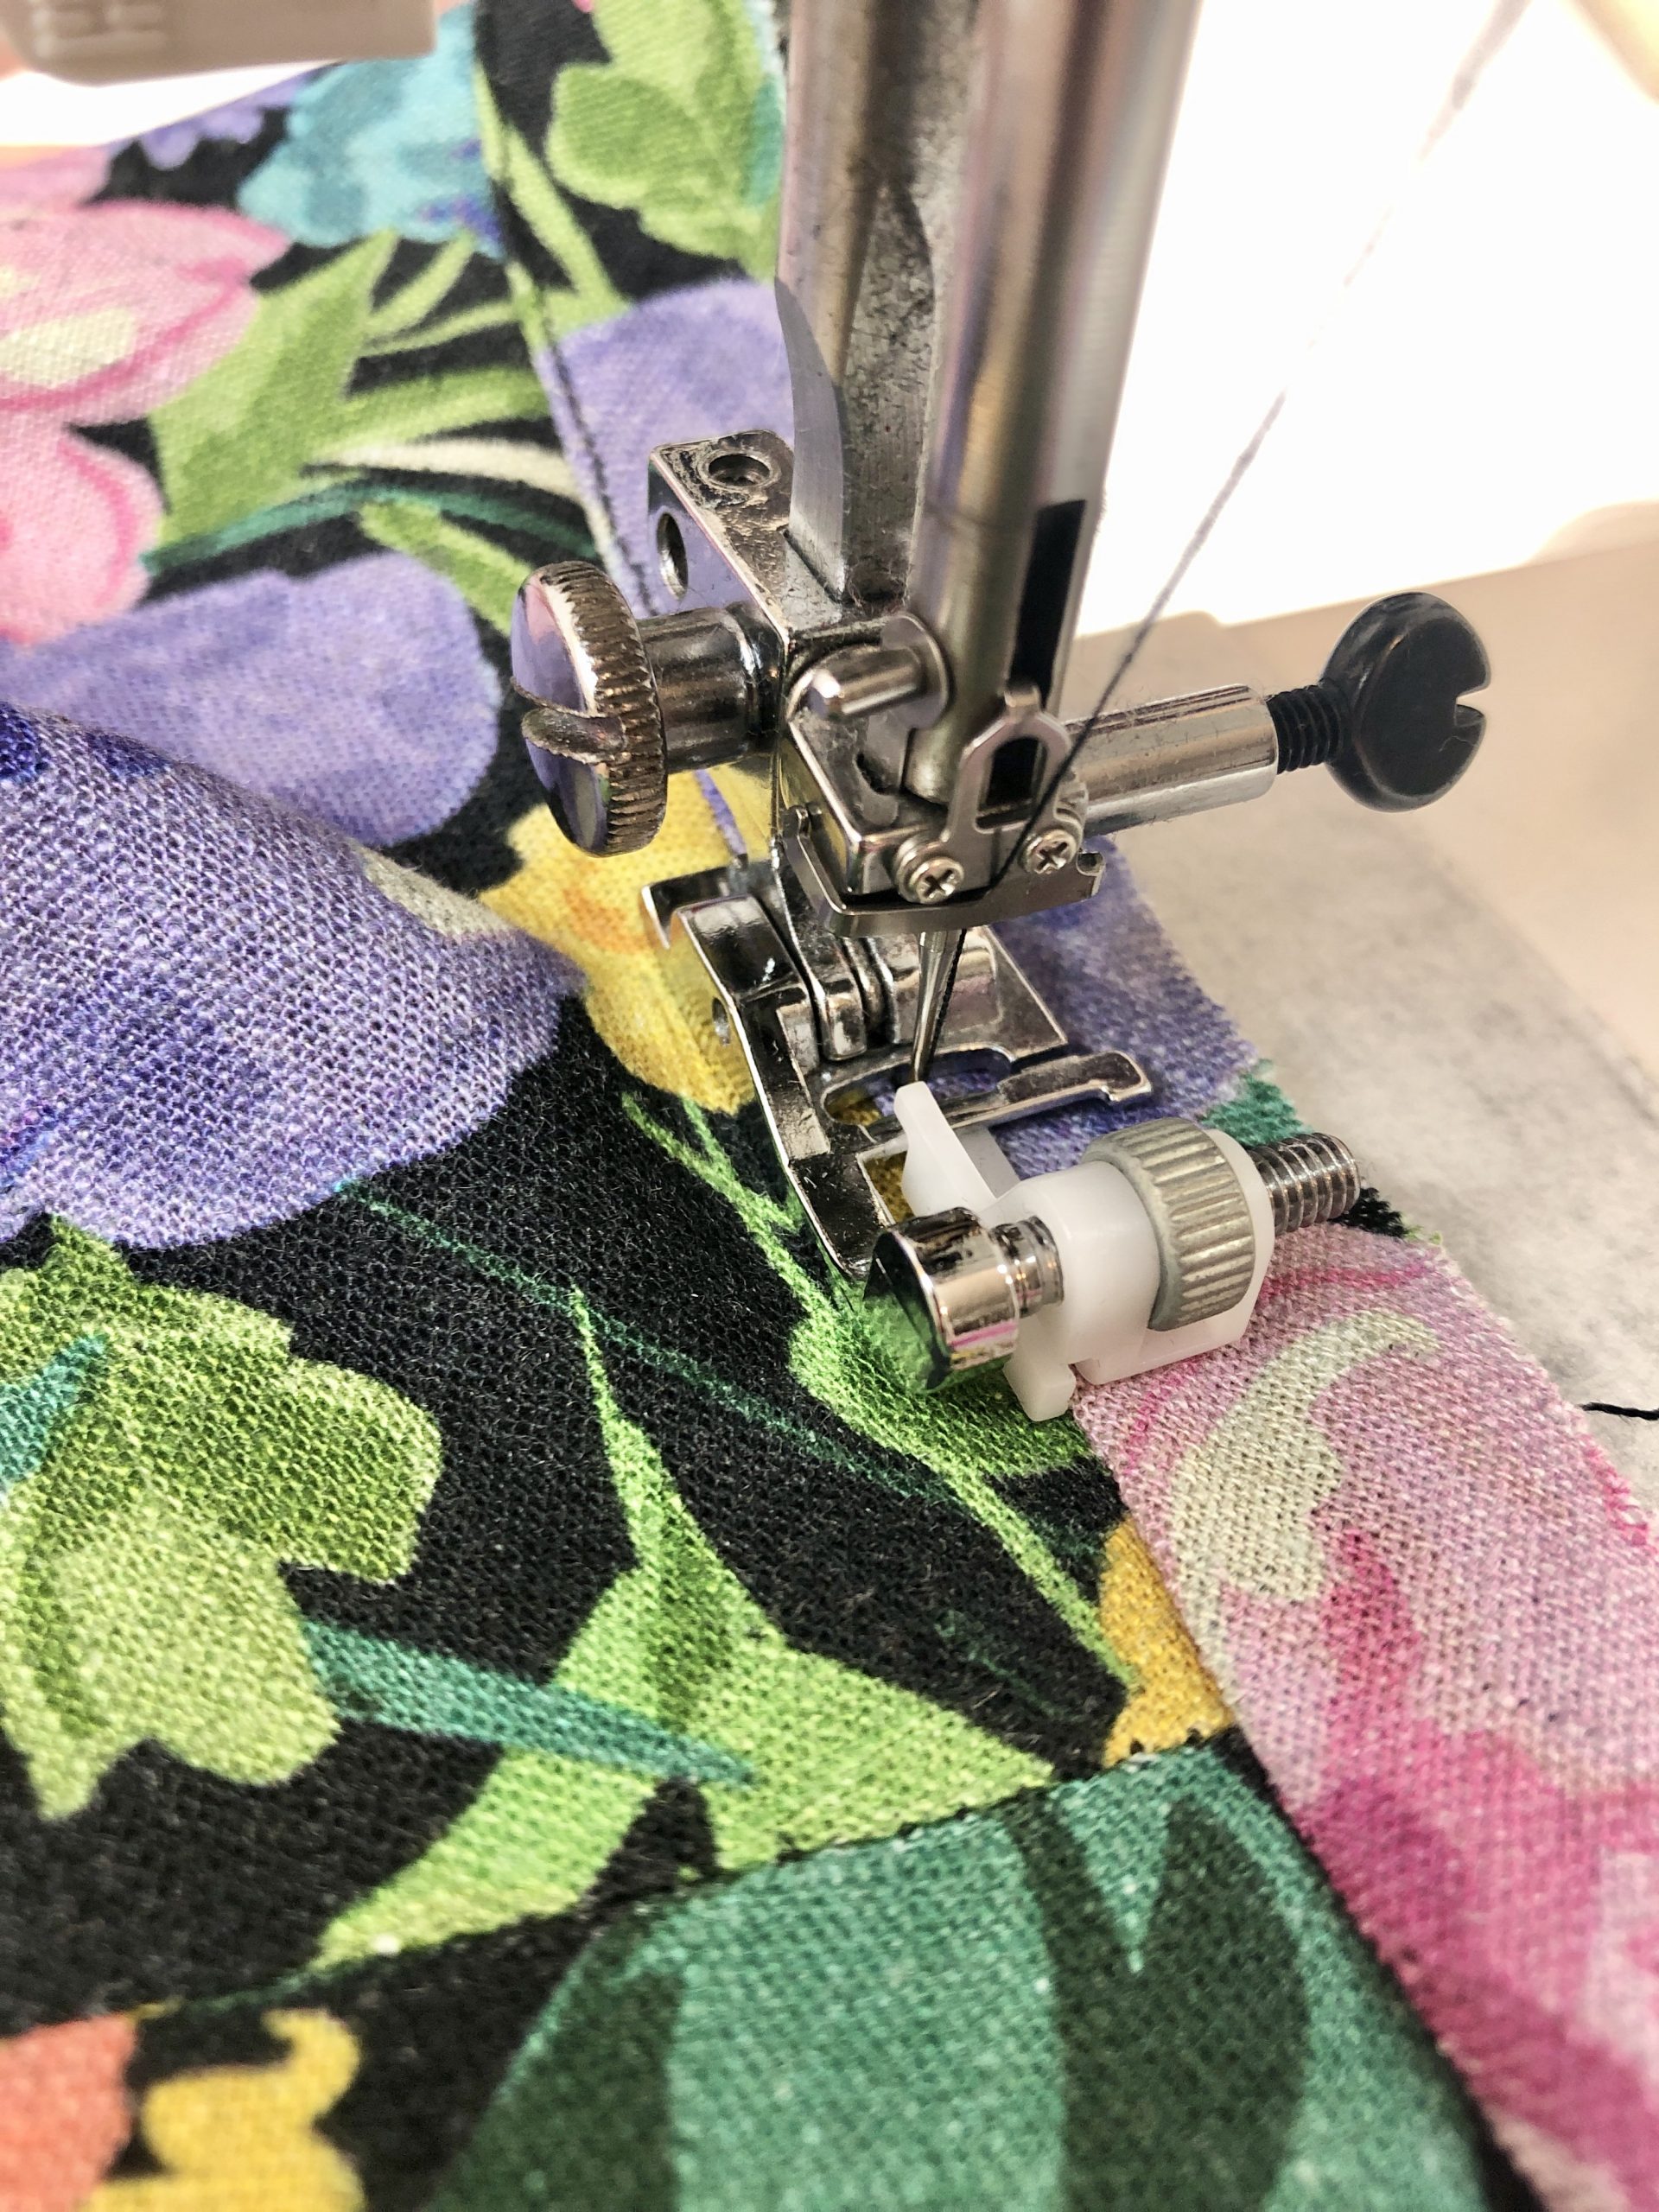
After folding, pressing and pinning the front plackets I stitched close the the inside folded edge and used a blind hemming foot to create a guide and keep the stitching line straight and parallel to the folded edge.
The blind hemming foot has a movable guide (the white bit on the front of my foot) so you just need to position this to suit your project and then it works perfectly for aligning edgestitching and topstitching.

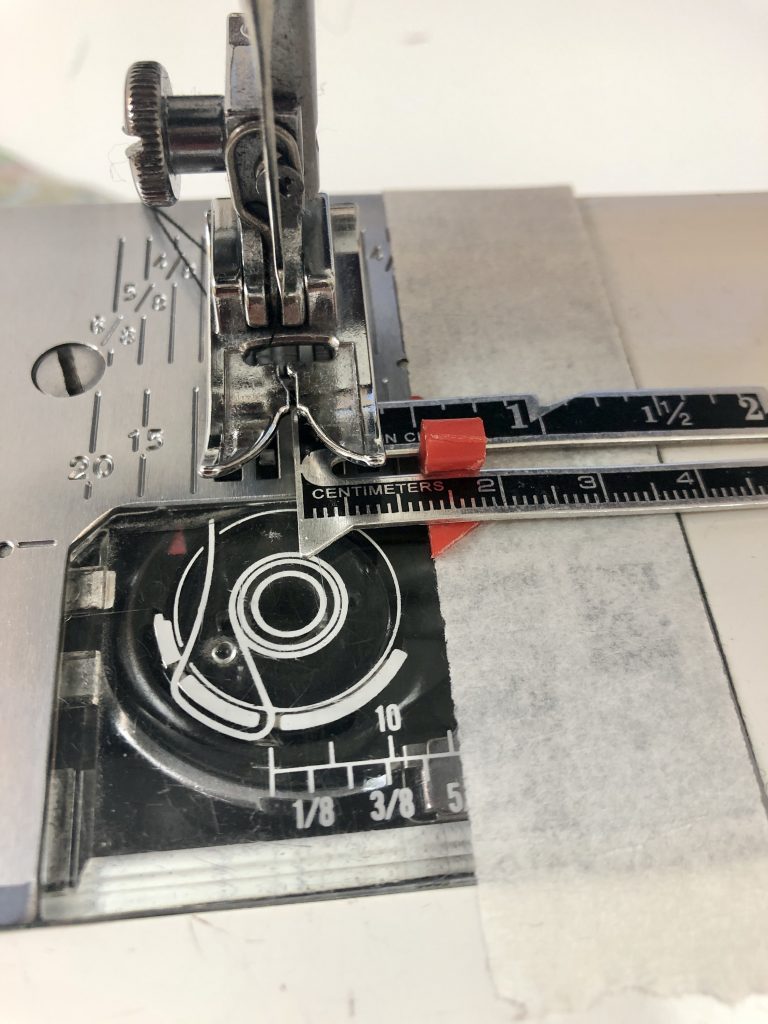
The seam allowance on most of the pattern is ½ inch (1.3cm). I used a piece of masking tape on the needle plate of my machine to keep the seam allowance correct.
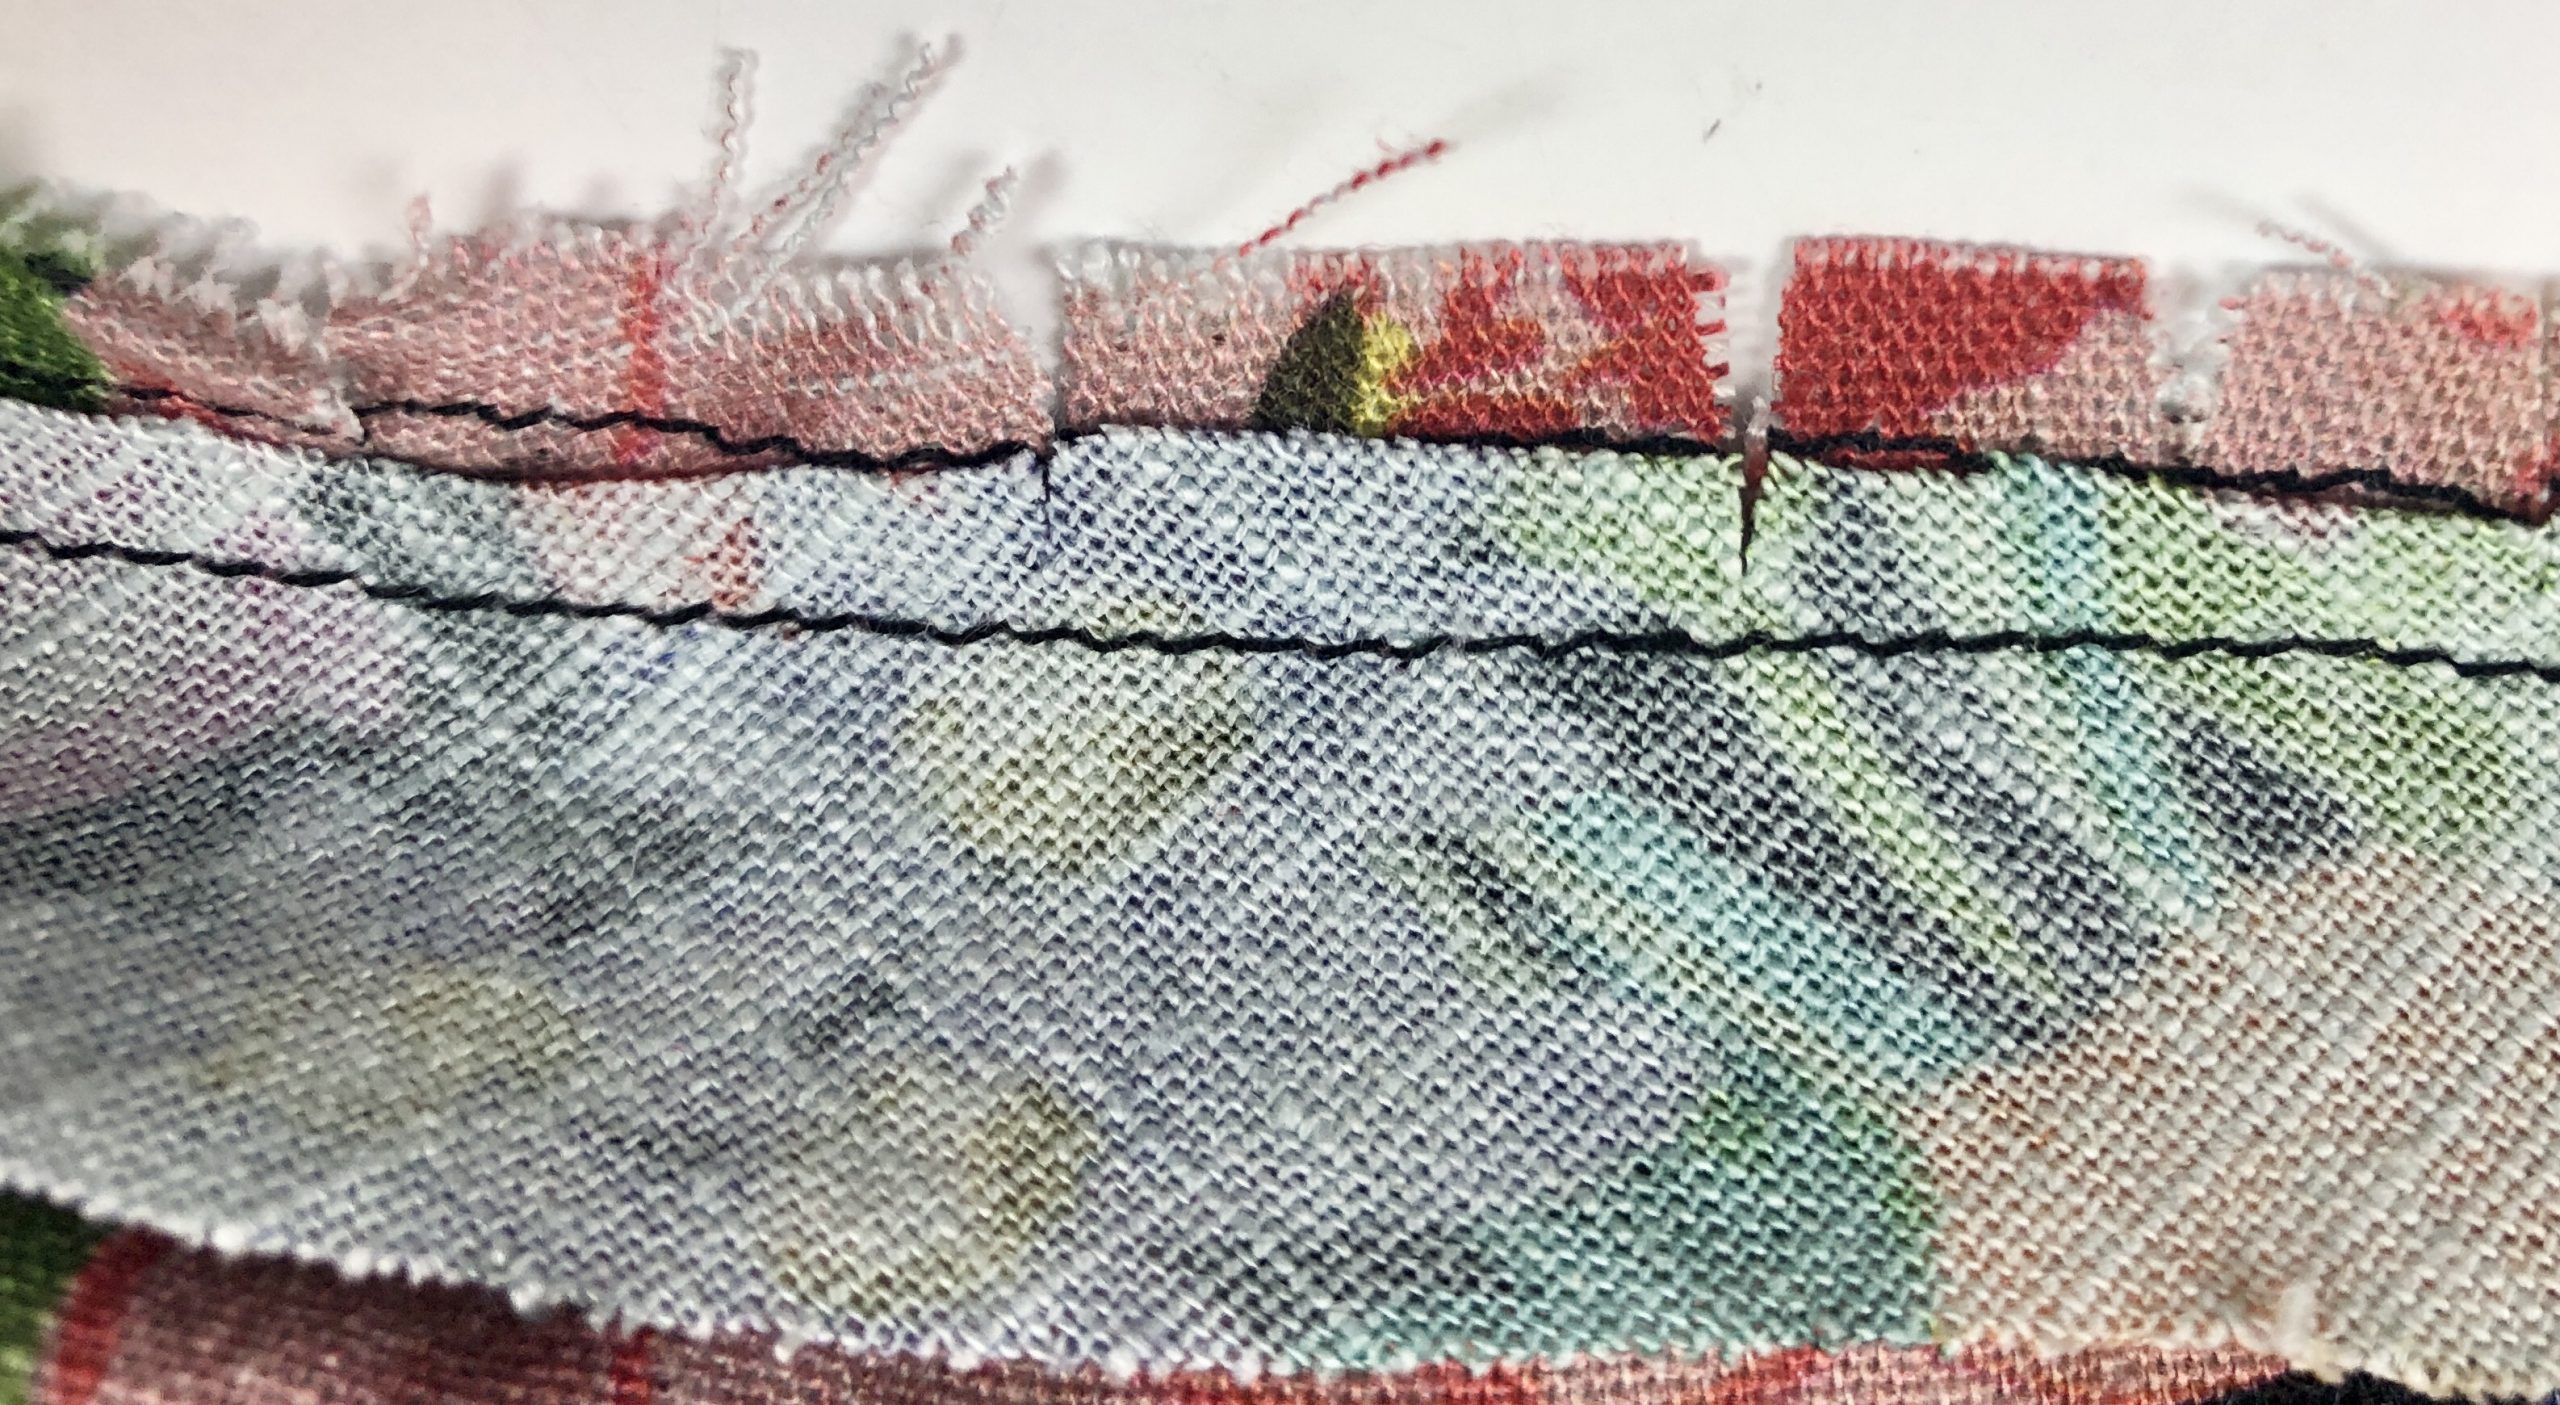
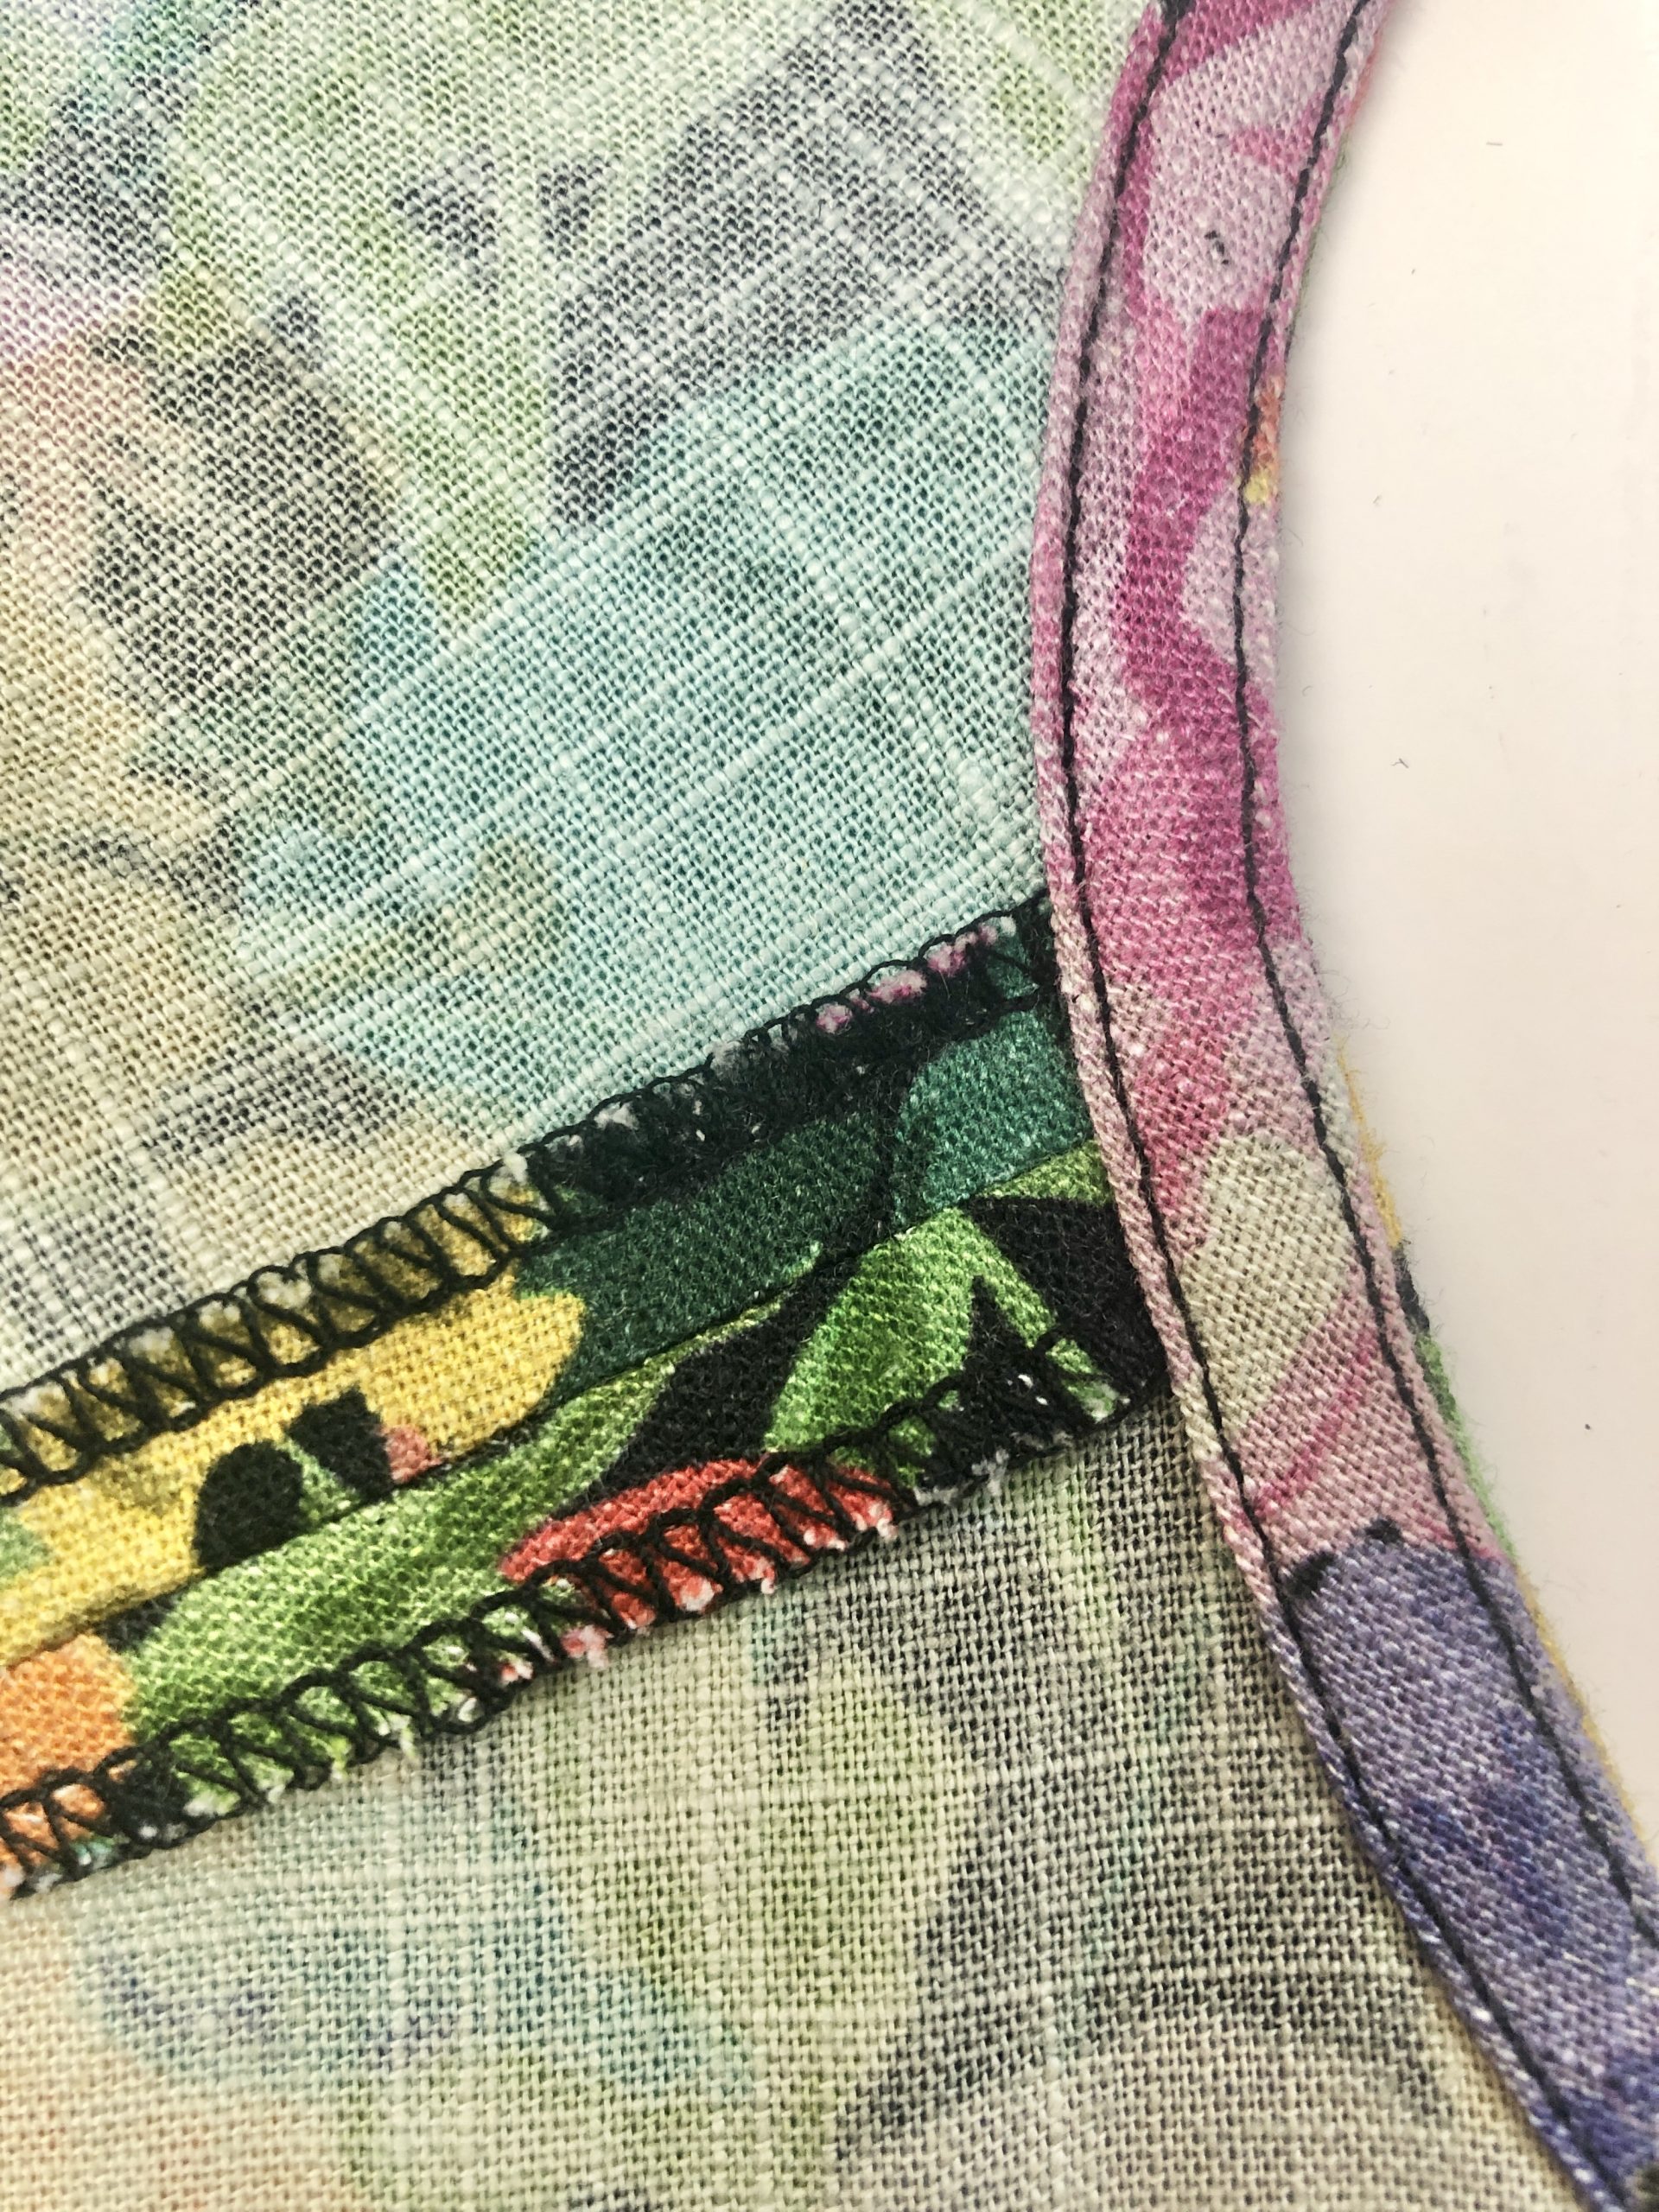
I used a 3-thread narrow stitch on my overlocker (serger) to edge finish the seam allowances. The pattern suggests to edge finish the seam allowances together but I chose to overlock these separately and press them open.
I found this helps particularly at the shoulder seam to minimise the bulk when attaching the neckline binding.
The instructions say to attach the shoulder seams and then attach side seams but I added the binding around the neckline before sewing the side seams. It’s a little easier to attach the binding while the garment is still flat.
Although there is a pattern for the neckline binding, the instructions say to place this around the neckline without stretching and then trim off any excess. After working through this step, I found that the neckline binding was 6.5cm (2 ½ inches) too long.
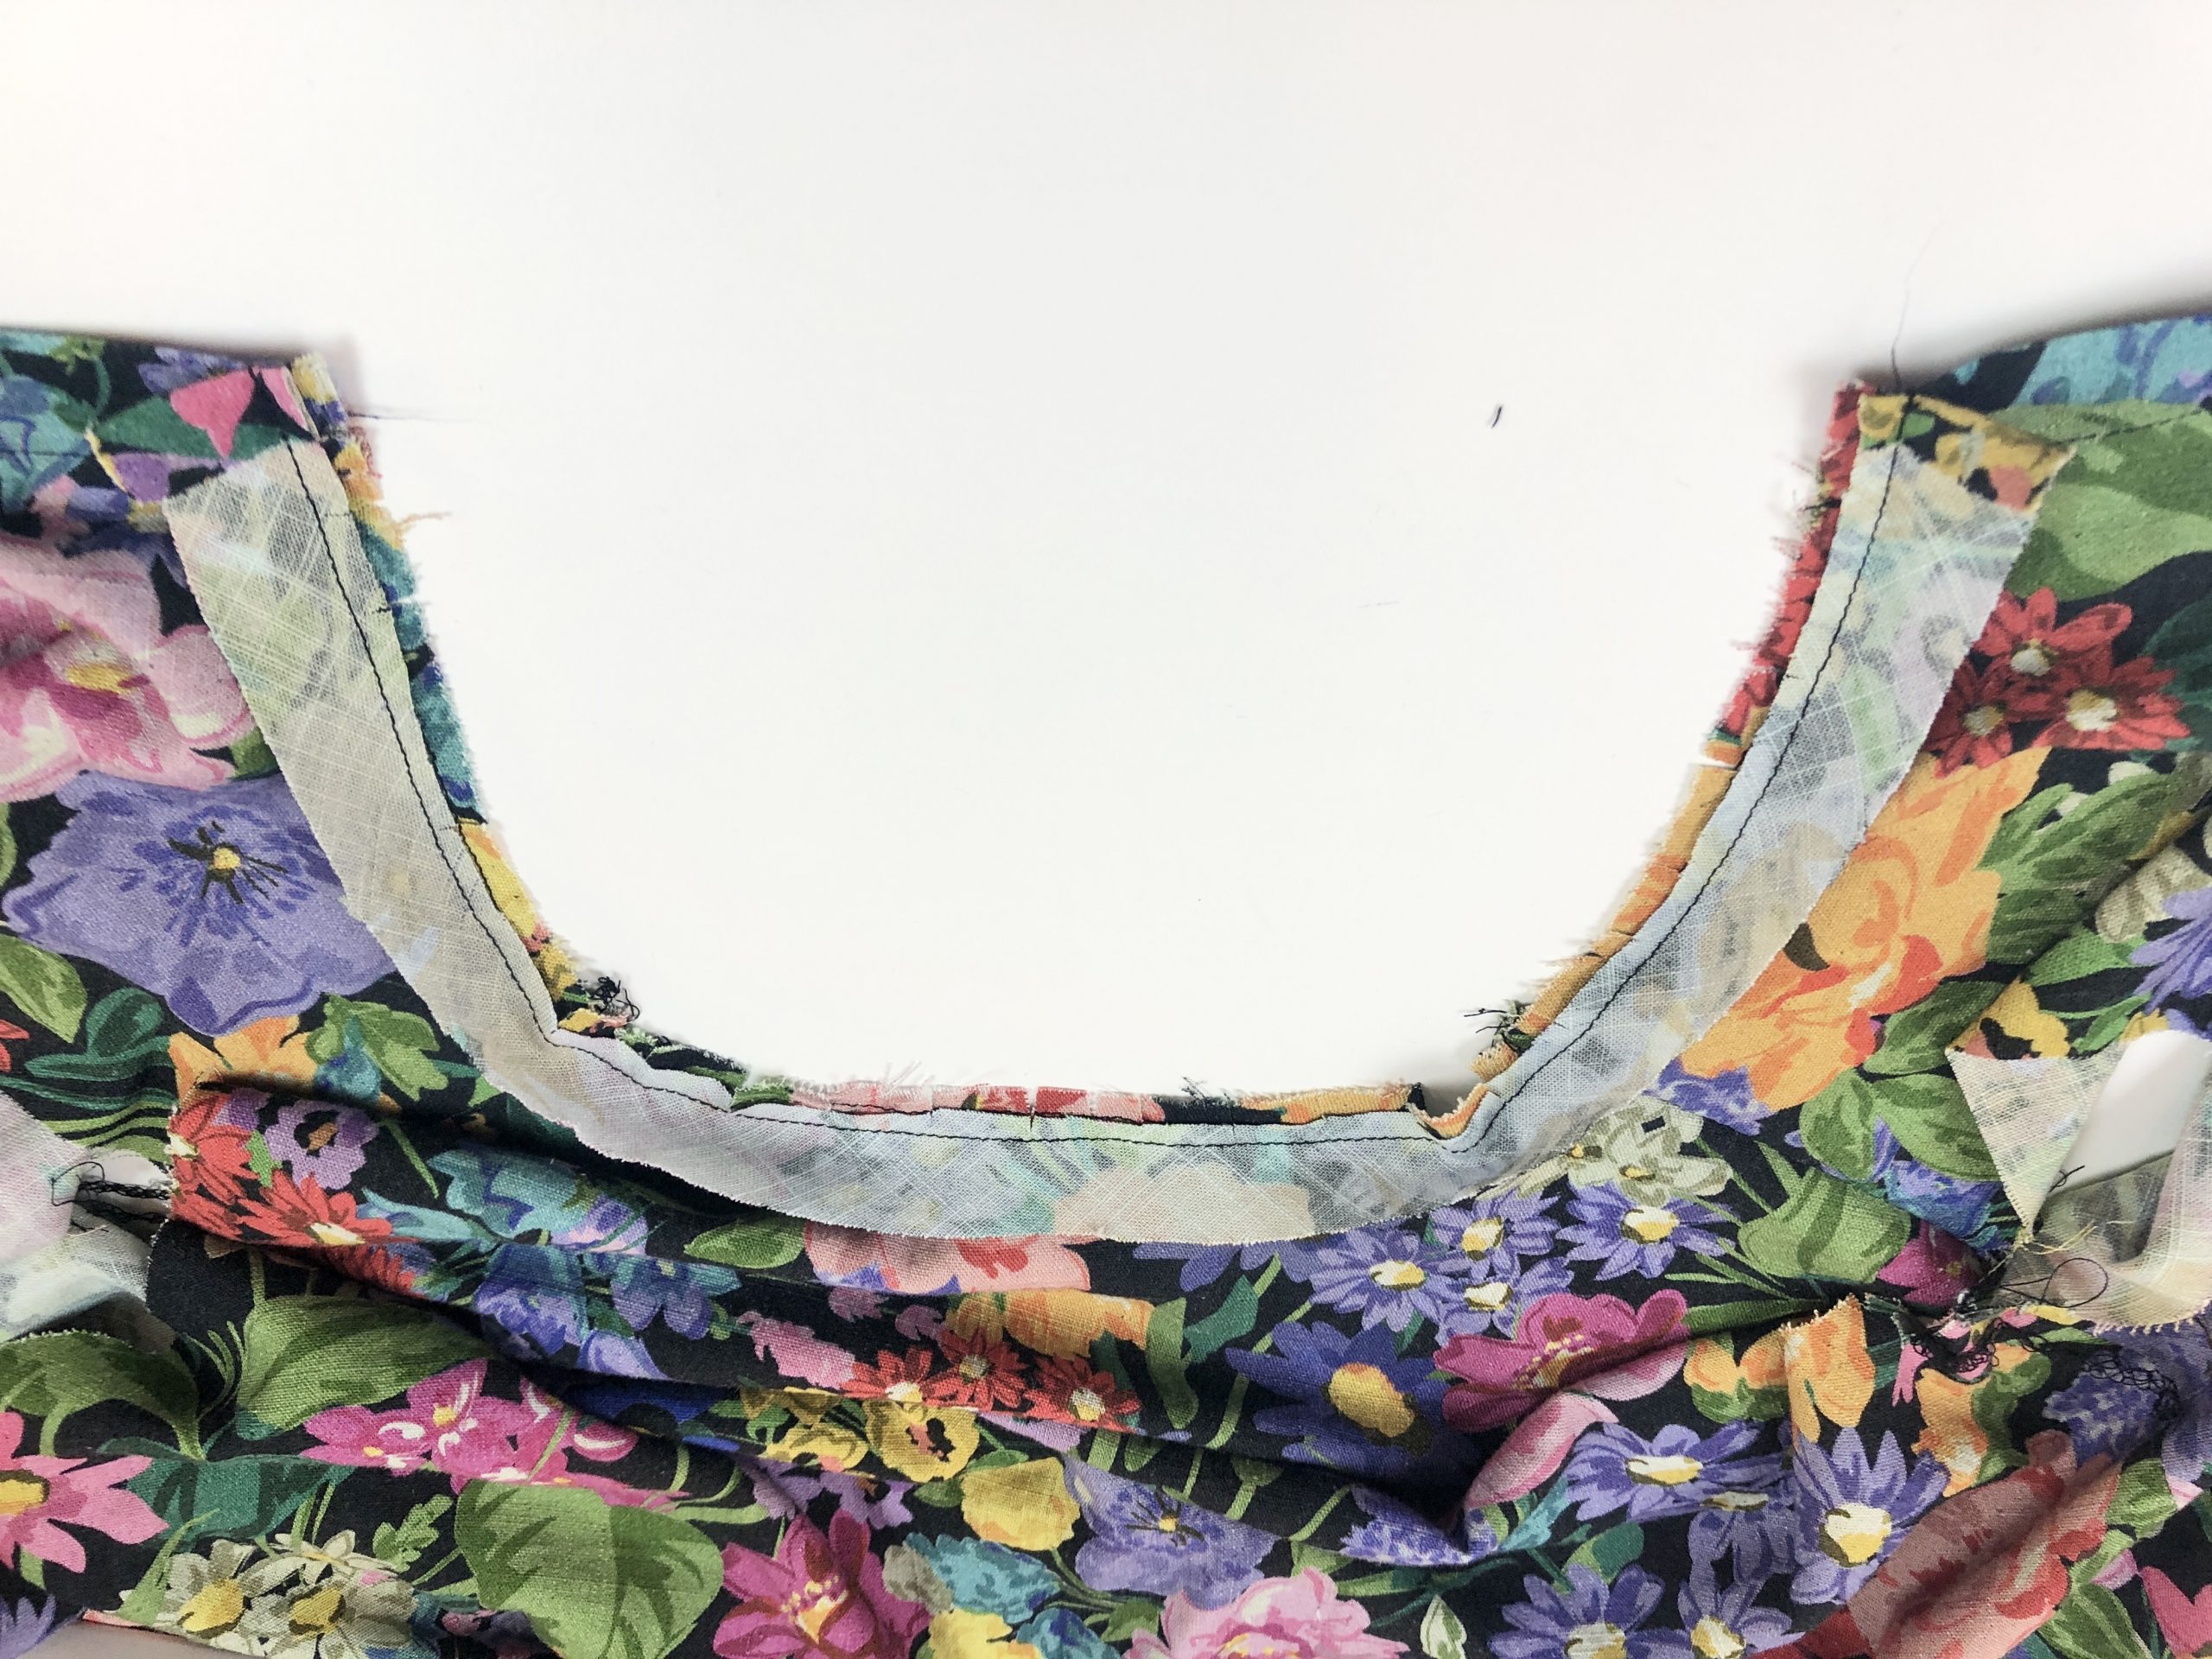
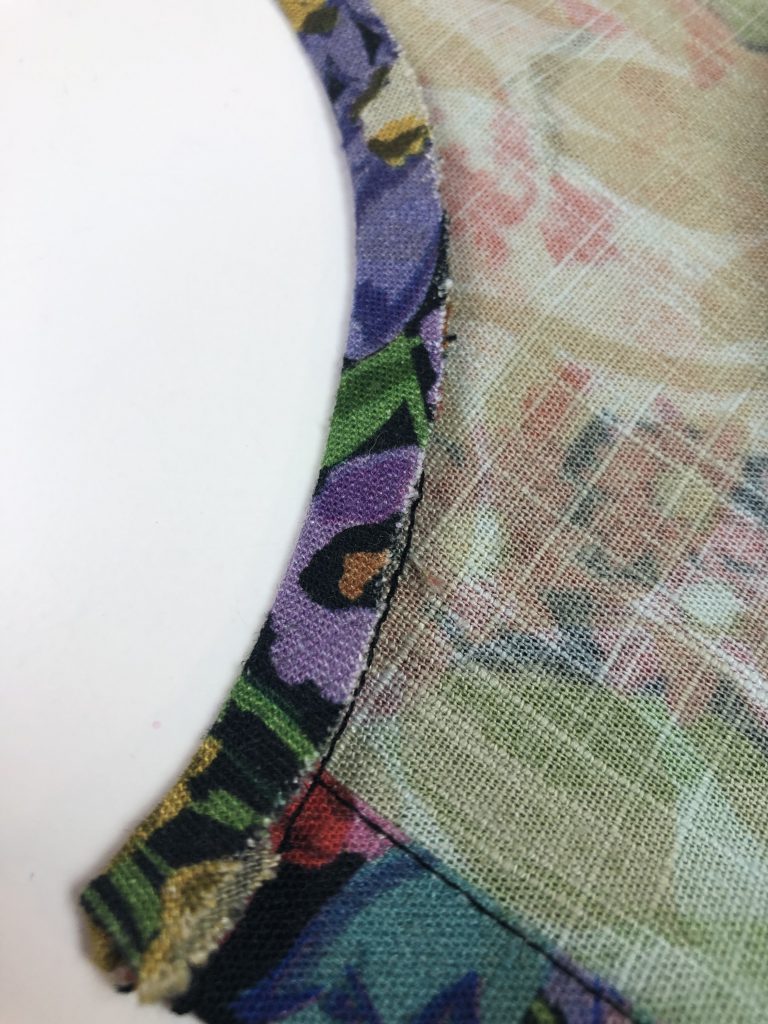
As the fabric is a medium weight I chose to trim, layer and clip the seam allowance around the neckline to reduce some of the bulk before the neckline binding was understitched.
I used the blind hemming foot again to keep the understitching an equal distance from the seam line.
If you’re wondering what on earth understitching is then you’re probably not alone.
Understitching is like magic – it helps bindings, facings or linings stay in place on the inside of a garment and stops them from rolling over to the outside of the garment.
Understitching is a line of stitching sewn using a regular length of stitch (2.5mm in my case). The stitching is done from the right side of the binding, facing or lining and goes through the binding and seam allowance, but not through to the main garment fabric. It can only be seen on the inside or wrong side of the garment.
If you want to see how this is done, then see my video below on how to attach a facing. The instructions for sewing the understitching start from 11:42 but you can see the preparation before this of trimming, layering and clipping the seam allowance.
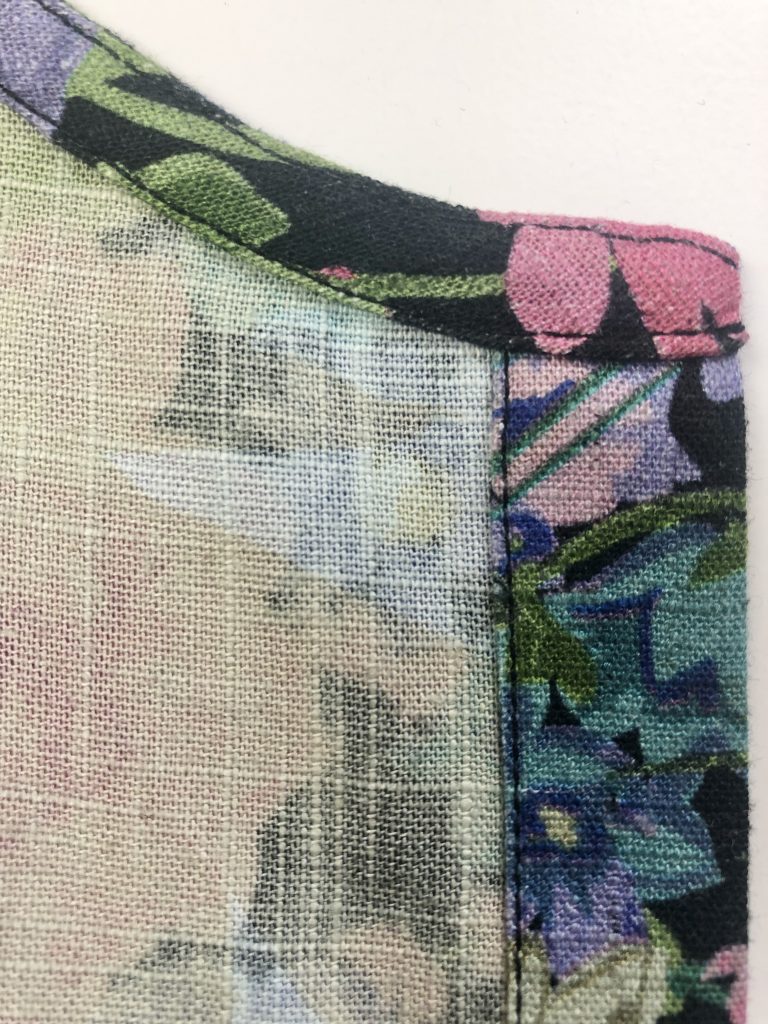
After understitching, the binding is turned under at the raw edge and pressed.
The raw edge of the binding should meet the previous seam line of the binding.
The binding is turned under again to sit on the inside of the garment, and edgestitched to finish.
After finishing the binding, give the garment a really good press around the neckline.
Constructing the Sleeves and Cuffs
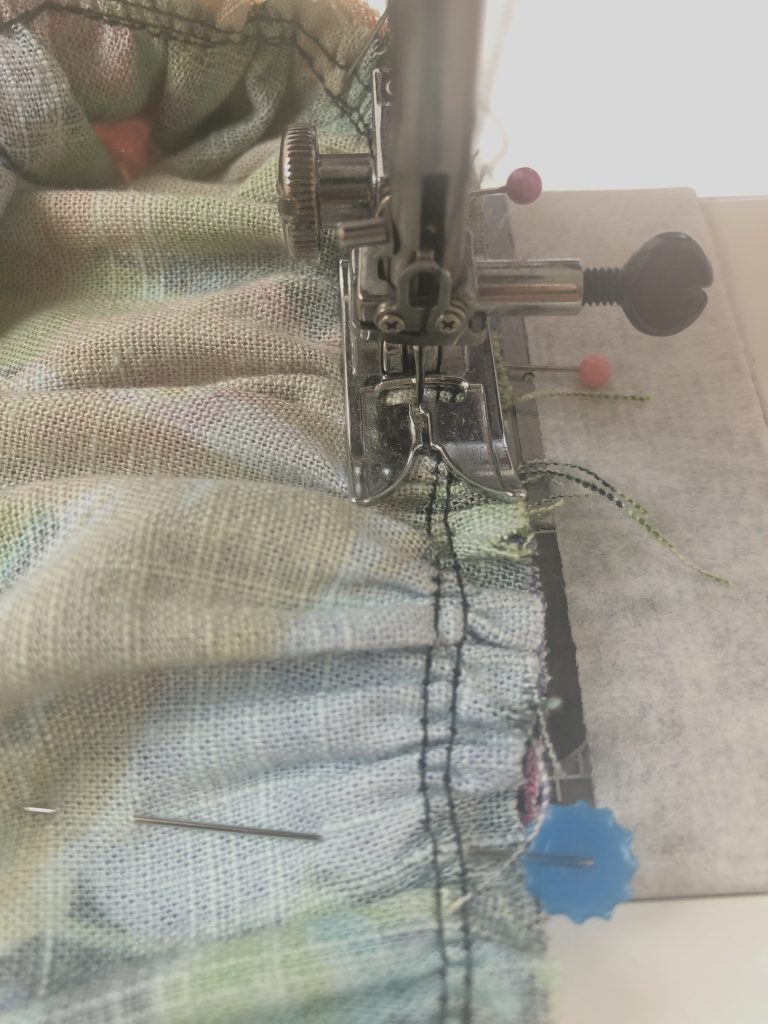
The next stage in construction is to add the lines of gathering to the sleeve head and sleeve cuff.
There are different approaches to gathering fabric and I prefer to place two lines of long machine stitches within the seam allowance so that once the seam is made I don’t need to unpick or pull out any stitching that shows beyond the seam line.
At the head of the sleeve and at the cuff I placed the long machine stitches 8mm and 6mm from the raw edge so these were hidden after sewing the seams.
To help with distributing the gathering at the cuff I cut a small snip to mark the centre of the lower edge of the sleeve and the centre of the cuff.
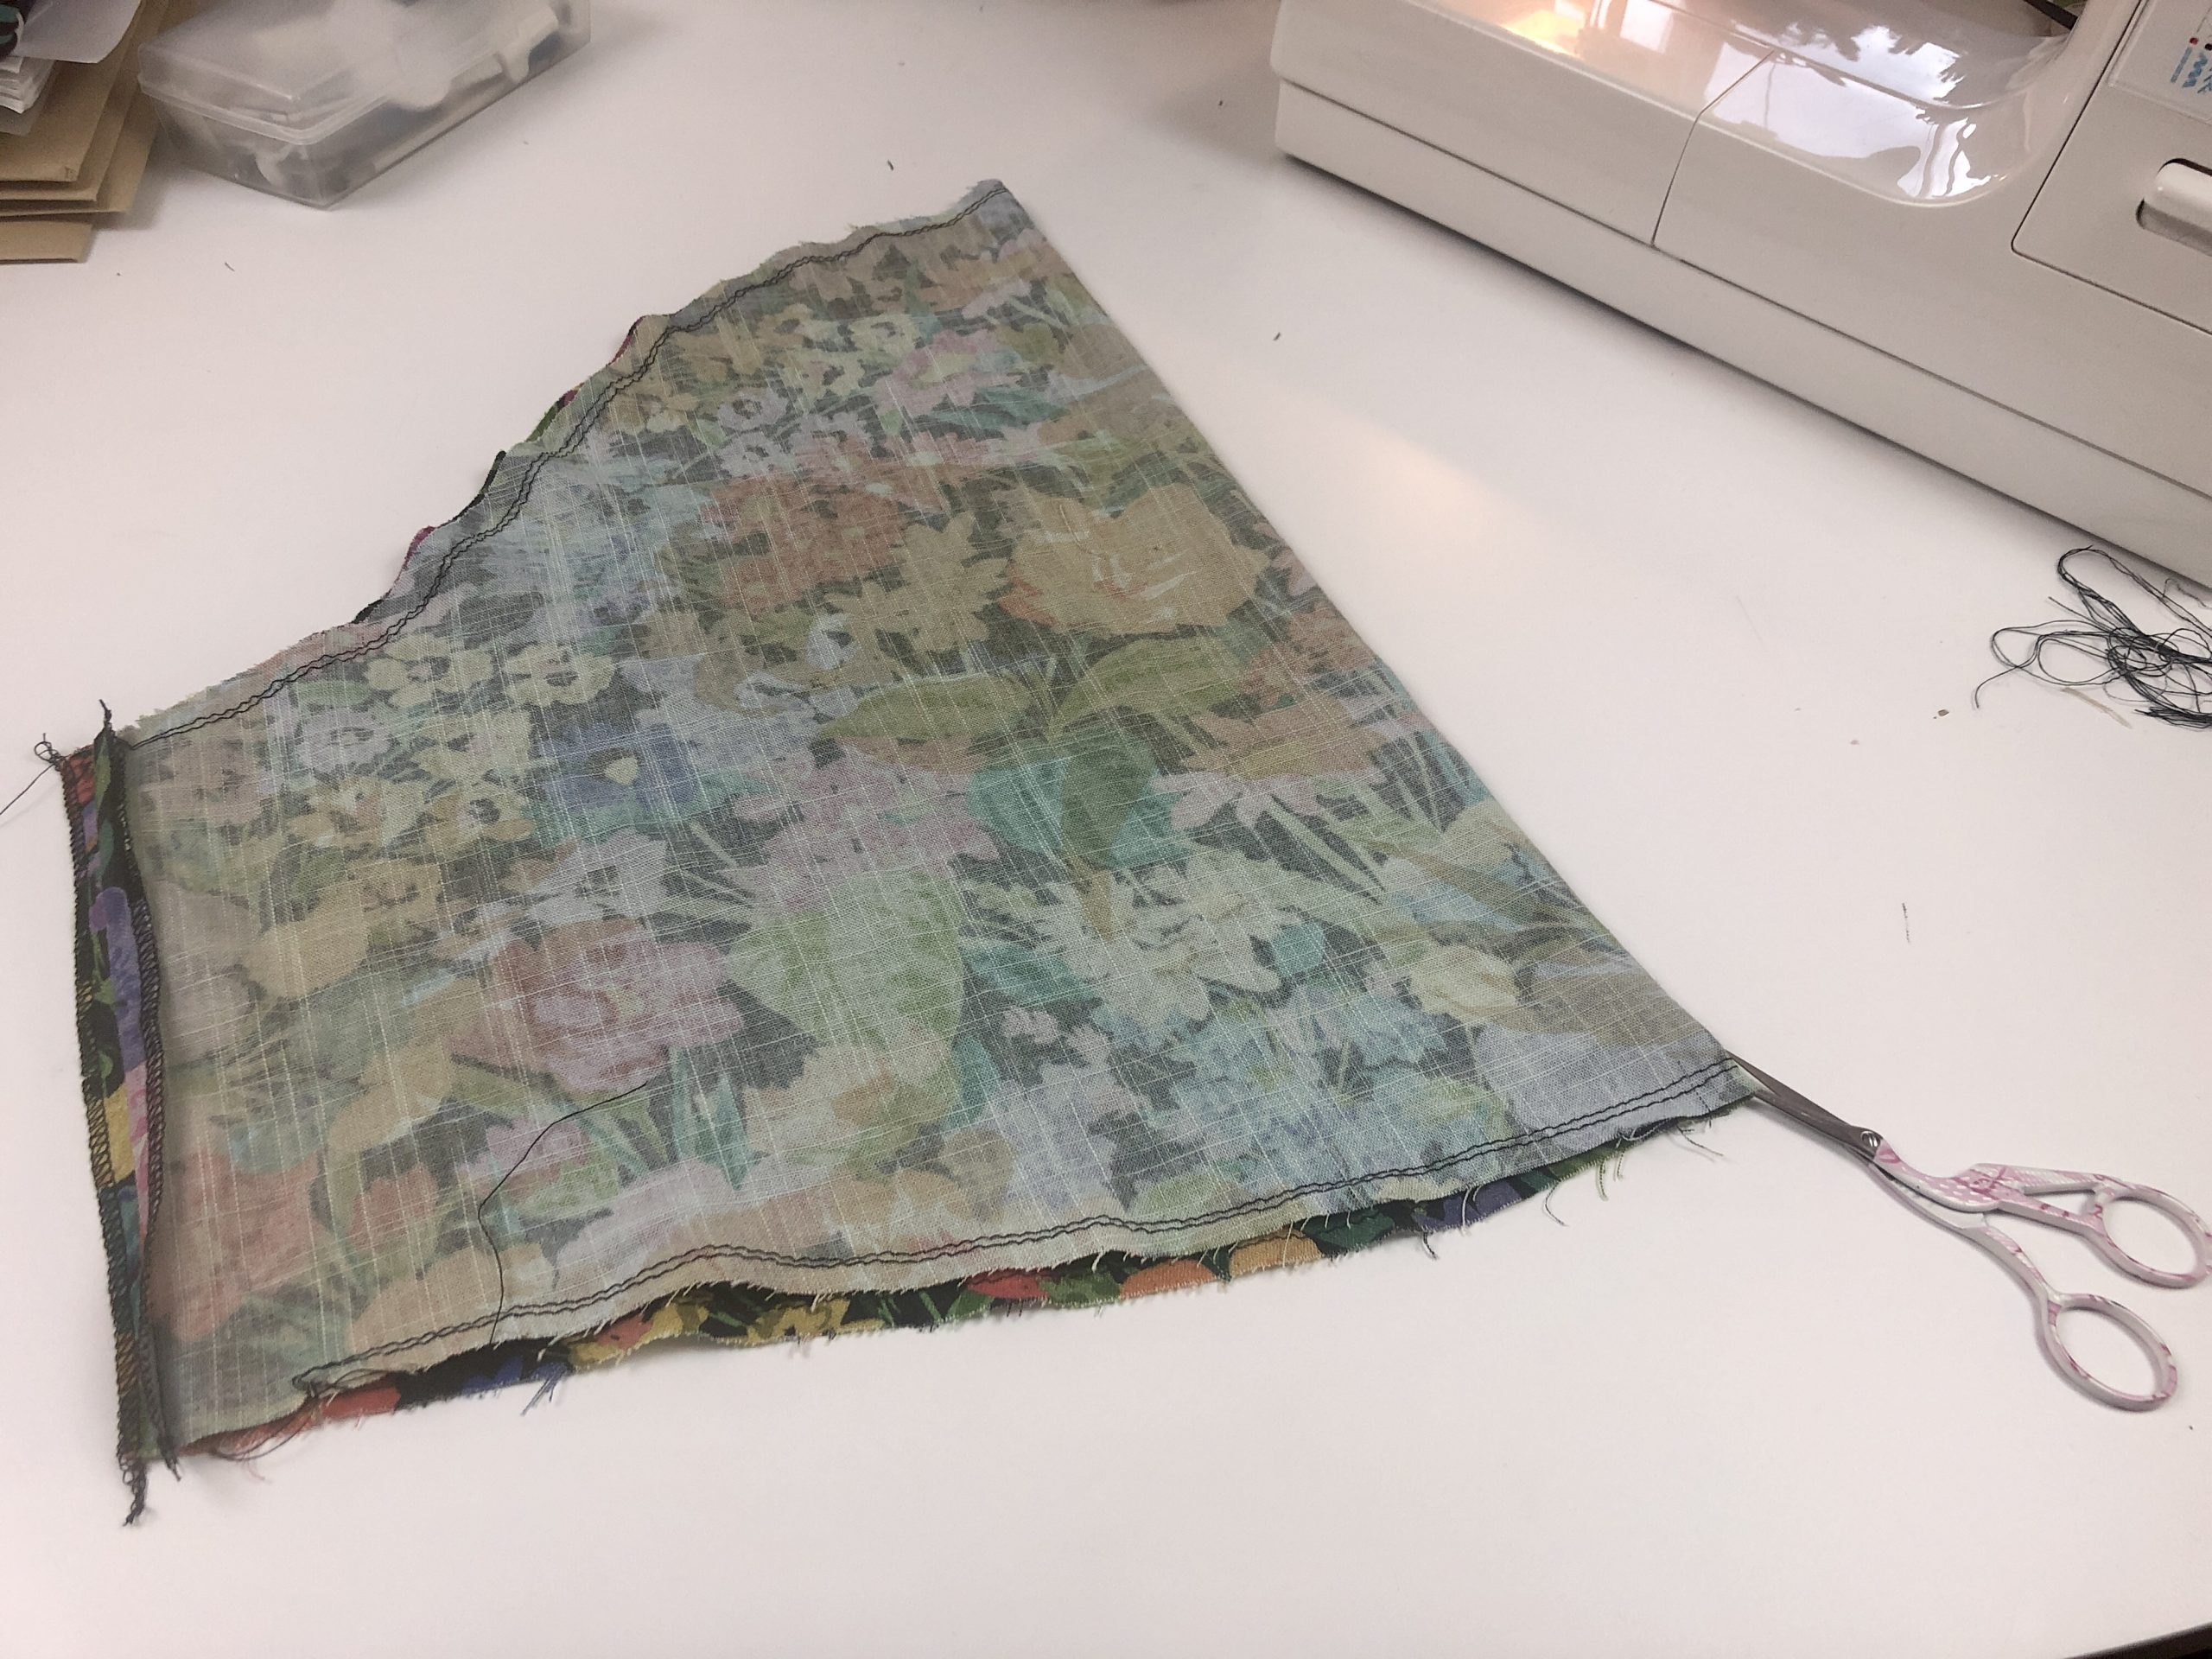
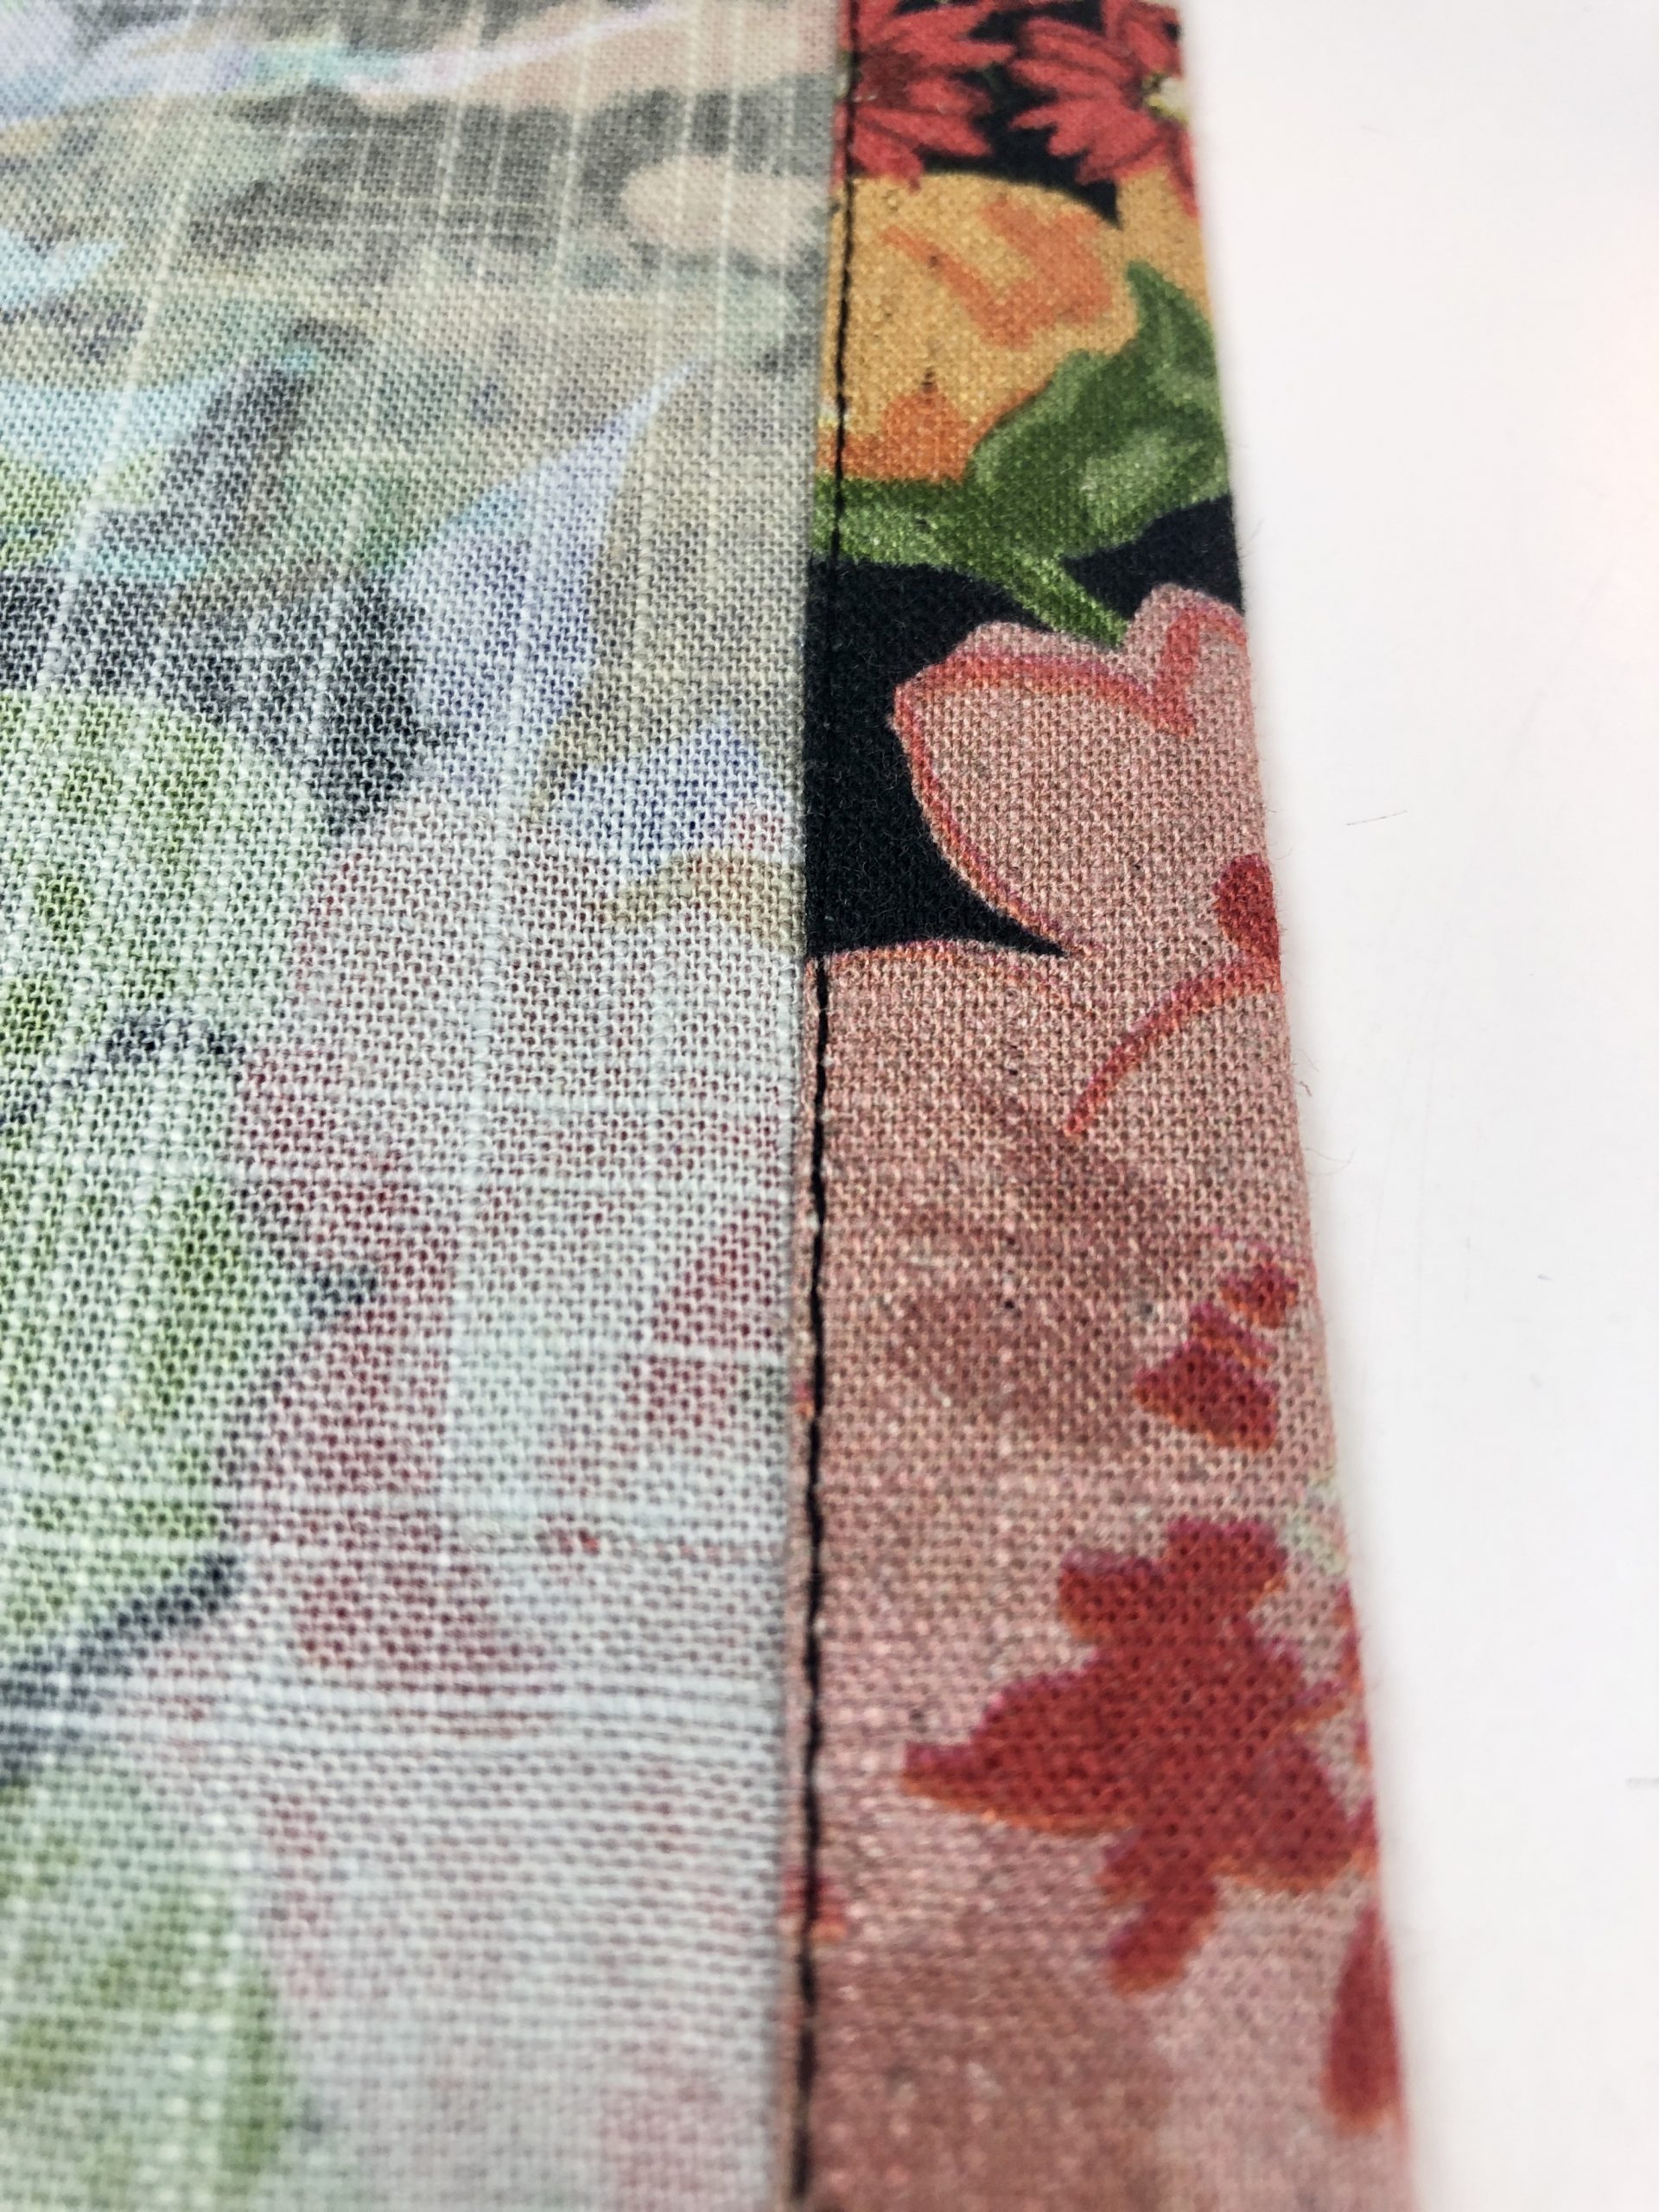
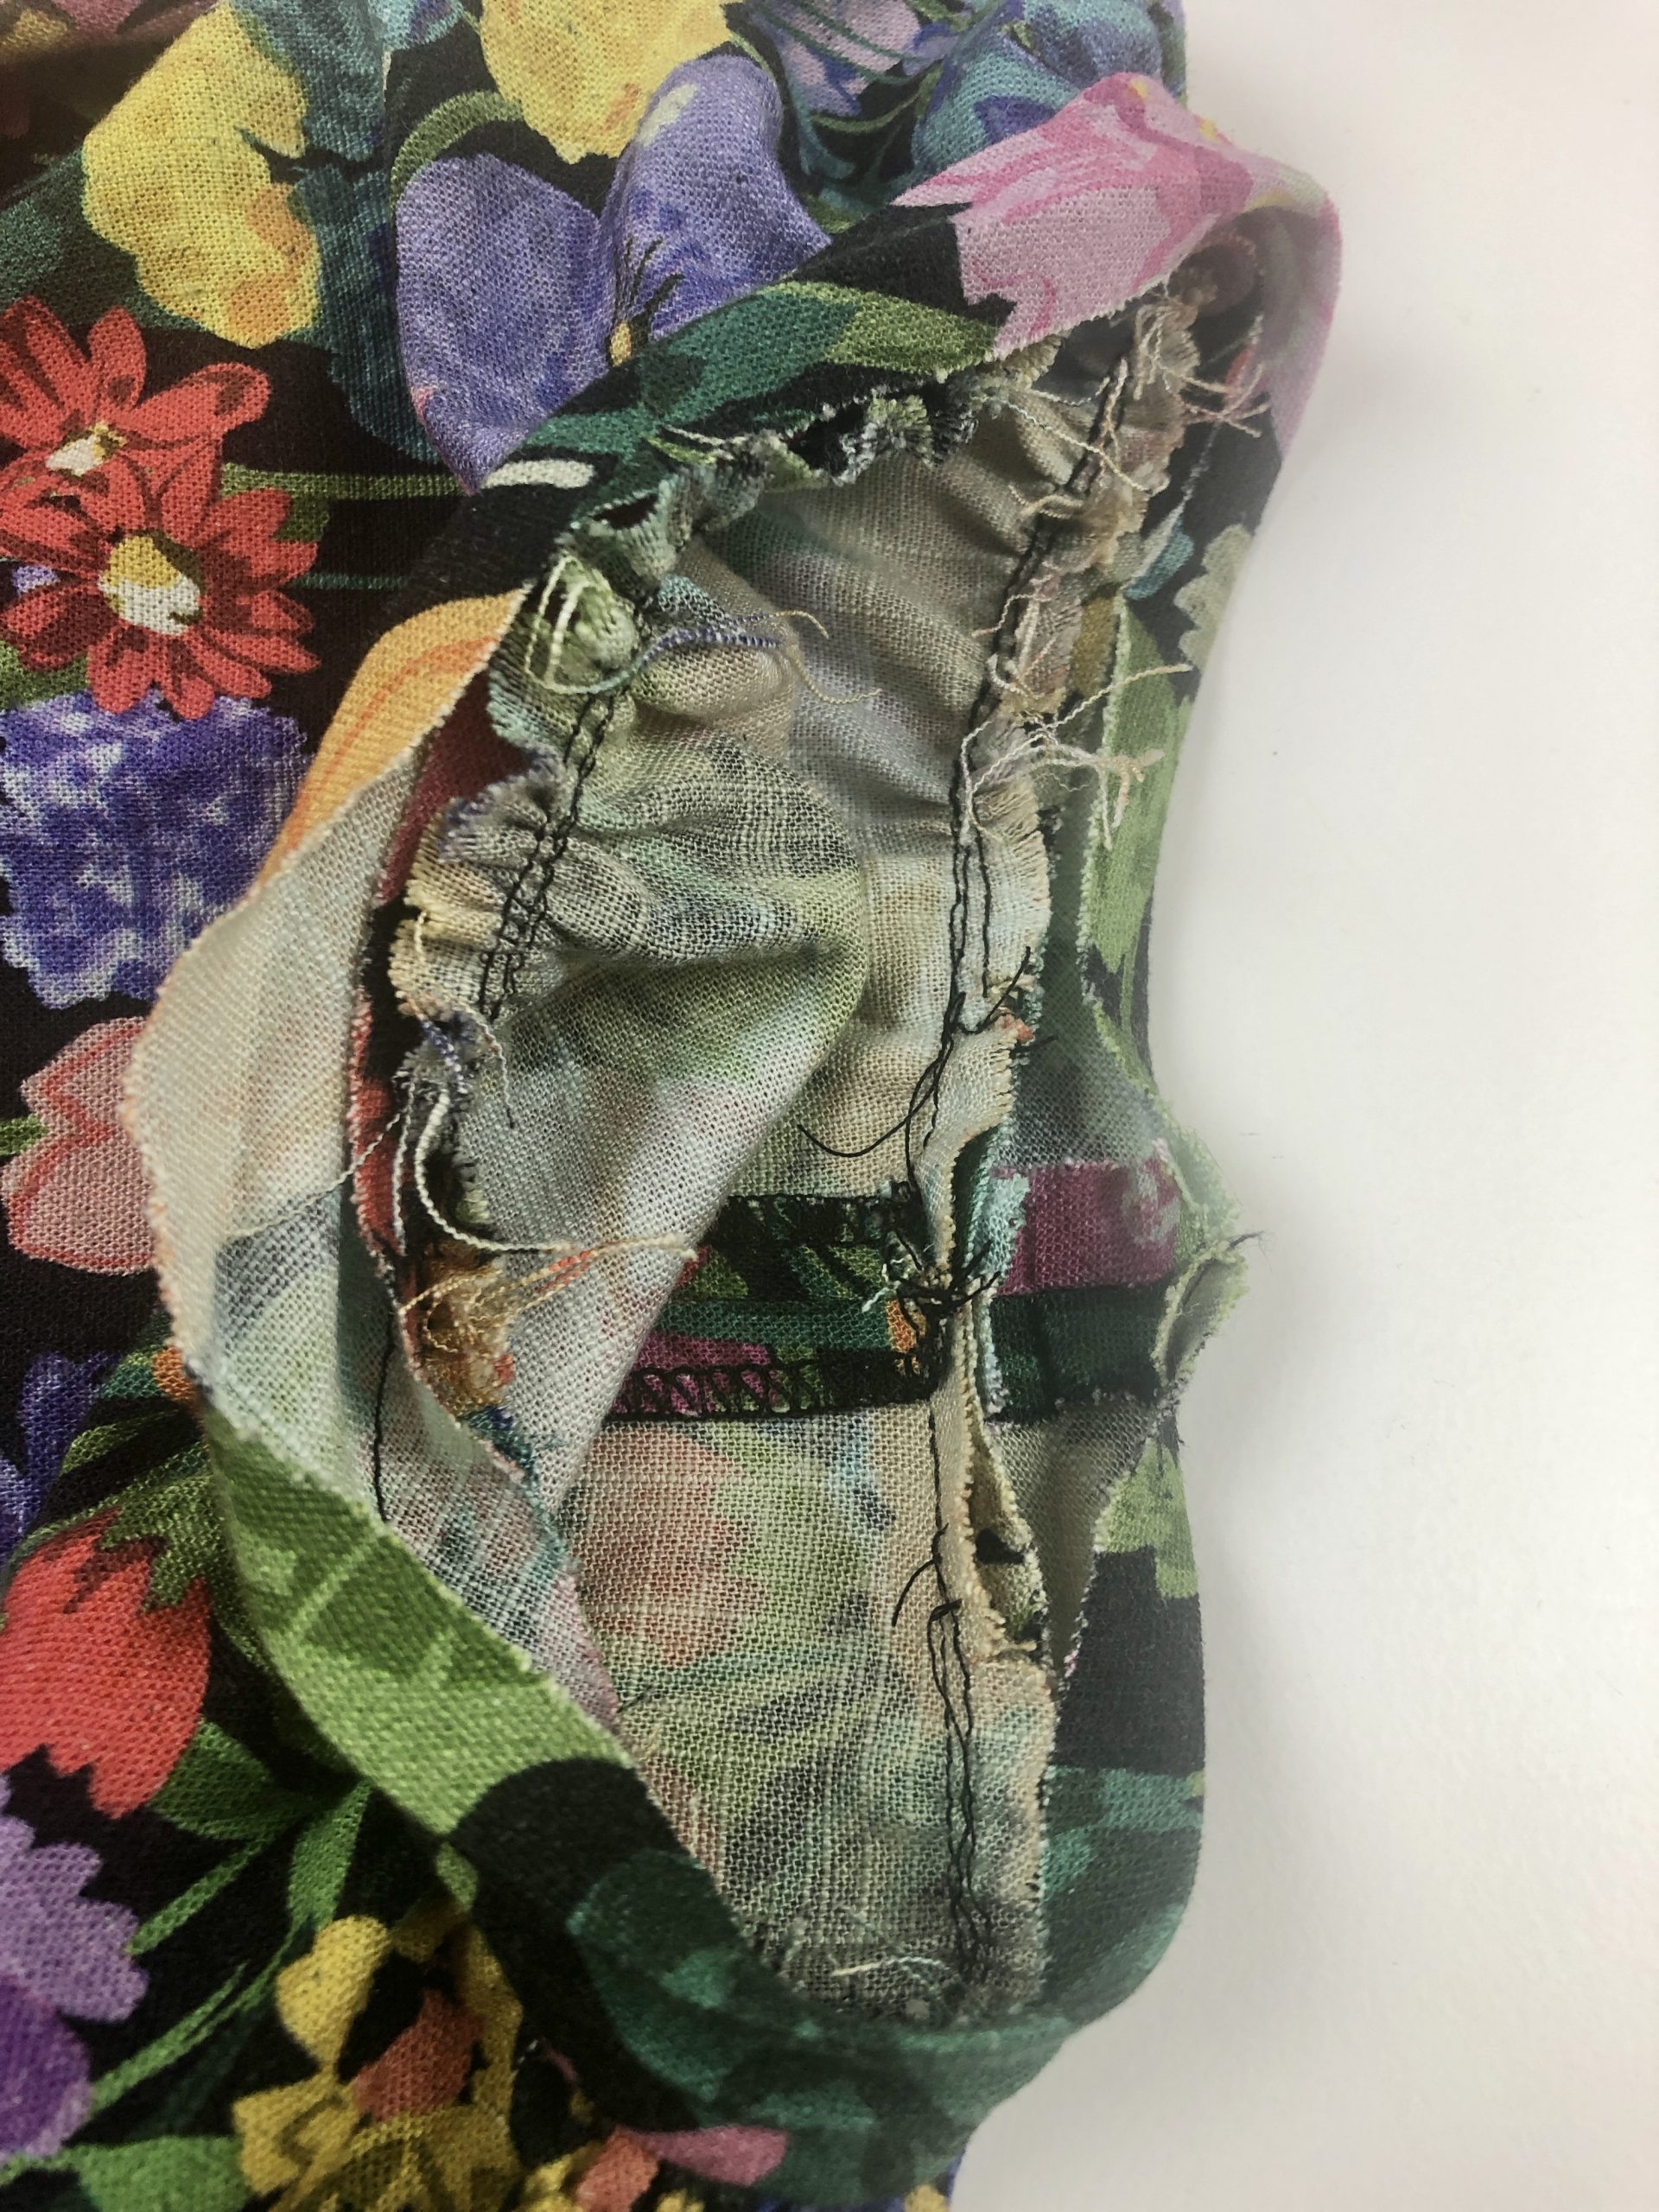
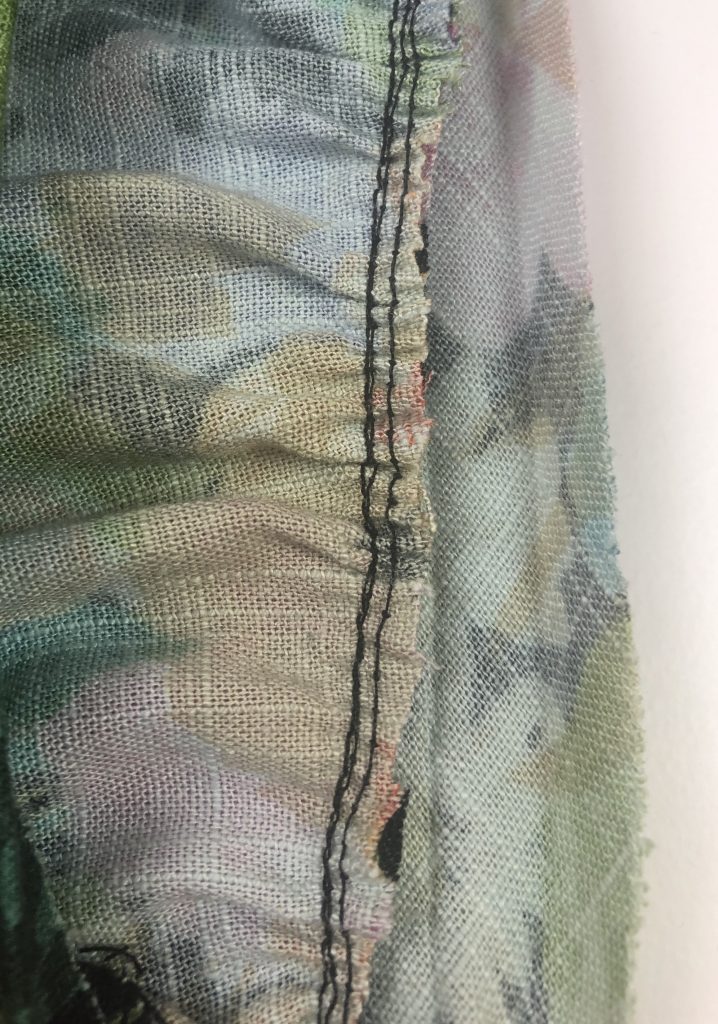
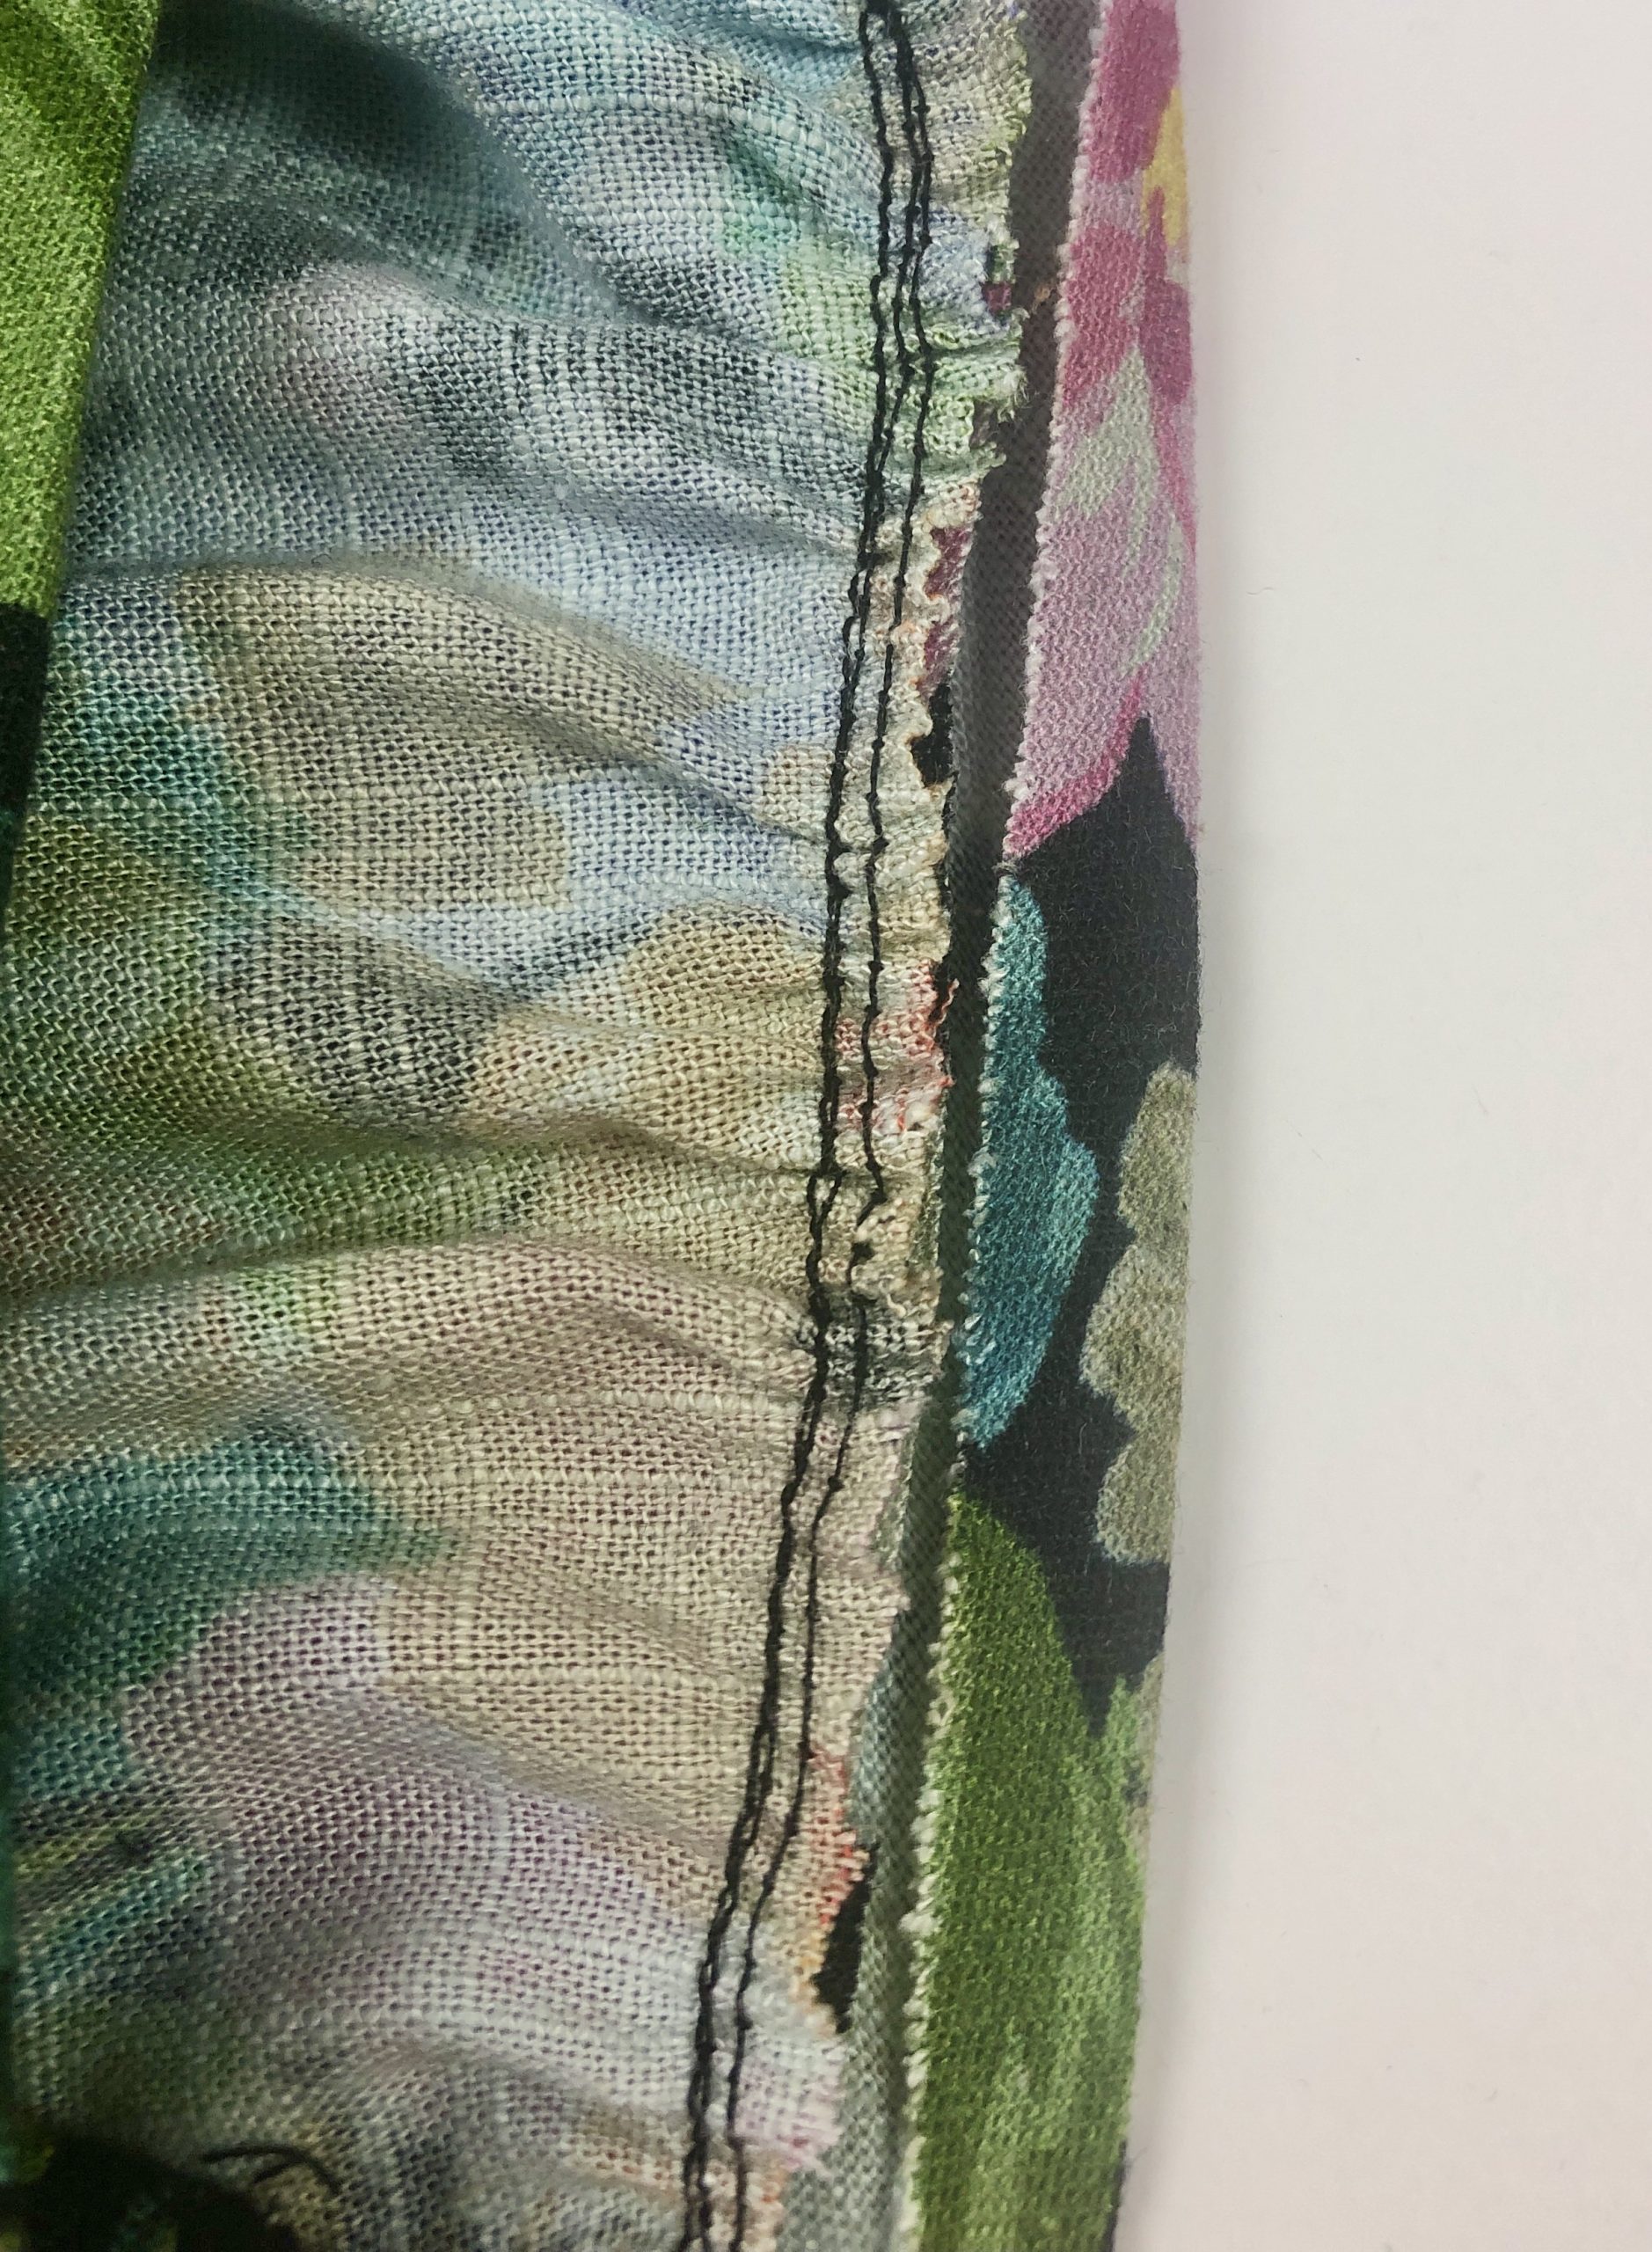
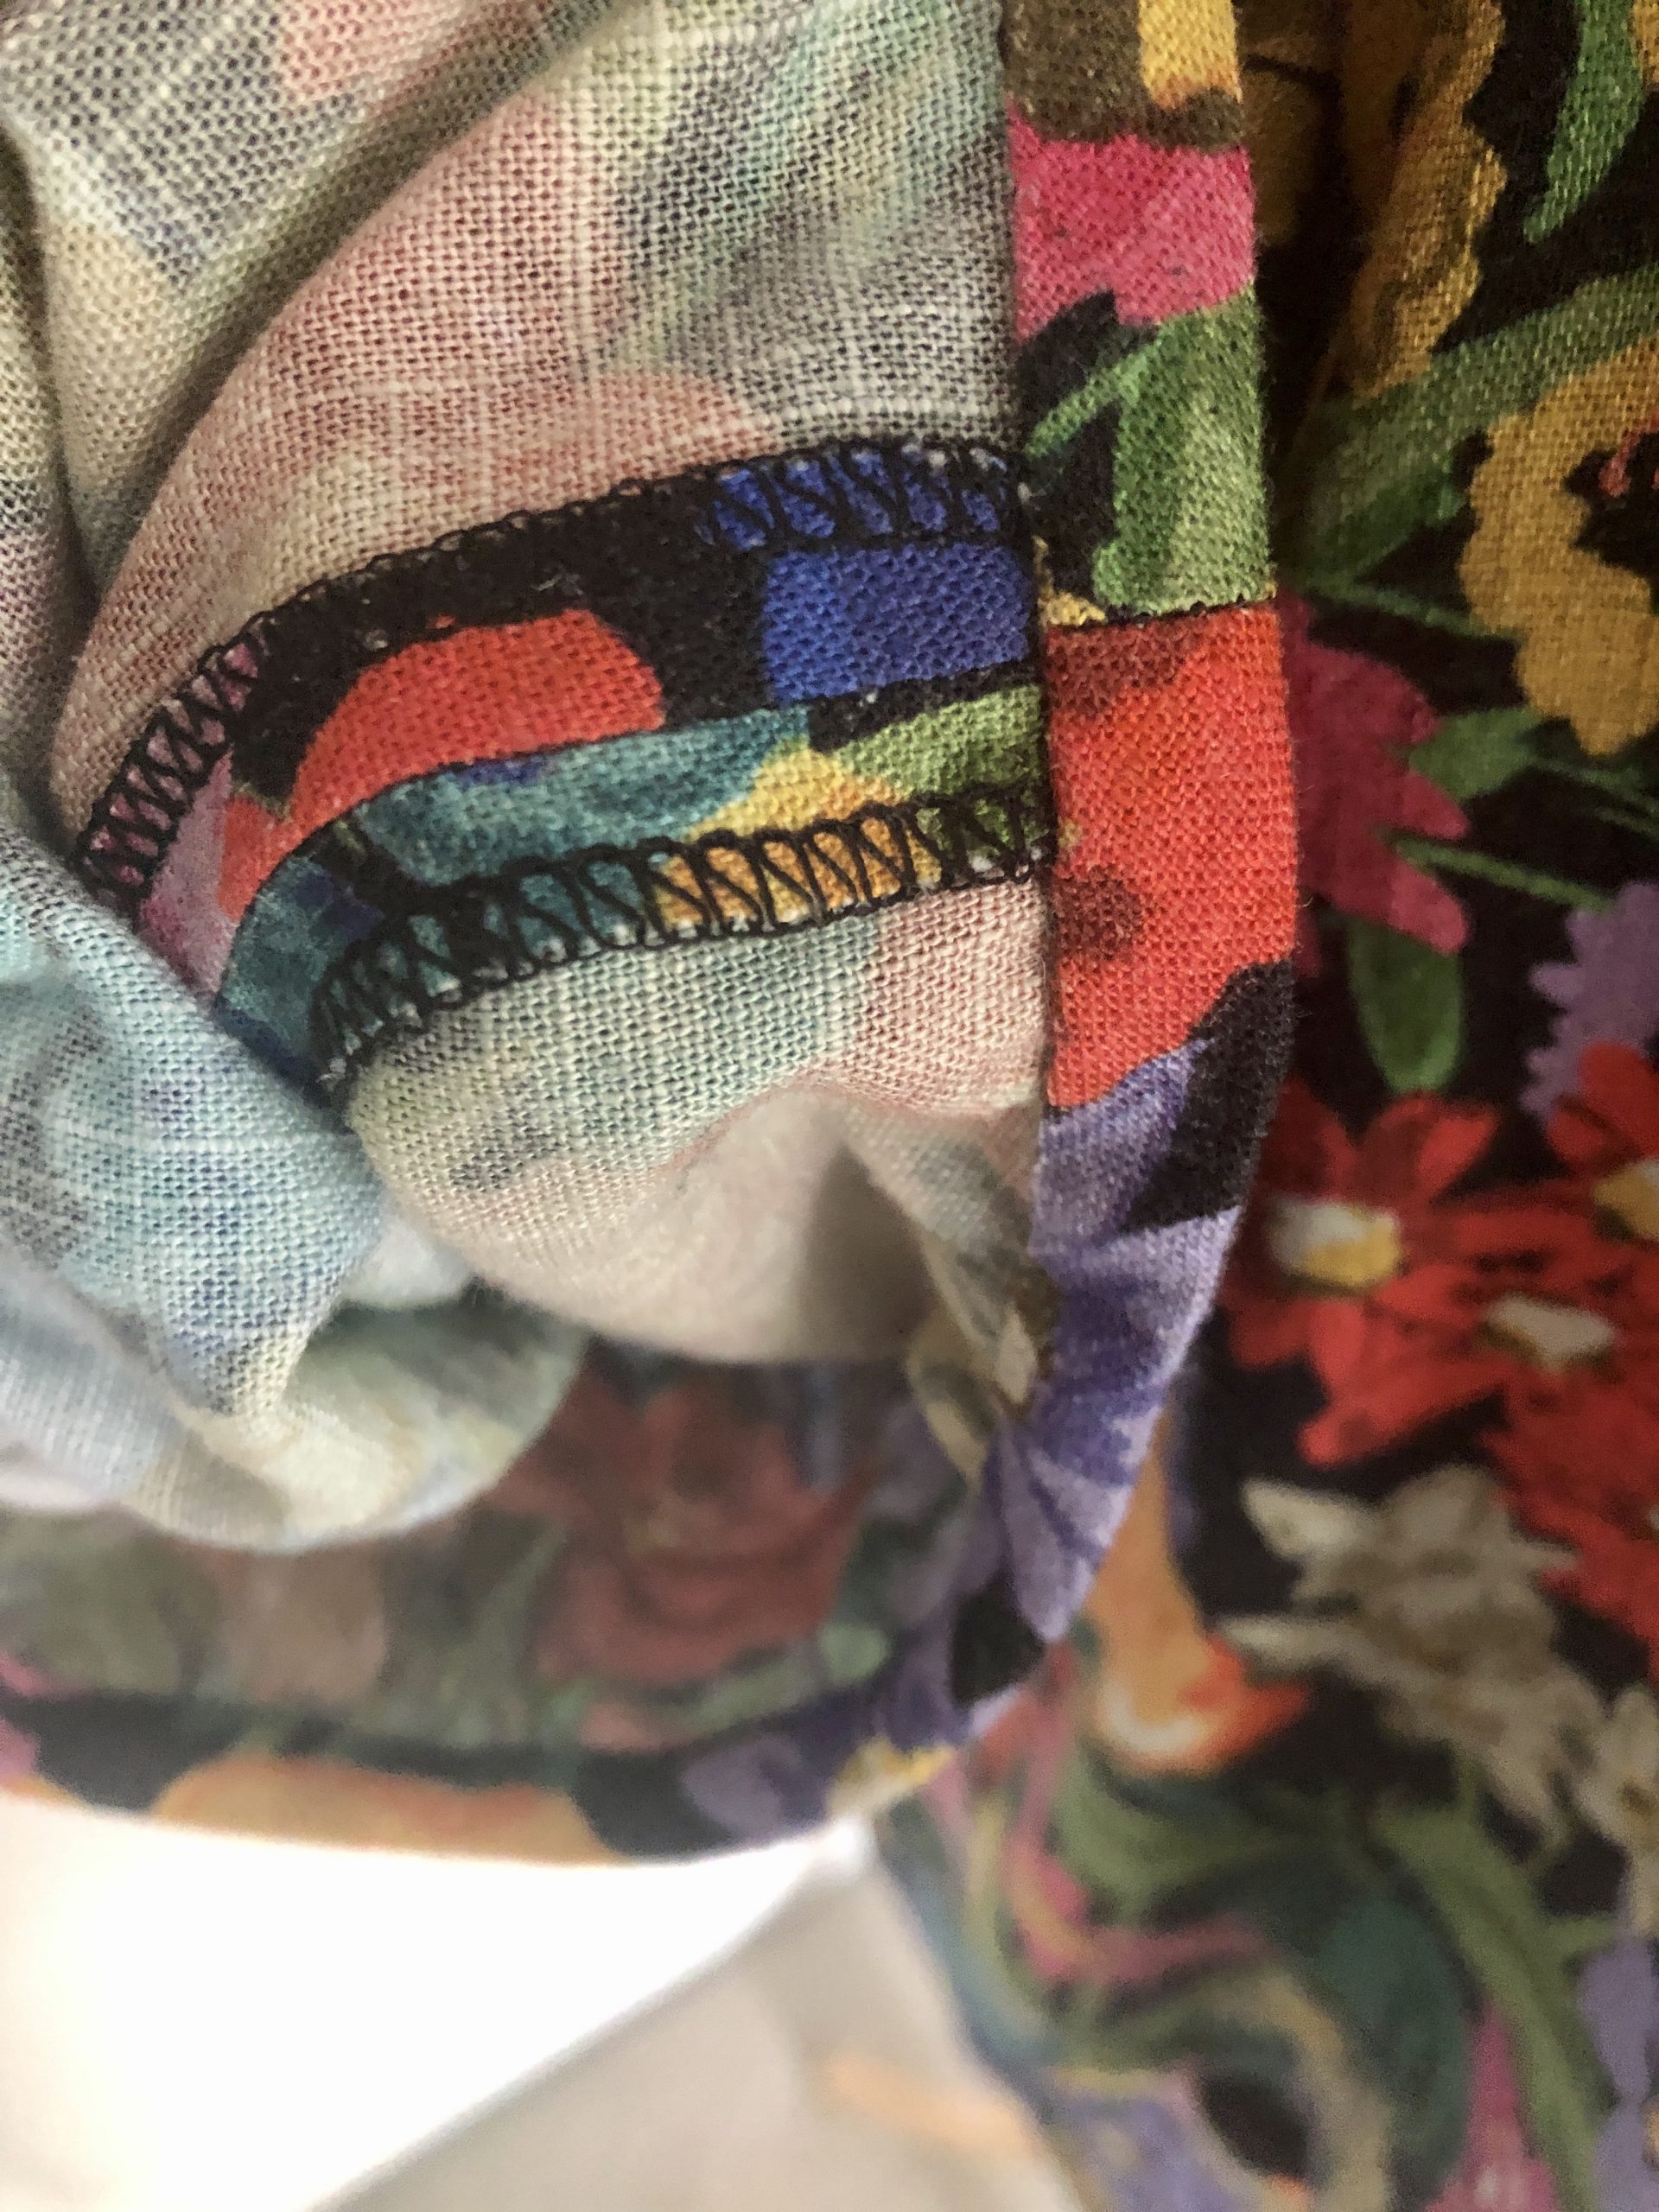
After the lines of gathering are put in place, the sleeve seams are sewn and edge finished.
I edge finished the seam allowances separately again and pressed these open as you can see in the image above.
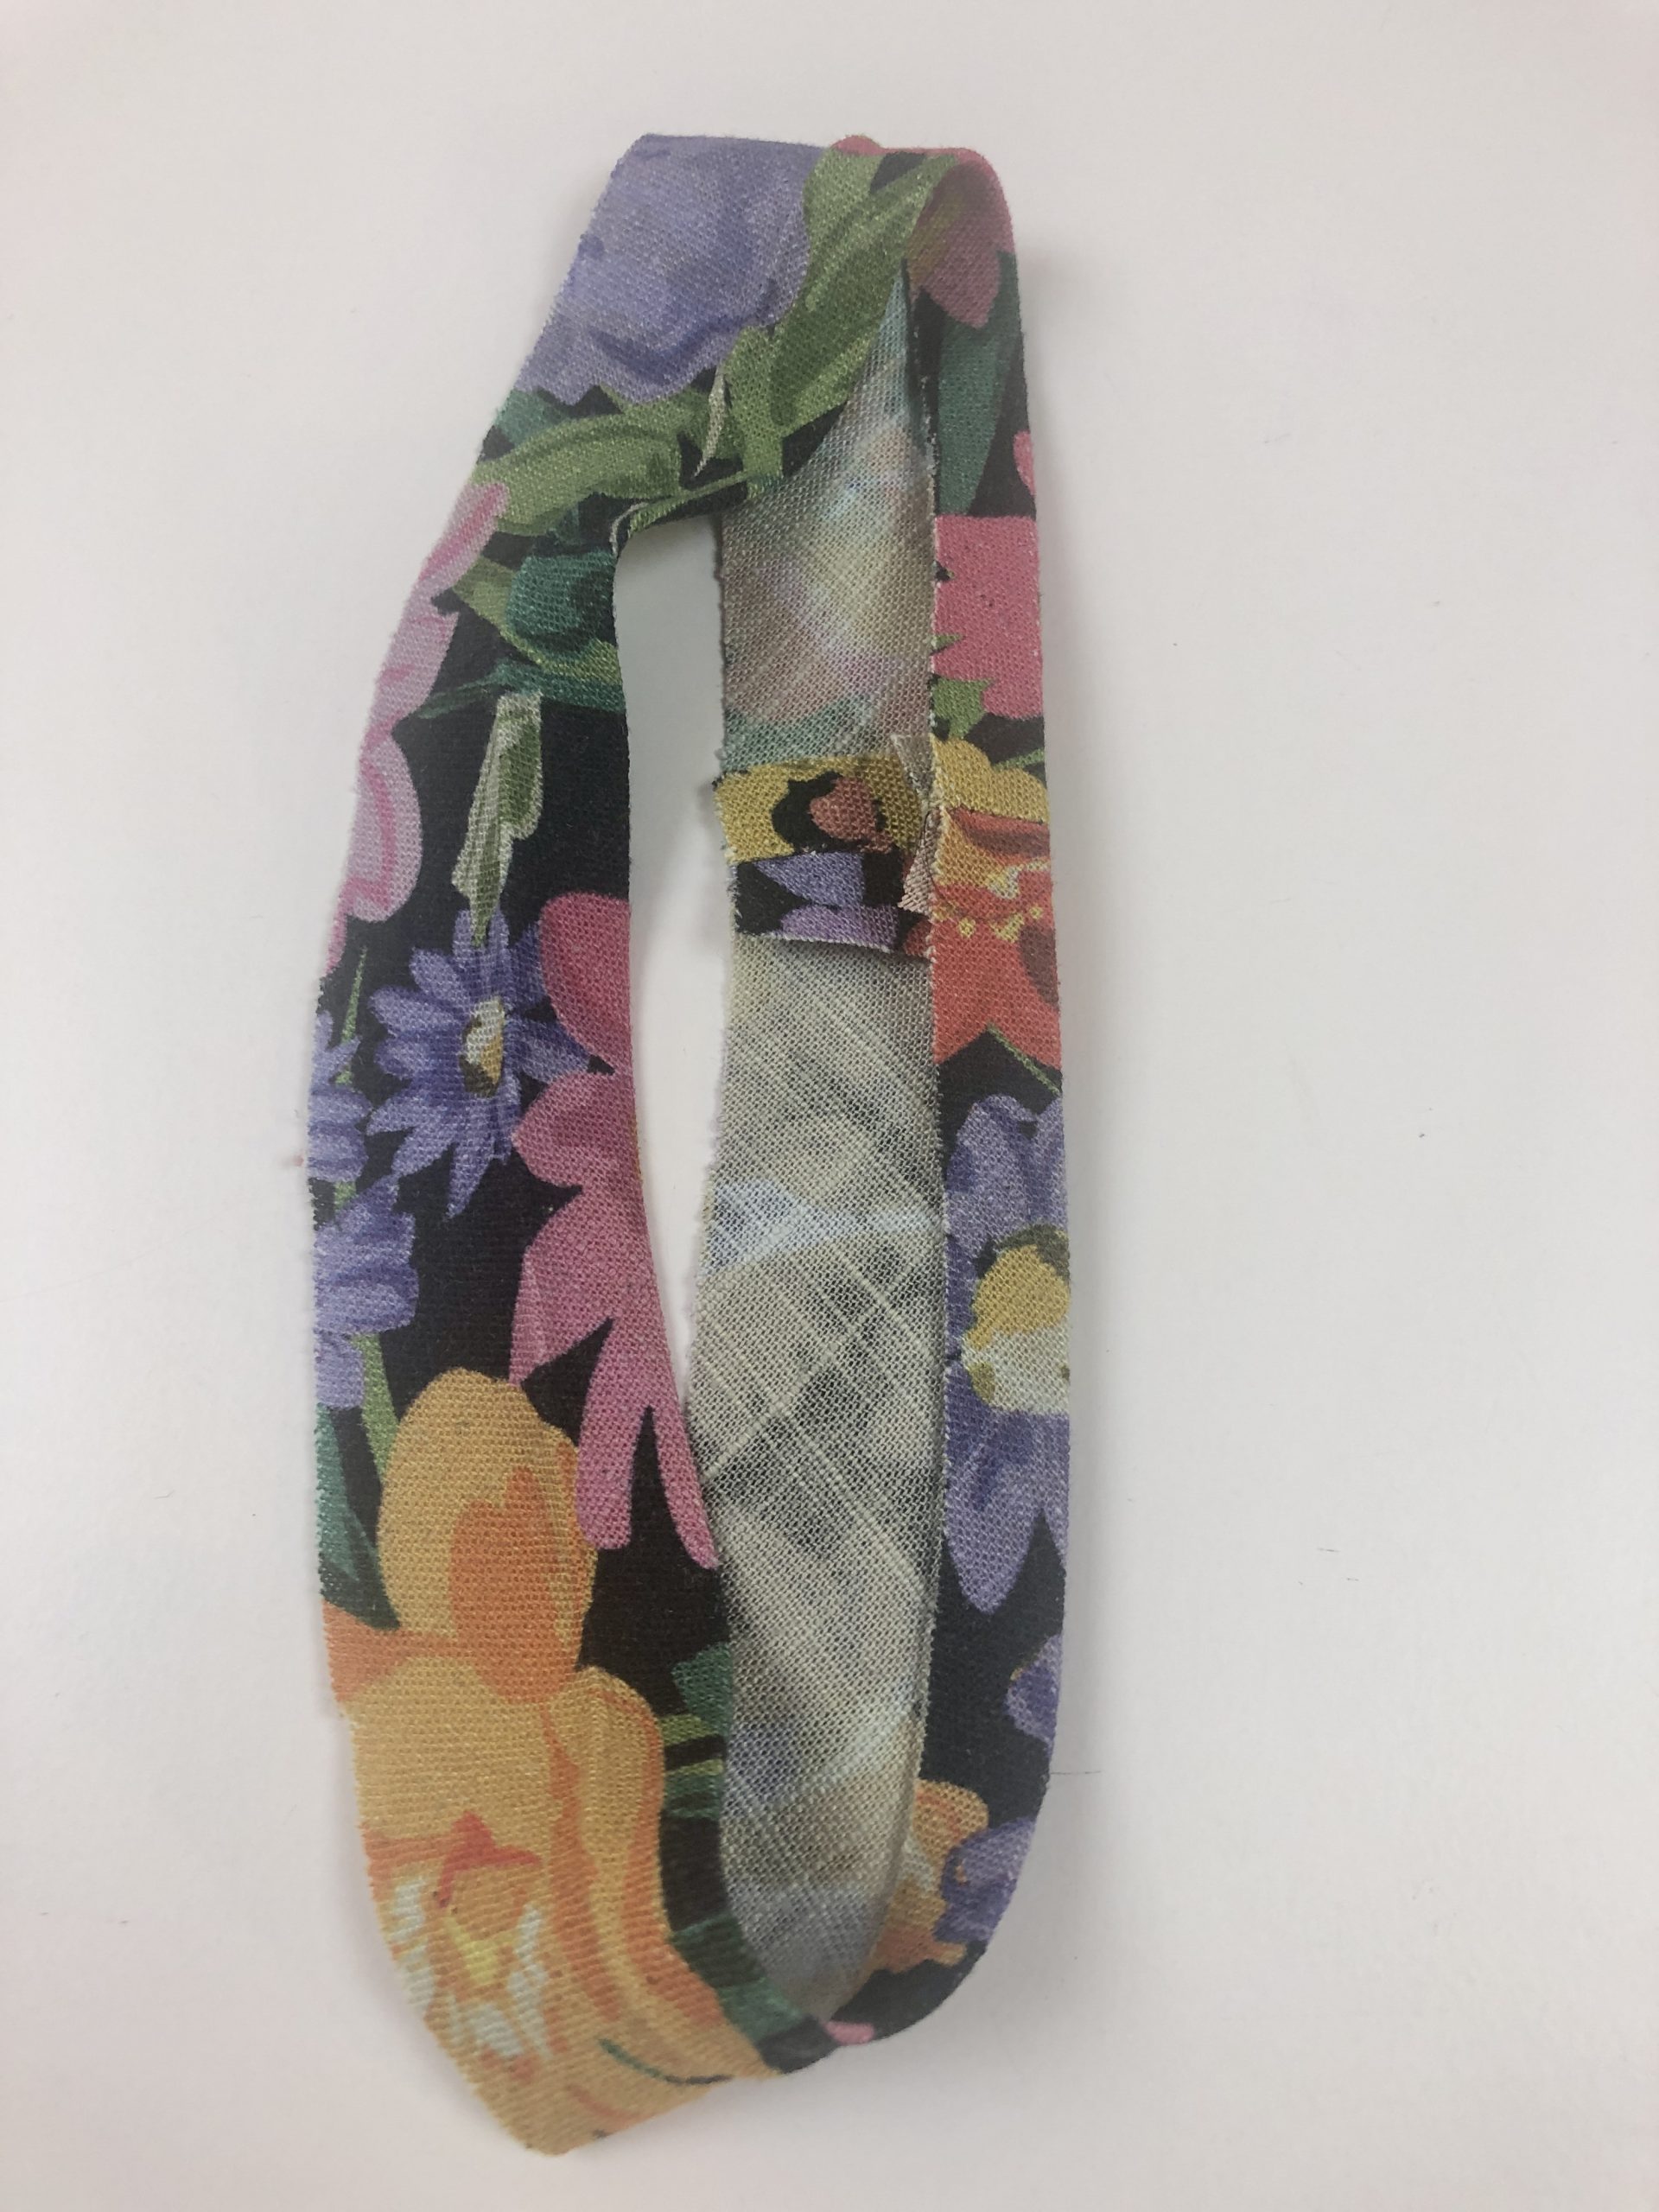
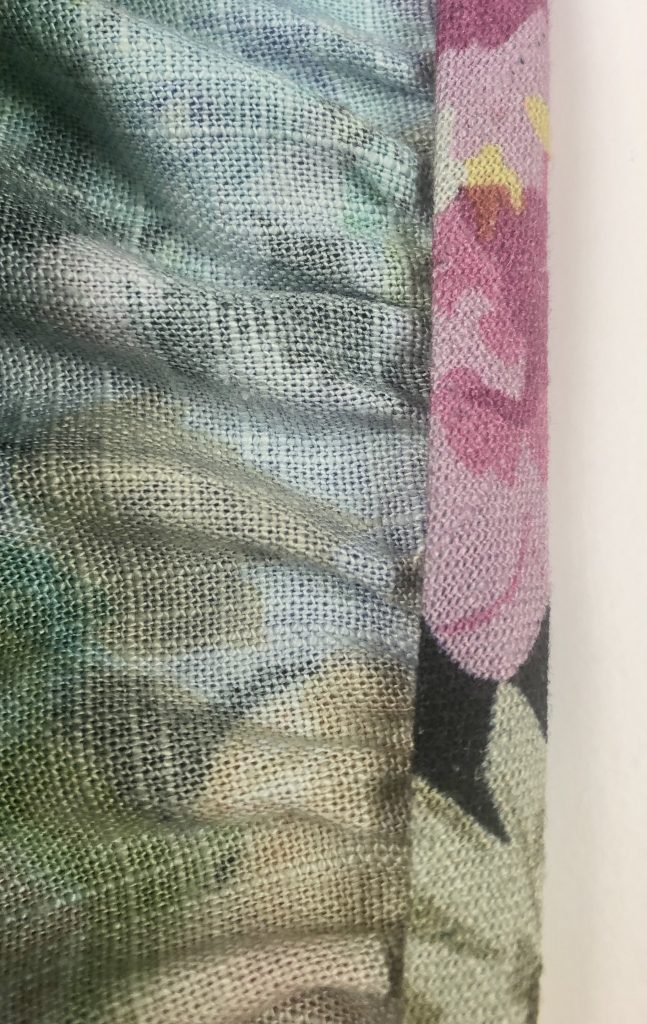
The seam of the cuff is then sewn and pressed open.
At this stage I pressed the cuff in half, to mark a crease line and then turned under one raw edge to the crease line.
These creases will help when you come to folding the binding into place in the following steps.
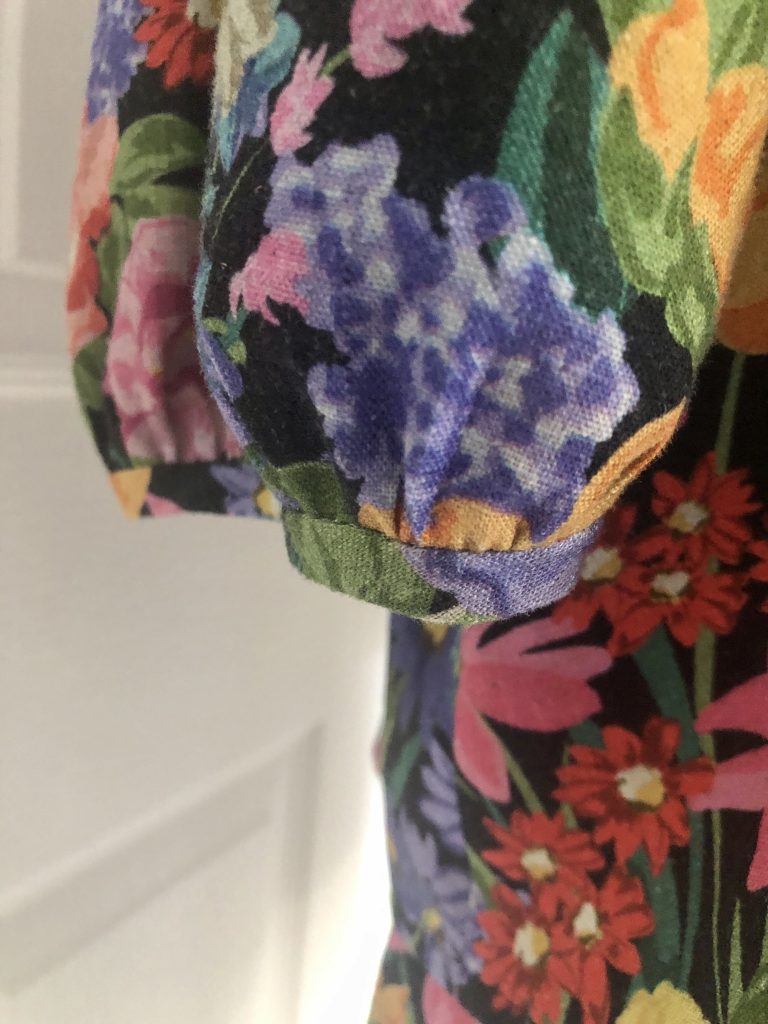
Attaching the Cuffs
Next, the cuffs are attached with right sides together, matching the seams.
I like to gather up the fabric on the sleeves before attaching the cuffs.
The centre snips on the sleeve and cuff helped here to distribute the gathering evenly.
I attached the unfolded cuff edge to the sleeve.
I then trimmed the seam allowance to reduce the bulk within the binding and to help with the next stage of creating even sized cuffs.
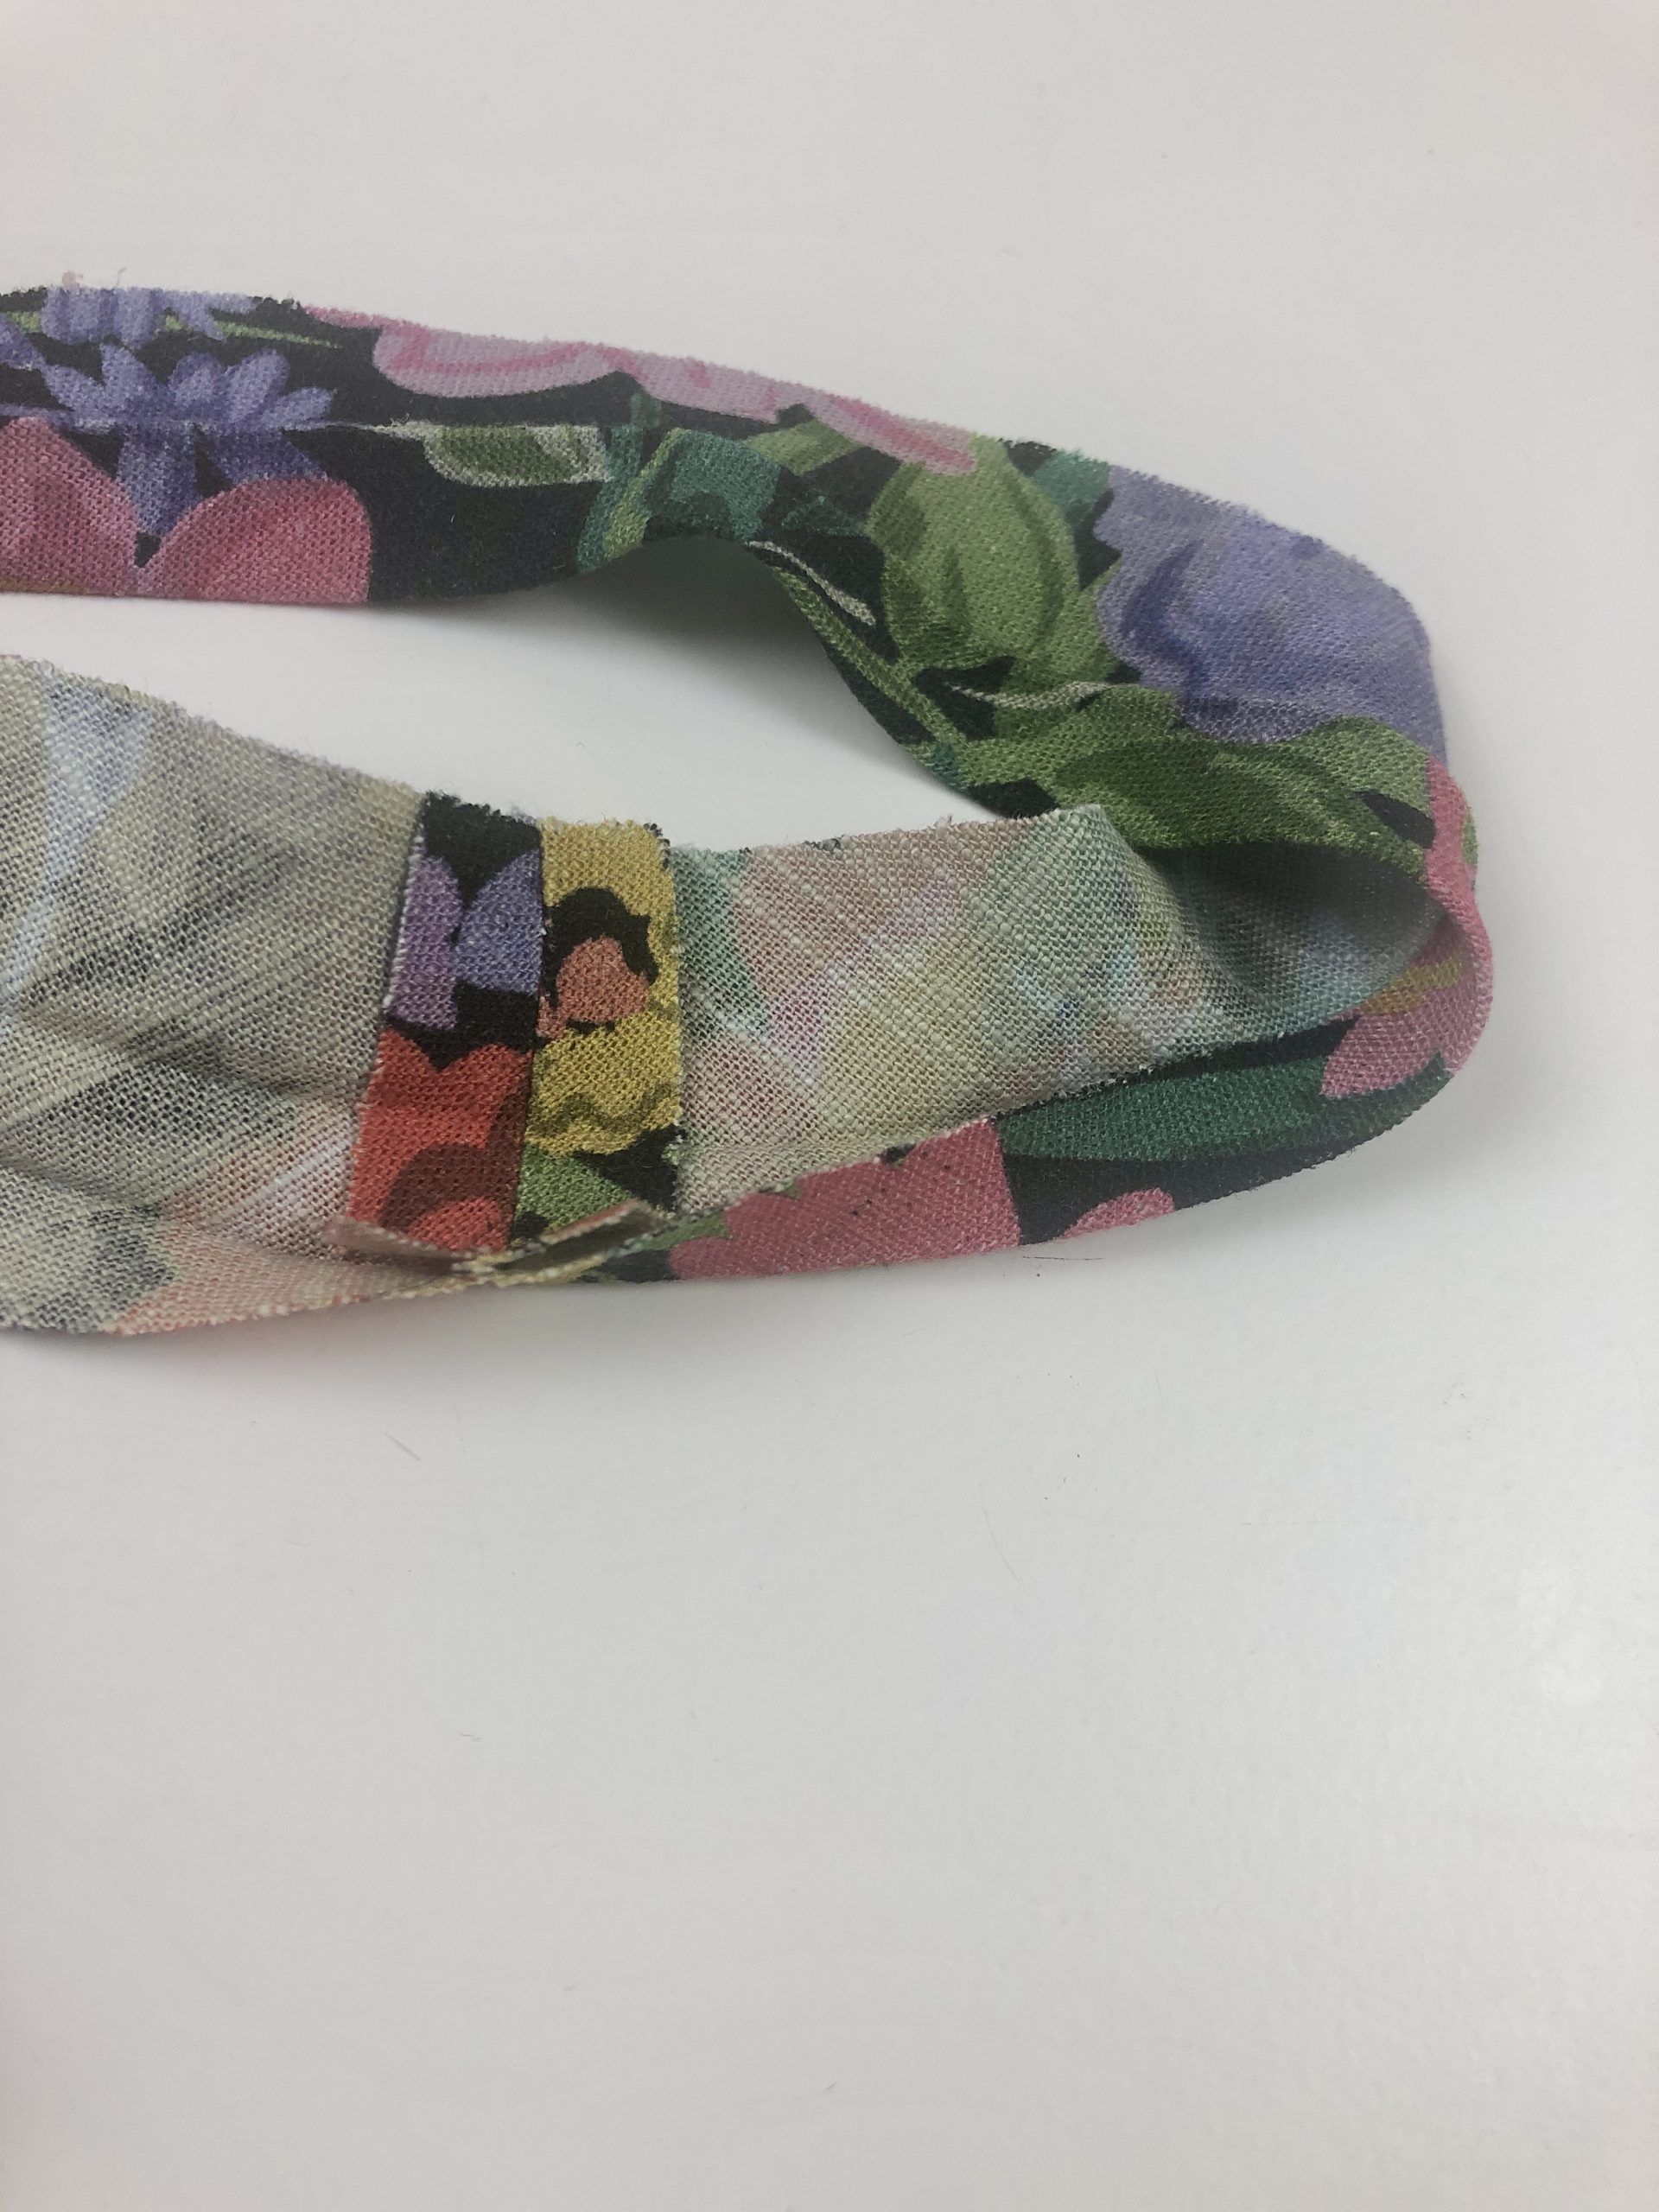
The cuff is then folded along the first crease so the two raw edges come together.
Then folded again along the centre crease to enclose the seam allowance and raw edges.
To finish the cuffs I used a slip stitch to make the stitching invisible.
This technique can be seen on my video below, ‘How to attach a Shirt Collar’.
Instructions for how to slip stitch start at 40:58
Inserting the Sleeves
After the cuffs are complete, the sleeves can be inserted.
Pull on the gathering stitches at the sleeve head first.
Turn the sleeve right side out and have the garment inside out.
Check for the single and double notches on the sleeves to make sure you have the right and left sleeve in the correct positions.
Match the underarm seams and place pins on the inside / sleeve side of the garment.
Match the notches at the front, back and shoulder positions, place pins and then distribute the gathers and add more pins.
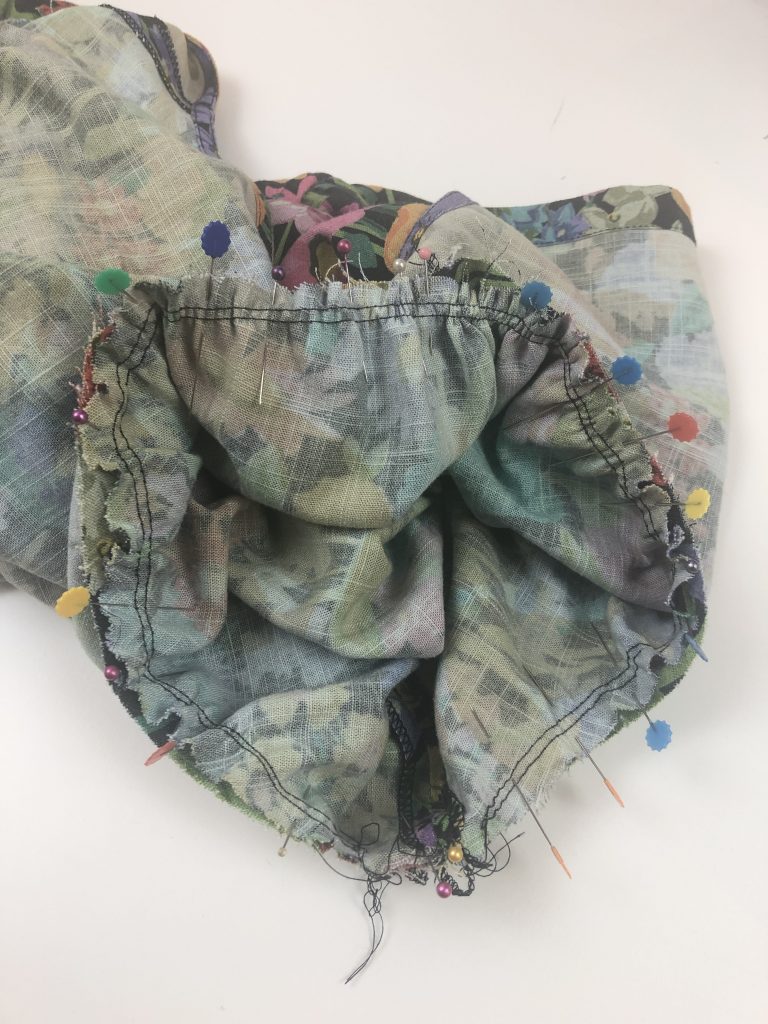
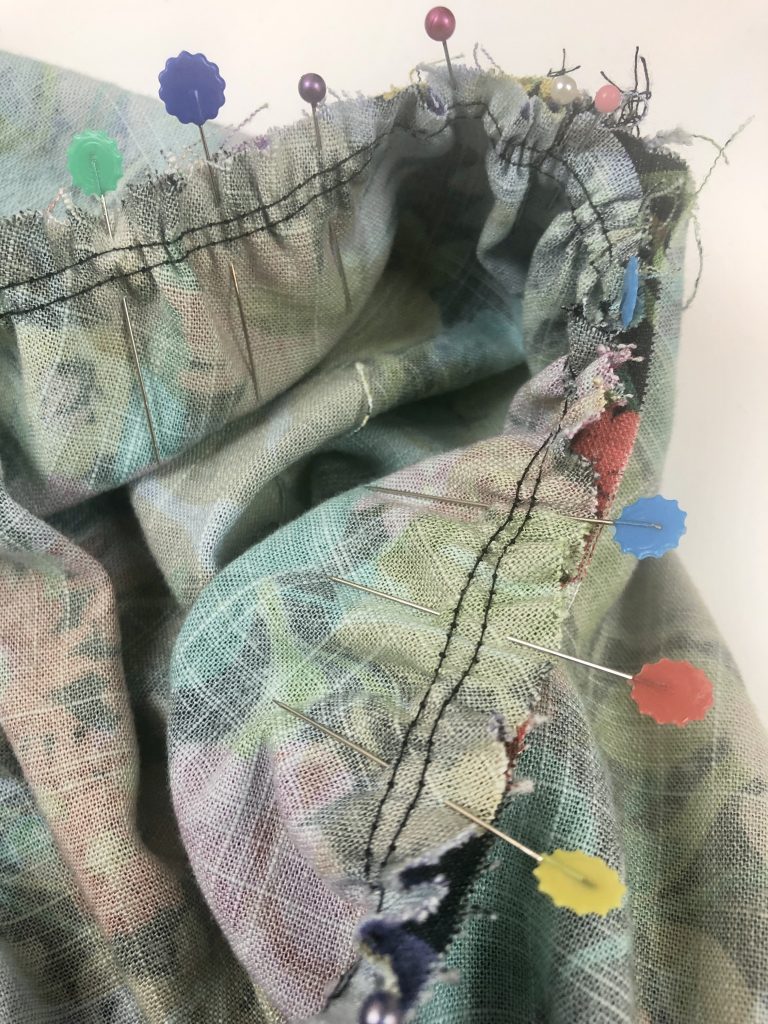
Stitch the sleeve in place, sewing from the gathering side, stitching over the pins or removing these as you go.
As you stitch over the gathers you can adjust these further to eliminate any unwanted puckering.
Use a long machine stitch (basting stitch) if you are worried about getting the stitching line correct. You can sew over this once you are happy with the stitching.
After stitching the sleeves, the raw edges are edge finished together.
I decided to take out the gathering stitches but these can be left in the fabric if you prefer.
The next stage is to hem the lower edge of the blouse. I turned up the raw edge by 1.5cm, opened this out again, then turned the raw edge to meet the crease and folded to enclose the raw edges before stitching in place.
You can see how I create a machine stitched hem in the video below.
Buttons and Buttonholes
After hemming, the buttonholes are sewn.
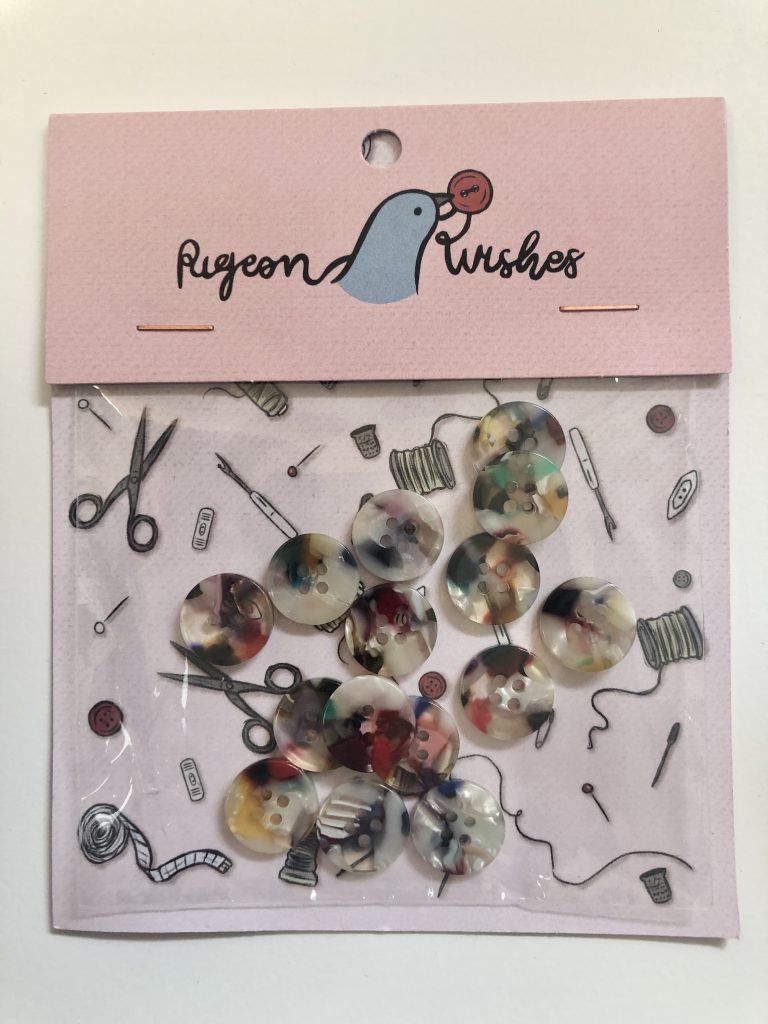
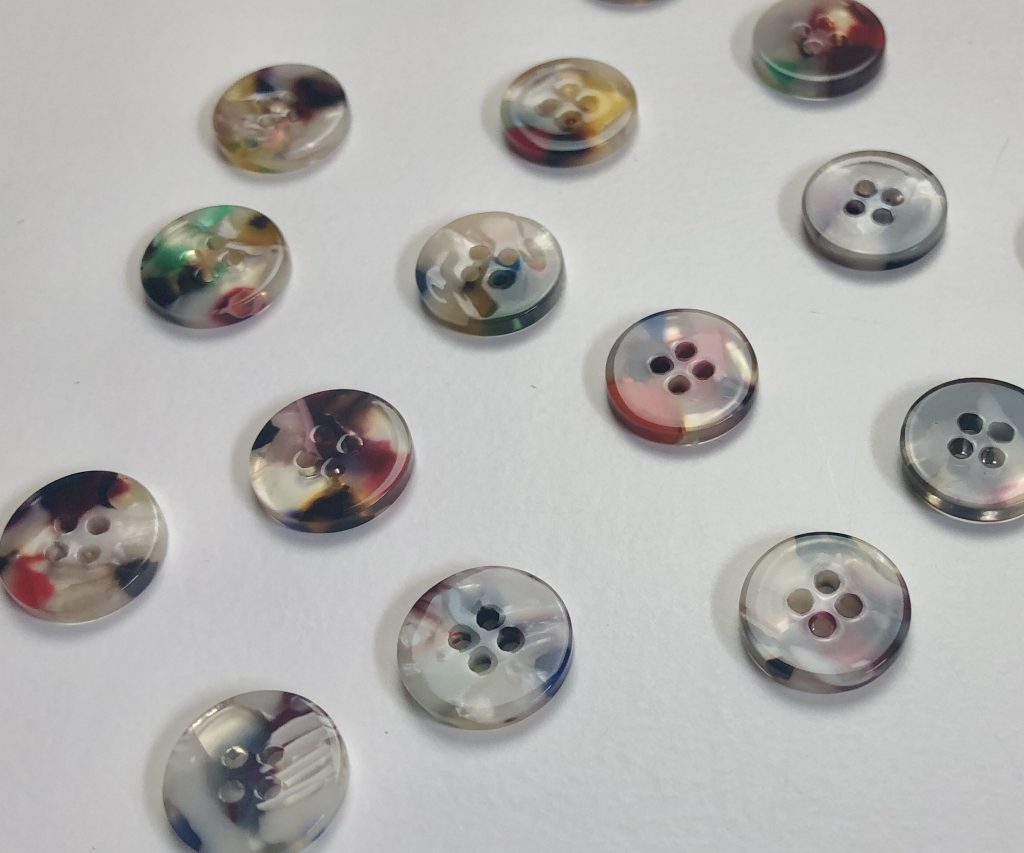
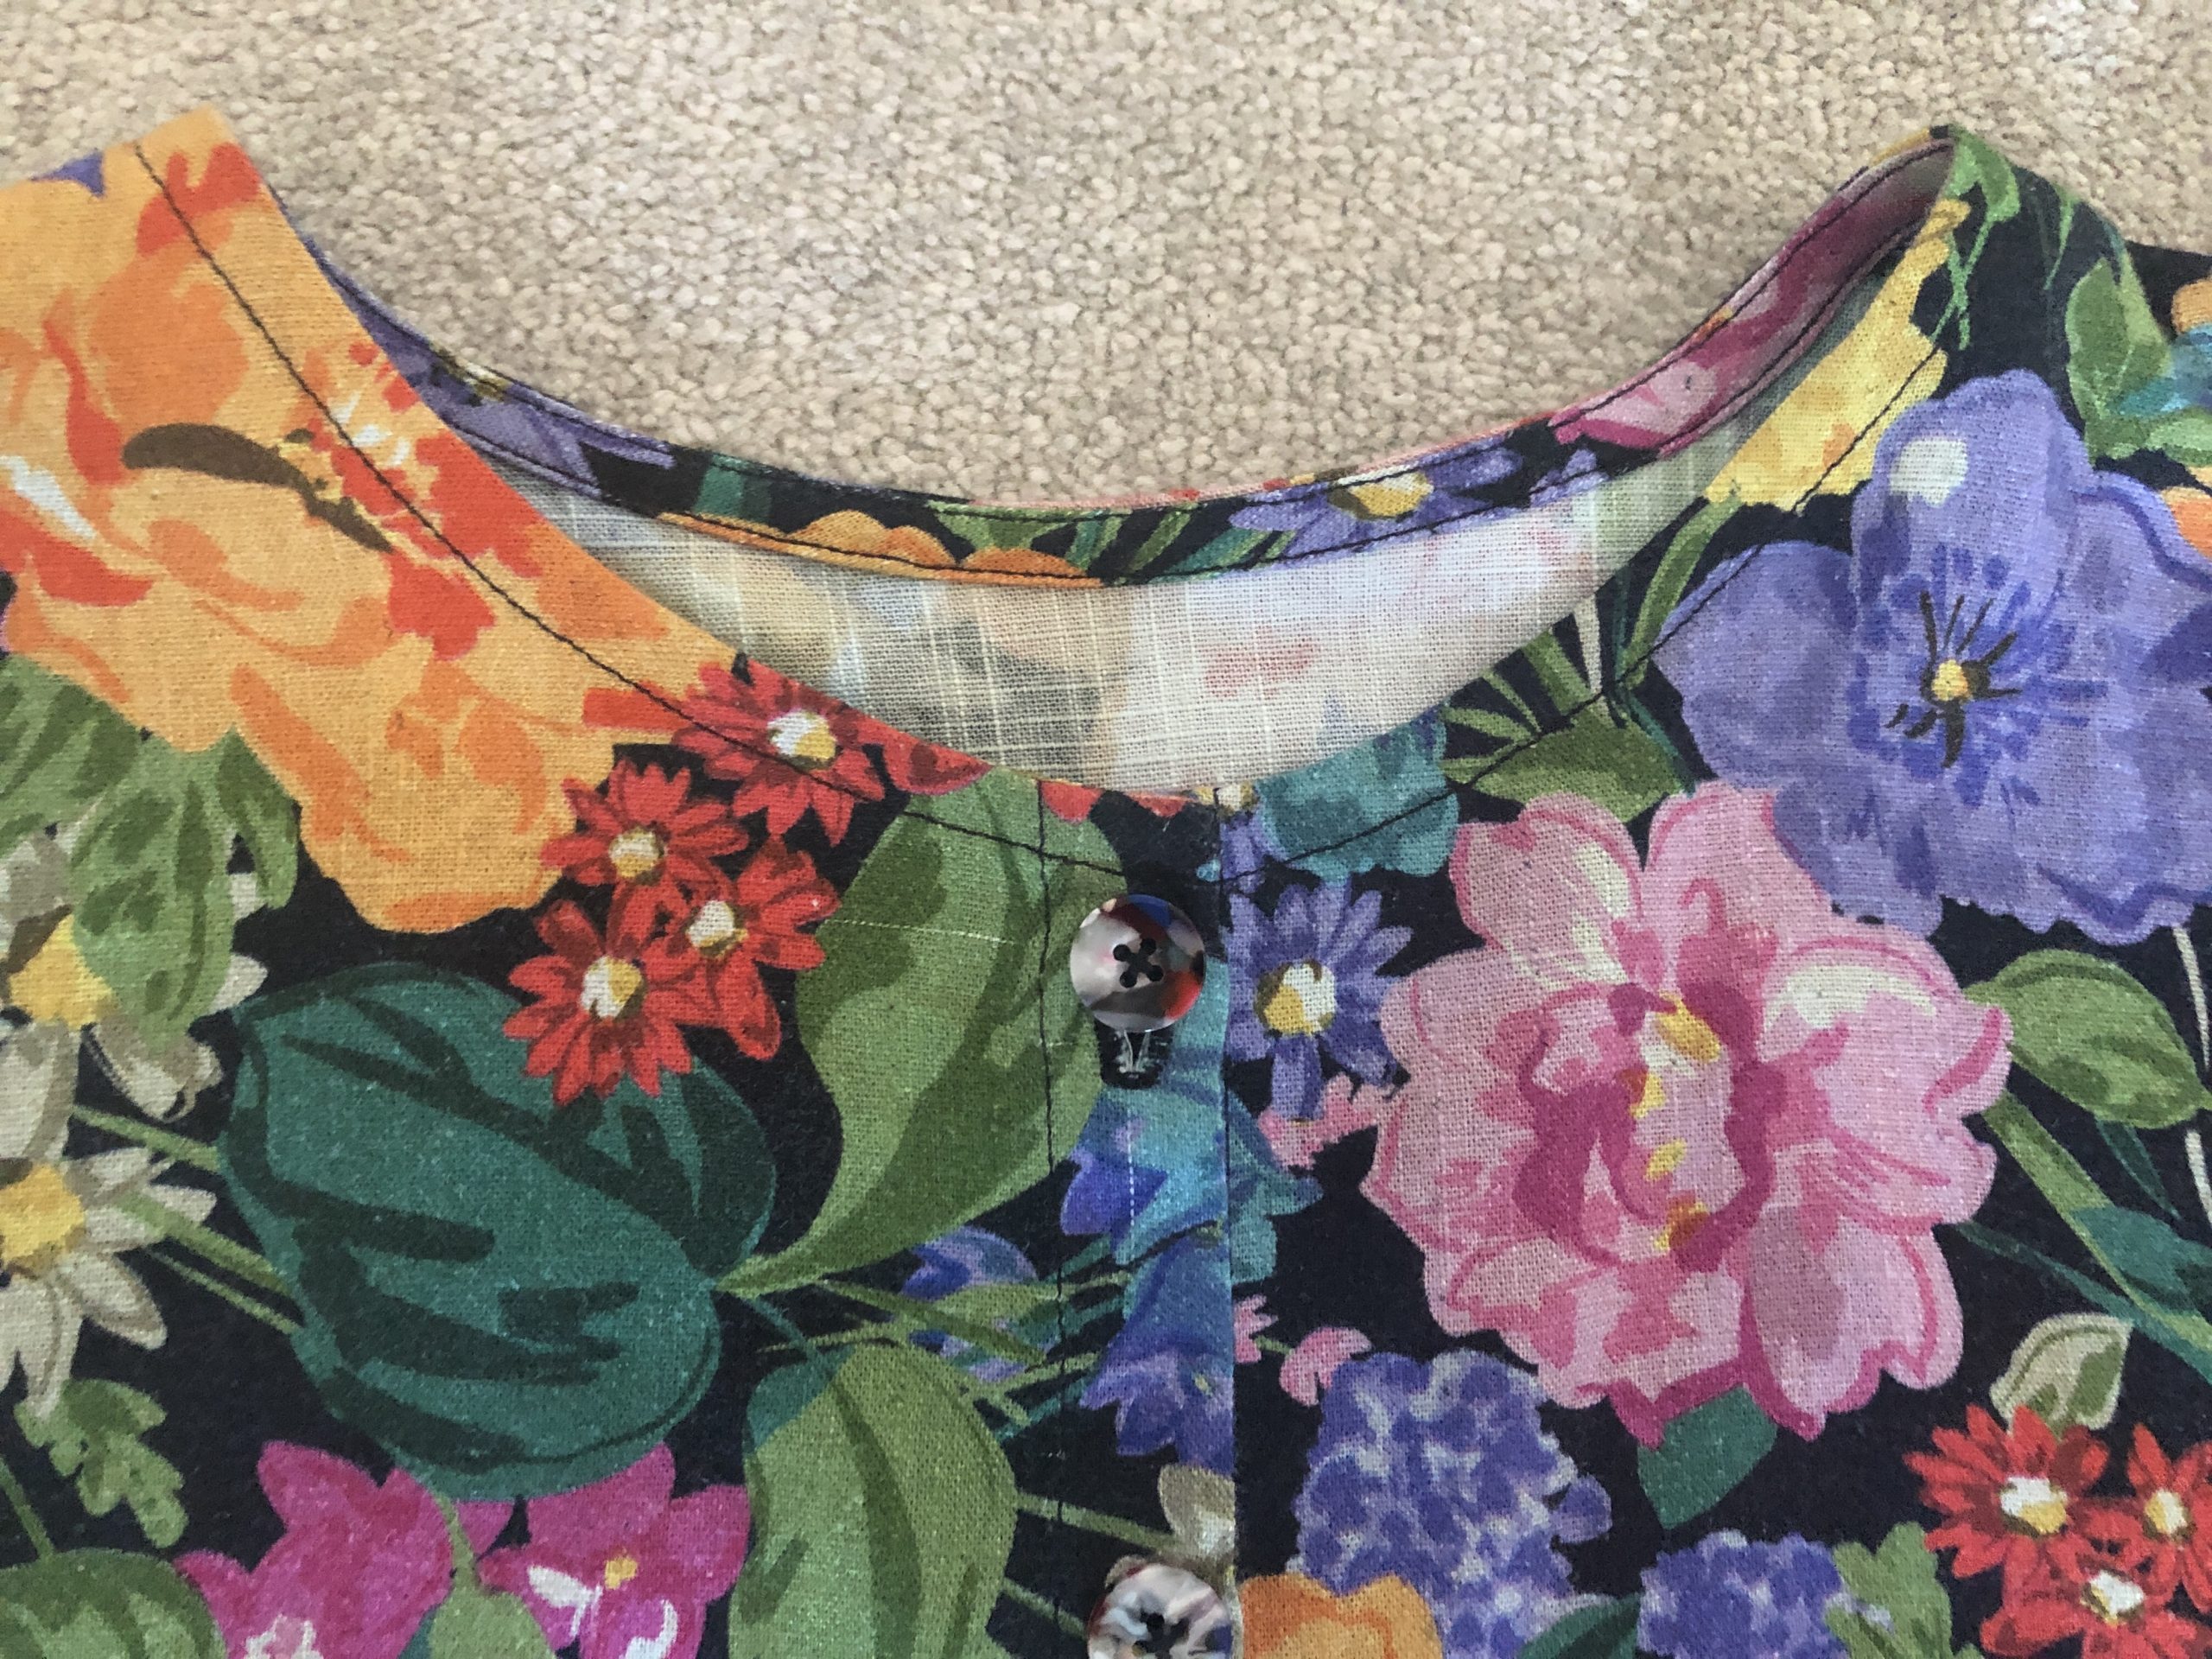
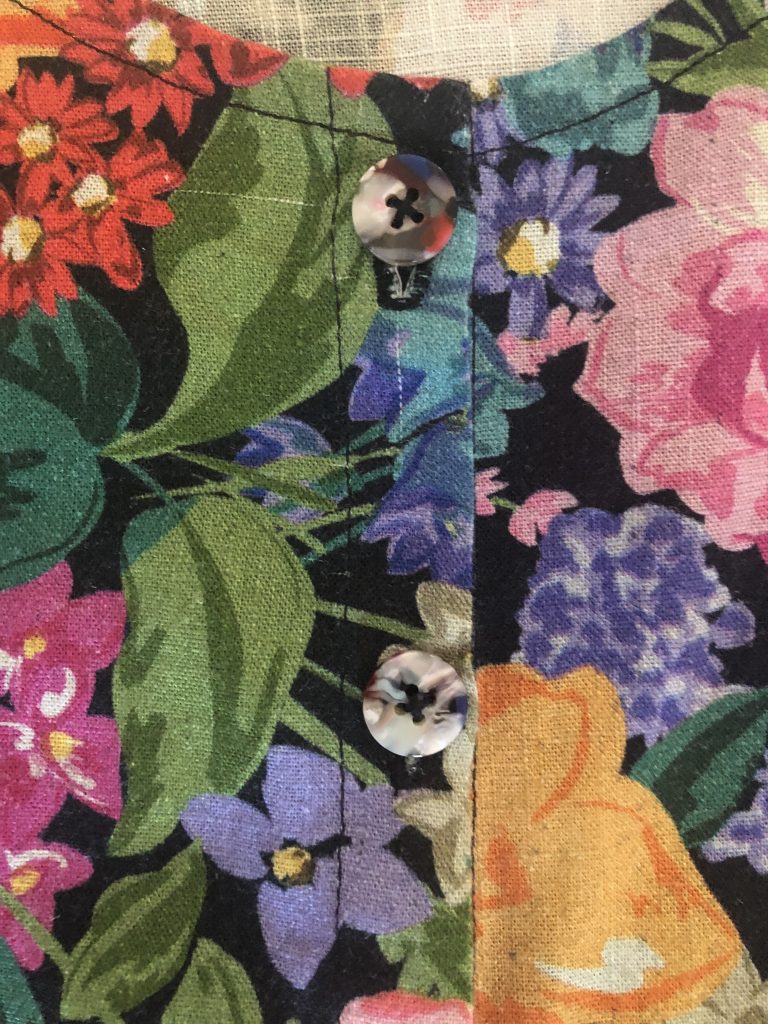
I’m using these multicoloured ‘Painterly’ 15mm buttons from Pigeon Wishes which are available at Fabric Godmother.
The front of the blouse will fasten right over left so the buttonholes are sewn onto the right side of the blouse.
Anna Allen provides a really helpful buttonhole guide that can be placed on the right front to mark buttonholes at this stage.
As I’m using 15mm (5/8″) buttons I’ve created a practise buttonhole and will need these to be 19mm (3/4″) long.
I’ve added my own markings to the buttonhole guide to make each buttonhole 19mm (3/4″).
When I sew buttonholes on my machine, the machine stitches backwards so for this garment I will mark only the bottom of each buttonhole onto the right front edge.
After marking and sewing the buttonholes, the buttons are sewn in place.
I don’t think patterns ever give enough information about the placement of buttons or how to sew these on.
These are my top tips:
- Never place buttons in the centre of the buttonhole. If you do this, once the garment is done up, the fabric will slide until the top of the buttonhole is resting on the button, misaligning the two front edges of the blouse.
- To position your buttons correctly for vertical buttonholes, mark the position of each button 3mm (1/8 inch) from the top edge of each buttonhole.
- Never sew your buttons flat to the fabric. You need to leave some space under the button for the other layer of fabric to sit once the buttons are fastened.
- When using ‘sew through buttons’ (the ones with holes in, as opposed to the ones with a shank or loop underneath), the space under the button is formed by creating a ‘thread shank’. I like to use a cocktail stick or match stick as a spacer.
- I place the stick under each button as I sew them on.
You can see how I mark and sew buttonholes and buttons in this video below.
This is a man’s shirt so the front overlaps left over right.
The information for preparing the buttonholes starts at 01:01:44
You can see a breakdown of the video stages and timings / time stamps in the description.
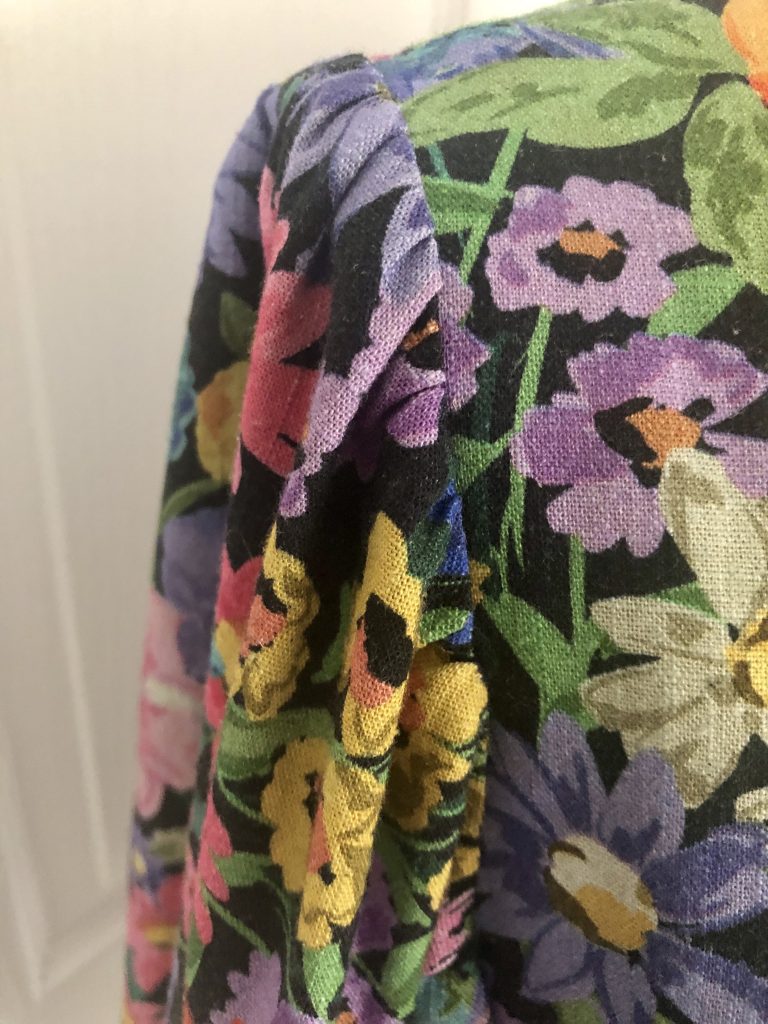
Here are some images of the finished blouse.

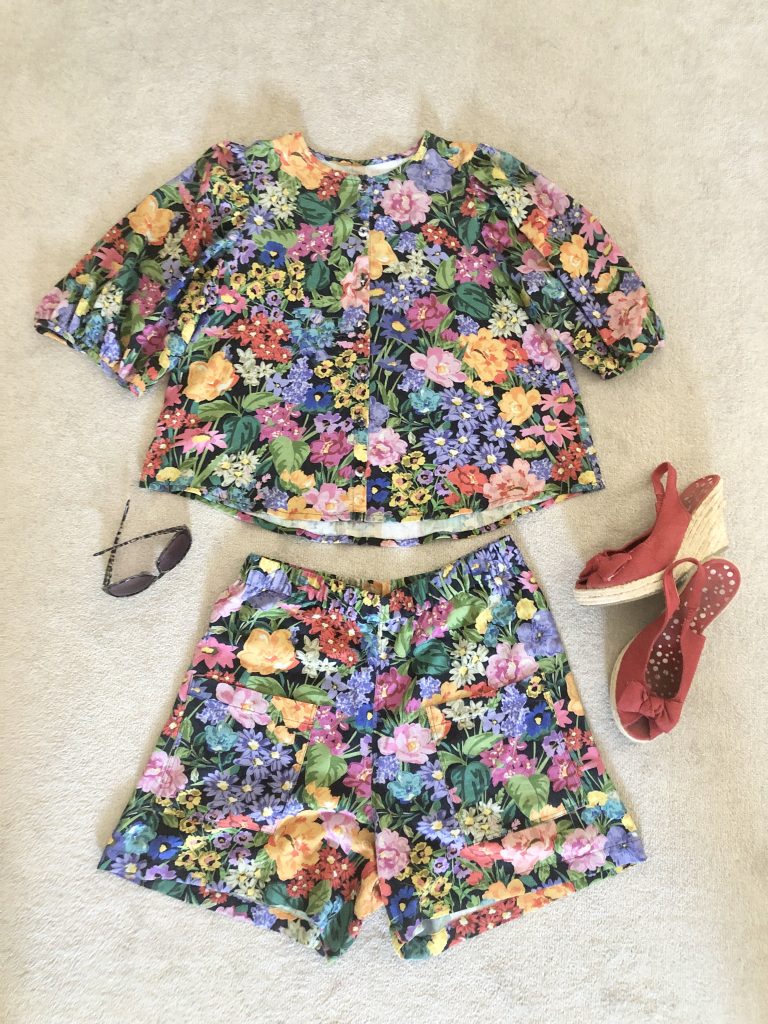
You can see more about sewing the Anna Allen Pomona Shorts in this blog post


1 thought on “Anthea Blouse – Anna Allen Patterns”
Pingback: Pomona Shorts – Anna Allen Patterns - Julia Hincks | House of Miss Sew
Comments are closed.